A lesson on making hair clips in the form of a flower in Kansas technique with rhinestones
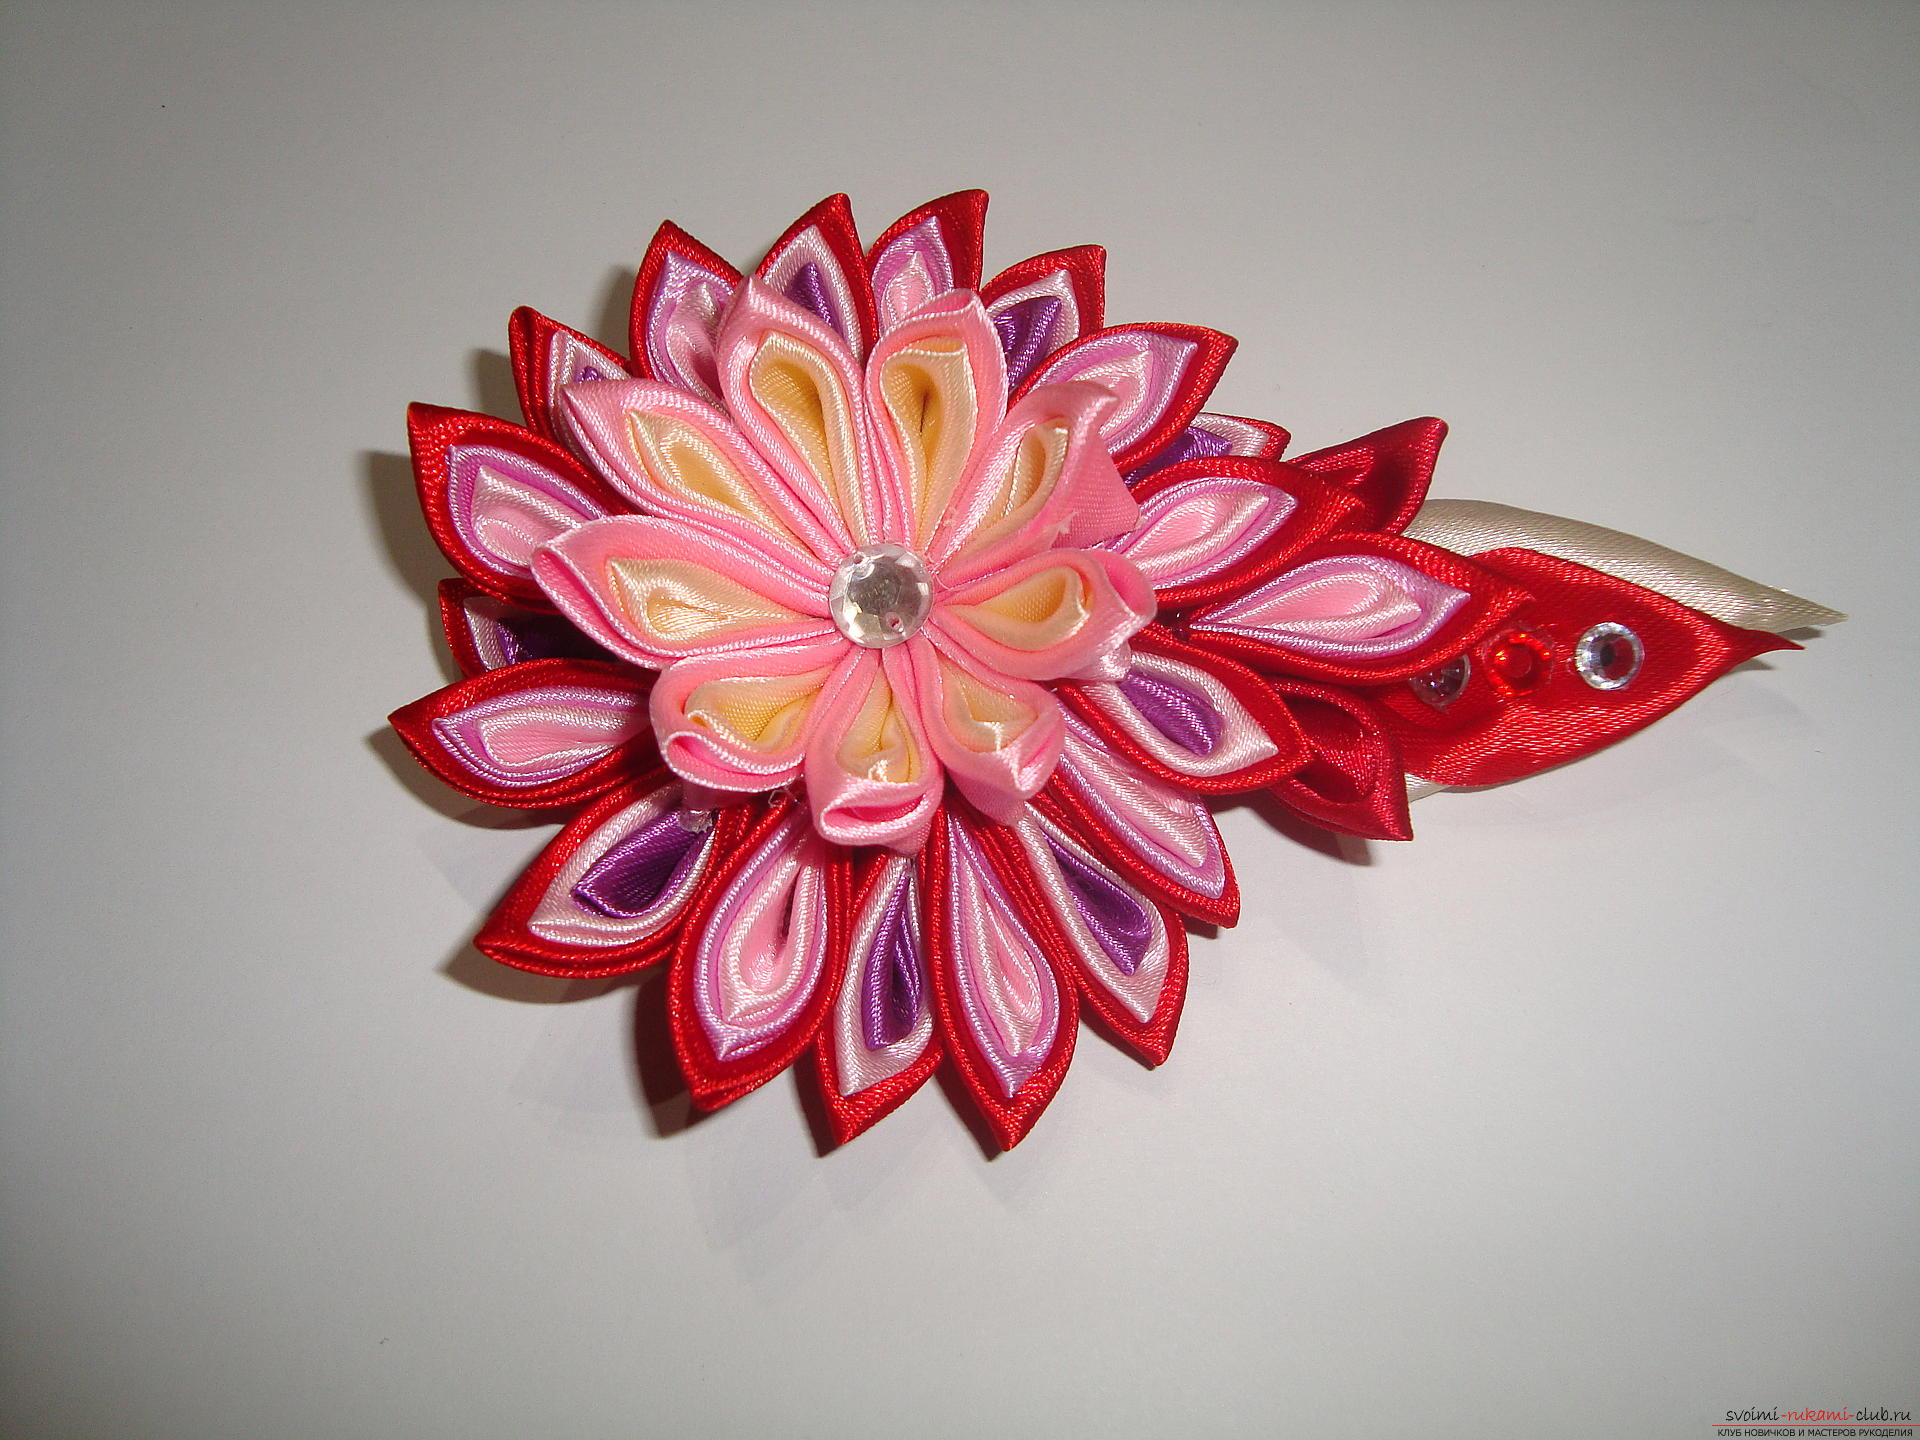
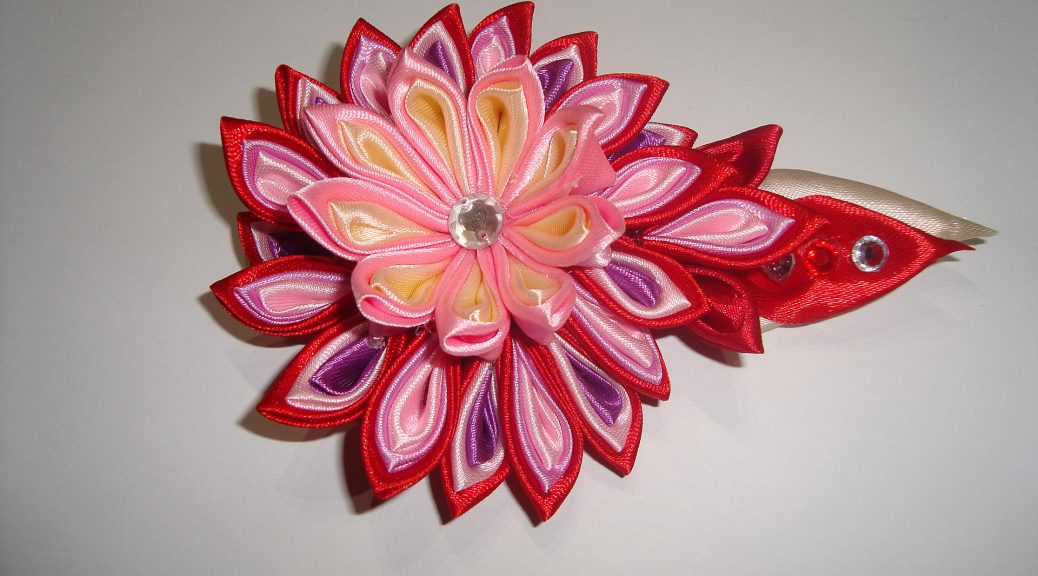
A beautiful hairpin in different colors can createwith his hands from several satin ribbons, folding petals in Kansas technique. Such a hairpin will be a bright accent among your accessories, it can be used as an original decoration for an evening hairstyle or to pin hair on weekdays. Each petal for the inflorescence is created with trembling and love, so hand-made things are considered special and unique. 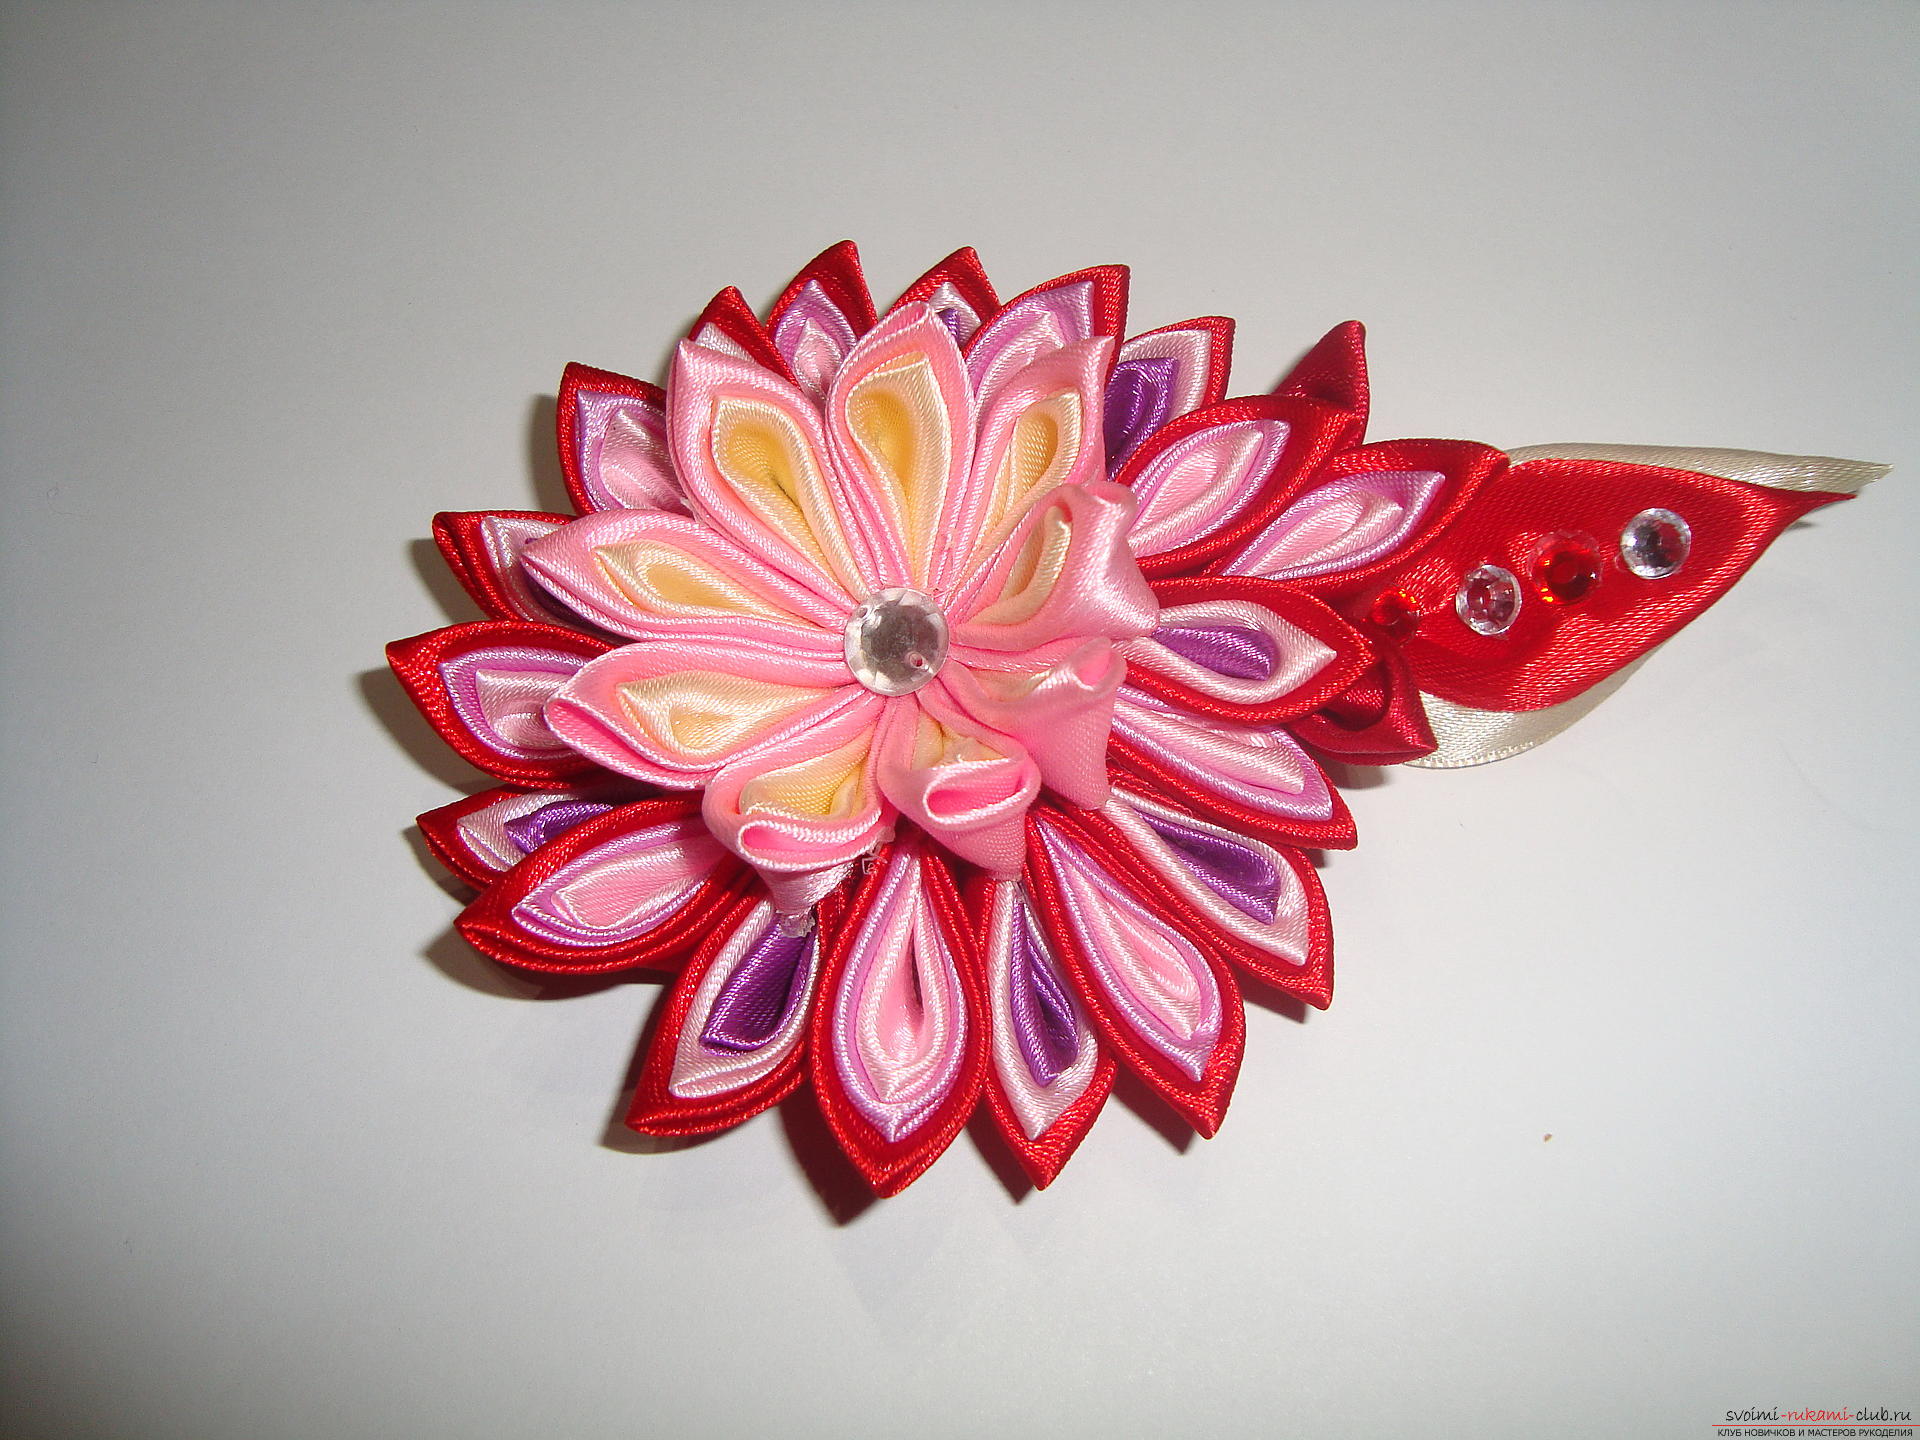 A hair clip made in Kansas technique,shimmers in different shades due to the fact that in each petal several multi-colored tapes are combined, but all elements have the same outer layer in red, which makes the work a single composition. This flower harmoniously beautifies the hairpin in size 10-15 cm. As a basis, you can choose a clip (crocodile) or take an automatic hair clip. You can view the video instruction on creating an elegant hair clip in Kansas technique
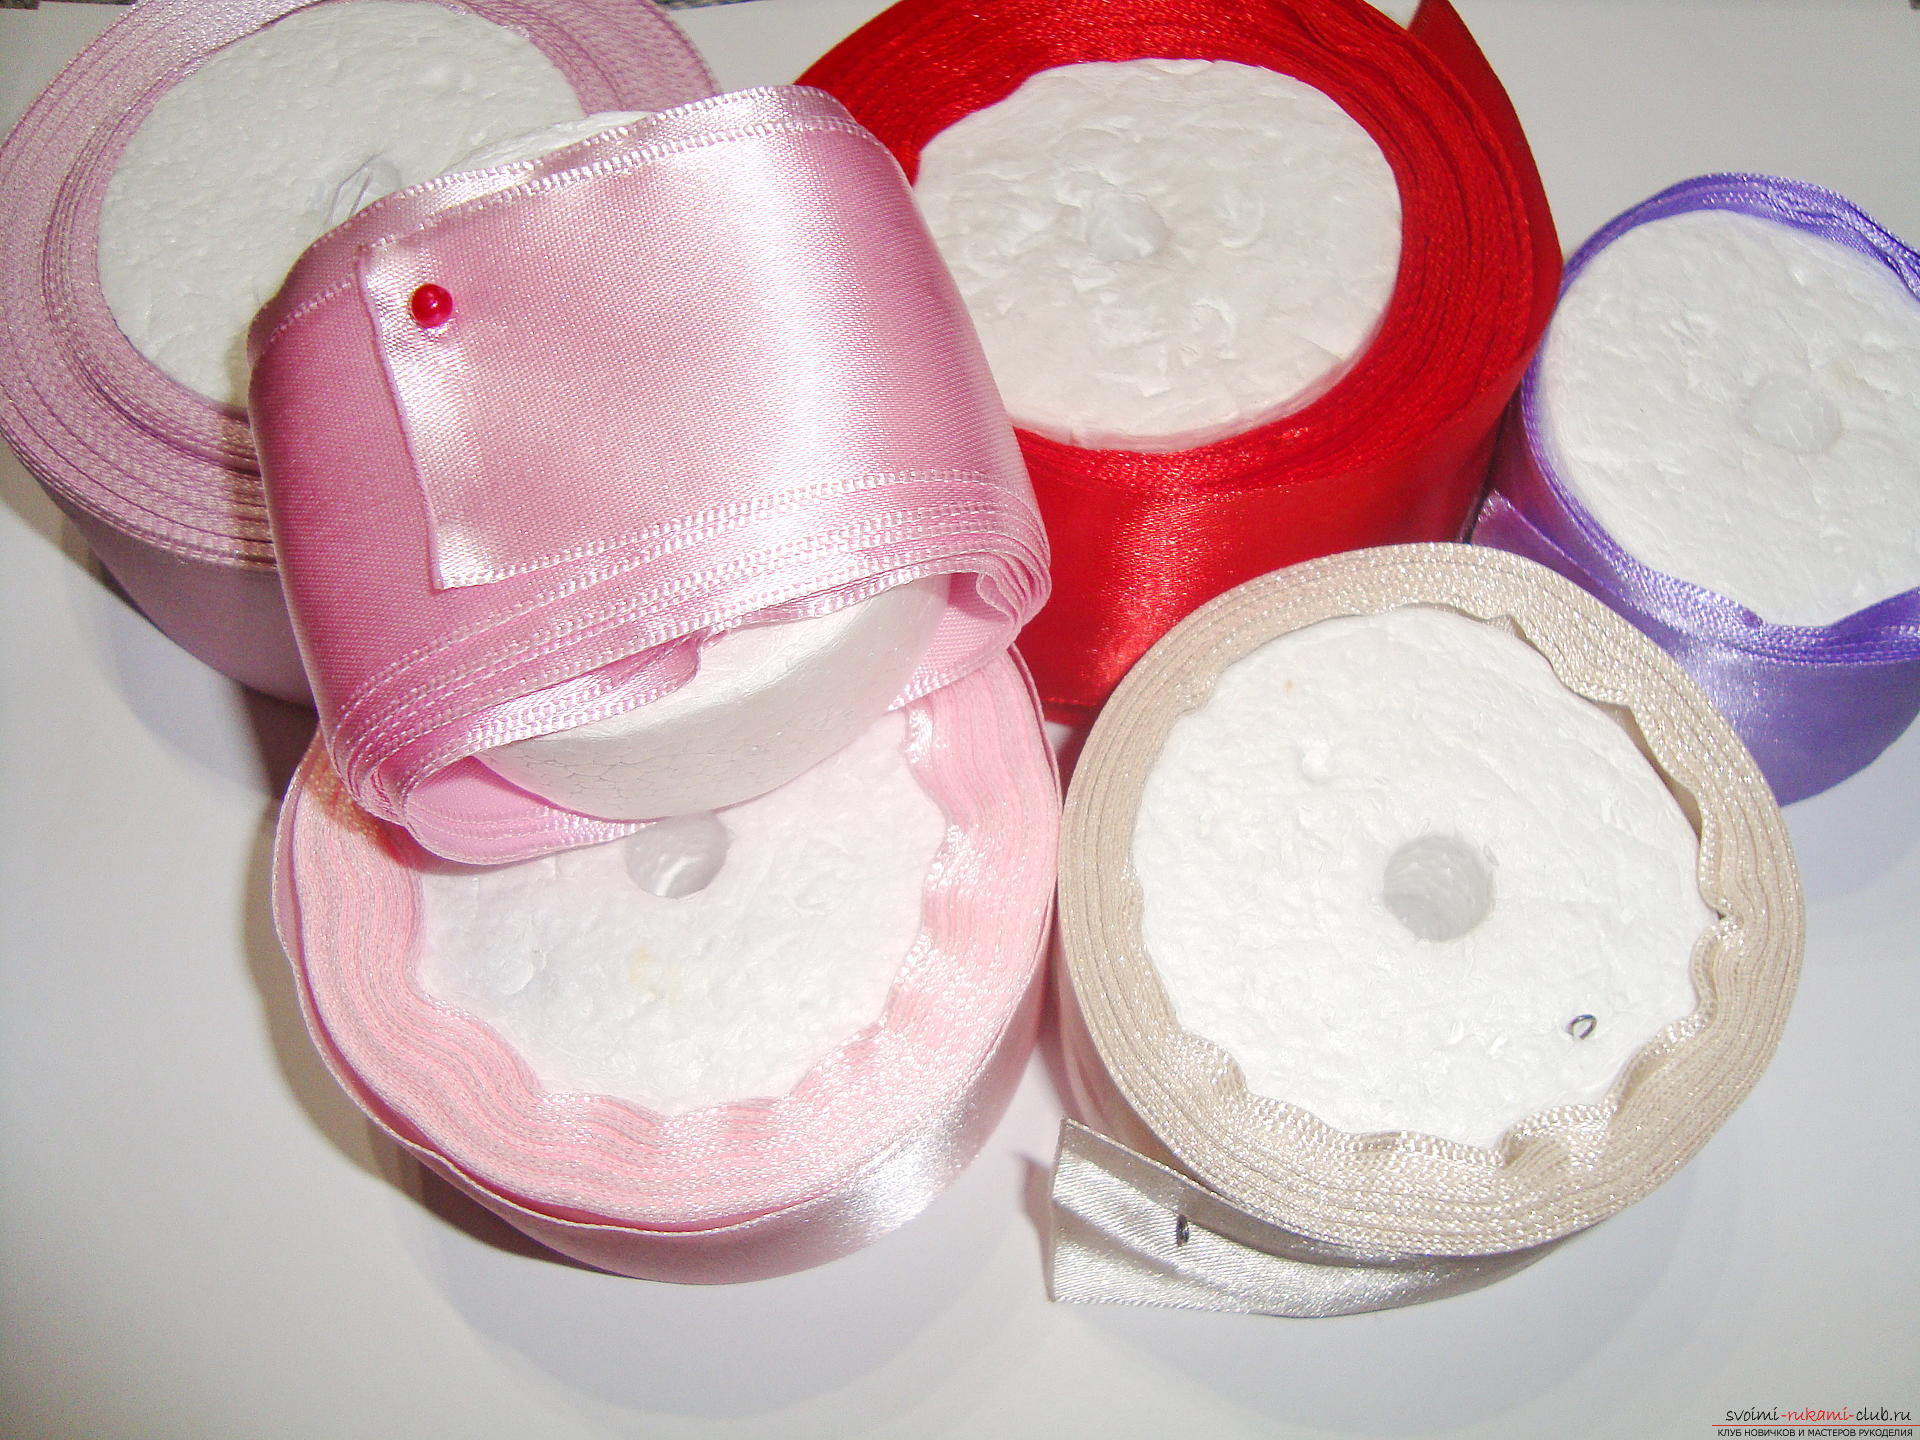
To create a kanzash barrette you will need:
Walkthrough
At the first stage we create blanks of different colorsfor the petals. Each billet should be 4 by 4 cm in size, the number of blanks is determined by the size of the flower. For a product with a diameter of 7 cm, 20 petals will be required, for each three different color elements are used. The second tier of the flower is formed by a smaller number of petals, and each detail consists of two different colored elements. 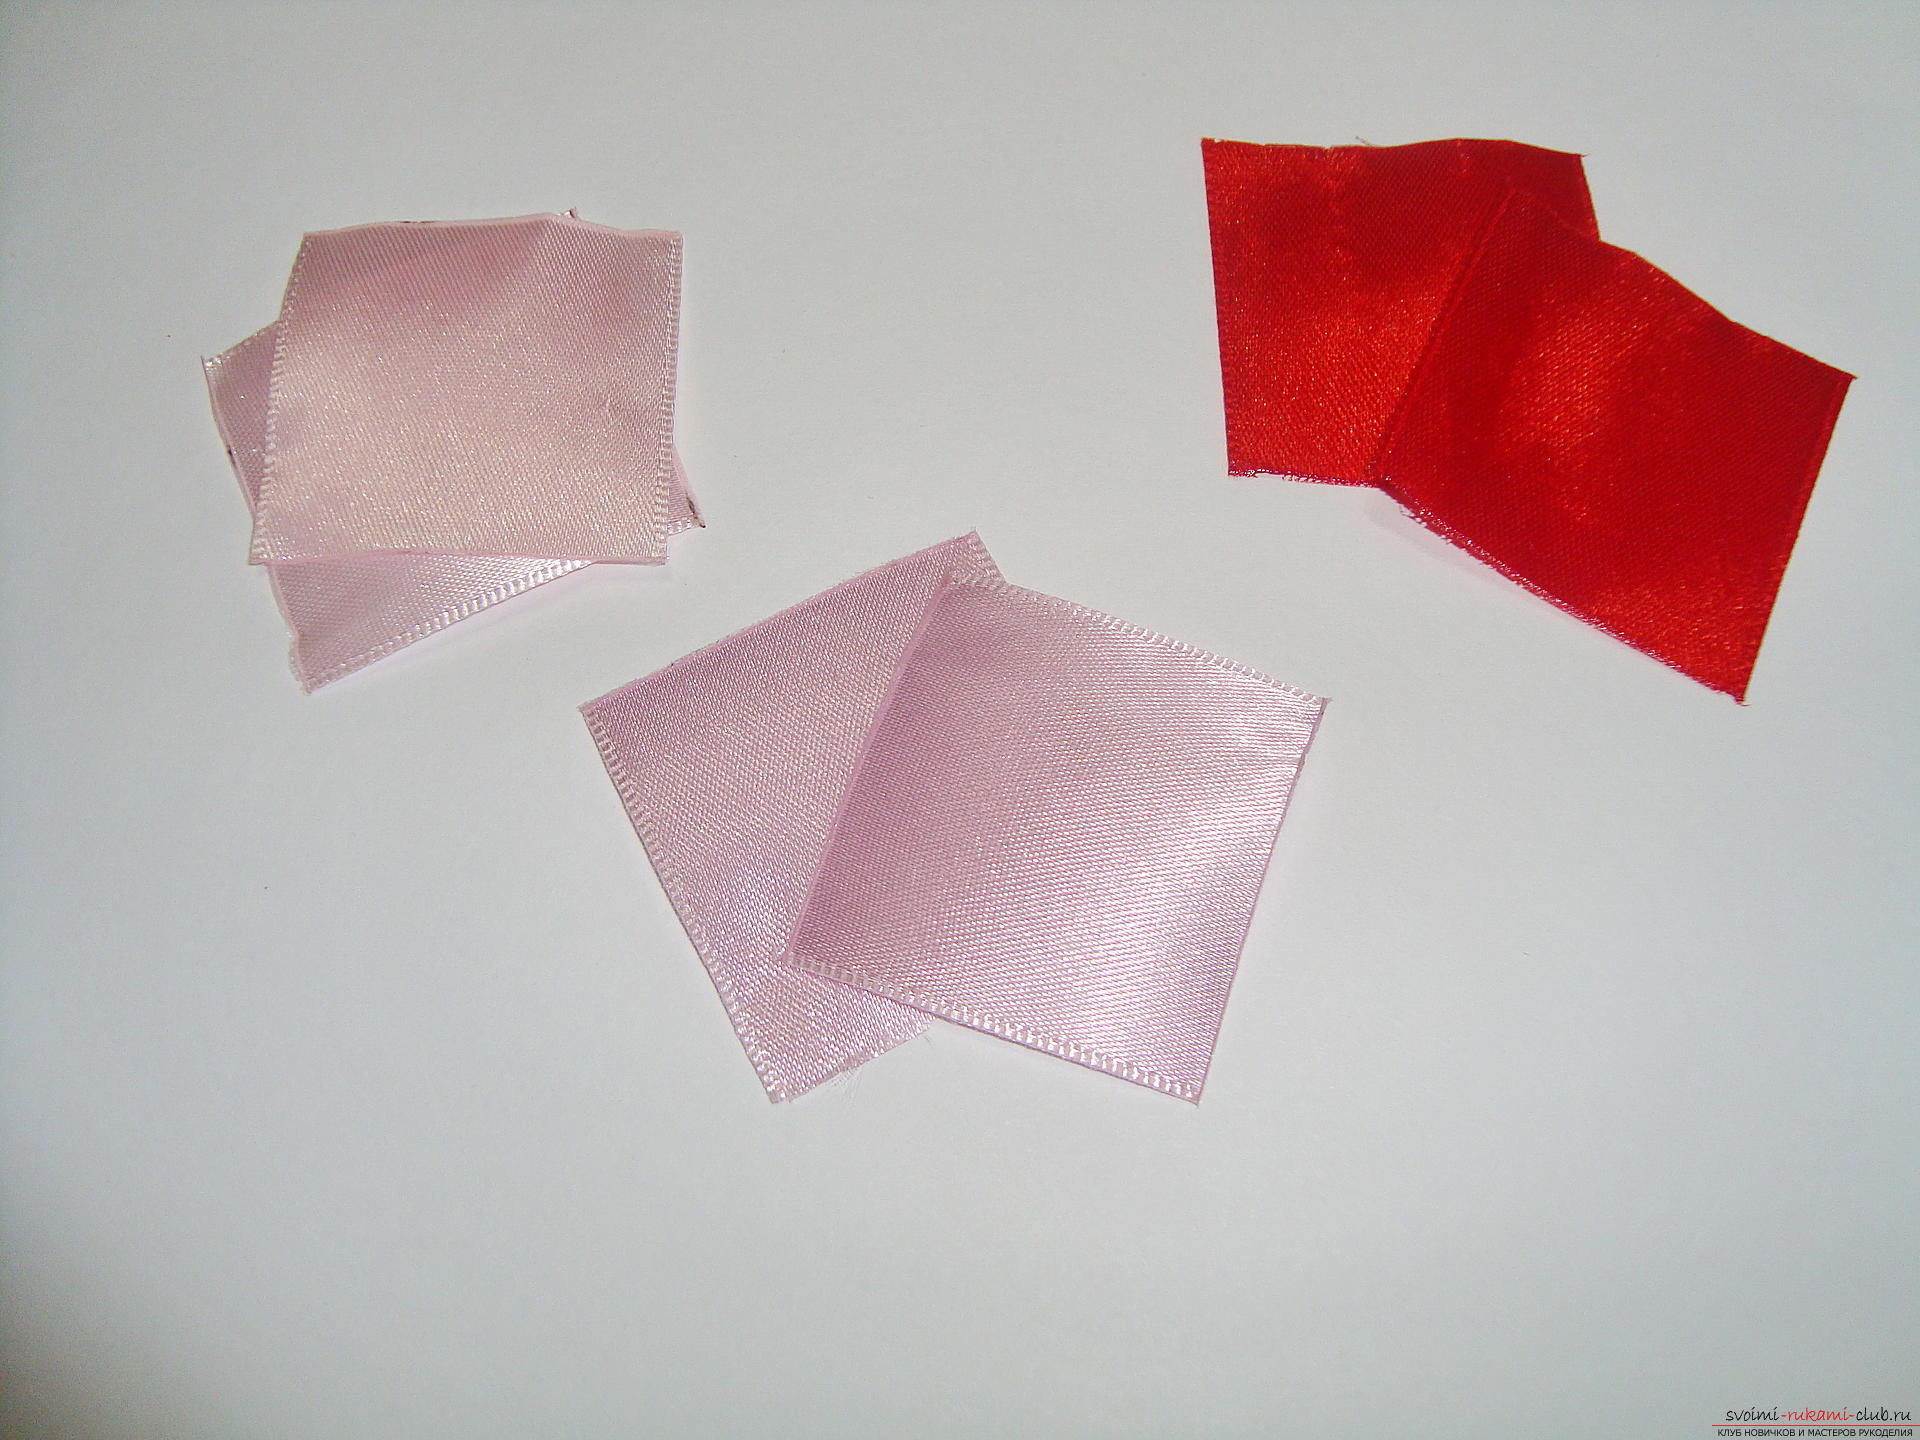 For convenience, created workpieces can be added topiles, then you will not get lost in the colors and you will gradually select the necessary elements. Each three-layered petal has a sharp shape. To create it, choose one red square and two pink ones with different shades (or beige and pink). Fold the square in the form of a triangle, this requires simply bending the part from angle to corner.
 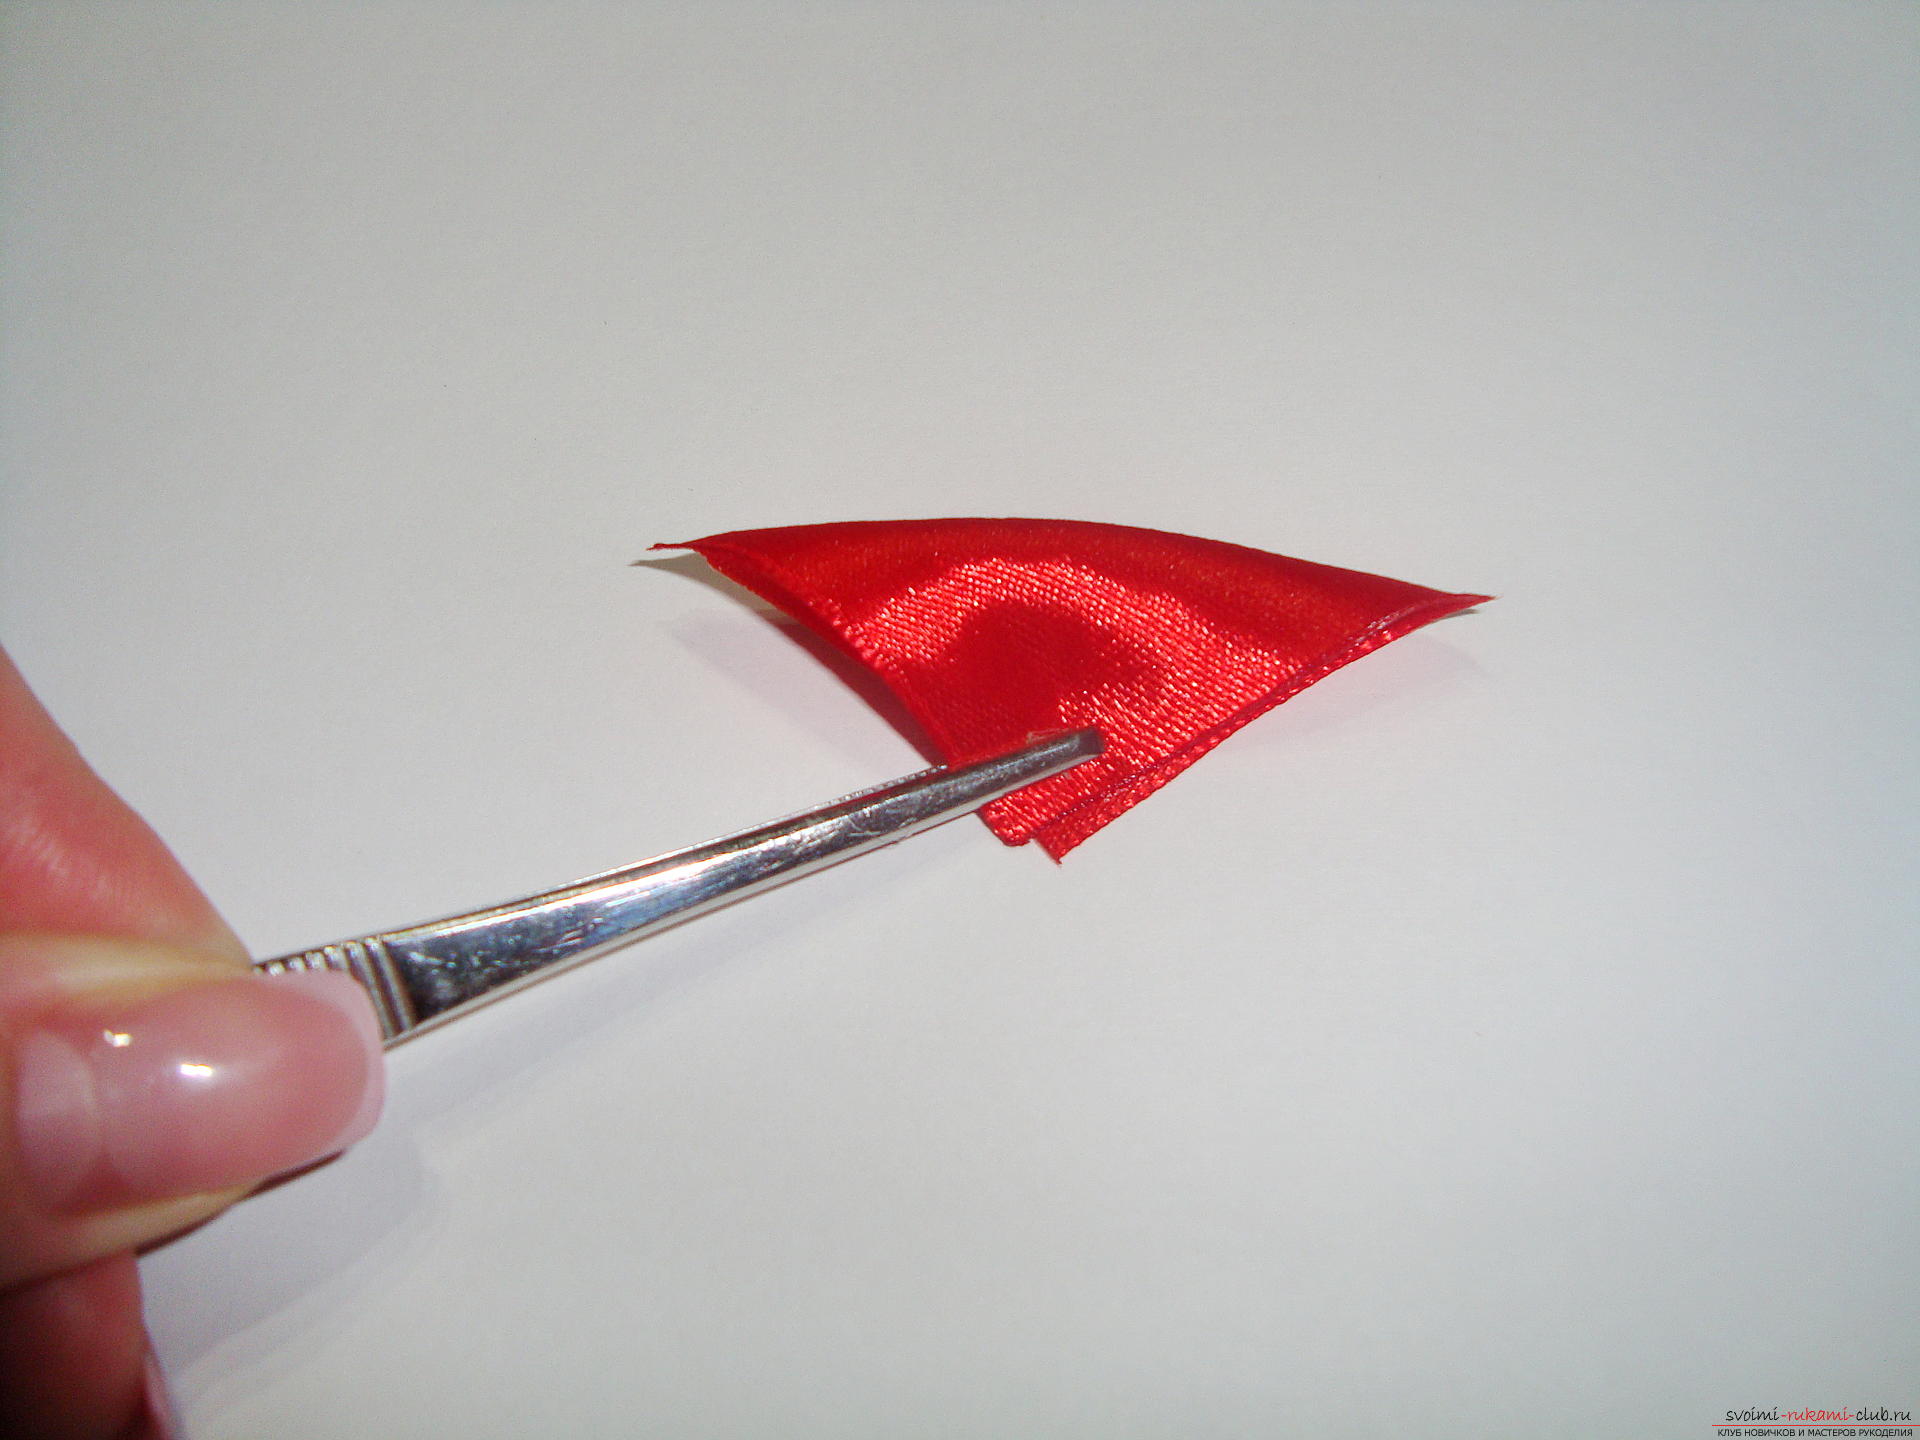 The next movement is the bending in the center of the workpiece, so that the fold line divides the part in half, and a new triangle with a right angle is formed, but the shape of the part will be smaller.
 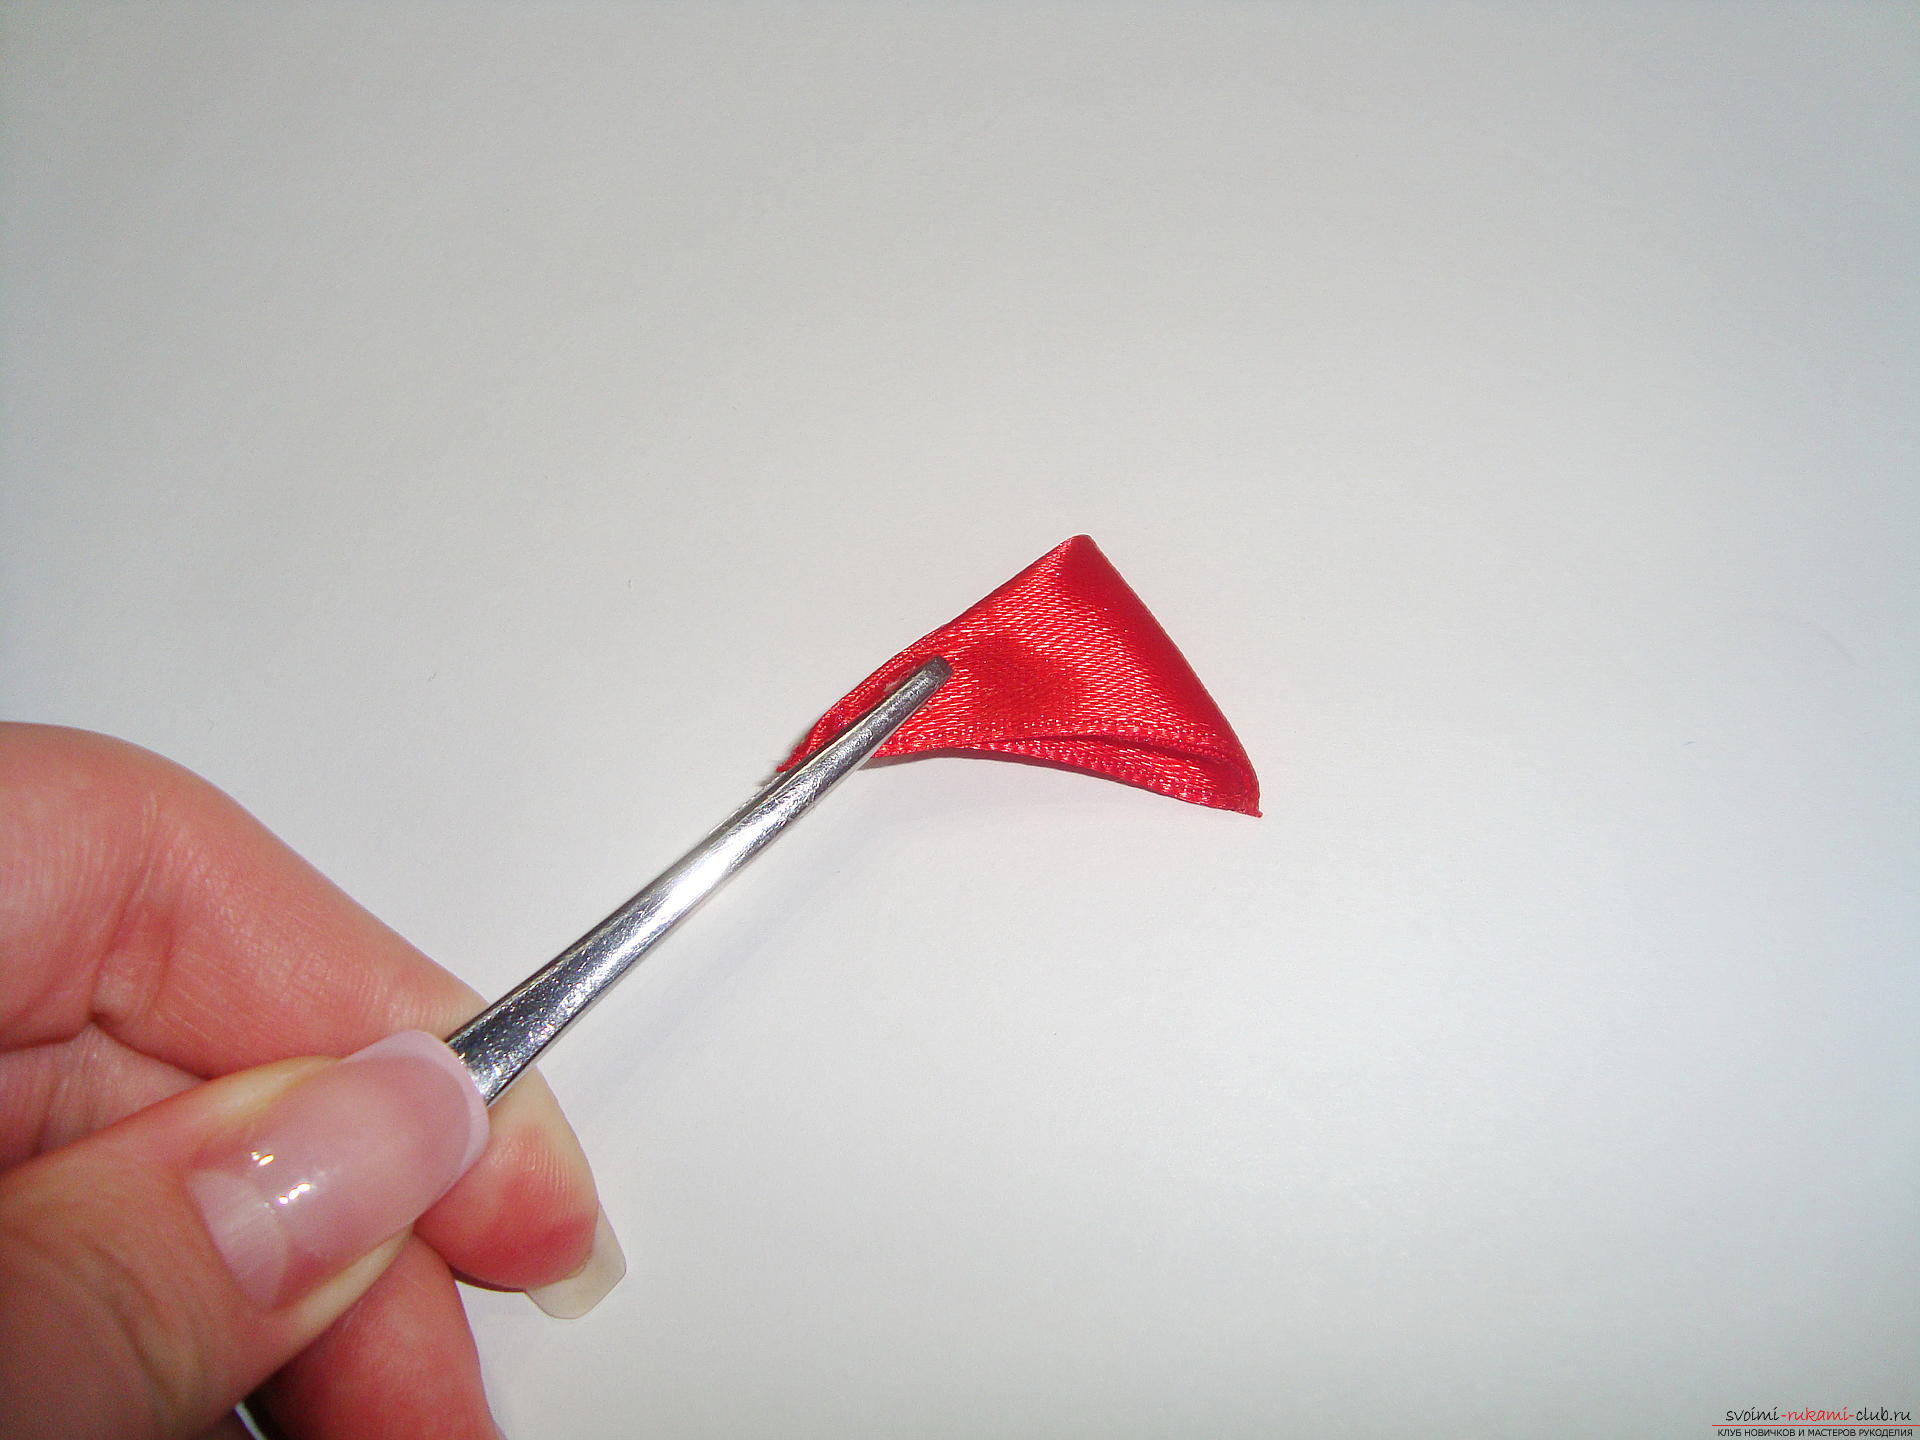 Similar folds with the second and third blanks, to make small triangles. Further, it is necessary to superimpose the details on each other with a minimum clearance.
 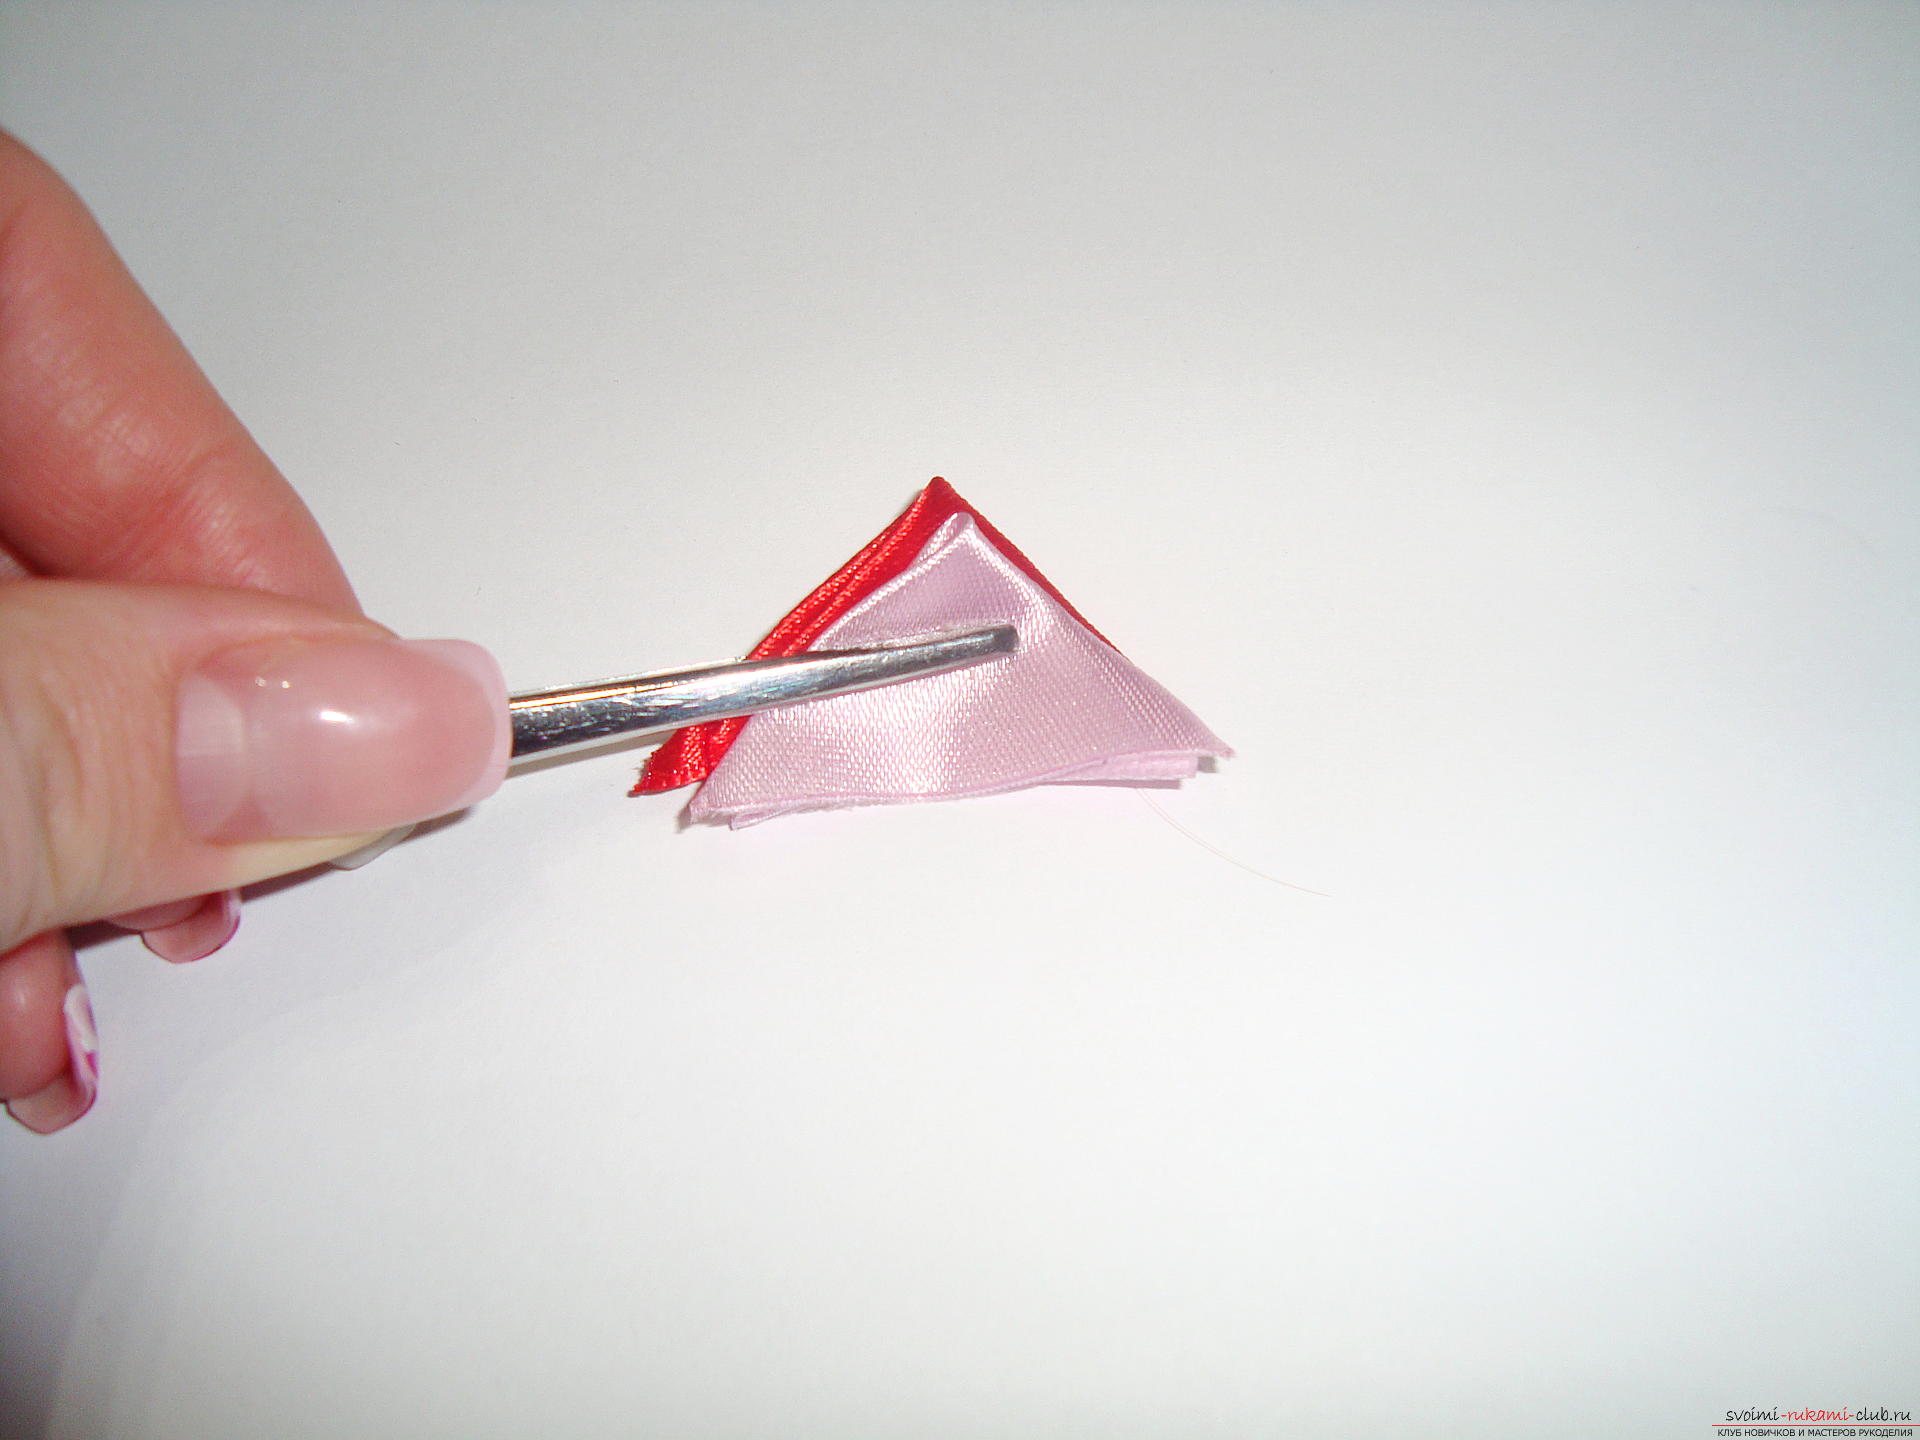 The distance through which you fix the parts,it is extremely important, if you stack the corners on each other, then all layers of the element will not be visible, in case you strongly retreat between the constituent elements, the upper corner will turn out to be shapeless, and the lower layer will be difficult to fix in the future exactly.
 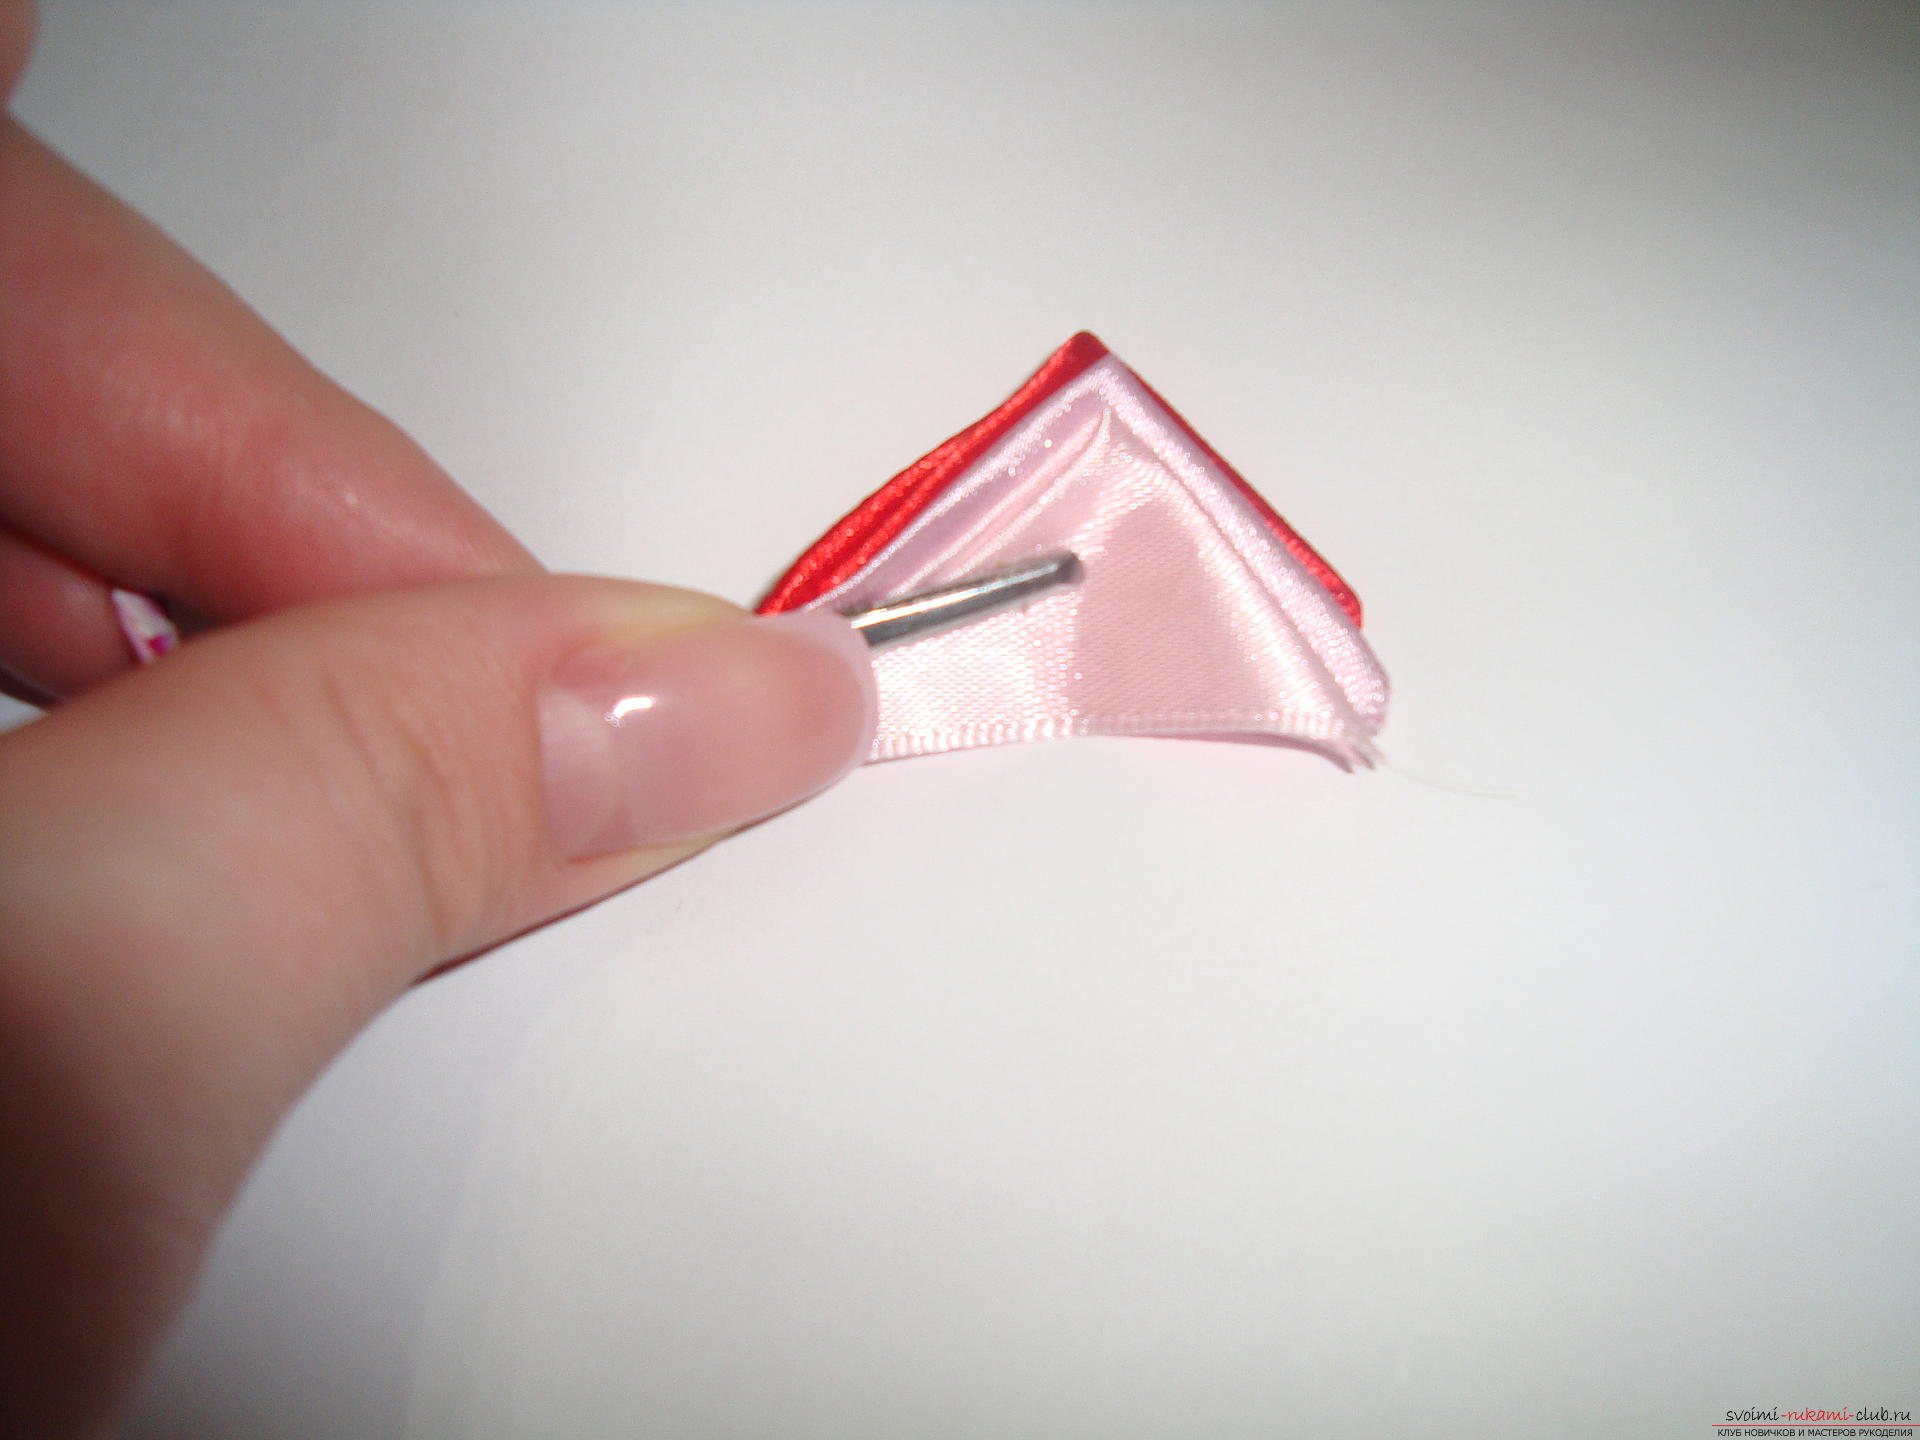 Still need to pay attention to the fact that allAngles should lie on one line and strictly look up, then the petal will turn out even and neat. The next stage is the central fold of all layers of the part. It is necessary to carefully bend the work pieces, so that the upper corners do not move. It turns out this multi-layered petal:
 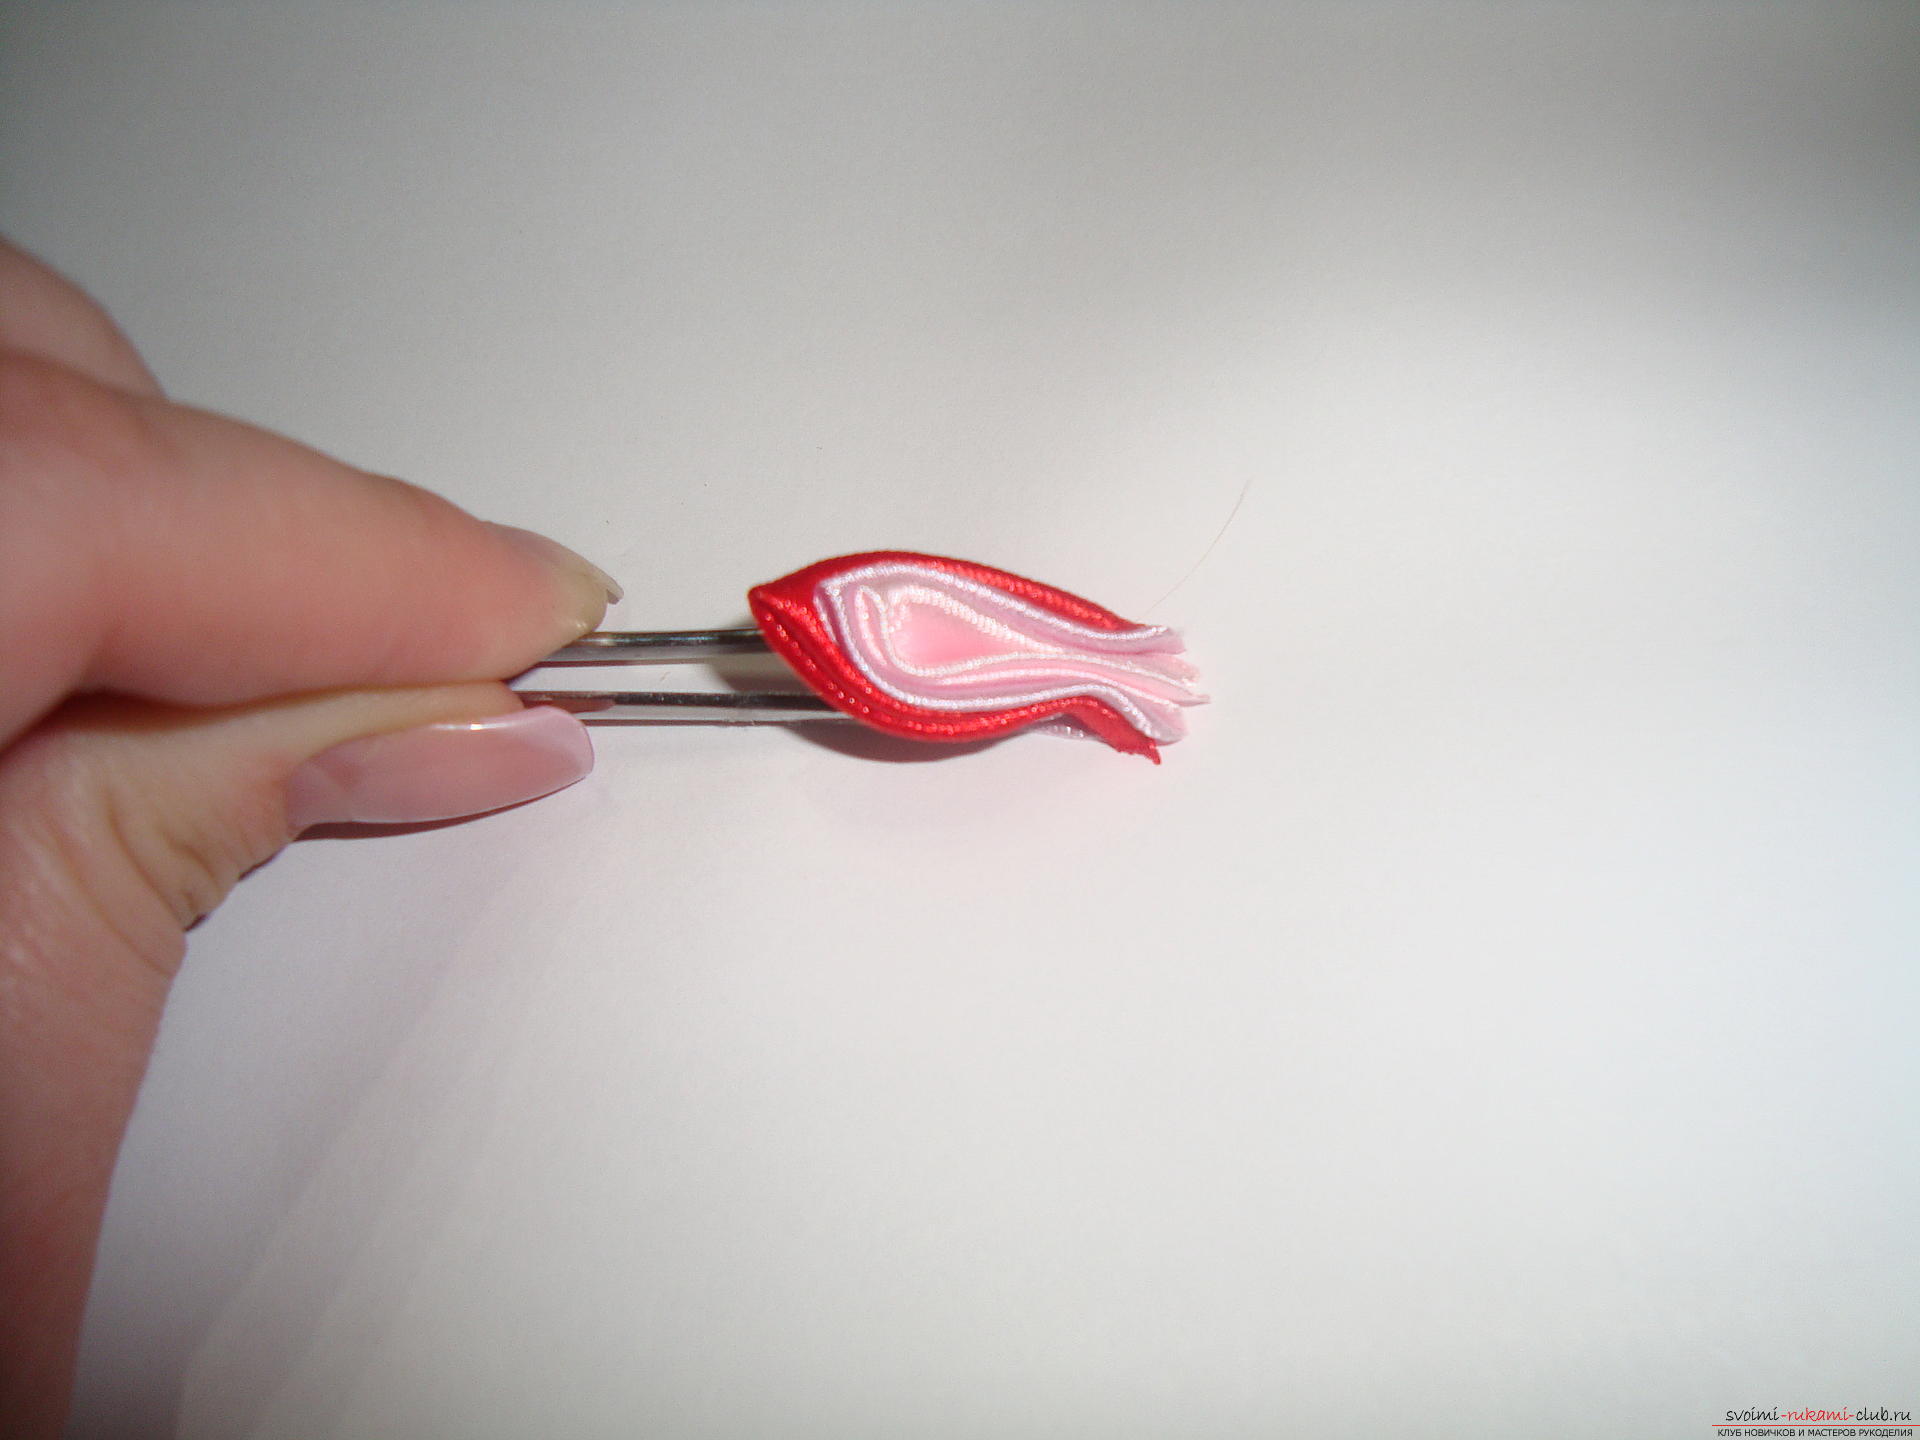 Now you need to fix the shape of the petal withusing a heated burner. The bent part lays sideways on the glass, is pressed by a ruler that is parallel to the bottom edge at the distance where the layers of all colors are. Cut off the bottom of the burner with the different level ends of blanks of all colors, creating a smooth base on this line, and soldering the entire satin with each other.
 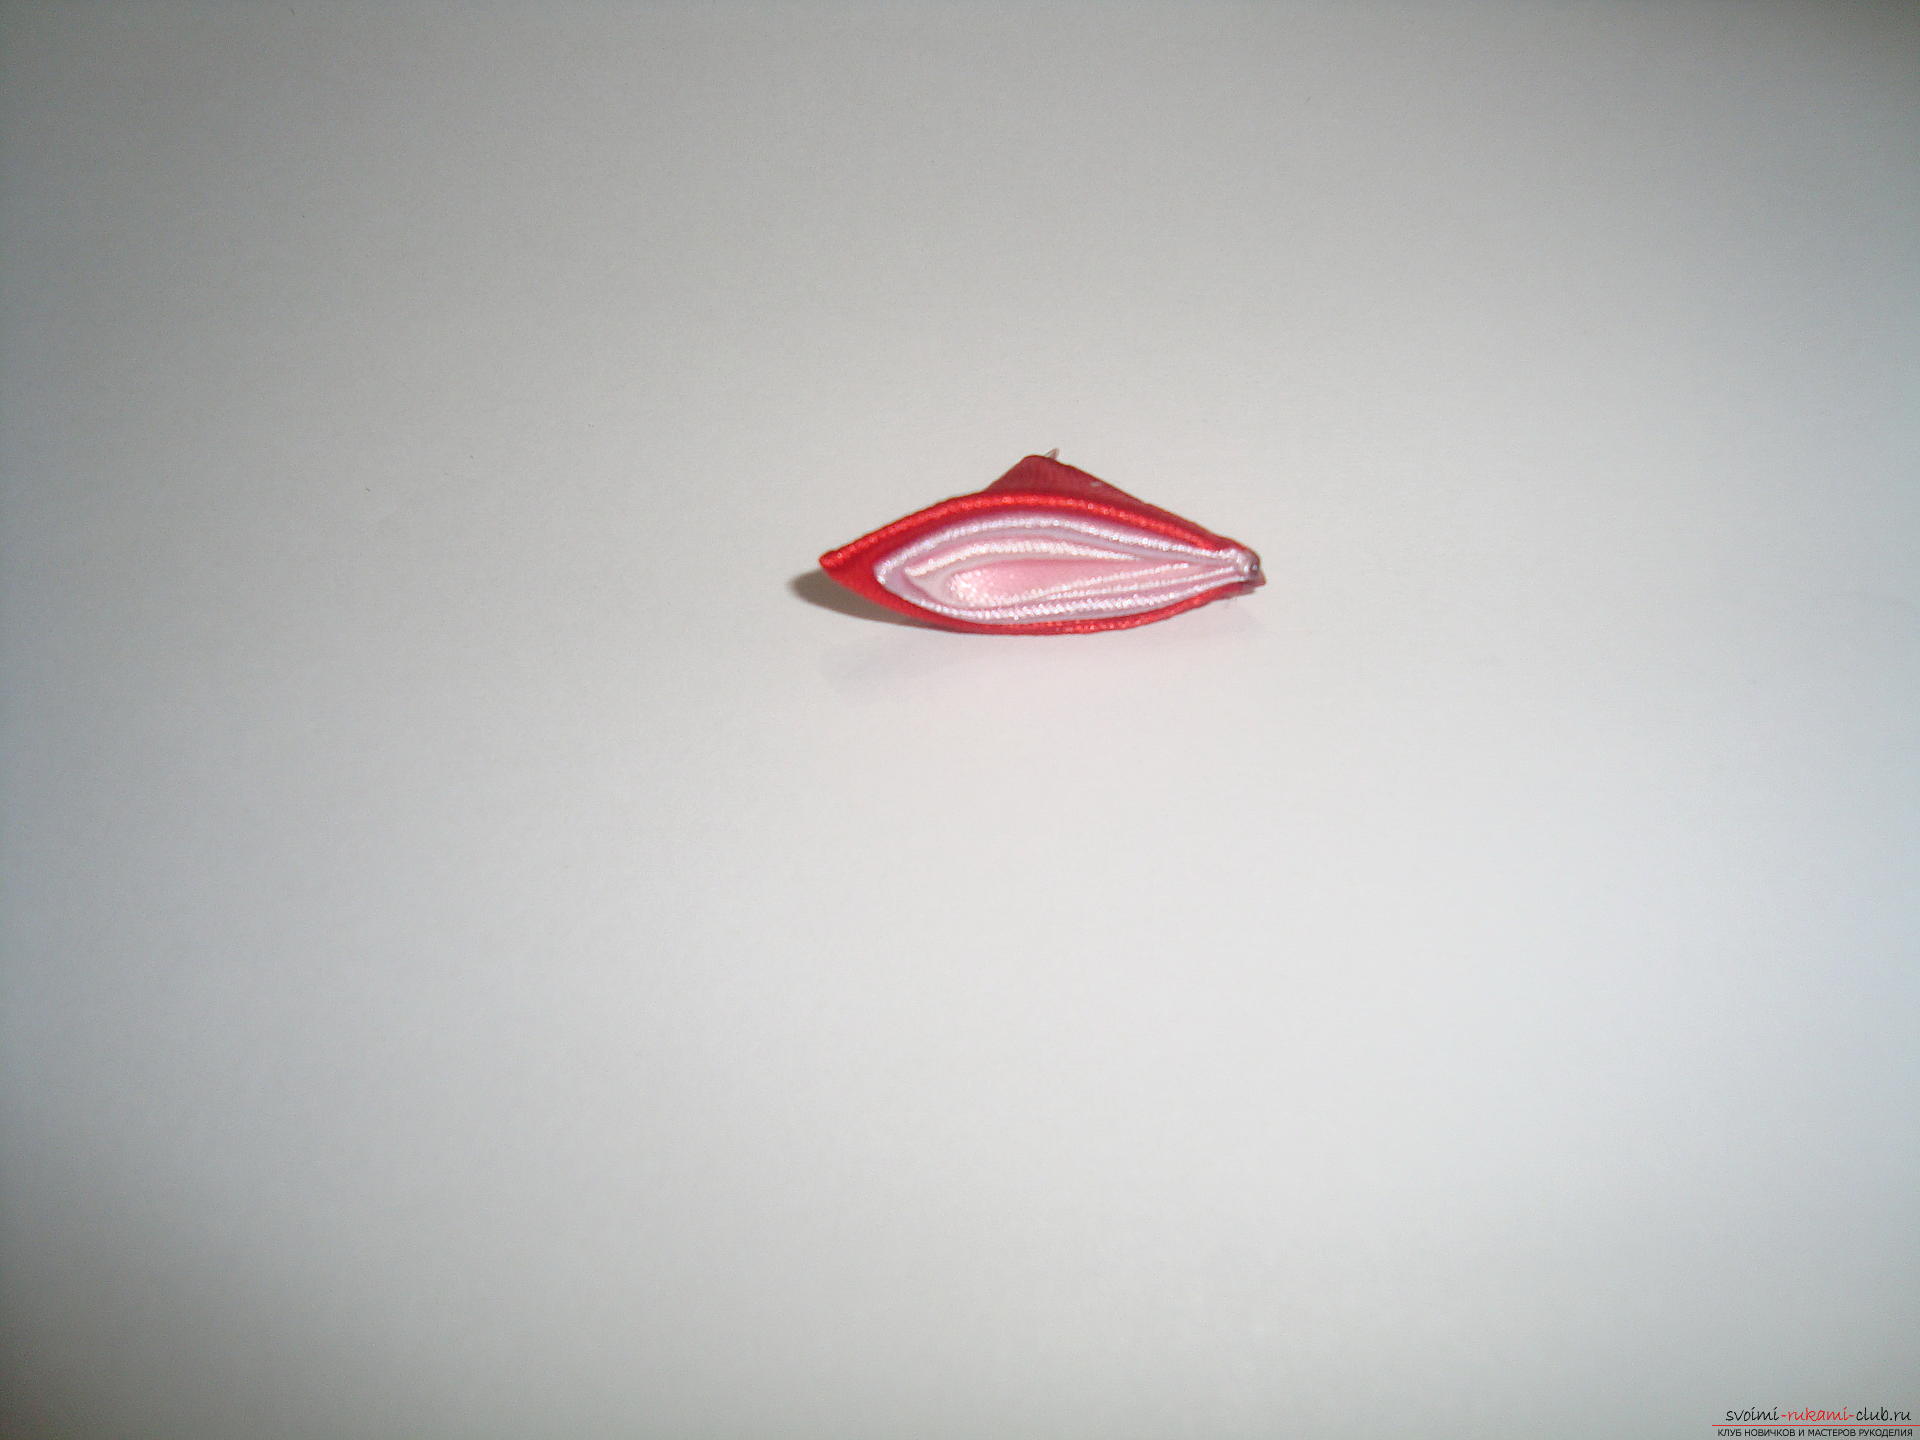 Make the necessary number of petals forthe bottom layer of the flower, and glue them on the rounded bottom. The diameter of the base is about 6 cm, and the petals go slightly beyond its edge, so the product's size will be closer to 7 cm.
 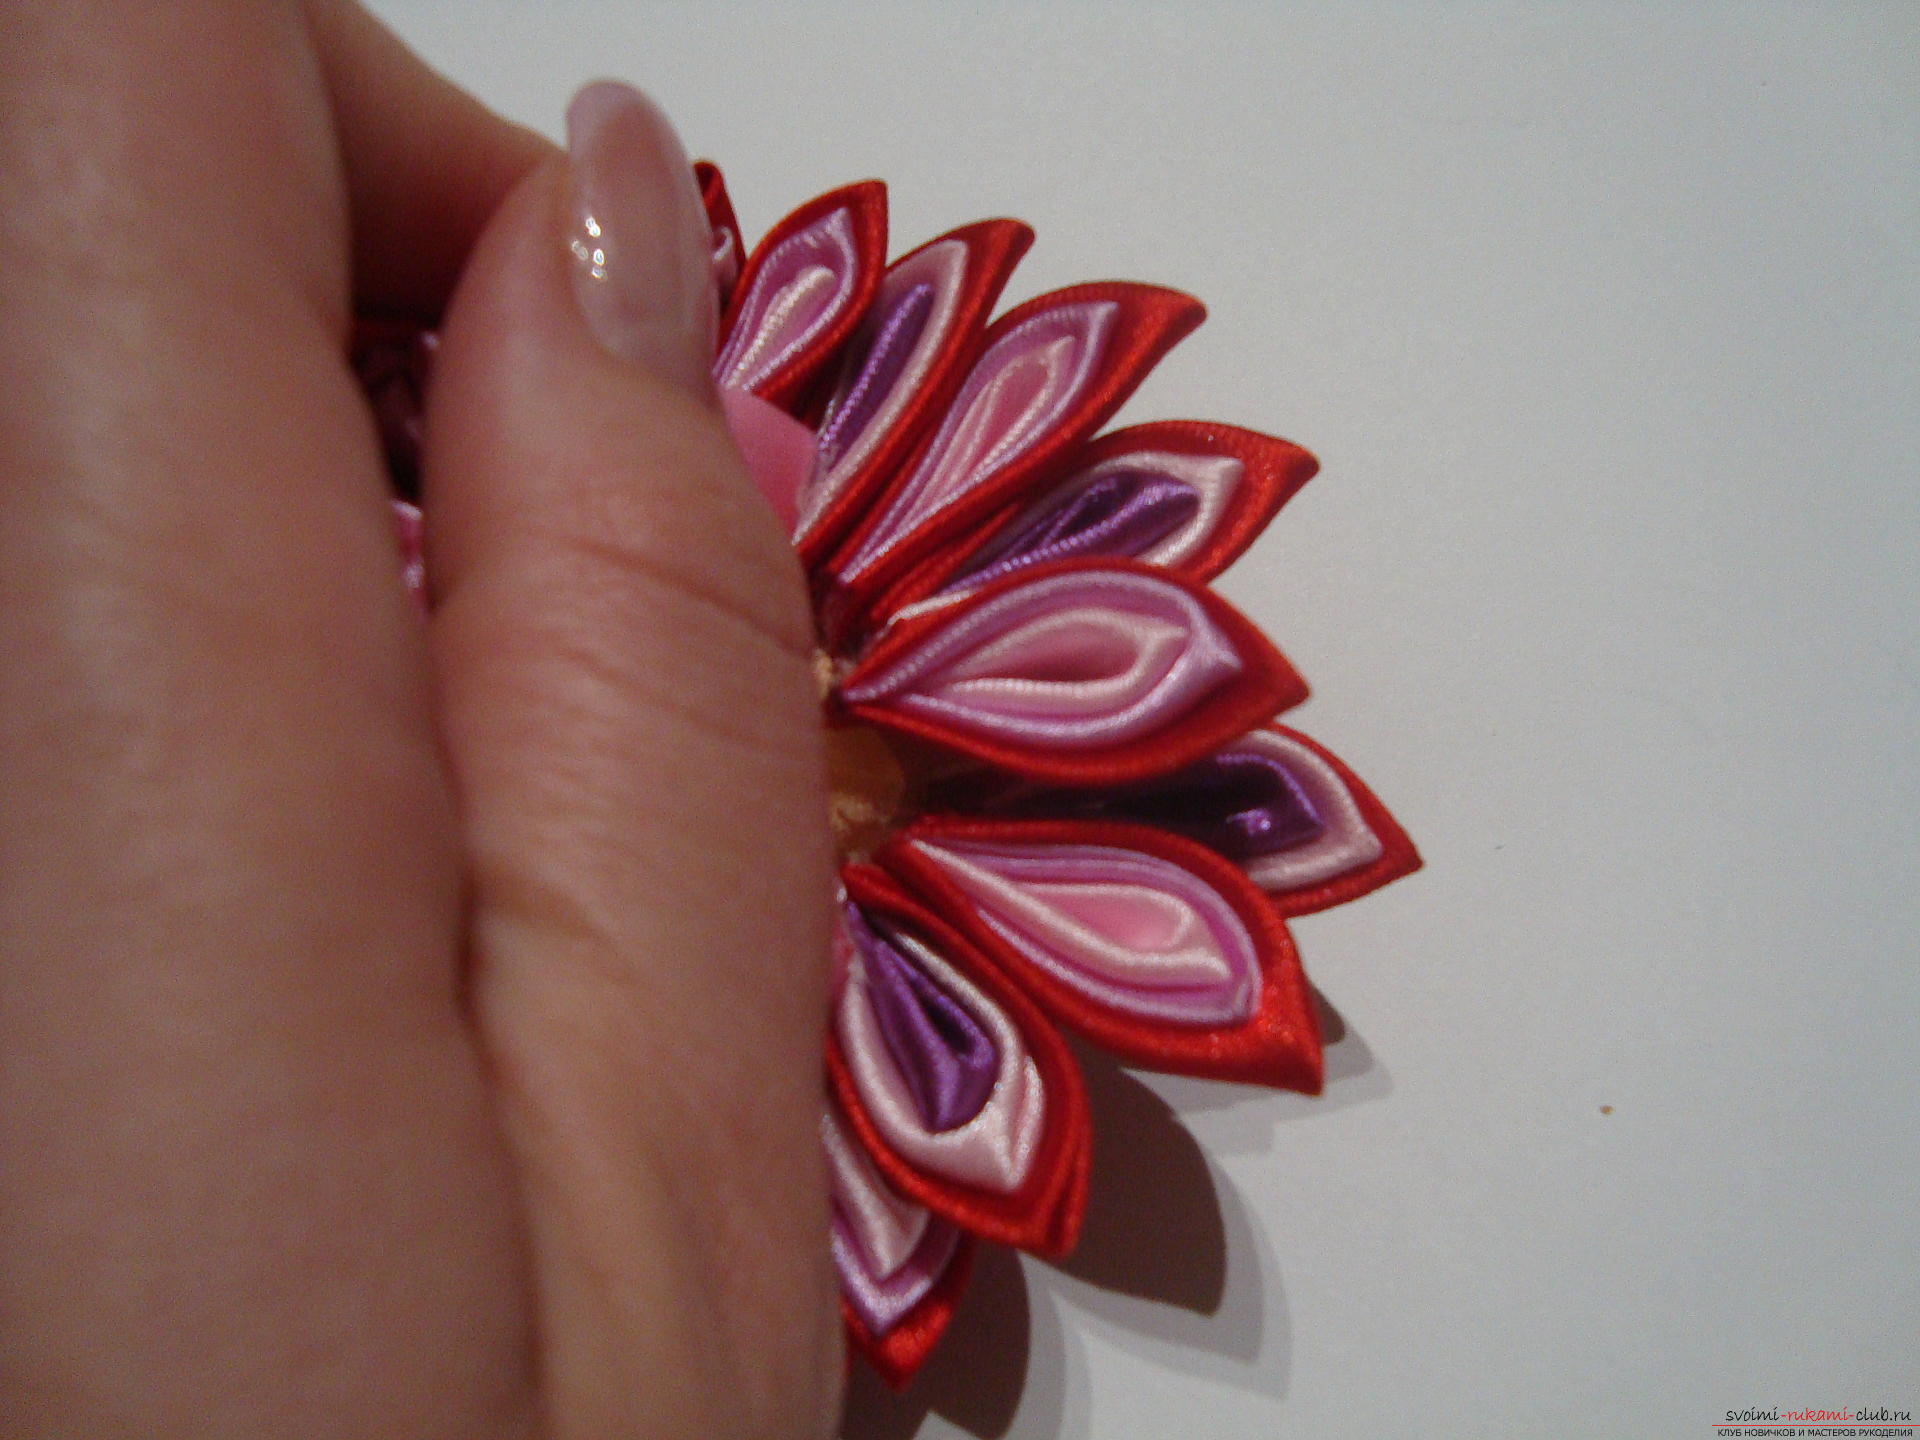 For the second tier of petals, create two-layerpetals of beige and pink satin. The technology of the folding of the petals is the same as with three-layered parts, but only two triangles are superimposed on each other, then they are bent in the center and the burner coalesces all the layers in the lower part of the blanks. For the top flower, you need 9 elements, first they are sewn with a thread in a single flower, you need to try to force it with a needle in the very extreme part of the base of the petal. When all the details are put on the thread, it is required to flash the first pair of petals for the second time and gently tighten the thread, forming a pointed flower. Spread the base of the petals of the second flower (inverted) and immediately fix it with the second tier above the first flower with three-layered petals. It is important to place the second flower strictly in the center of the lower tier.
  Decorate the middle of the product with an unusual bright orshiny element. The side part of the flower is decorated with a twig of two petals. These parts will require rectangular blanks with a width of 2.5 cm, the length of one rectangle 7 cm, the other 6 cm.
 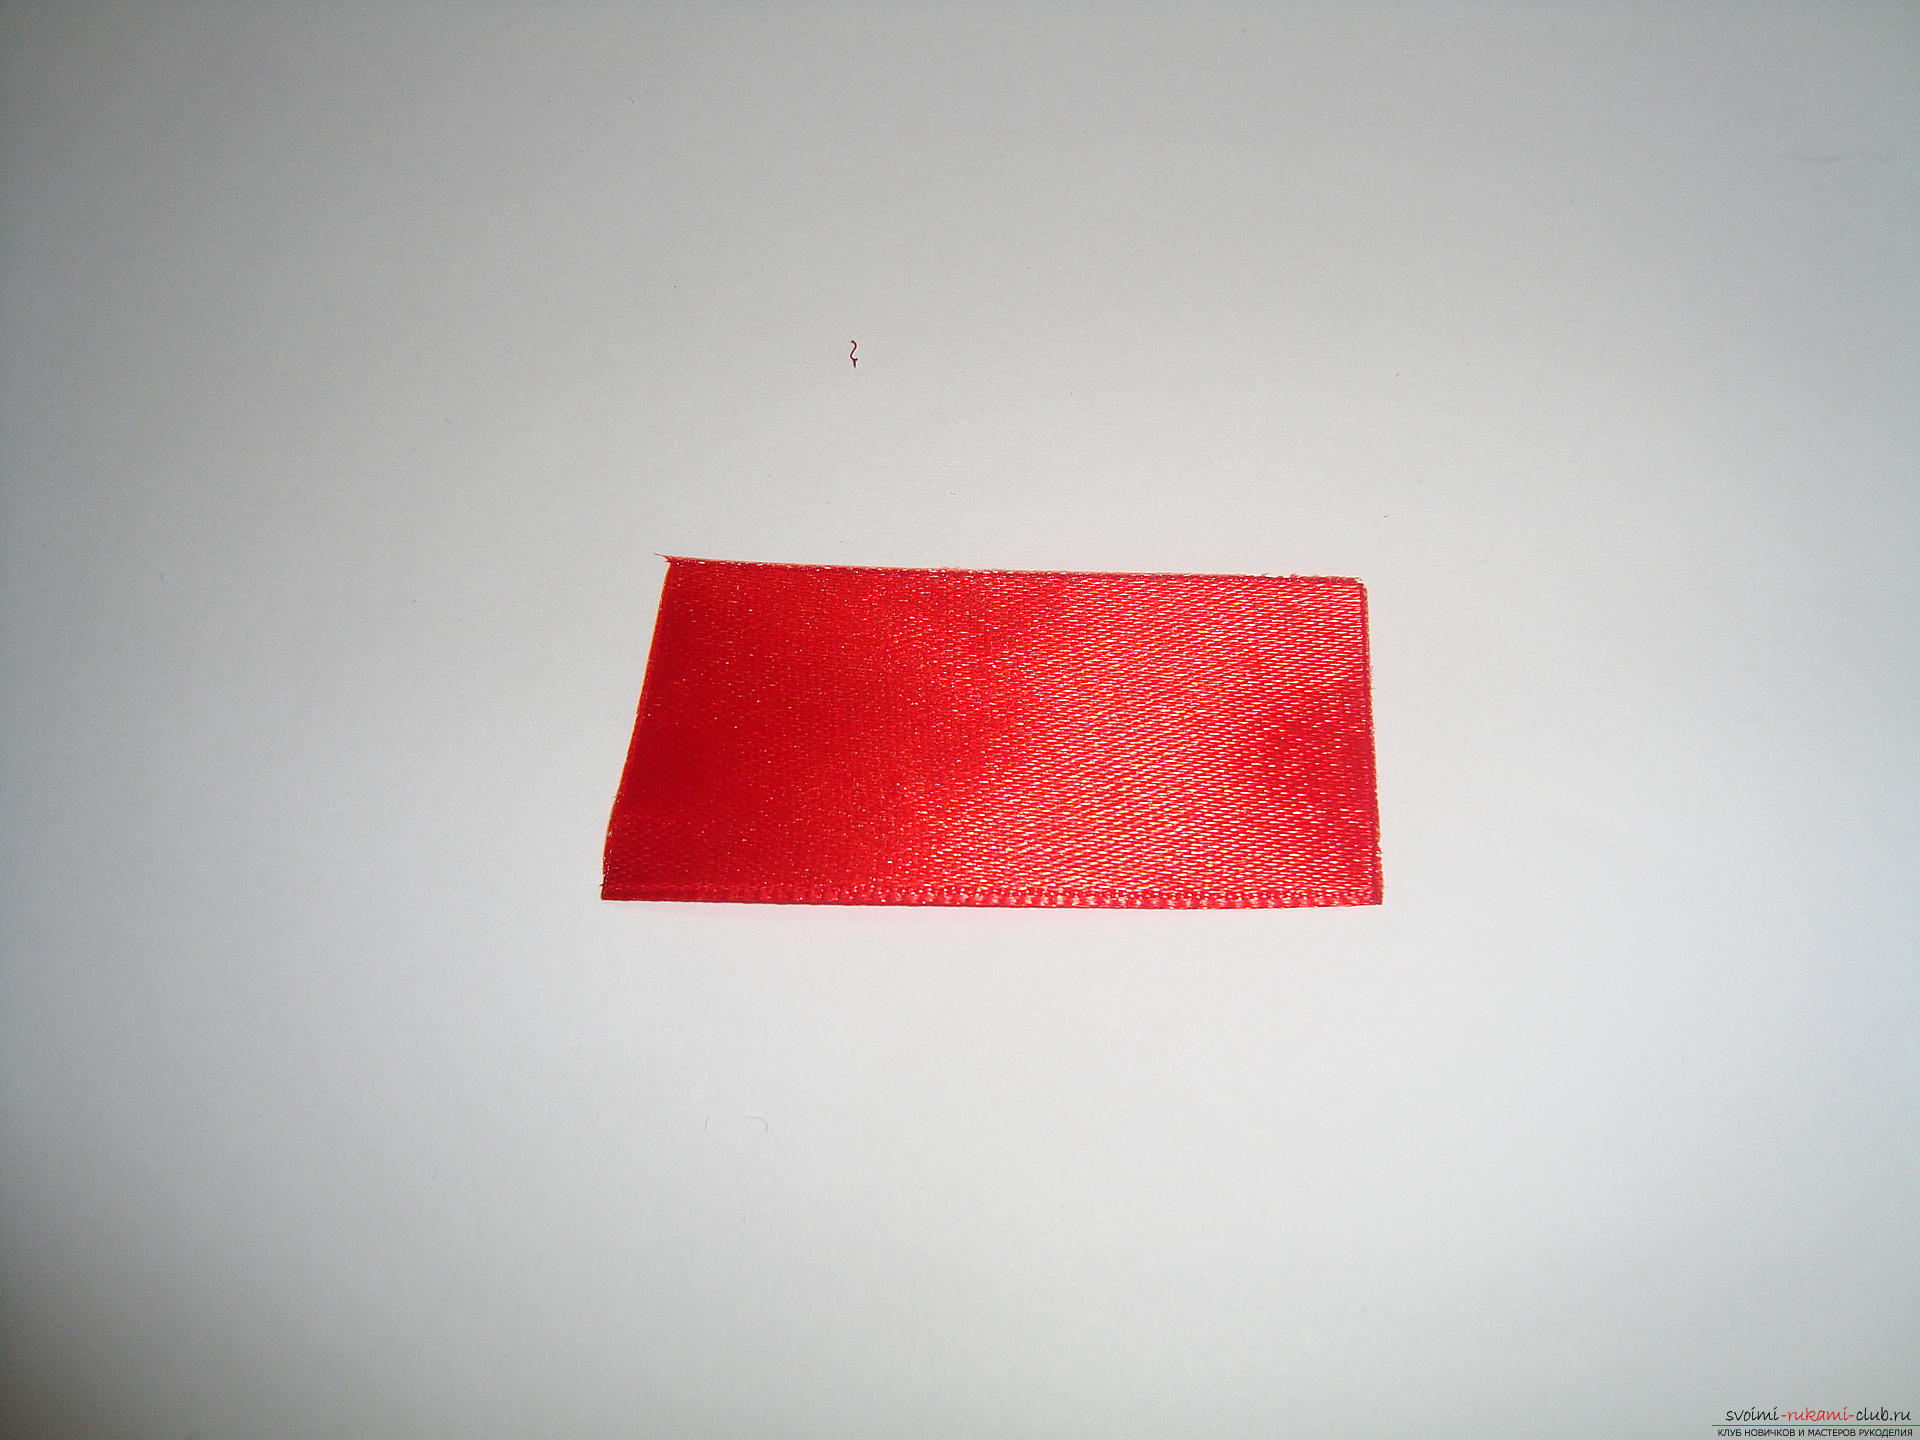 Bend the rectangle along the center line so that the satiny smooth side lies outward.
 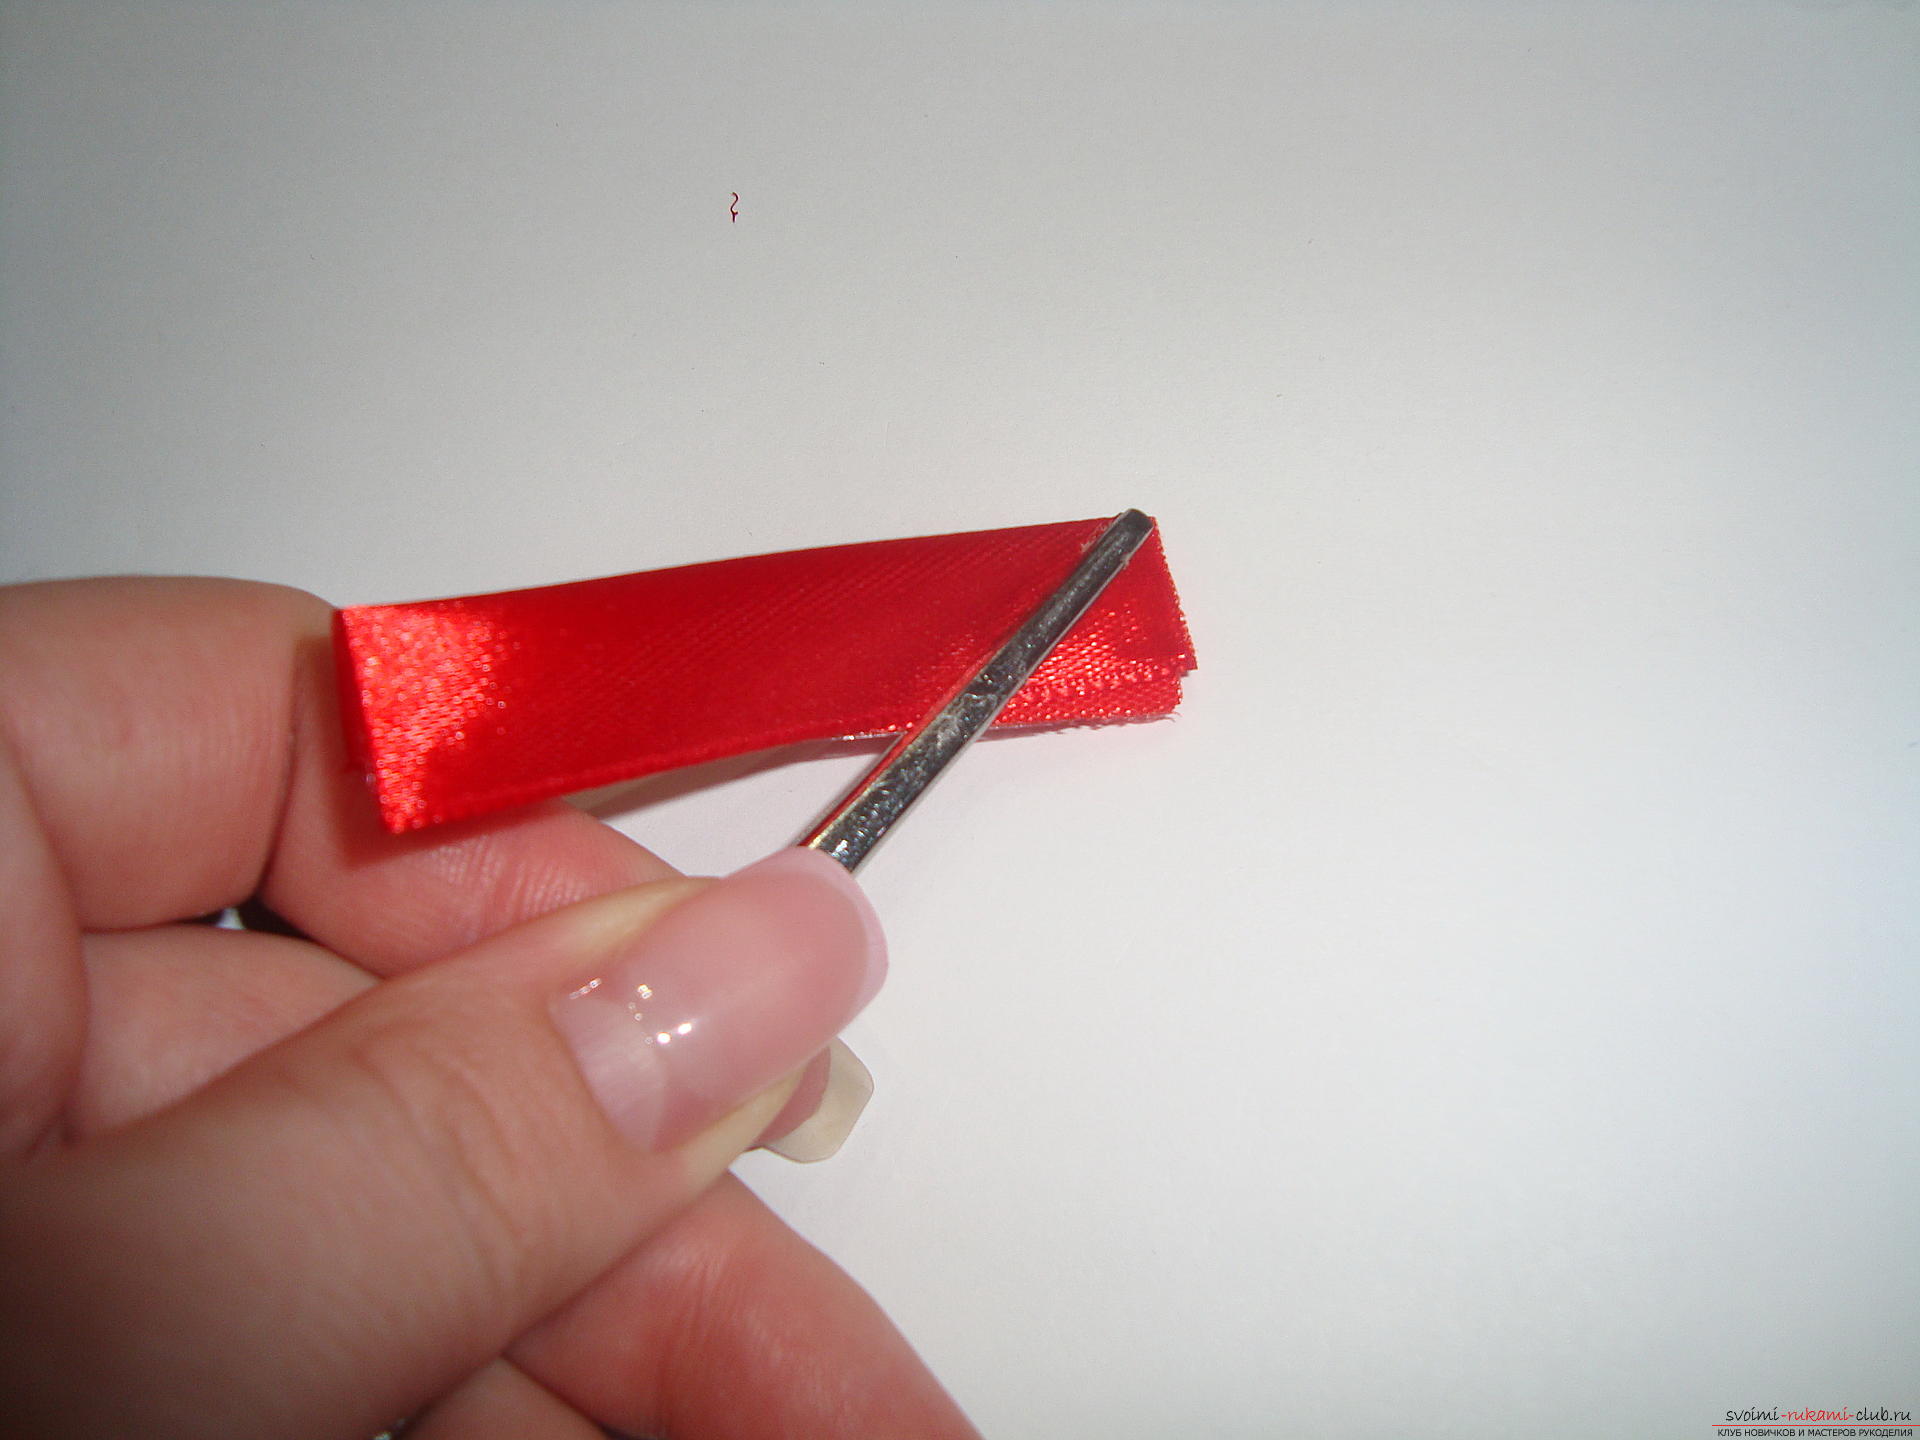 Attach the ruler to the top of the workpiece at an angle of 45 degrees and cut off the angle with the heated burner.
  Straighten the workpiece so that the cut end is laid downdown, and the smooth satin was up. At the bottom of the part, it is required to make bends that will give the desired shape to the elements. Both bends have the form of a wave and are mirror symmetrical.
 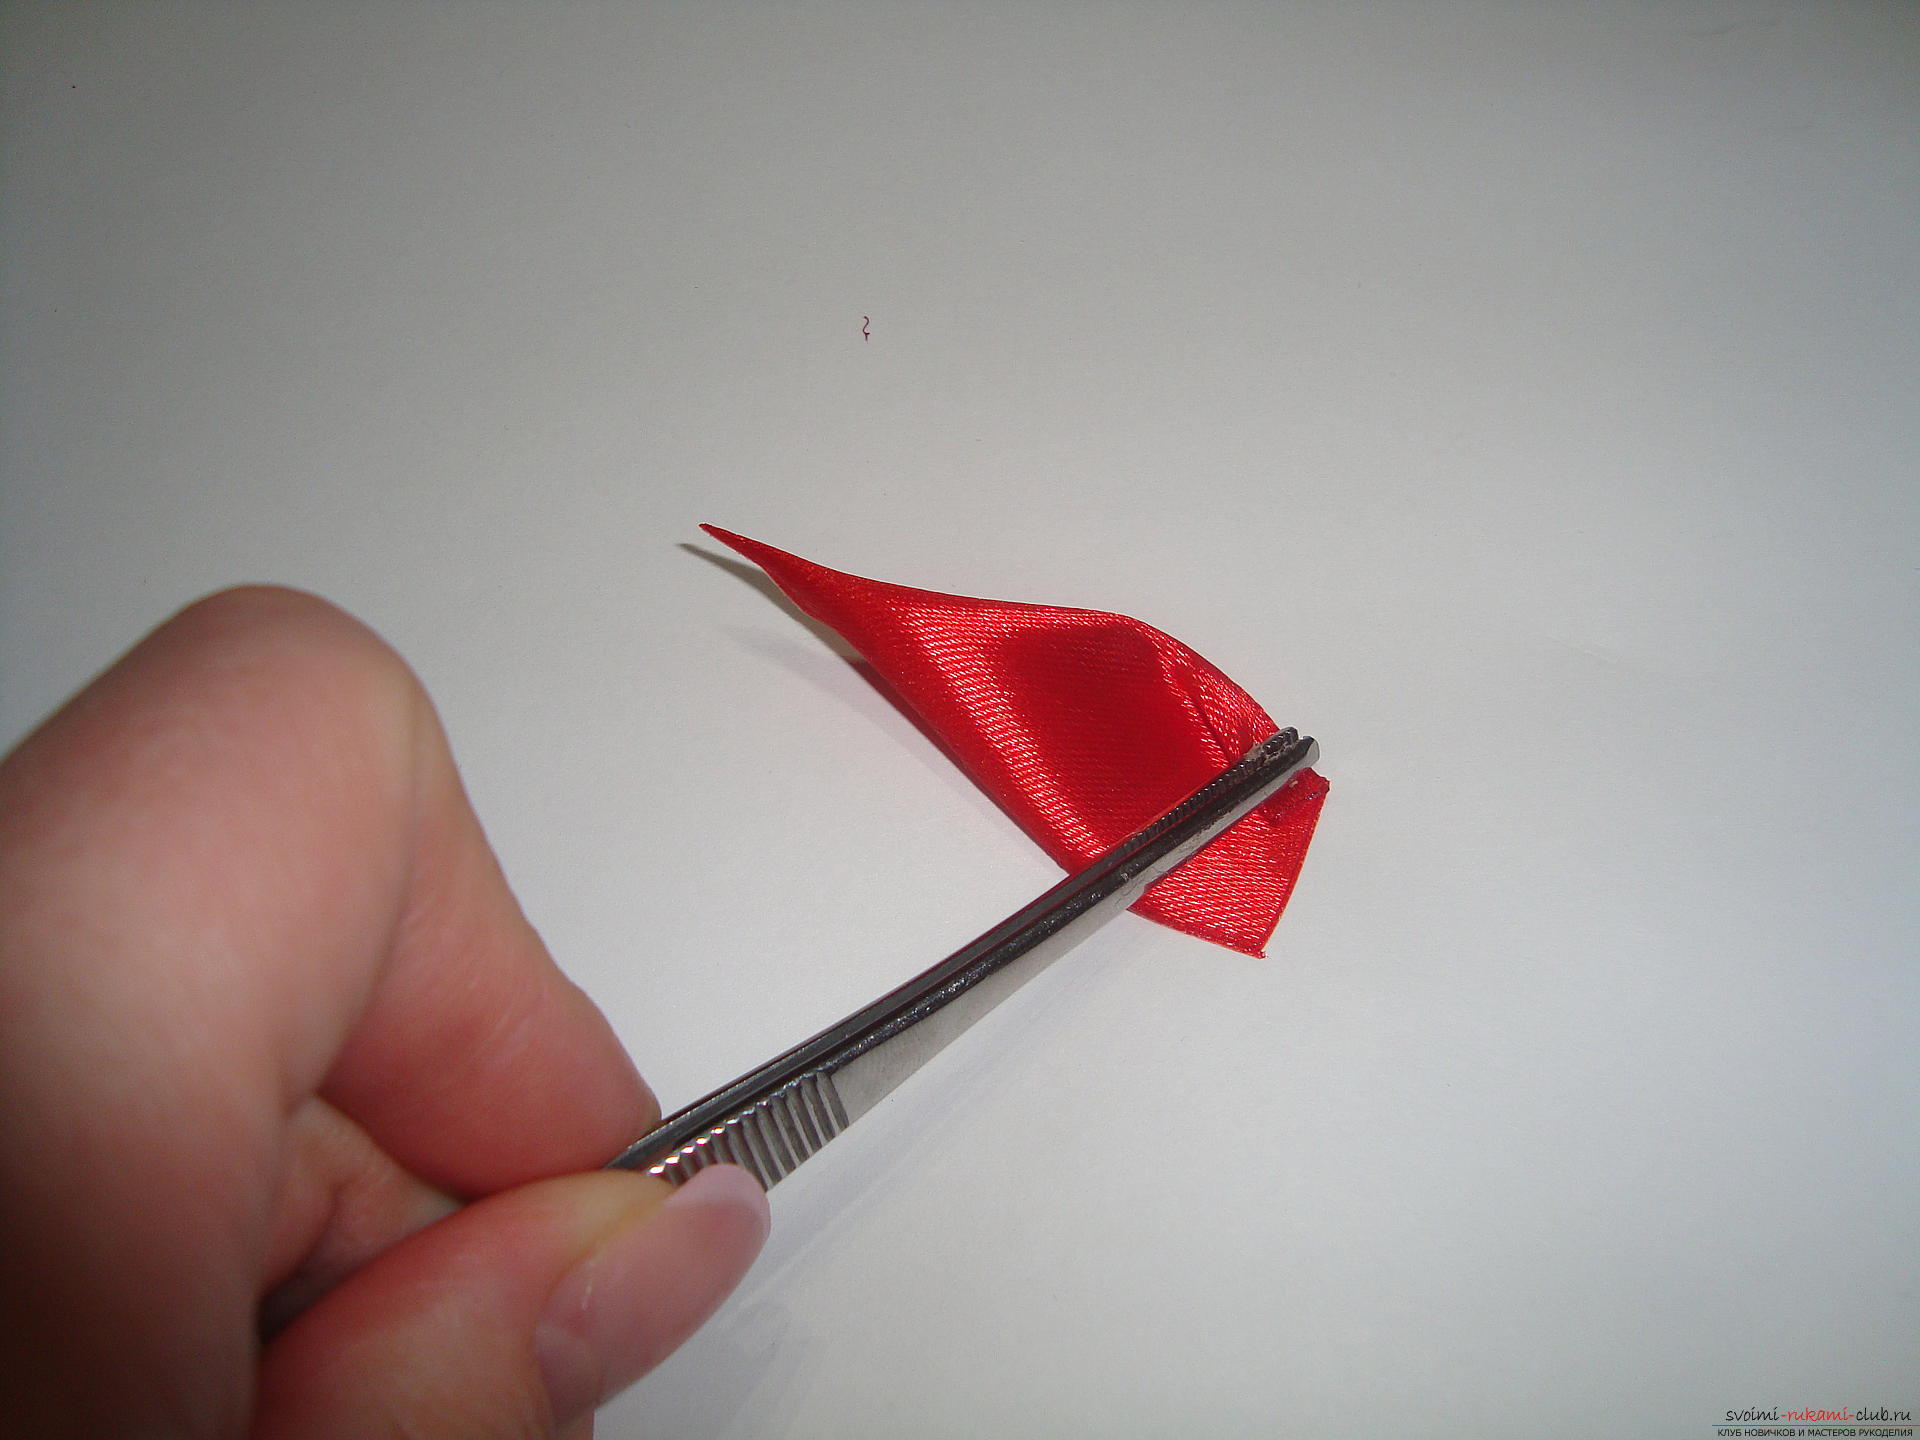 The base of the element is soldered by the burner, so that the petal takes its final form.
 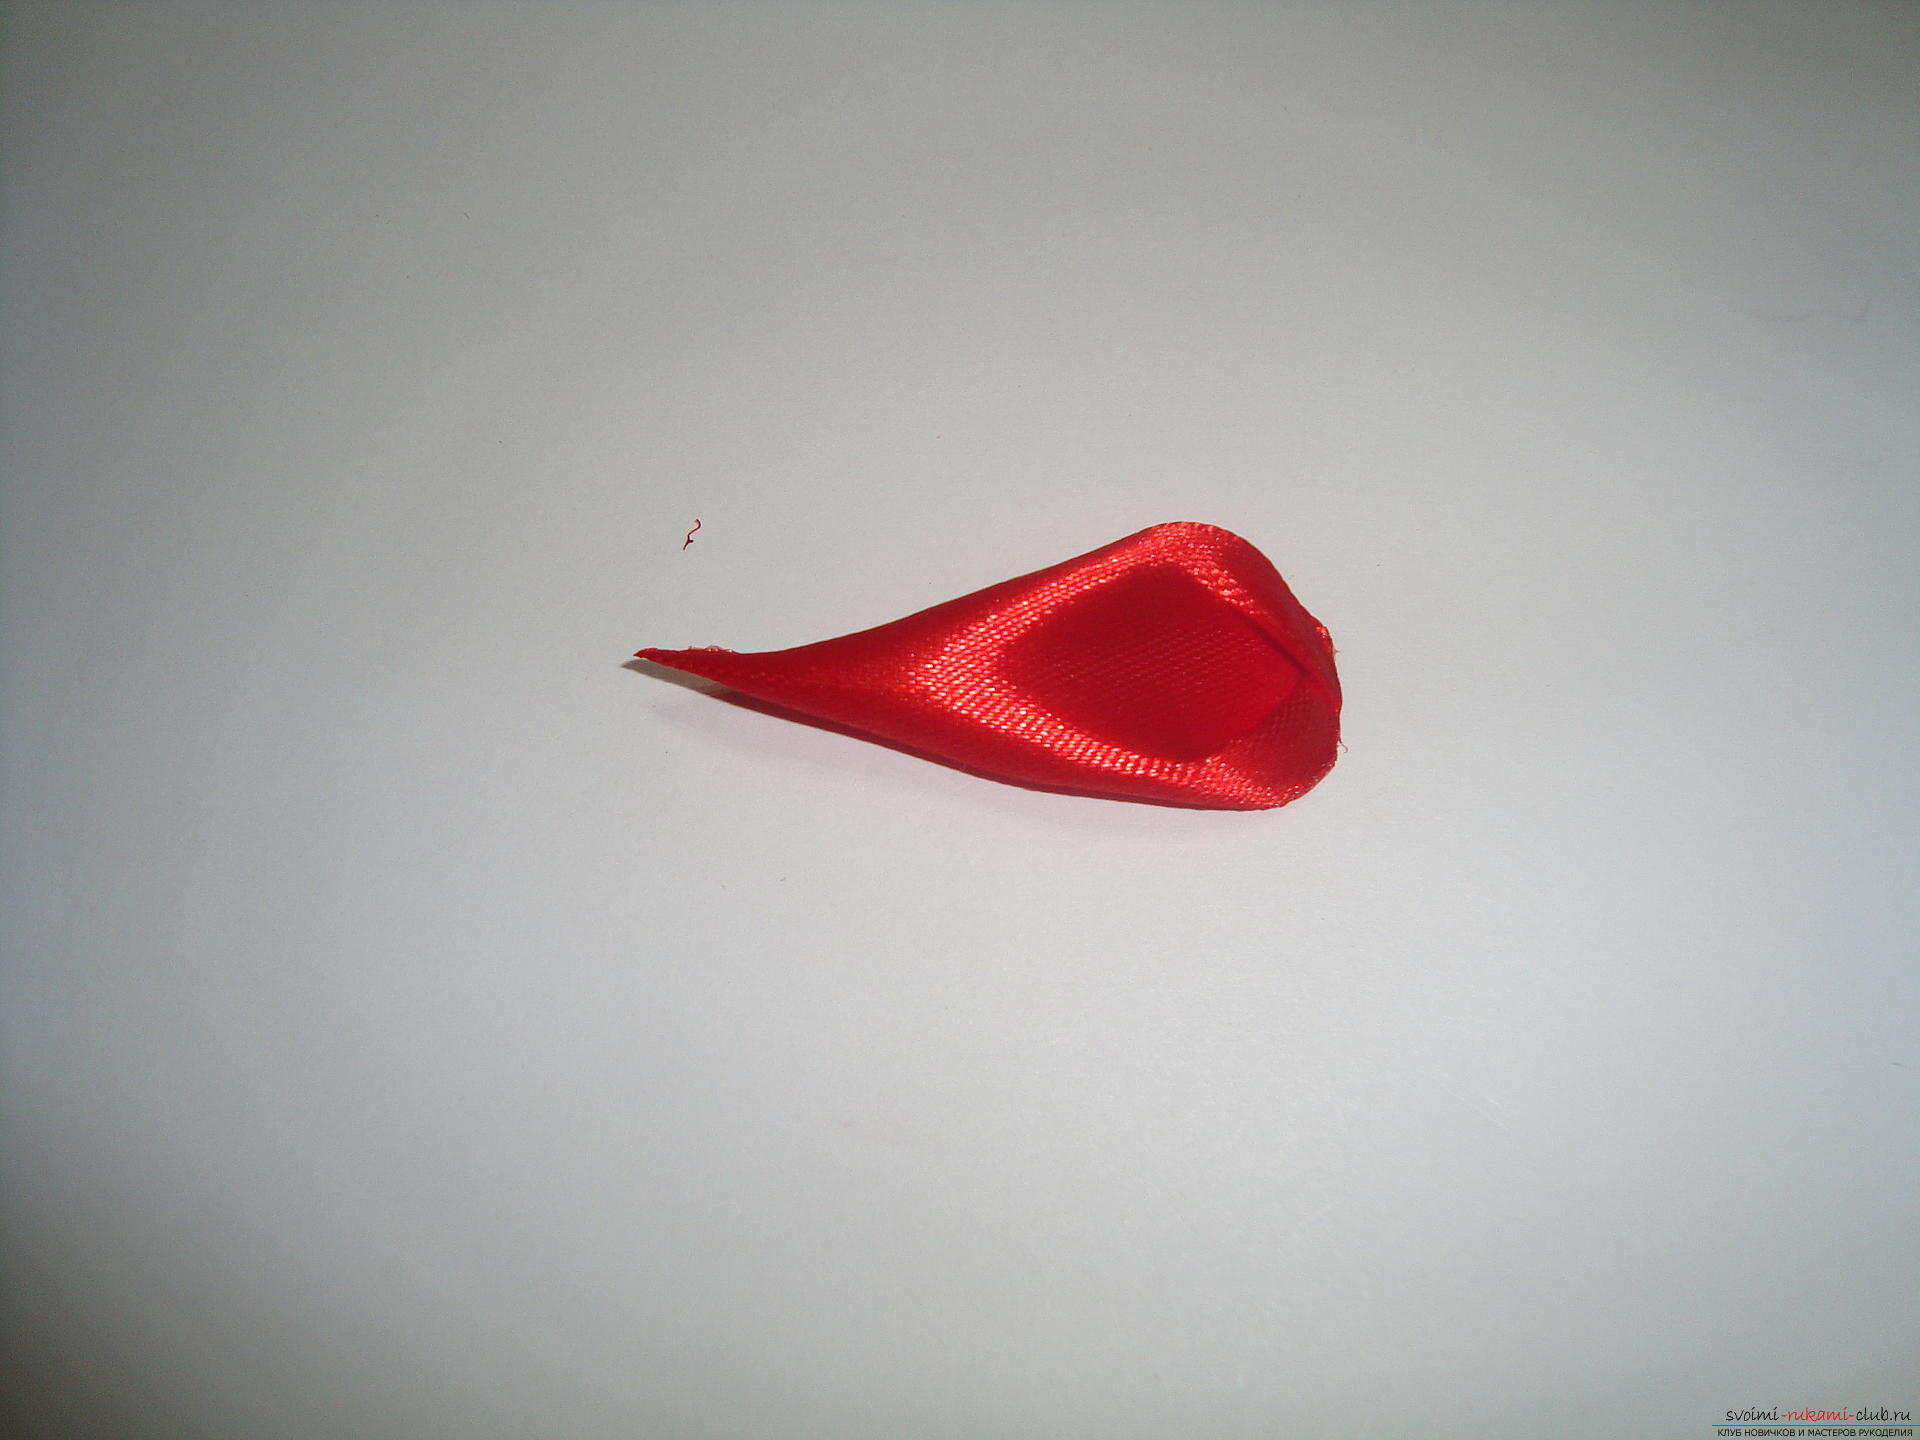 Two details in the form of elongated petals gently glue together and decorate them with the side. The branch of the branch and the flower must be supplemented with single-layered red petals.
 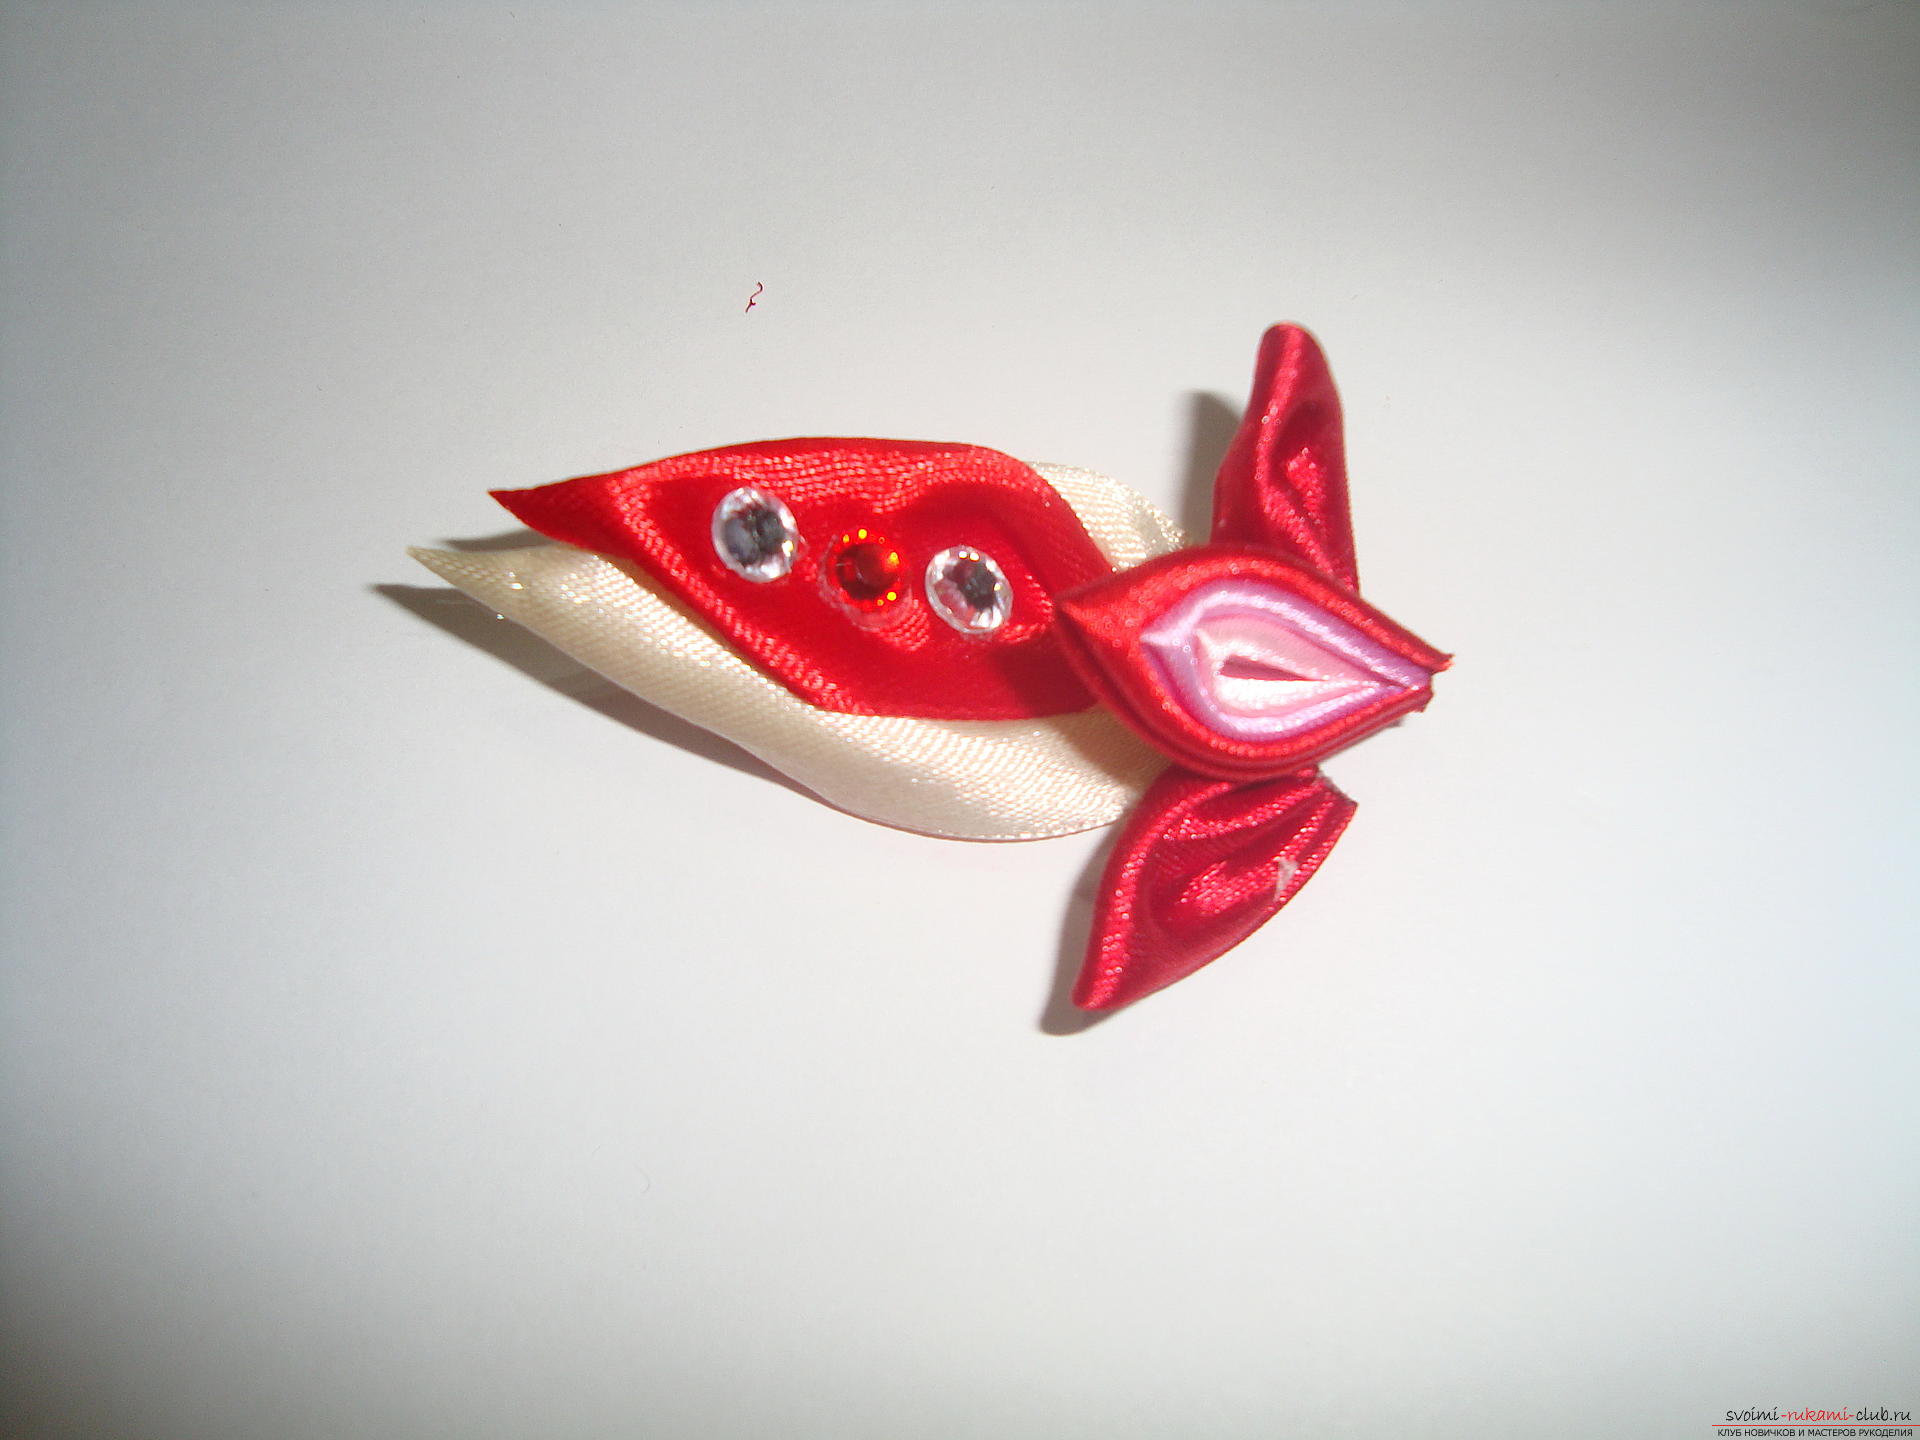 Turn the work to the back of the baseglue a clip of the appropriate size. If you decorate the flower with a clasp, then place its narrow long part under the branch to hide the point under the satin. A hairpin with a charming flower in Kansas technique is ready to decorate your hair or chop your hair down. Delicate overflows in pink color look great on white and fair-haired hair.