Clothing for the pug with your own hands, which can be sewn on patterns and without them. Photo of ready-made clothes and instructions for its manufacture.
Dog owners know first hand how important it iscorrectly and in time to choose a wardrobe for your pet. During the onset of cold weather, many breeds of dogs need to be insulated with specially designed overalls. You can buy clothes for your dog in any store that specializes in such products, but self-made clothes have a number of advantages that can significantly influence your choice in favor of making the necessary wardrobe by your own hand. 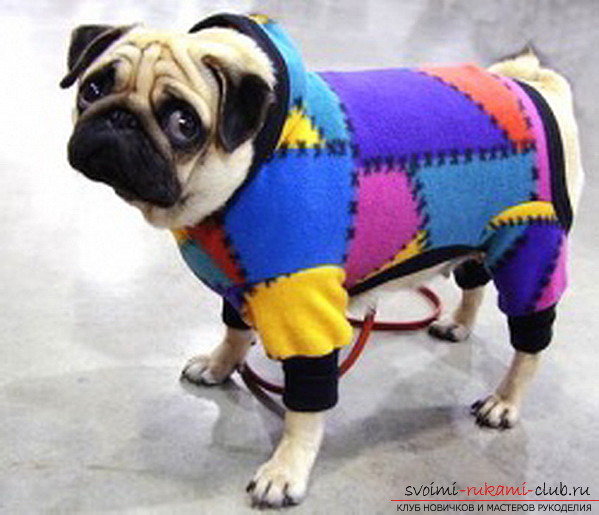
- Clothing in the stores for animals is quite expensive, and making it yourself can be spent significantly less money.
- It is possible to use materials that are available at home or cutting and sewing clothes from old, for some reason not necessary things to you.
- Selection of fabrics and materials at will, taking into account the characteristics of your pet.
- Removal of measurements directly from the dog, which will ensure that it is comfortable wearing a hand-made wardrobe.
- The most important thing is that the love and care that you put in sewing individual things for your beloved dog will warm it warmer than any fur or sintepon.
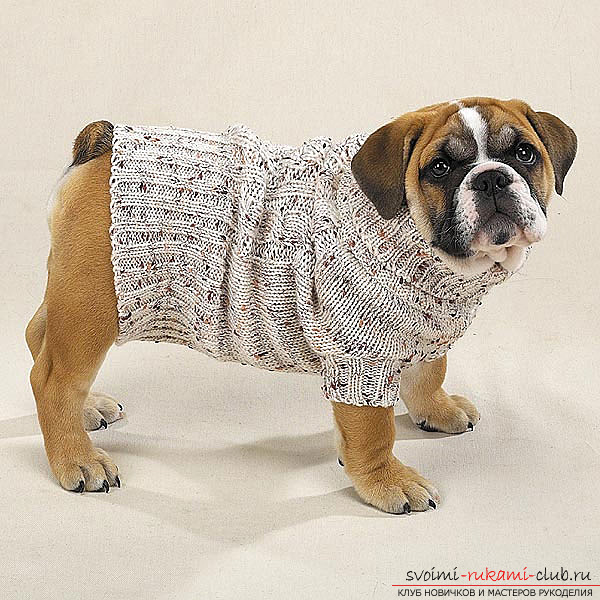
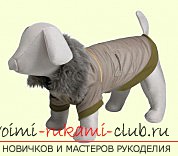
Coat trimmed with fur for a pug
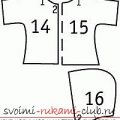
So, what will it take to sew such a coat to your pet? 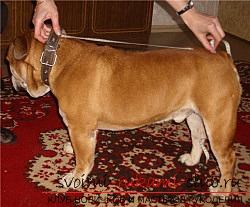 To begin with, we will remove the correctmeasure. We measure the length of the animal's body, the volume of its chest and forelegs, and the height and width of the chest. Now, after making all the necessary measurements, we make a pattern that will consist of 5 necessary elements.
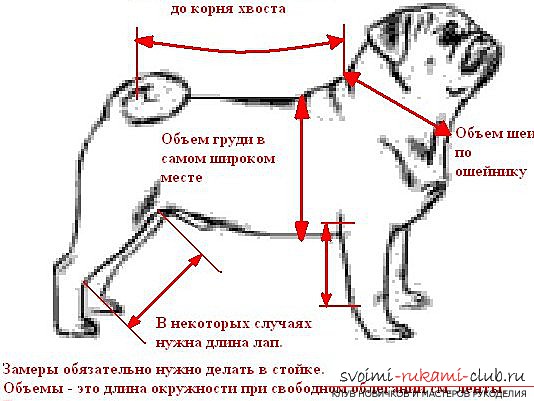
Also need a tape of fur when finishing the lower part of the coat and 4 pcs. ribbons made of fur for finishing on sleeves. 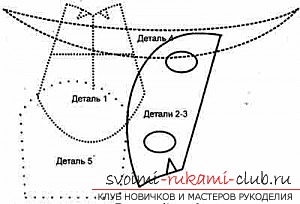 We make a pattern, taking into account 0.5 cm for the allowances.
Materials
Such a coat can be made from any chosenthe main criterion of which is density. For lining the best option is a layer of fine sintepon. The lining can be used from any natural fabric, categorically avoiding synthetics. For finishing will need artificial fur. In this case, a fur with an elongated pile is chosen, but it all depends on your desire. Also prepare the buttons. 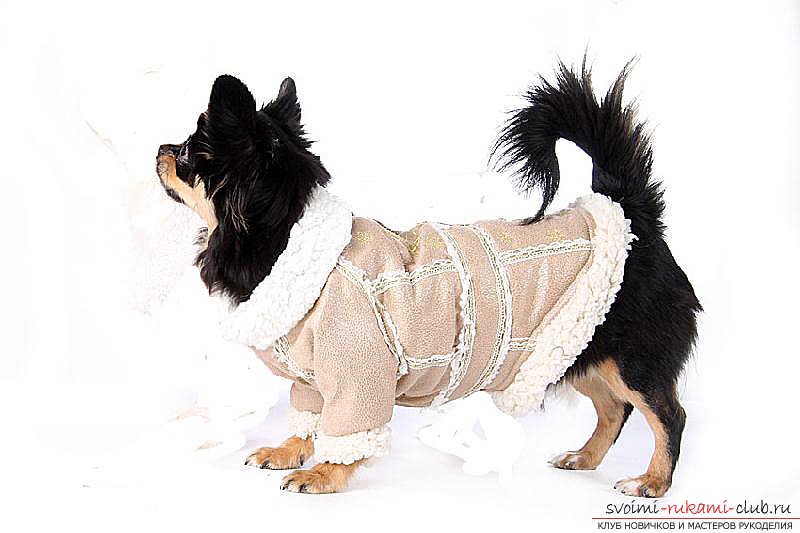
Getting Started
- We begin the process of working with the executionsolid back. We make the necessary taps. We make stitching of bilateral taps. We process the darts with the iron with the direction of the element of the backrest part to the center.
- Now you need to sweep the fur band, designed for finishing. This is necessary so that the fur on the edges does not crumble. A manual tagging will be enough.
- The finished tape is sewn to the bottom edge of the future coat. Also do it manually.
- Next, we proceed to the manufacture of shelves. We take the fabric chosen for a coat and sew on it darts. The right shelf and back are folded face and sewn together, then the same thing again with the left shelf. The workpiece is ready.
- The cuts of the skirt and both shelves need to be stitched in the next step.
- We process the collar. First you need to fix one of the elements of the collar with a gasket on the glue base. To do this, the usual detail of the collar is added together with it, after which they must be sewn along the line of the upper cut. Pin the collar, which you need to sweep to the coat.
- We prepare the sleeves. The lower edge of the sleeve is hand-worked using a blind seam with a double hem. To the outer edge of the sleeve sew, pre-swept band of fur. In order to stitch the side cut, the sleeve is turned out from the inside out and we make the process itself. The same is done with the second sleeve. Sleeves alternately sewed into the workpiece of the future product. At the junction of the sleeves and armhole, you can sew the remaining ribbons of fur.
We proceed to assemble the harvested elements of the coat
We assemble all the parts from the synthepone in such a waythe same way as the main fabric of the coat. Except for one nuance. Darts in this case do not need. A similar assembly of all parts from the lining fabric is made again, as from the basic material, only the collar is not processed here. In the complete assembly of the product, we perform the following actions:
 Cute little coat for your petcompletely ready. If desired, it can be decorated with applique or any other decor. But the most important thing is that your favorite pug can now enjoy walks in the fresh air in any weather!
