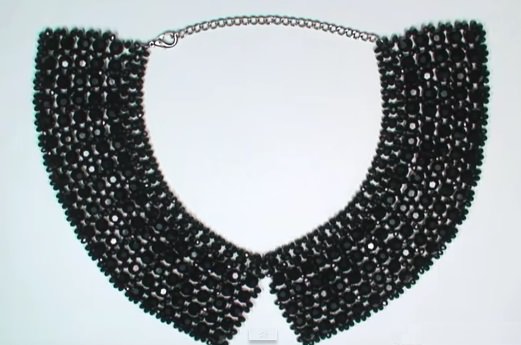
Collar of beads with your own hands in master classes (video)
Content
- Chic collar of beads by own hands
- Video: Shamrock shining bean collar
- Openwork collar of beads
- Video: The lesson of beading of the openwork collar
We begin our journey into fairy and magicalA world of beading, which does not cease to fascinate with its splendor and variety. Each person who owns this handicraft can, if desired, make both beaded flowers and trees, as well as ornaments.
Ringlets and brooches, necklaces and necklaces, bracelets andEarrings constitute an incomplete list of jewelry, which will help make beadwork. But other than this, it is possible to perform some unusual things, like a crown, a bezel and even a collar of beads. Now we are going to talk about how to make an accessory like a collar with your own hands, by beadwork and beads, and decorate your dress with it.
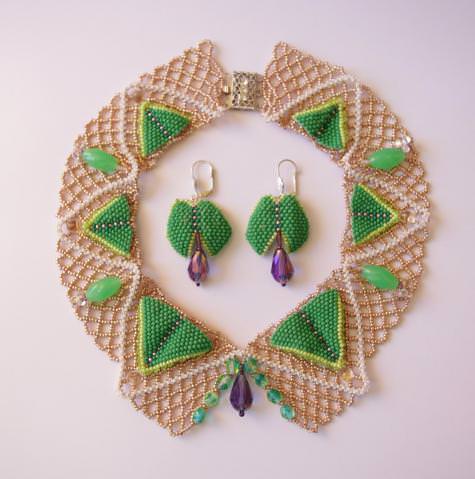


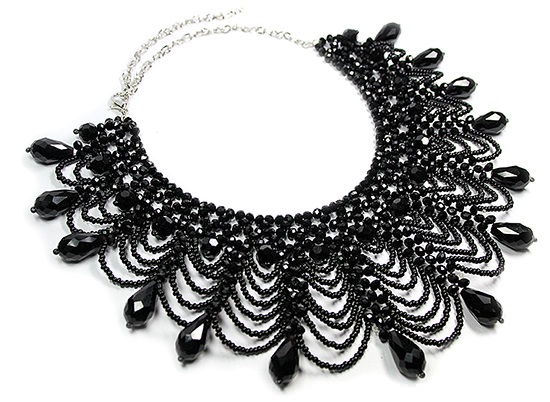
Chic collar of beads by own hands
We start the master class with the necessary materials and tools:
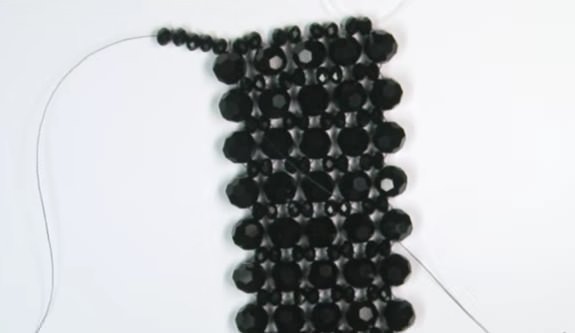
So, let's get started. Such a collar is very easy to weave, you do not even need a circuit. This collar consists of three parts, the base and two halves. For the halves we will use beads of two sizes: 8 mm and beads 3x4 mm.
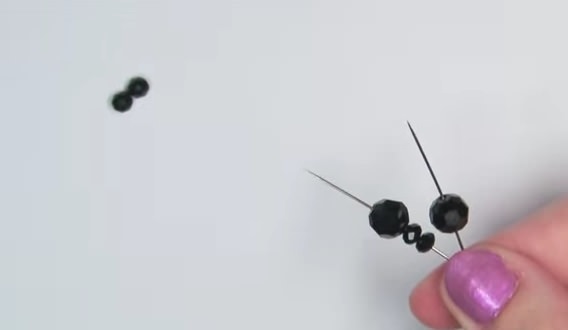
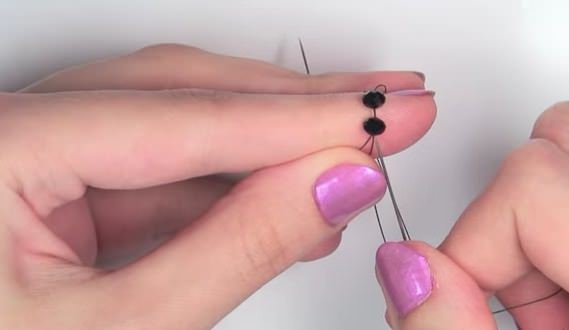
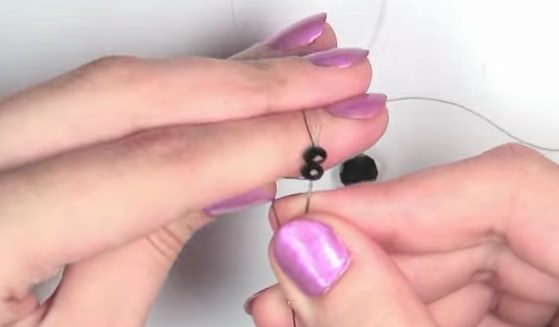
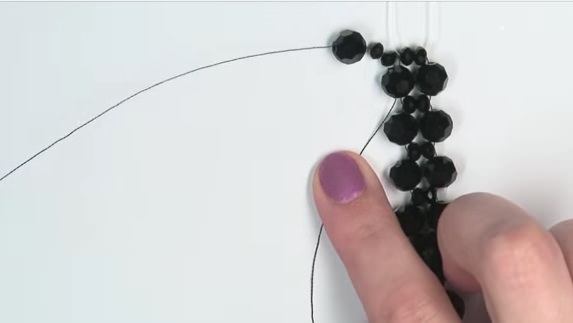
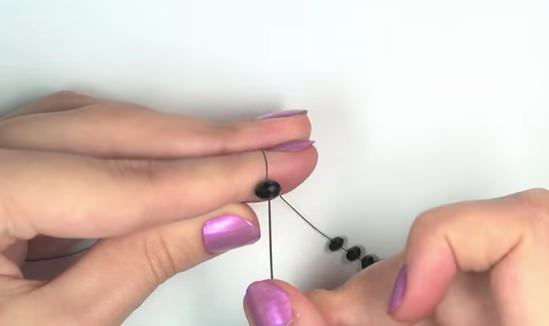
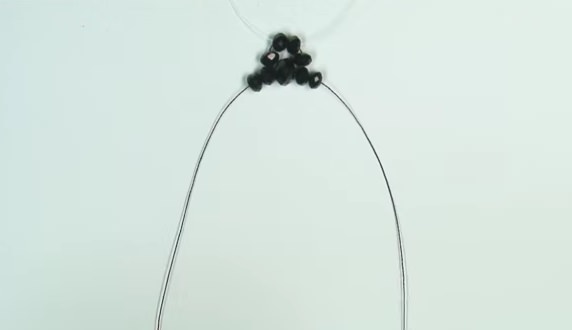
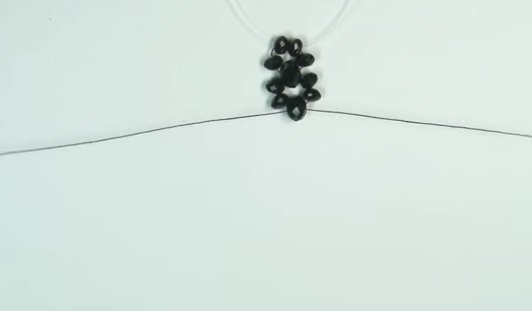
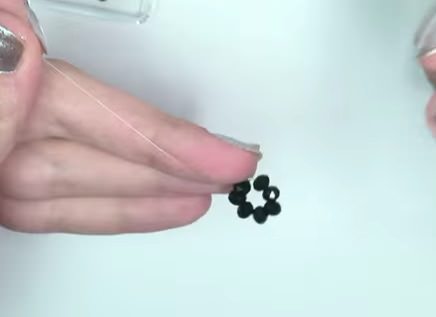
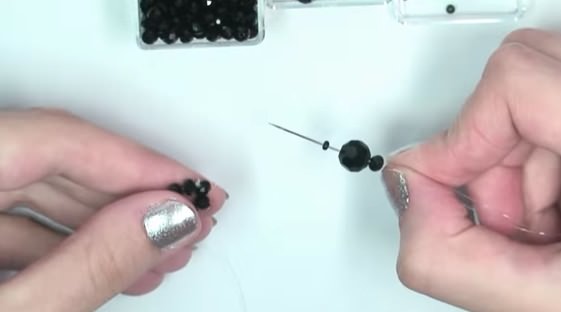
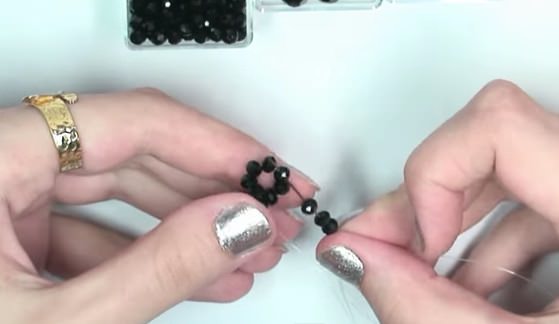
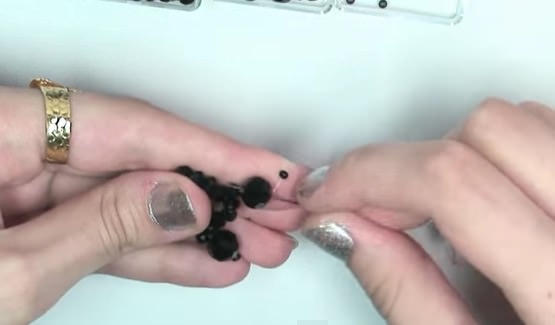
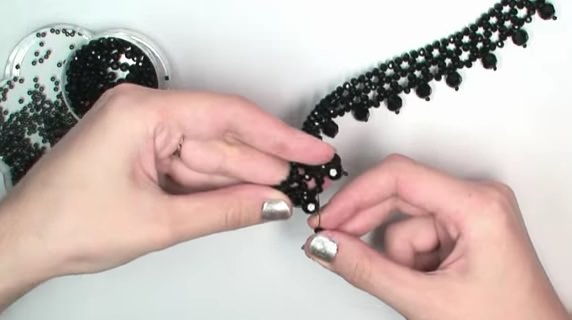
We take the meter of the thread, and both its ends areNeedles. String on a needle two beads and one bead 8mm, and on the second needle only a bead 8mm. We move them all to the center of the thread. Next, take two beads and pass them with needles from different sides, also moving down the thread. These beads play the role of a stub for everyone else. We will have a figure where the top and bottom are made up of two beads, and on each side there is one large bead. This is one component of the chain. The length of the chain will consist of twenty such links. For a more complete impression, watch the video.
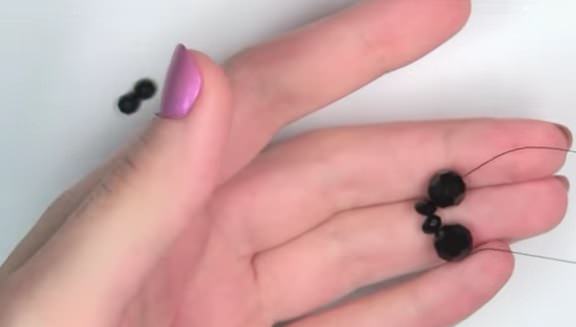
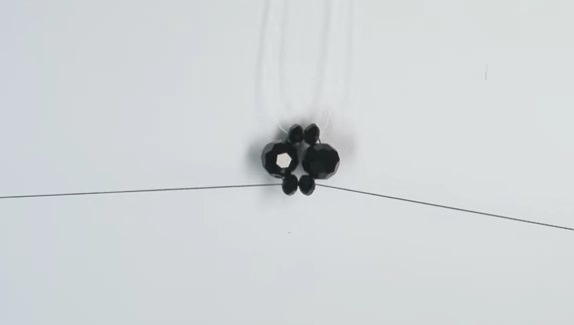
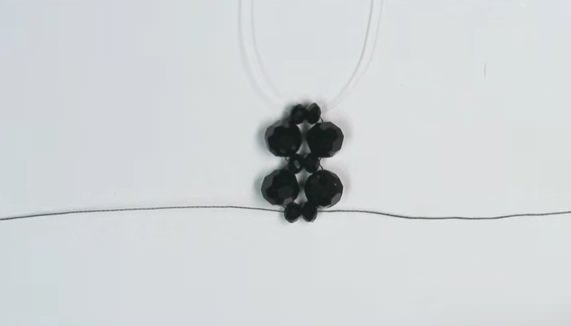
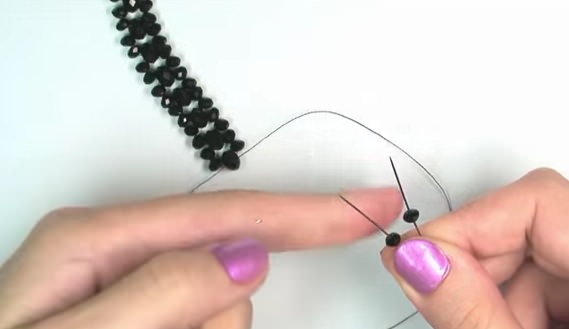
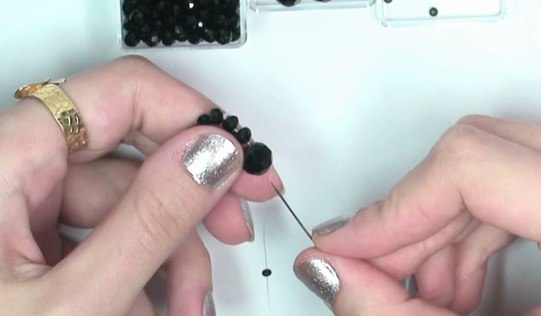
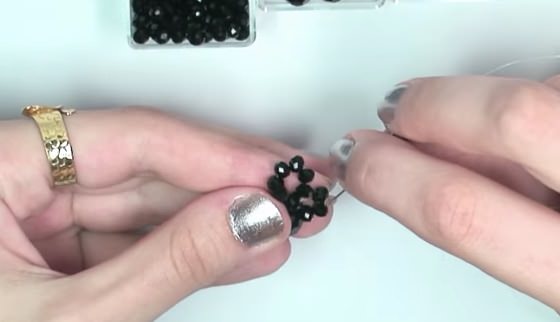
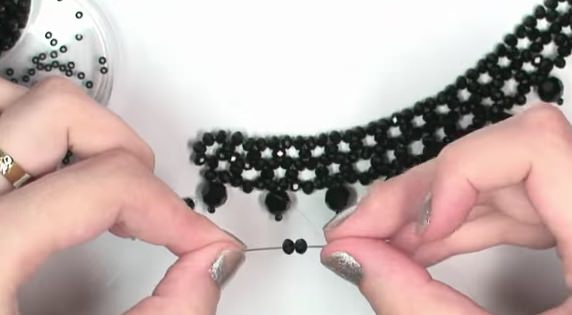
Now we will thread on each of the needles one of the largest beads, and complete the new link with two small beads, threaded needles in different directions and closing the next link in the weaving.

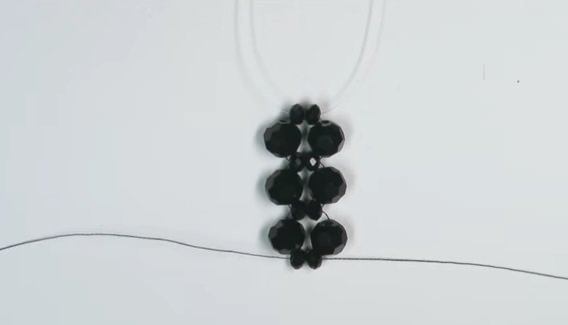
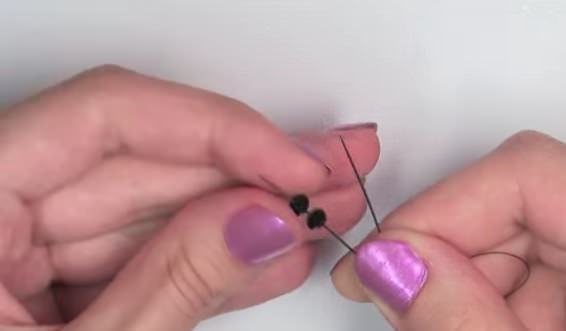
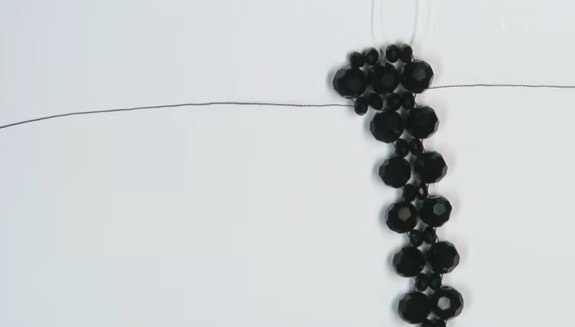
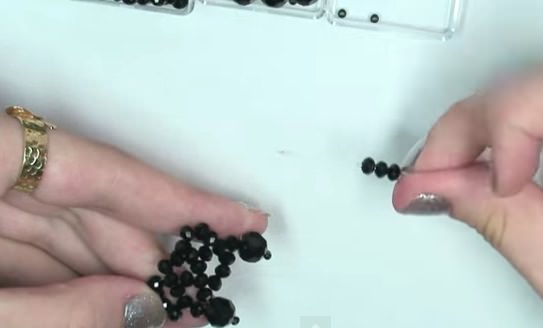
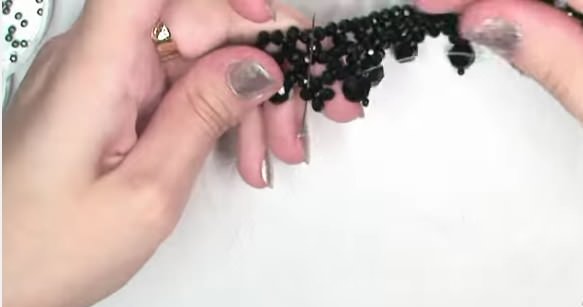
We continue our weaving, as a result of whichWe get a chain of beads and beads. For a beautiful end of the chain, you can bring the thread to one side, and make a few knots, which then hide in the holes of the beads. In the event that you weave a collar on the line, you can simply melt its ends.
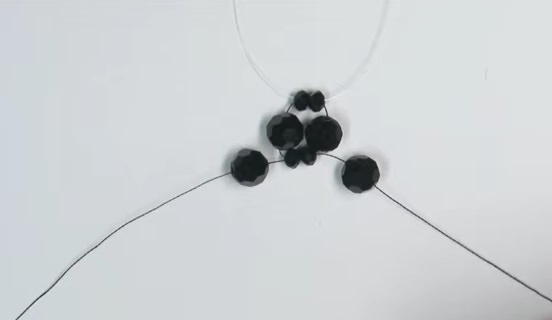
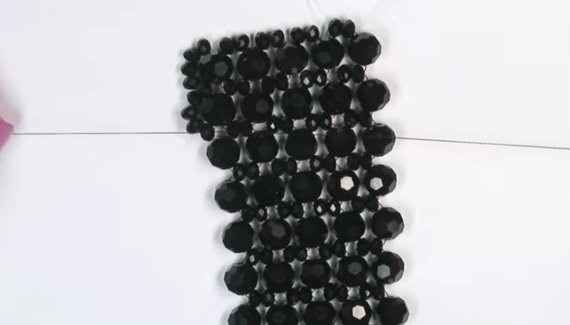
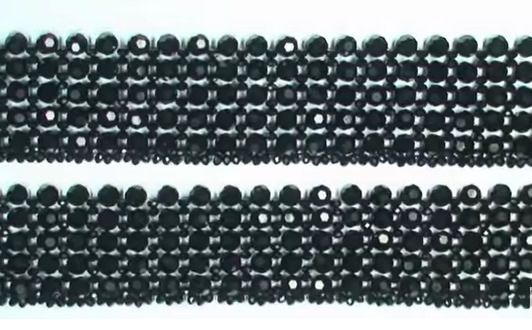
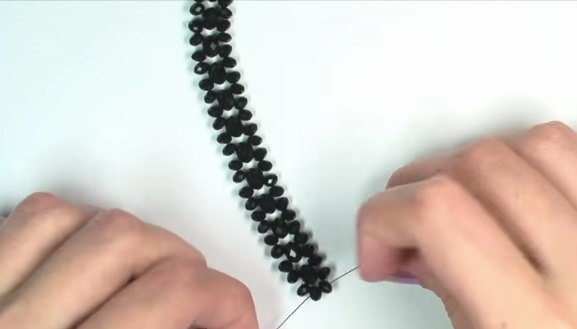
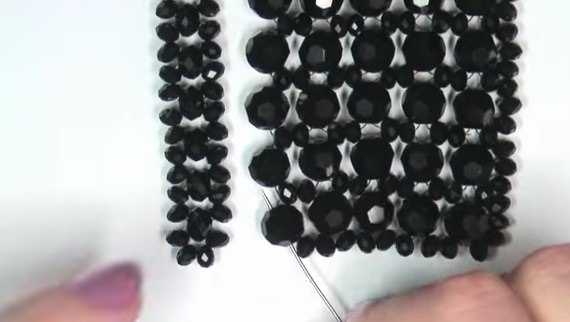
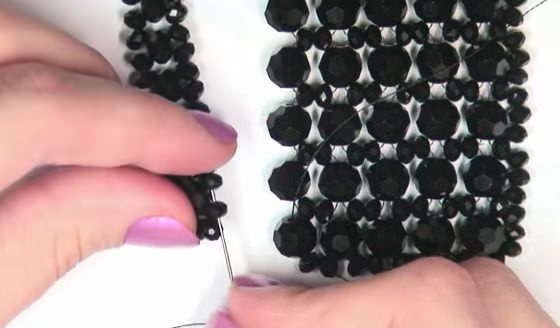
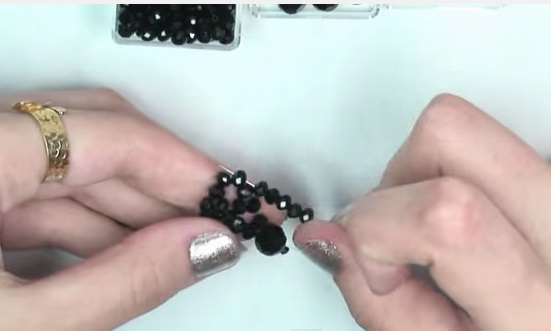
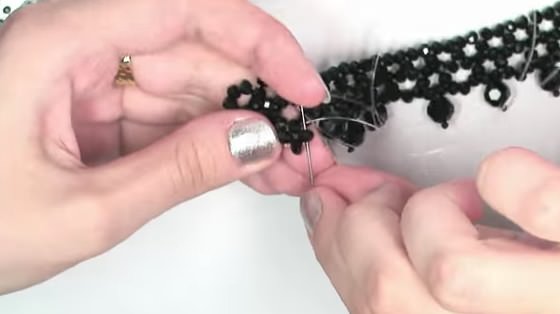
Now we need to extend the chain to fiveLarge beads horizontally. On the vertical, we already have twenty such large beads. We again take a thread a meter in length, and we insert two needles into its ends. Let's pass the needle to the first large bead on the side. On the left thread string two small, and one large, and then close the link with two small, as before. Next, thread the right thread into the next large bead on the right, and on the left string one large, and close the link as usual with two beads. That is, we perform the second chain, but it has the right bead common with the first chain. We'll double the second row, and proceed to weave the next one. So we work until we get the required width, which is five big beads.


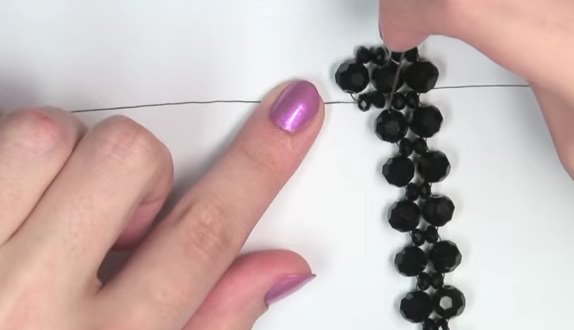

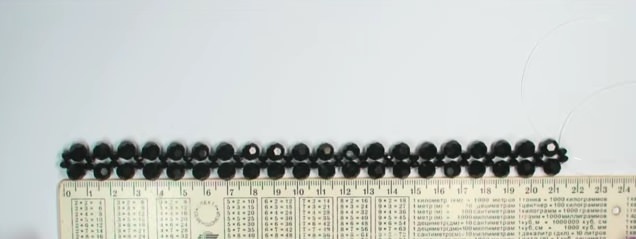
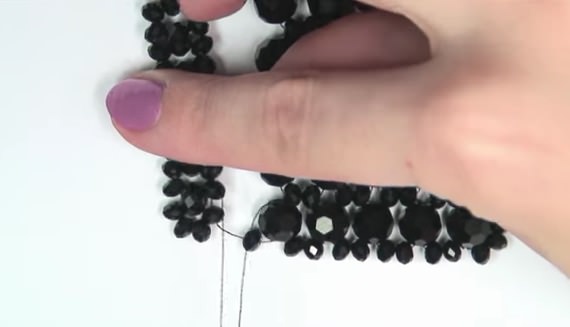
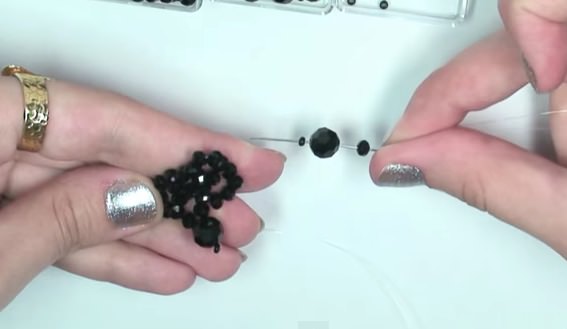
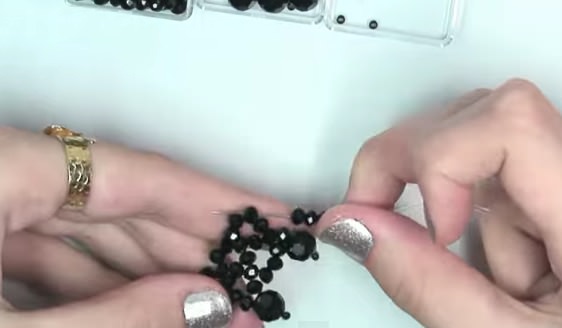
The final row will be performed in this way. On the left thread string five beads, and the fifth threaded with needles from different sides. Then thread the right thread into the large bead on the right. On the left thread we will draw four small ones, and the last of them will be drilled with needles from different sides, as we always do. So we continue to weave the whole series, to the very end. One half of our collar of beads is ready. We need to make two such identical halves.
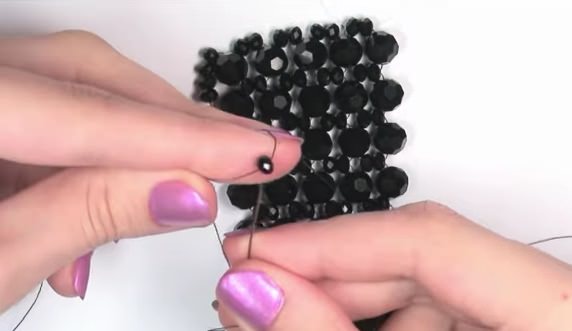


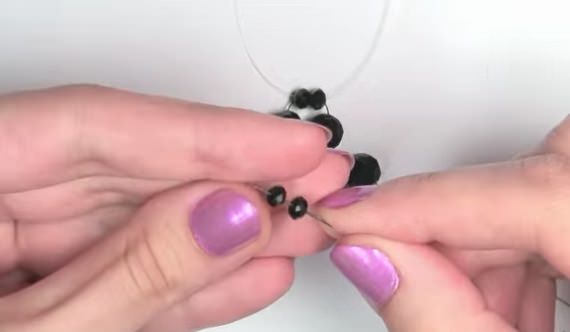
Continuing the master class, we make the basis forA collar that will decorate any of our dress. It requires two meters of thread. We thread the thread into two needles, and string four beads onto one of them, pushing them down the thread. Then we put on a bead 6x4 mm, and pass it on the other side with a second needle. As a result, we get the first link of our foundation. Then, for each needle, string two small beads, and a large, 6x4 mm in the middle. The following links we do similarly, until we use twenty large beads. So, when we used twenty large, then half of our base is woven.


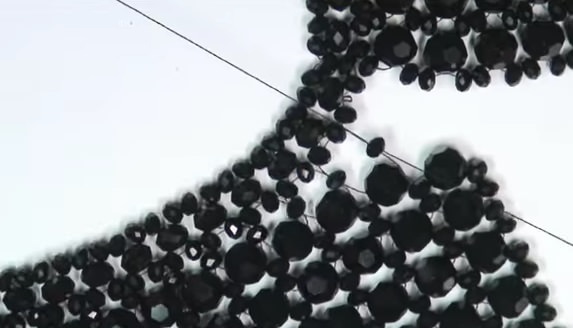
Now we need to make our own hands the middle of thisThe very basis. To do this, we collect one small bead for each needle, and two small beads in the middle. This link will be the center of the base of the collar. I would like to give you some advice. If you want to make a cutout more round, then use a fishing line for weaving. If you use a beaded thread, the neckline of the collar will be sharp. We weave the second half of the base by the same rule as the first. The base is ready, and now it is necessary to put together all three parts, the base and the two halves, to decorate our dress with a beaded collar.
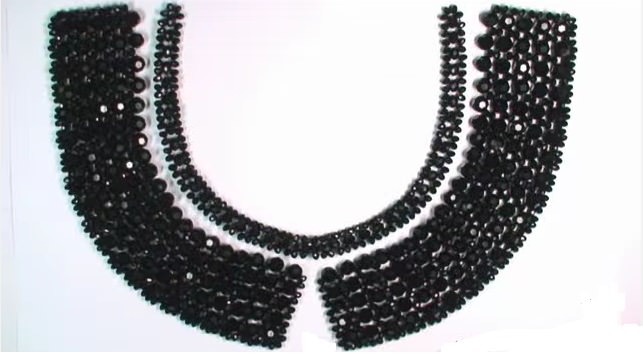
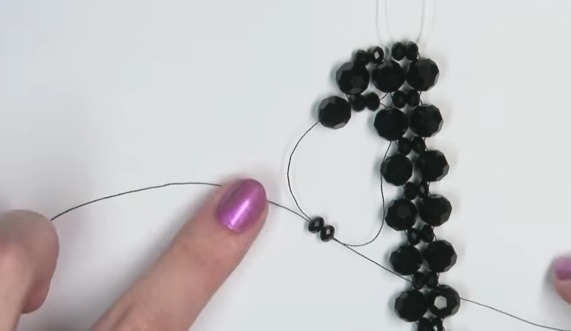
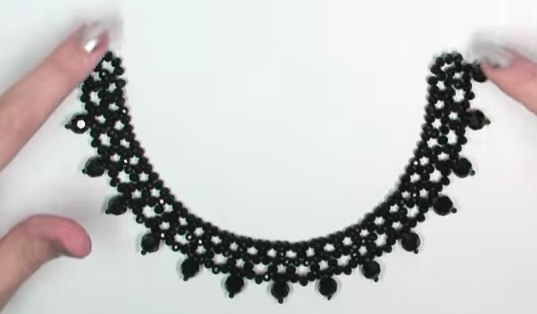
To do this, take a meter of thread, and put it on itSmall bead. The first needle is threaded into a large bead halves, and the second needle into two small beads of the base. Next, we take one small, and we pass it with needles from different directions. The thread on the right is again passed into the large bead halves, and the thread on the left into two small bases. So you need to connect the entire series. With the second half we do the same. The final phase of the work is to add a chain and lock with the help of connecting rings.


The collar is ready, and the master class is finished. It is desirable to complete it by watching the corresponding video.
Video: Shamrock shining bean collar
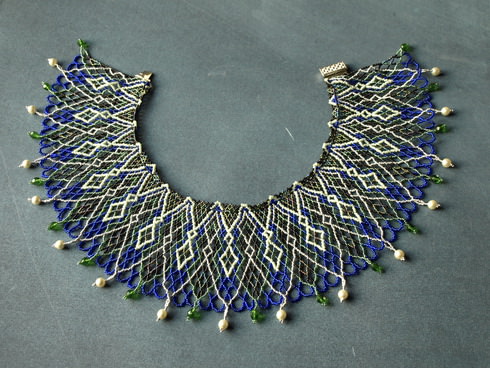
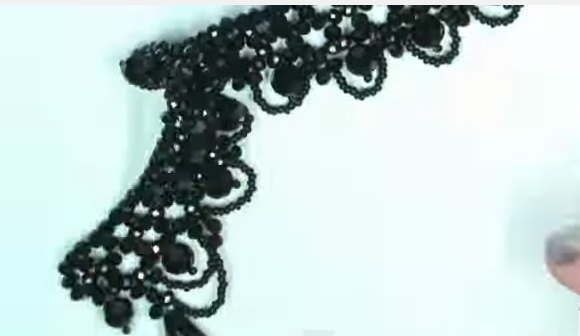
Openwork collar of beads
Collars of beads and beads, which can beMake their own hands, are different in both their form, color, and design of the scheme. The model, design and color of the collar are chosen depending on which dress you want to wear with it.

Our second master class will tell you about a very beautiful and fragile-looking open-work collar made of beads.
The material that we need:
The color of the consumable material you can choose at will. It should depend on what kind of dress you want to decorate with this collar.
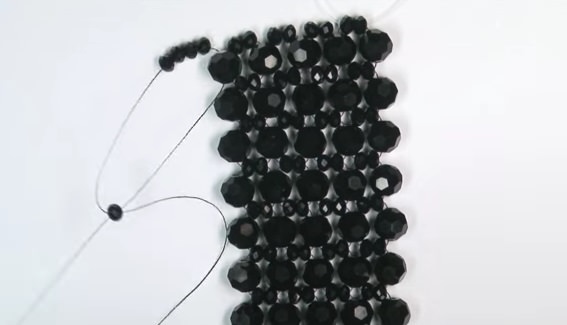
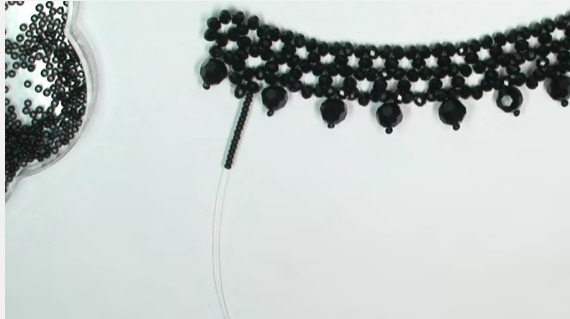
First we'll make the base of the collar. To do this, take two meters of fishing line, one end of which we will thread a needle, and on the second we will make a ring of seven beads. To do this, let's put all seven into a needle, move almost to the very end of the line, and connect the main line with the end. Then, following the scheme, we will string one small bead, large, and one bead. We will pass in the opposite direction only a large bead, tighten a fishing line, put on it three more small beads, and pass a needle into the third bead of the finished ringlet.


Now we string four more beads, andPass the needle in the third of them from the place where our fishing line comes from. Then string five beads, and go through the third of them from above. And again, we will string four beads, passing into the third of them from the place where the line comes from. In the upper part there will always be four pieces, it's easy to remember.


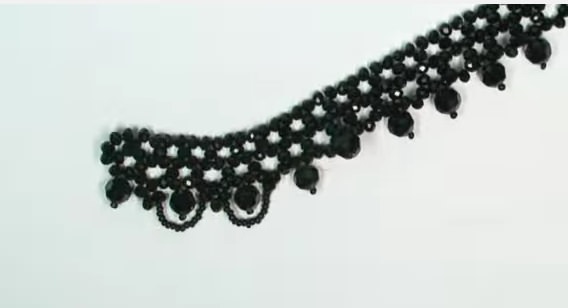
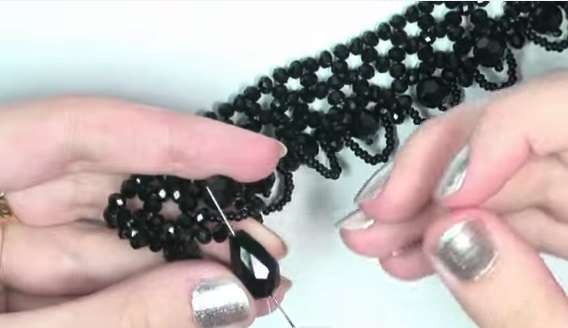
From below we make a suspension by putting on a small bead, andA large bead. We return to the large, string three more beads, and we pass into the third from above. Next, this cycle will be repeated until we have fifteen pendants. So far we have made only the base of the collar, but she can already decorate any elegant dress. You will see this if you watch the video on this topic.
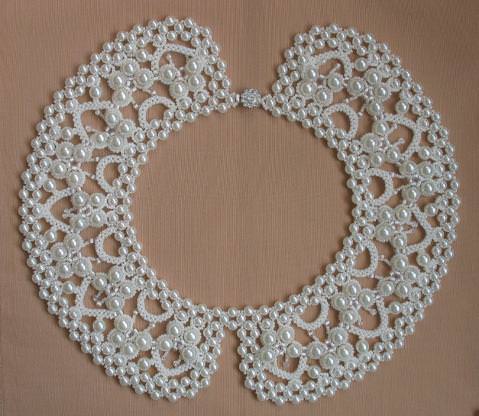
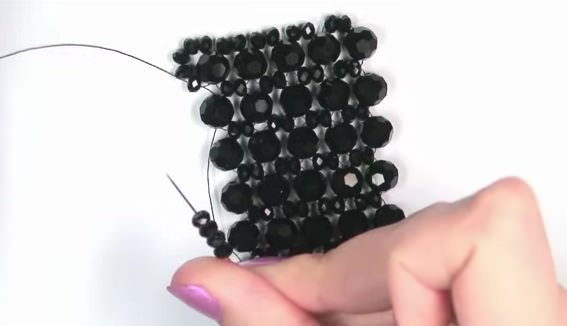
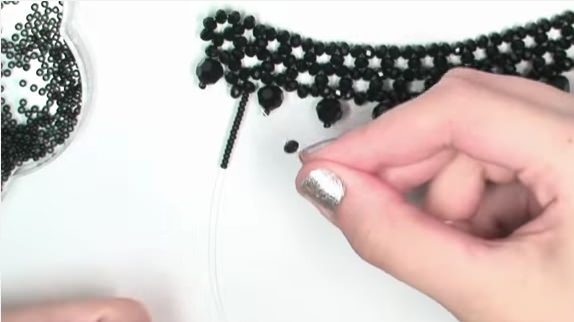
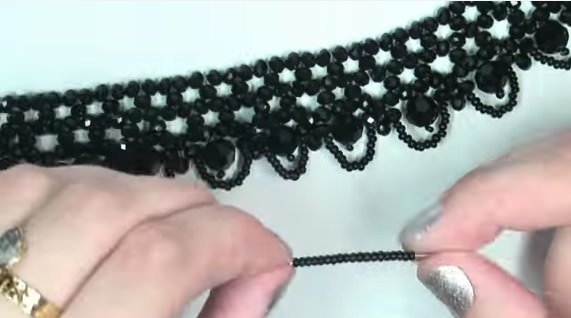
Our foundation is ready. And now we will take a half or two meters of fishing line, and we will cut it with beads by our own hands. So, we will collect on the line one small bead. Then we'll string it down on the base, in the first gap between the pendants, into the middle of them. And now, having put on two more beads, we connect the basis of the line with the end, cut off the excess and burn the cigarette lighter. We got a cross from the beads, which we pass the needle clockwise, and we draw the thread from the right bead down. On this thread we type 16 beads and one small bead.
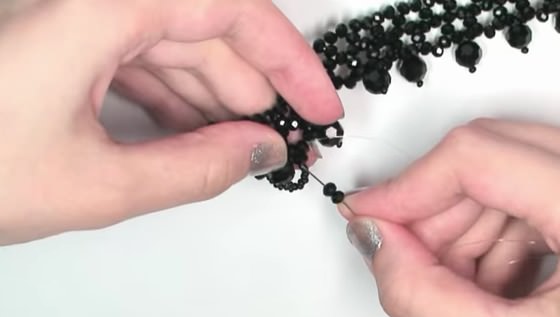
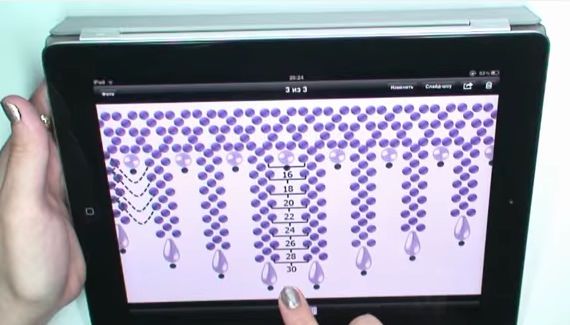
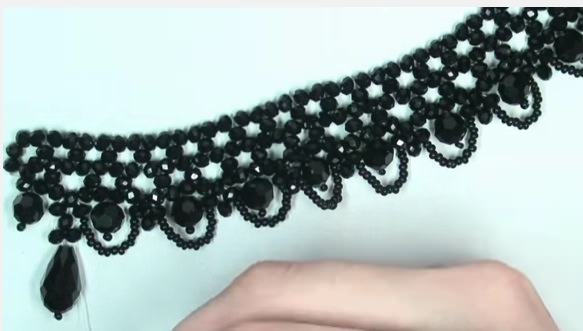
Now go to the next link, enter the needle in theMiddle bead, add two more, and form a cross. That is, we will repeat the same operation that we did in the first link. We get an arc around a large hanging bead. Repeat the same weave to the very end of the row. We continue to weave the rows, threading the suspension a bit and bead at the beginning of each row. Arcs of sixteen beads will be located one under the other. And to finish the ranks will also be a bead and a bead. Each new series must start one link further, and end it one link ahead of the previous one. This will give the collar a rounded shape. When the collar is finished, the bead droplets in the amount of 14 pieces will all be suspended underneath all around the collar.


We have considered the second master class, inWhich was talked about how to weave openwork collars of beads with their own hands with video materials. These collars are very elegant and beautiful, and can make any festive dress elegant.
Video: The lesson of beading of the openwork collar
Comments
Related posts:
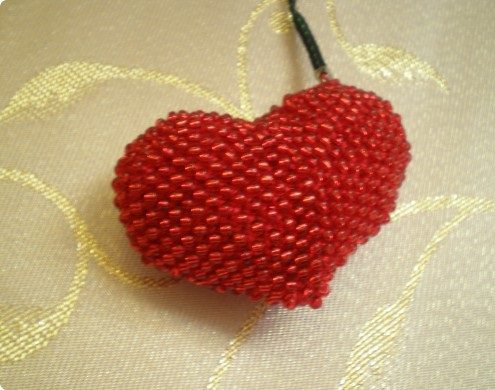 Heart of beads with their own hands in master classes (video)
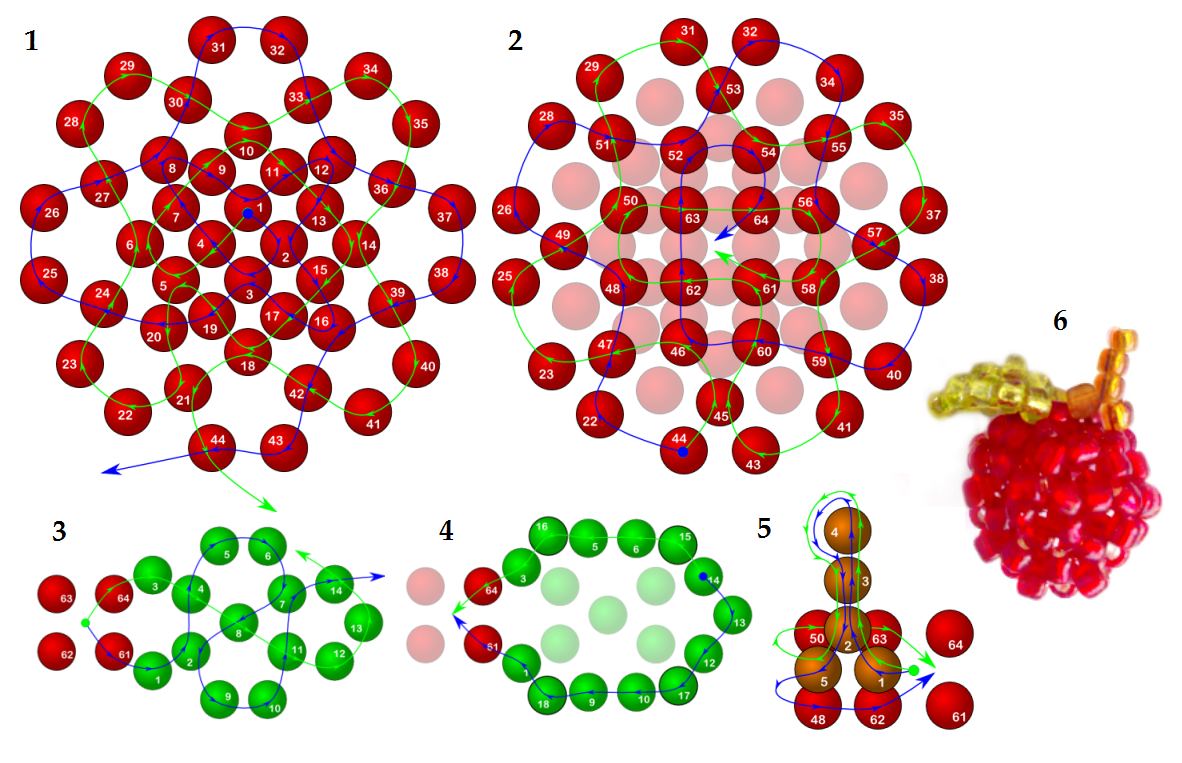 Fruit from beads in teaching master classes (diagrams and video)
 Earrings from beads with their own hands in master classes (photo)
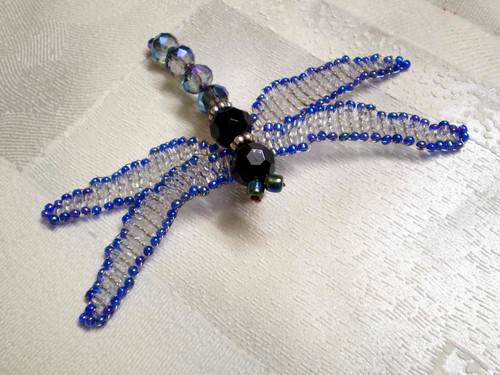 Dragonfly from beads with own hands in master classes (diagrams)
 Lily of beads with your hands in the master class (video)