Create knitting needles two variants of the pattern "honeycomb" with diagrams and detailed description which you can download absolutely free of charge.
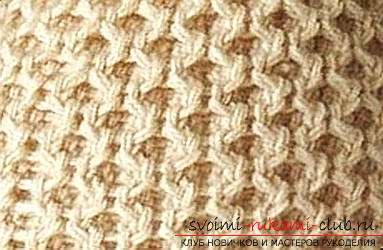
Two ways to knit a pattern of "honeycomb" In thisarticle we offer to your attention a lesson on the features of knitting technology of the honeycomb pattern with knitting needles. With it, you can make scarves and hats, mittens, sweaters, cardigans and sweaters. Double linen in such products will provide you with warmth and comfort in the cold season. There are several ways to accomplish this pattern. Today we will offer you to master 2 types of knitting pattern "honeycomb" knitting needles. From the diagrams, you will see that by doing this pattern, you should be guided by this principle - small or large "honeycombs" you want to get. More information on each of the technologies for creating a pattern of "honeycomb" you will learn from the description below. If you have a desire to tie up a hat or a sweater for a child, then we advise you to use the described technique of creating a pattern of "honeycomb". 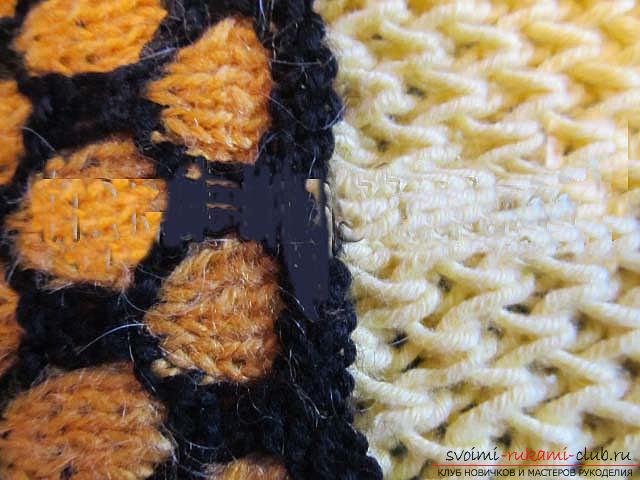 The undoubted advantage of using this patternfor children's clothing is the ability to use bright colors of yarn, which is very important for the child. So, let's begin. Pattern "colored honeycomb" with knitting needles Option No. 1 For the first variant of knitting this pattern, you can use yarn of 2 shades: dark and light.
 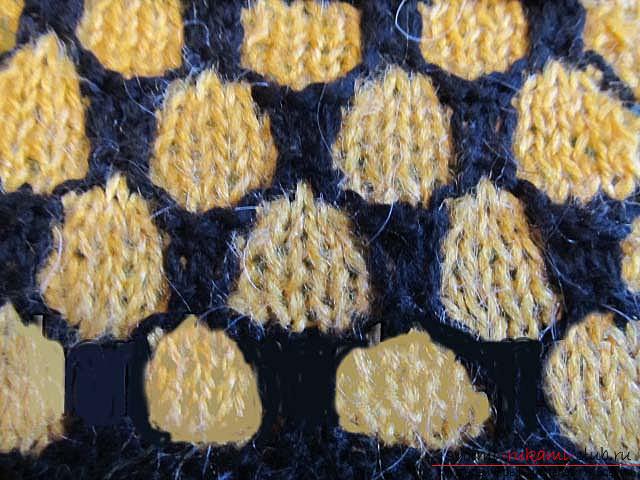 To create a sample of such a canvas,type on the spokes of twenty-four loops, and then follow the proposed description: First ryadochek: using threads of dark yarn you need to create purl loops. Second ryadochek: using threads of dark yarn, you need to create facial loops. Third row: using a light thread, we knit four facial loops, then remove two eyelets, while the central thread should be in front of the needle. The fourth row: using a light thread we knit four purl loops, then remove two loops, and the central thread should be in front of the needle. The fifth and seventh rows: with the help of threads of light yarn we knit loops, as it was in the third row. Sixth and eighth rows: using a light thread knit twists, as it was in the fourth row.
 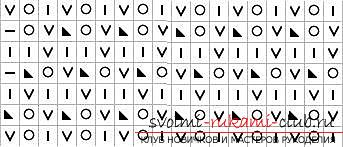 Ninth and tenth rows: with the help of a dark thread it is necessary to create facial loops. Eleventh row: using a light thread, we knit one face loop, then follows a repeating part of the pattern: we remove two loops, while the central string should be at the back of the knitting needle, we sew the four purl loops. Complete the row with one facial loop. Note that the asterisk in descriptions and diagrams is used to denote a group of loops that repeat a certain number of times throughout the row, and those loops that are placed before and after the asterisk must be tied once. Twelfth row: with the help of a light thread it is necessary to create one wrong loop, then there is a repeating part of the pattern: we remove two loops, while the central string should be in front of the knitting needle, we sew the four purl loops. Complete the row with one of the straps. The thirteenth and fifteenth rows: using a light thread knit twists, as it was in the eleventh row. Fourteenth and sixteenth rows: using a light thread knit twists, as it was in the twelfth row. The seventeenth and eighteenth series: with the help of a dark thread it is necessary to create facial loops. Option number 2
 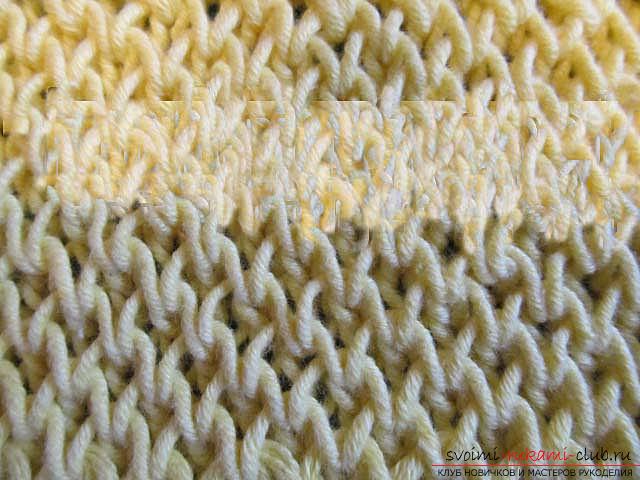 Such an option should be implemented usingnakidov. To create a sample of such a cloth, you need to dial on the spokes of twenty-four loops (as in the previous version), and then follow the suggested description: First row: make a cap, remove one loop, then create one face loop. with the help of a dark thread it is necessary to create purl loops. The second row: we knit two facial loops, then the napkin must be transferred to the spoke, which is on the right, while not tying it. Third ryadochek: a double loop to tie together the front, then we make one cape, then we remove one loop. The fourth row: you need to create one face loop, then there is a repeating part of the pattern: the wrap must be transferred to the spoke that is on the right, then the two face loops are sewn. Complete the row with one facial loop. Fifth ryadochek: we make a cape, we remove one loop, then we create a loop looped together by a facial. The further work consists in repeating the figure, beginning with the second row. Thus, today we have learned to knit two variants of the pattern of "honeycomb": colored "honeycombs" without nakidov and monotonous with a crochet. In our opinion, both these species are quite original. Try using them to create products, and you make sure that they look great. We wish you creative success in your endeavors!
Comments
Related posts:
 Master class on knitting with peacock tail patterns with diagrams and detailed description which you can download absolutely free of charge.
 We knit with knitting needles an effective women's pullover patterned with leaves according to the scheme with a detailed description and video, which can be downloaded for free.
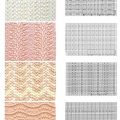 Knitting with knitting needles wavy pattern, openwork wavy patterns with knitting needles for making blouses and dress for women, using with it patterns and detailed descriptions, you can download them for free.
 We knit with knitting needles original patterns for women according to the scheme with description and photo for free
 Tie knitting needles beautiful pattern in a children's jacket with diagrams and detailed description.