
We create a bag of leather with our own hands. Advantages of a leather bag
In this article we will consider the method of sewing leatherbags and tricks of working with the skin. Sewing a leather bag is not complicated at all and is completely accessible to everyone. In the creation of such bags you can connect all your imagination and decorate them with various decorative components. Let's start this creative process. Description of work Before you start sewing, you need to come up with a model of the bag and draw it. In this picture, you need to consider all the elements. Sewing from the skin is a little more complicated than from other materials, because it is much stronger. When sewing, you can connect absolutely different pieces of fabric and skin. From the skin itself, good drawings are obtained, which then decorate the bag. Threads take quite dense, such as nylon or silk. All the seams are better to be sewn two or three times, so that it does not tear later. For decoration you can use lace, ribbons, beads and much more. It all depends on your imagination. Bag handles can be made of materials such as: rings, chains, clips, buttons. Fasteners can be magnets, zippers or belts. In the bag must be a lining. It will be necessary to buy a certain fabric for lining. On the color it can be in one tone with a bag or differ in contrast. To process the material you need: pins, scissors, chalk or handle, as well as tracing paper. Next, we build the basis of the pattern 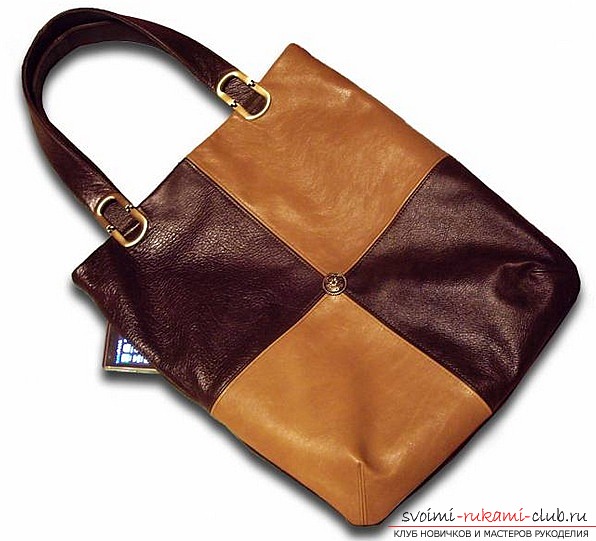


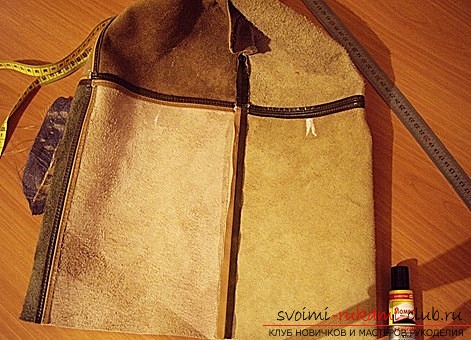
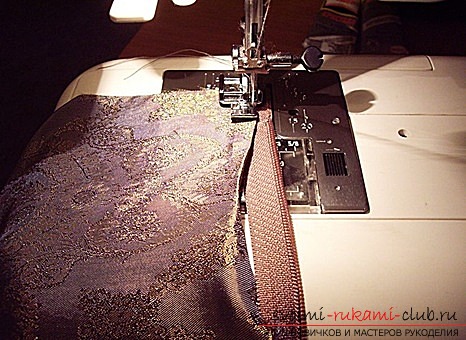

 It is necessary to remember the main elements: wall bags, handles, bottom. If desired, you can build pockets. The most famous types of bags are: square, oval, circle, rectangle. For an oval, a square and a rectangle, it is necessary to make a pattern of the correct size and cut out two parts from it. Then we make the bottom. It can be exactly rectangular, either extended or tapered. If the bag is round, then the bottom is cut round, and the walls are made with rectangular strips. What width should be the bottom, everyone decides for himself. Allowances for seams should be laid when creating a pattern. On the allowances it is better to leave about three, four centimeters on both sides. The pattern of the lining is similar to the pattern of the base of the bag. Now we need to assemble the product: for this we transfer the sample of the constructed model to the necessary fabric and circle it around the chalk. Then, carefully cut out the resulting details. Then it is necessary to sew parts and lining separately. After we connect the base of the bag and lining. The upper part of the bag is sewn with a lining on the inside and leave a small gap, so that the bag can be turned out. Handles sew in this way: fold the edges inward and stitch. They need to be sewn on the left side, and then unscrew. Handles are sewed on top of a bag or sewed in. Then you need to attach a clasp to your bag. The same applies to pockets, if any. If the bag has a bottom, it will be a good idea to cover it with lining material, while leaving the sides with allowances. This is necessary to secure it. If it is necessary to give the corners a certain shape, then they are stitched. You can sew together lining and top bags and lay between them non-woven. And here's another version of a bag made of leather:
Comments
Related posts:
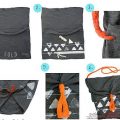
 How to make a useful refrigerator bag on the basis of an ordinary travel bag. A simple master class on making a refrigerator bag with your own hands
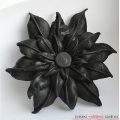 As from an old unnecessary leather thing, make an original flower with your own hands. Such a flower can decorate a bag or use it in decorating a house
 We create a bag of jeans with our own hands, which each girl will need
 Crafts made of genuine leather, made by own hands. Photos of ready-made works.
 Summer bags, summer bag with their own hands, step-by-step instruction for making bags from pillowcases.