Create interesting Kanzas from tapes of 2.5 centimeters, boutonniere for wedding glasses of kanzash, ornament in the form of berries kanzashi for gum.
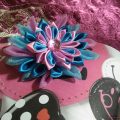
We present to your attention a master class inwhich we will tell how to create a buttonhole for wedding glasses from Kansas. In view of the fact that ribbons with a width of 2.5 centimeters are the most accessible, this lesson will interest the majority of domestic craftsmen. As a basis, to which we will fasten the flowers, let's take buttons equal in diameter to 30-35 millimeters. They should be tightened with the help of cloth and attach to the outer side of Kansashe petals. In the absence of buttons, they can easily be replaced with cardboard or plastic. 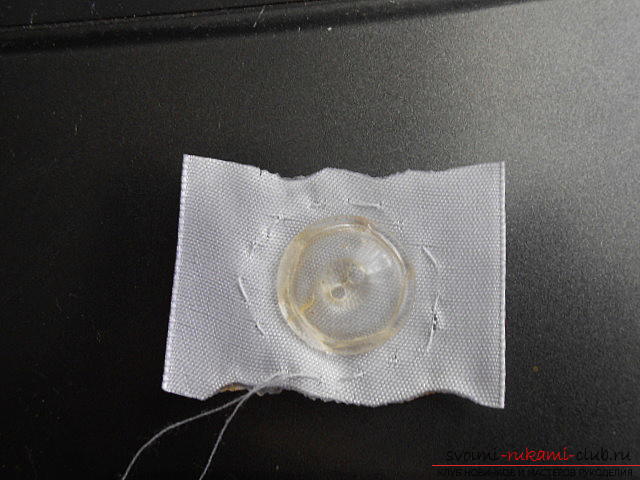 Then the thread is pulled together, the excess is cut off andsliced sections. The manufacture of petals will begin with cutting strips of equal lengths of 10 and 11 centimeters, as we plan to create flowers of two sizes.
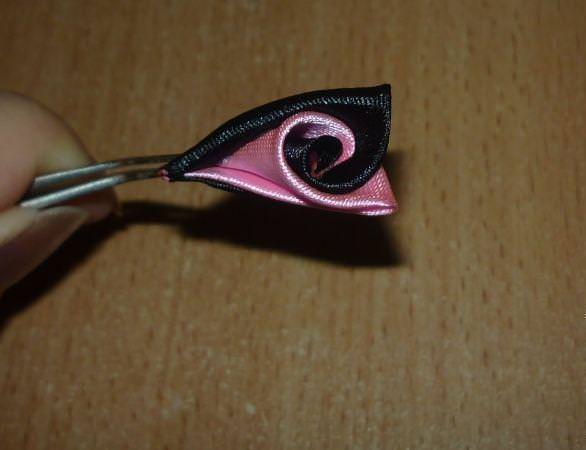
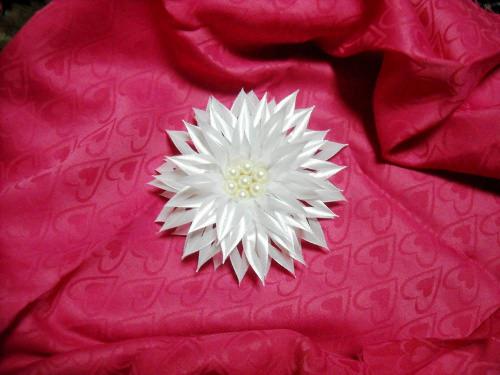
 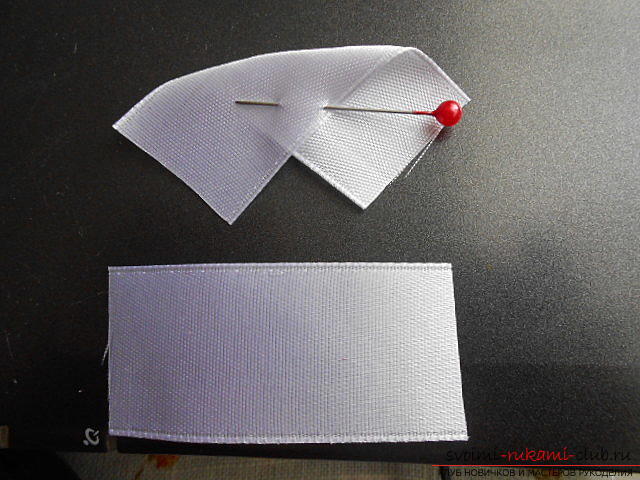 The tape is placed face to face andit turns like it is shown on the photo: Next you need to bend it again and it will come out. It will be the underside of the petal. After that, the lower corners are wrapped in the front side, which are fixed under the flame of a candle or lighters. It should look something like this. In a similar way we make 12 petals. The first layer of petals is glued to the edge of the fastener. The next layer of petals is glued a little closer to the bolt of the fastener. Thus, we achieve a visual effect when it seems that the petals differ in magnitude. From the ribbon of the same width, six petals with pointed tips are made. Next, each flower will have six petals with pointed tips. They are glued most closely to the sowing, as shown in the illustrations:
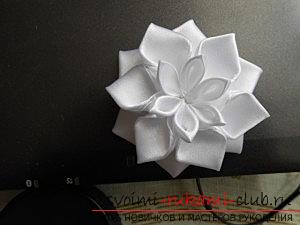
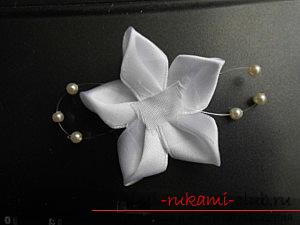
 But the bottom floret of the product, consisting of fivepetals. He is going the same way as in the first version. Between the layers we paste ornaments from beads and fishing line. That's how petals on buds gather. Buds consist of 2 equal petals and are attached with glue to the line, which is wrapped in white threads. On too elegant part of buds we hide in a cap for beads. Between the layers of petals we glue the bud and the ends of a thin ribbon of white color. Next, decorate the 2 nd and 3 rd layers of the flower, glue in the middle of the flower - the cap for the beads, and, of course, directly the bead. Large and small flowers are connected with a thin tape and a similar one is added for the string. We advise as an experiment to fix this floral composition on an elastic band, which can be decorated with lace.
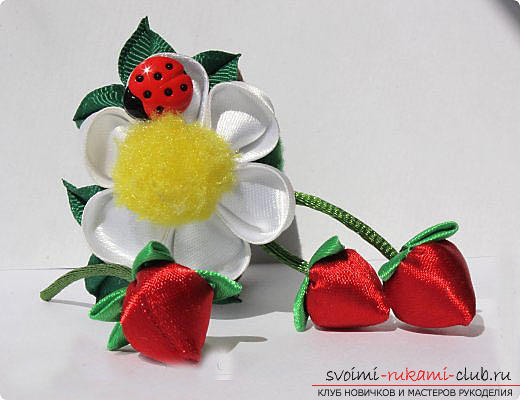
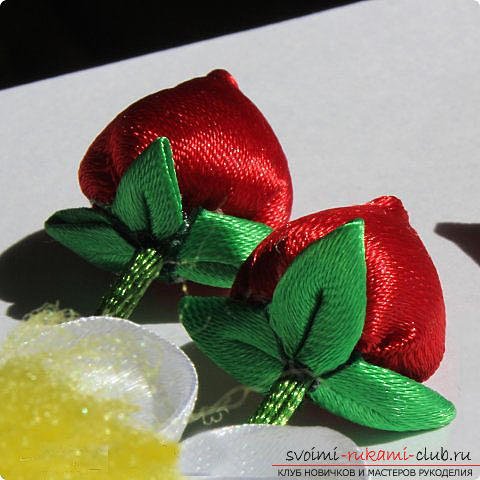
 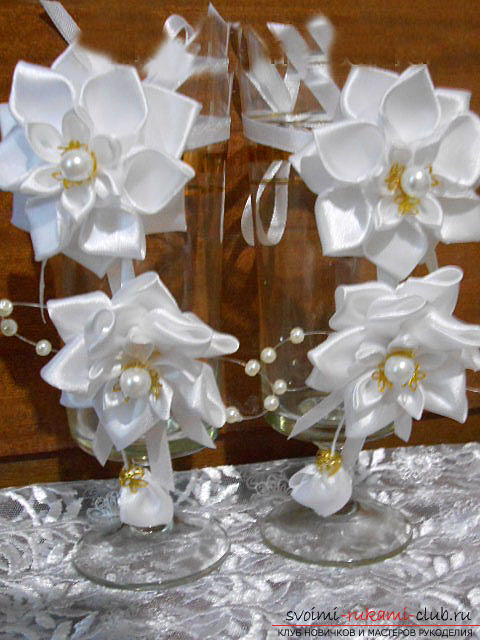 On this boutonniere in Kansas style is ready! Let's consider one more interesting product which can be created from ribbons in width of 2,5 centimeter. Now you will learn how to create berries for such gum. Here are the same berries, only larger.
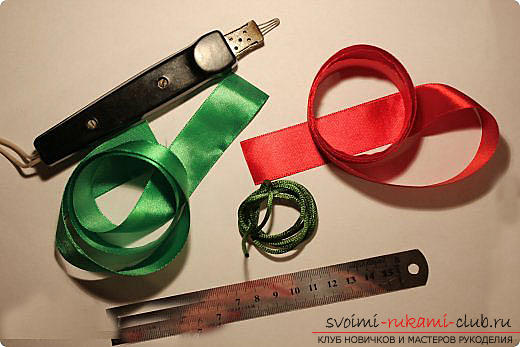
  For this master class take:
- a red ribbon, which is 2.5 centimeters in width;
- A green ribbon of the same width;
- lace from satin or other material;
- glass;
- burnout;
- glue;
- metal ruler.
 From the ribbon of red cut five centimeters. Fold her twice inward. Solder one edge to form a kulochek. Approximately this:
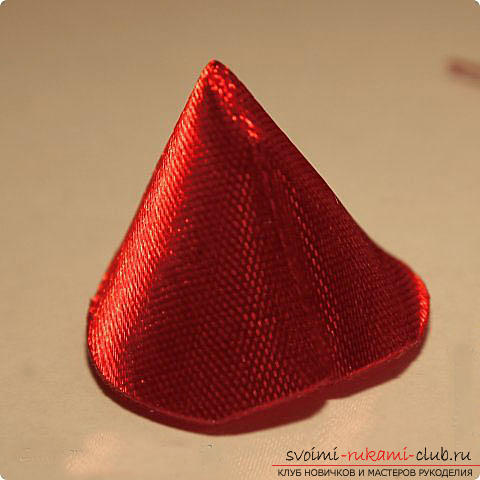
 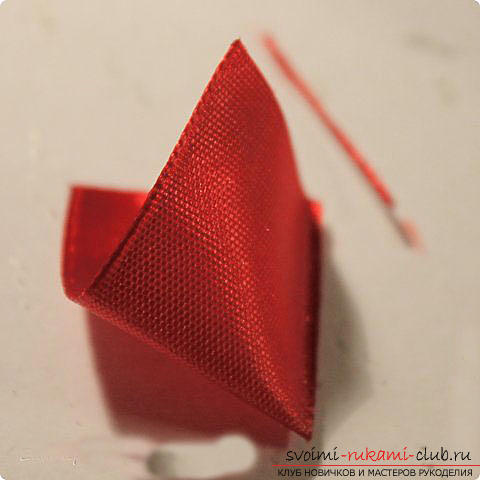 Next, you need to round out the sharp corners with the burner, cutting off the unnecessary parts with the rounded edge of the ruler. Turn out the workpiece and you will get a cone like this.
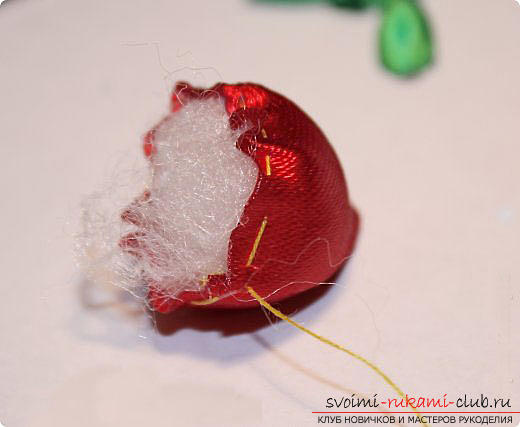
  Gather along the edge of the thread.
  Glue it.
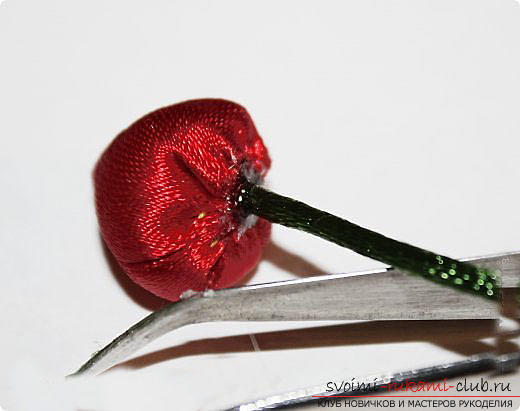
 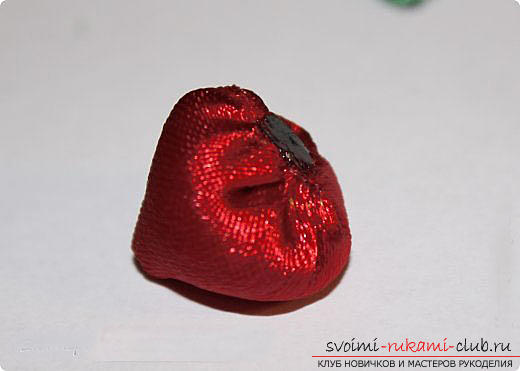 Again using a burner, cut off excess partswith a sewn edge. Immediately, until it is cold, press the cut to the glass. You should get such a smooth heel. This stem is glued stem from the cord.
 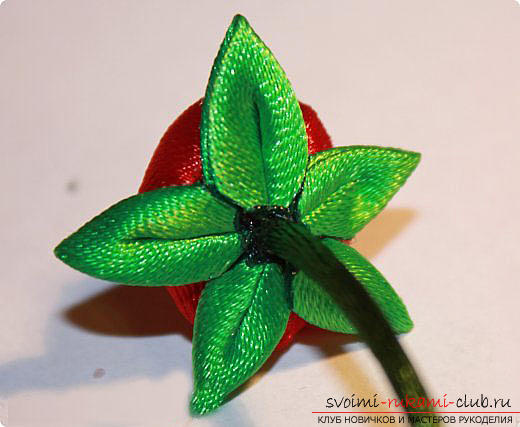 We cut the squares from the ribbon of green color 2,5х2,5 centimeters forming sepals - sharp petals. Cut it.
  Glue to the berry. Depending on the angle, under which the sepals are cut, their number can vary. At the output, we get such a berry. To it you can add and bones. From the ribbon 5 cm wide you can make a strawberry (compare with strawberries from ribbons with a width of 2.5 cm). Bones are drawn using a gold contour for the fabric.
  For this product sepals are cut tostraight. We shorten, from above a circle from a ribbon (it is cut out by means of an incinerator under a 50-penny coin), we put on a stalk and we paste. The strawberry is slightly visible in the middle of the strawberry.

