
How to create an original ring of felt with your own hands? Lesson on the manufacture of imitation jewelry with detailed recommendations and photos
Already for several years in fashionvarious kinds of handmade ornaments. They are used to create their own stylish images often used by women of different ages, status and taste preferences. And it's not accidental, because all the earrings, necklaces, bracelets, brooches, hairpins, etc. made with their own hands, as a rule, the only one of its kind, which can not be said about costume jewelry-stamping. Today, such decorations can be purchased in special creative shops or art salons, and they can also be made independently, without the need for some special knowledge and skills, simply include all your imagination and try to implement it. But if it is still difficult for you to do it yourself, we suggest using our detailed master class and making with us an original and very beautiful felt ring, which we called "Pansies".
Necessary tools and materials
So, to make a ring of felt we will need:
- leaf felt crimson, light pink and green;
- colored yarn floss;
- sewing needle;
- paper;
- A simple pencil;
- scissors;
- glue thermo gun;
- blank for the ring.
Description of work
1.To begin with, on a piece of paper with a simple pencil, draw a sketch of the "pansy" flower. It will consist of two approximately identical parts of different sizes. You can draw your own version, or use the proposed by us. Both paper patterns are carefully cut out along the contour. 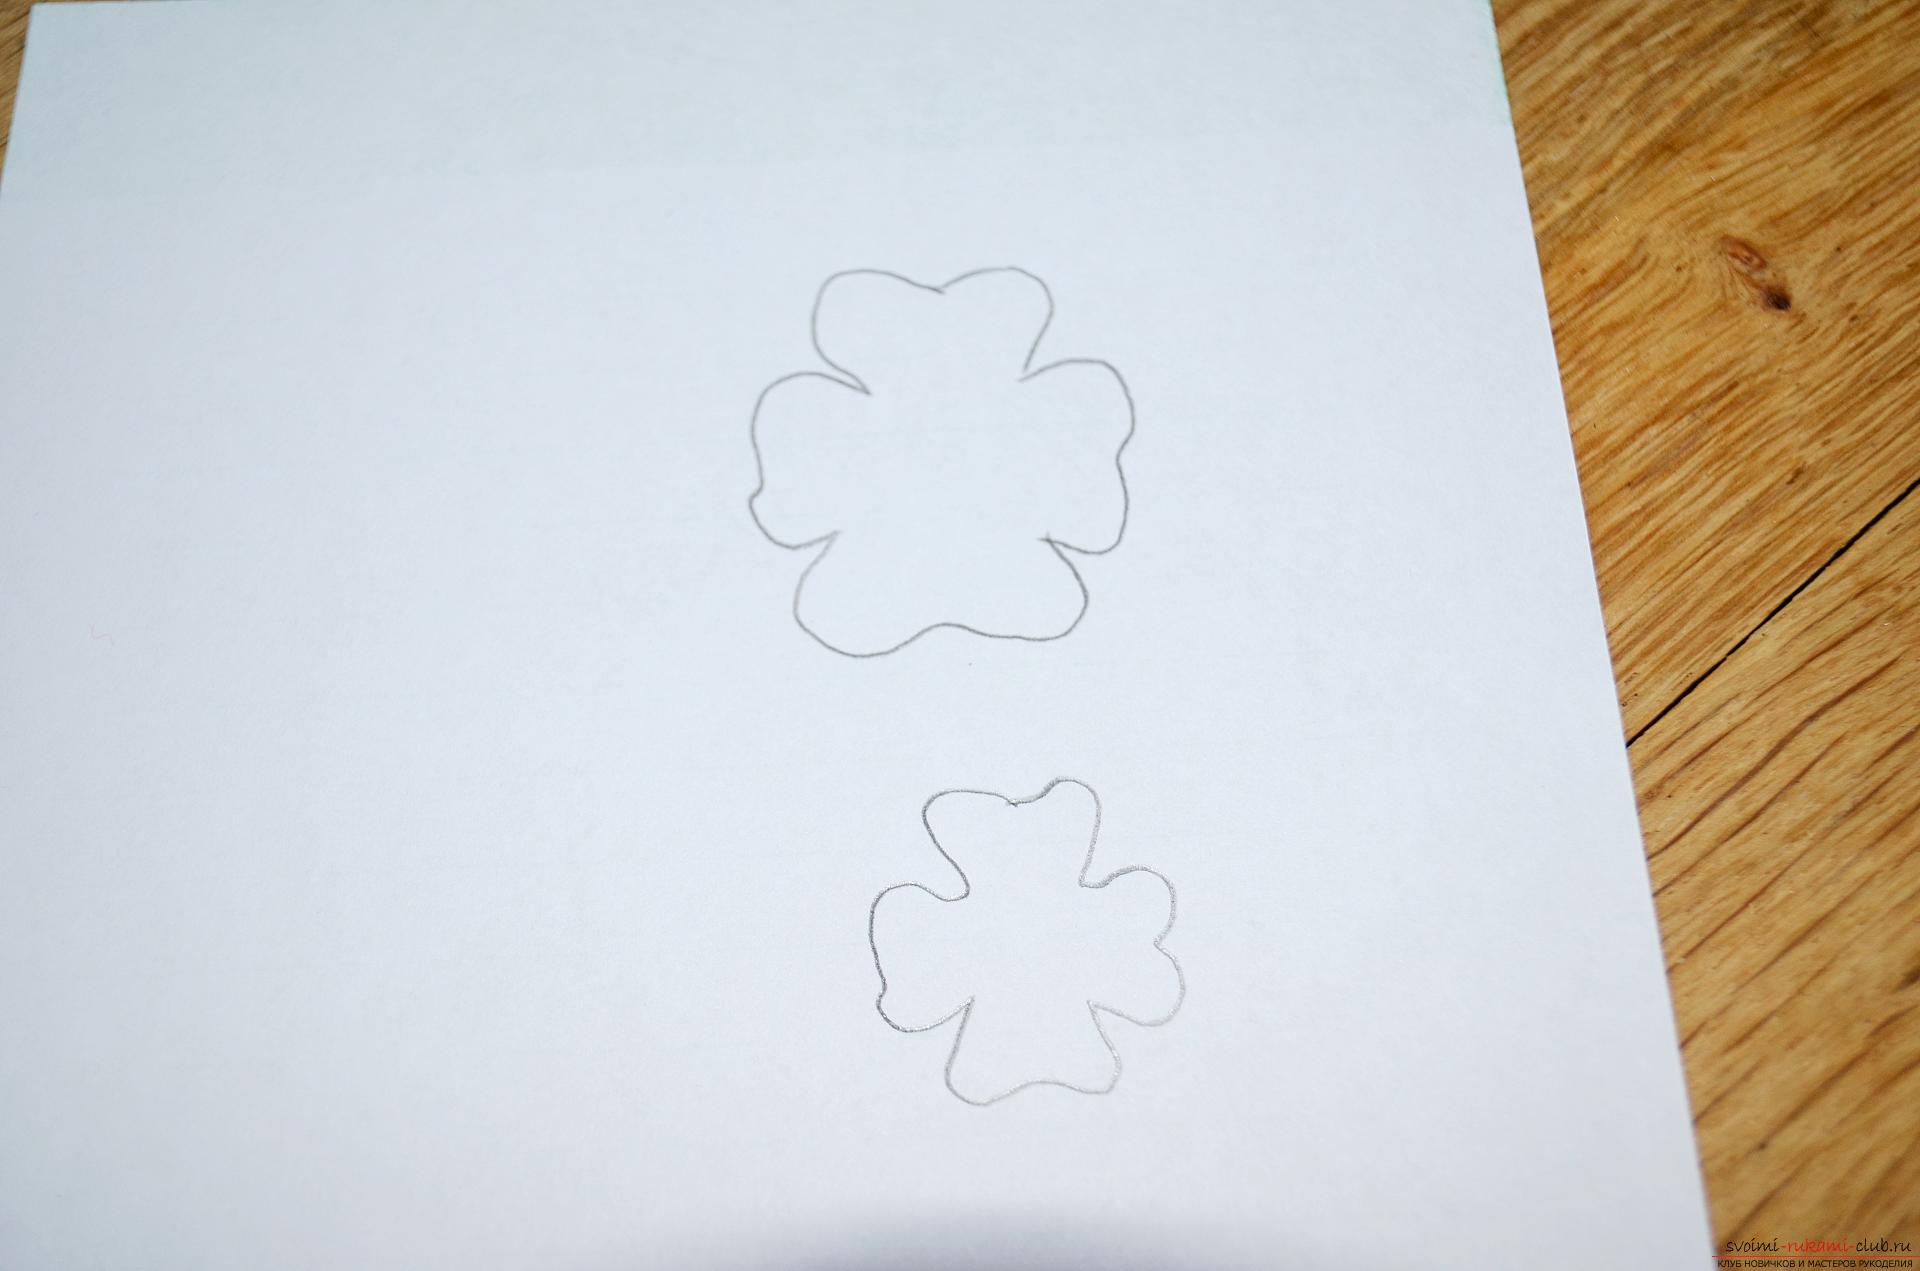 2.Further, a large flower detail is applied to the crimson felt, and the smaller one to the felt is a light pink shade. Both patterns are neatly outlined with a simple pencil and we cut them out of the fabric. Please note, we used pink shades in our work, but pansies can be in purple, orange and white colors, you can experiment and select your color options.
 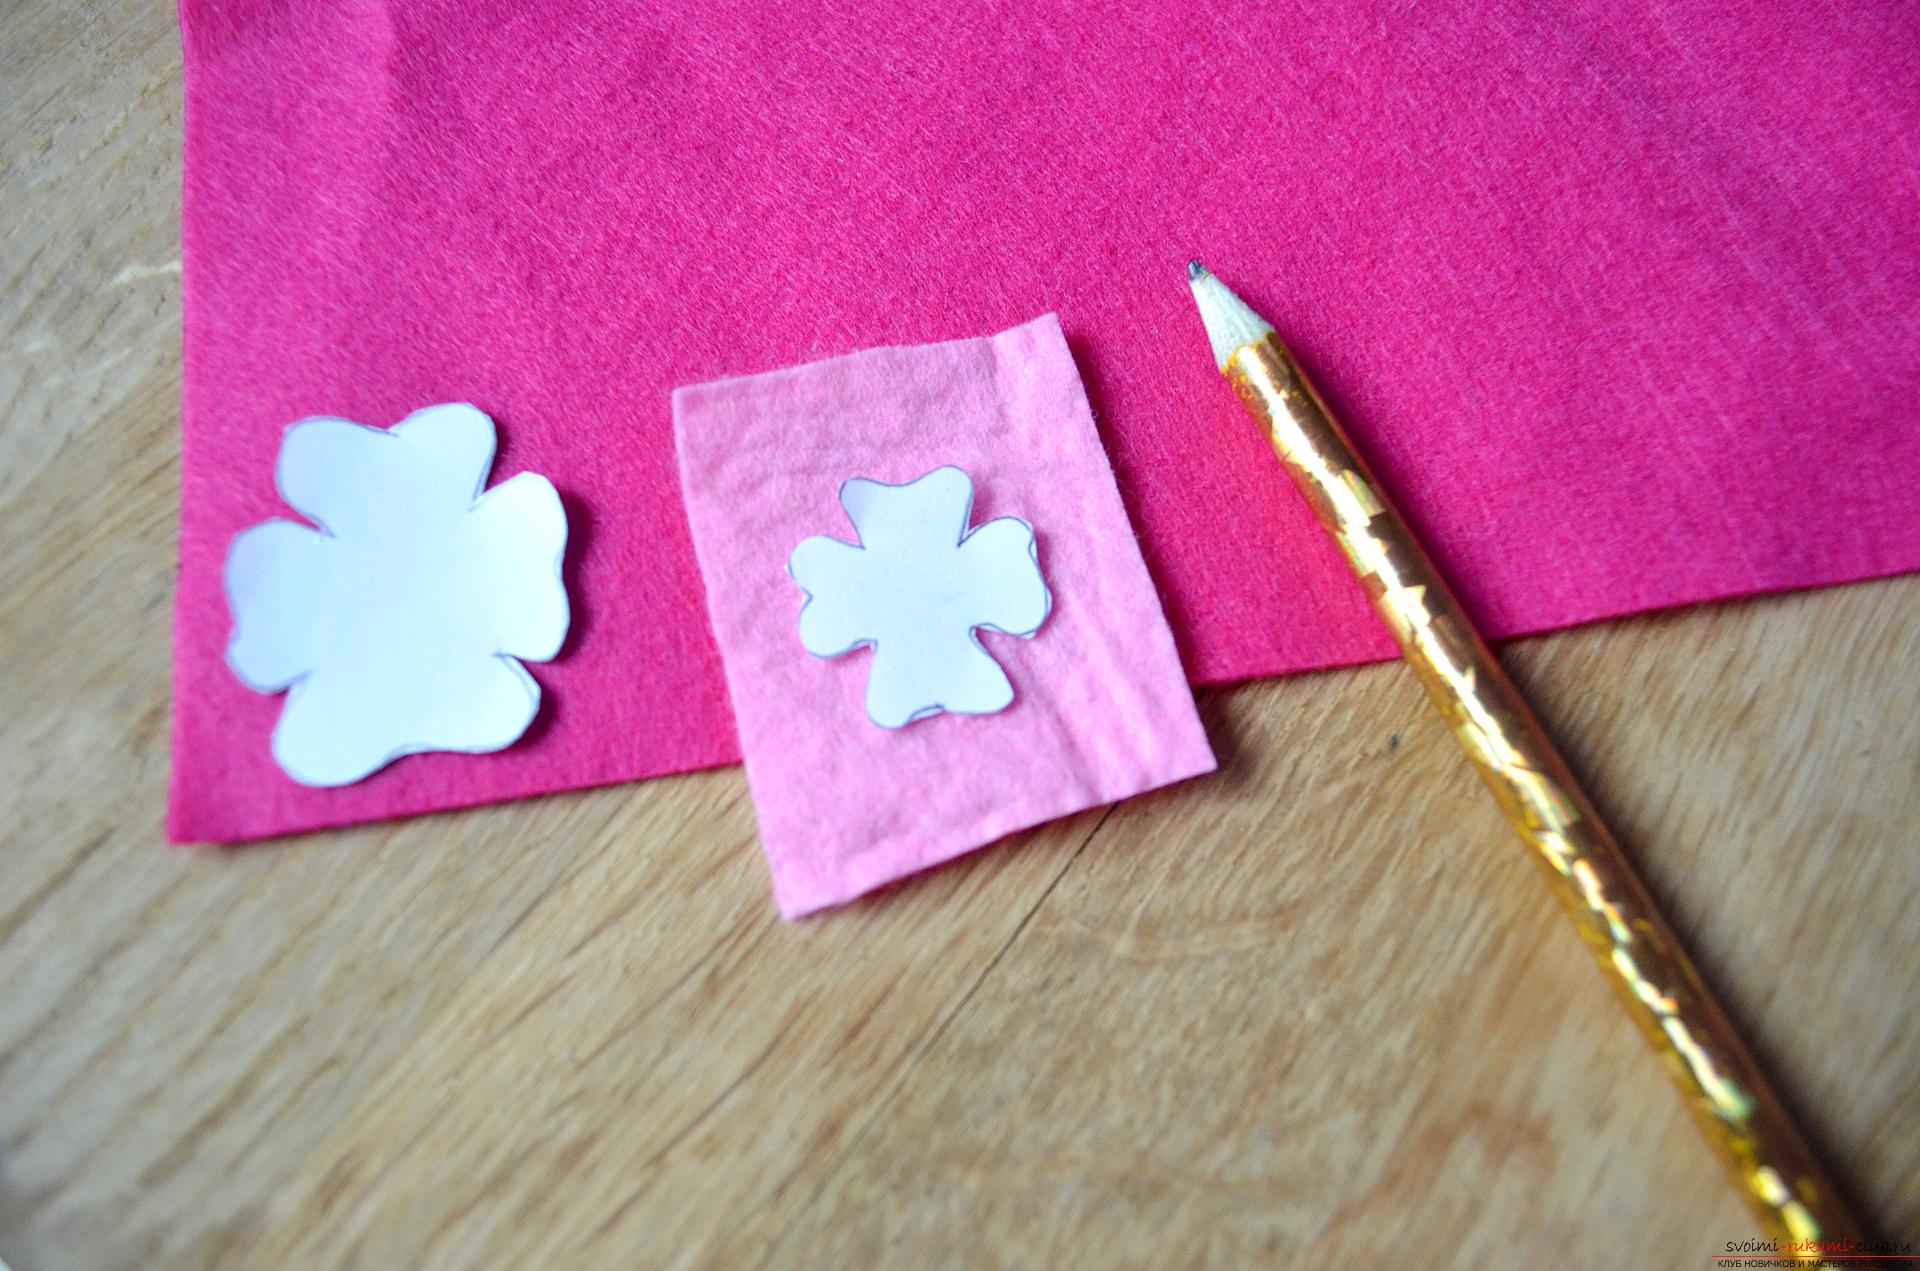 3.Also, we need to cut one green felt leaf to make it easier, we can draw a contour with a simple pencil straight on the fabric or, like we did in the case of a flower, pre-fabricate a paper template.
 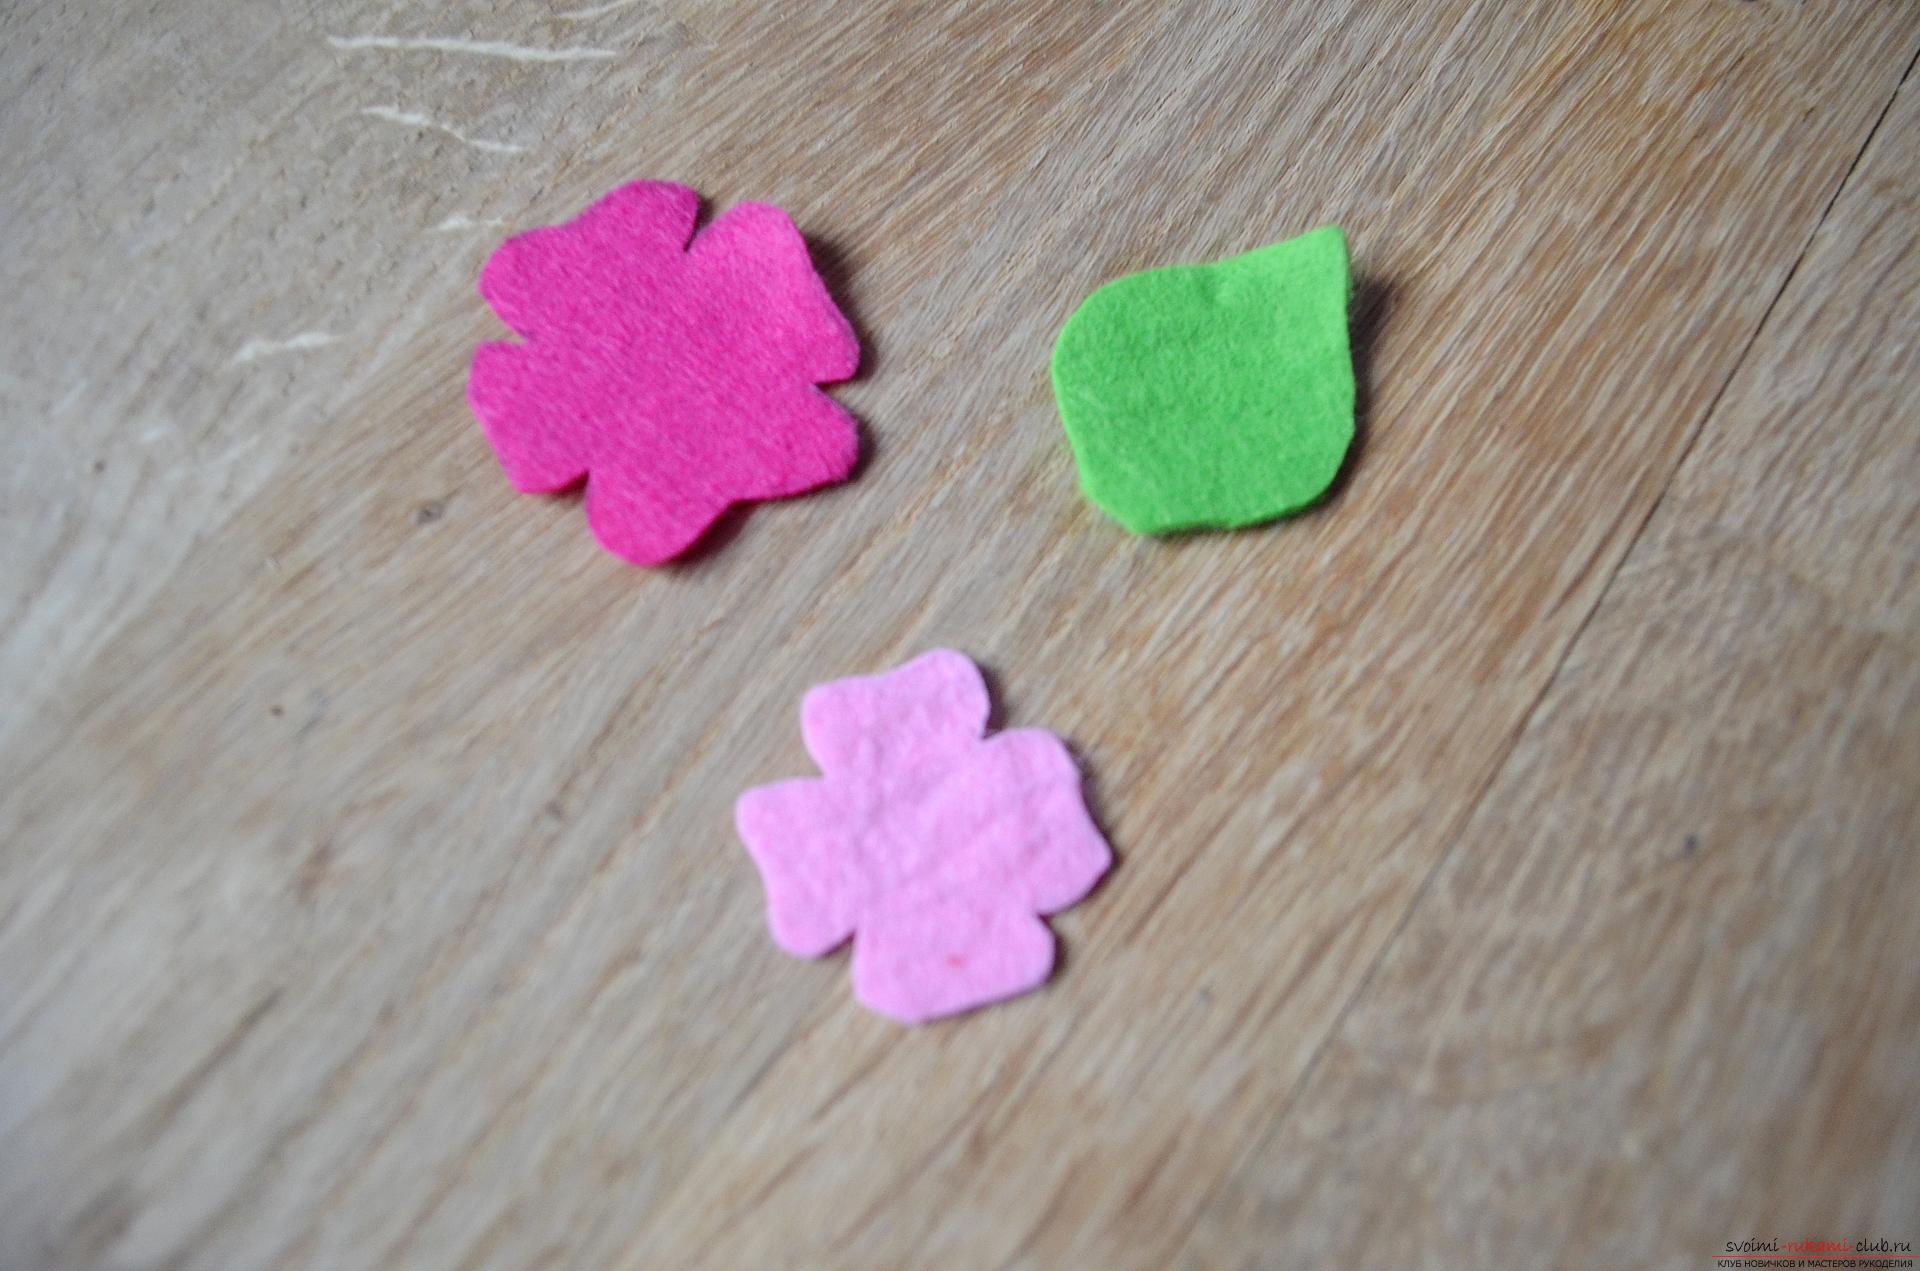 4.We collect all the details of the decoration, namely, the smaller detail of the flower of light pink color is superimposed exactly in the center of the larger one, and the leaf is applied from the bottom of the flower. Then we insert a yellow thread in the needle into the needle in two pieces and starting from the center of the upper flower we make dense stitches of different heights according to the principle of embroidery by the surface. Thus, we will decorate the middle of the pansies and at the same time fasten all the details of the flower together.
 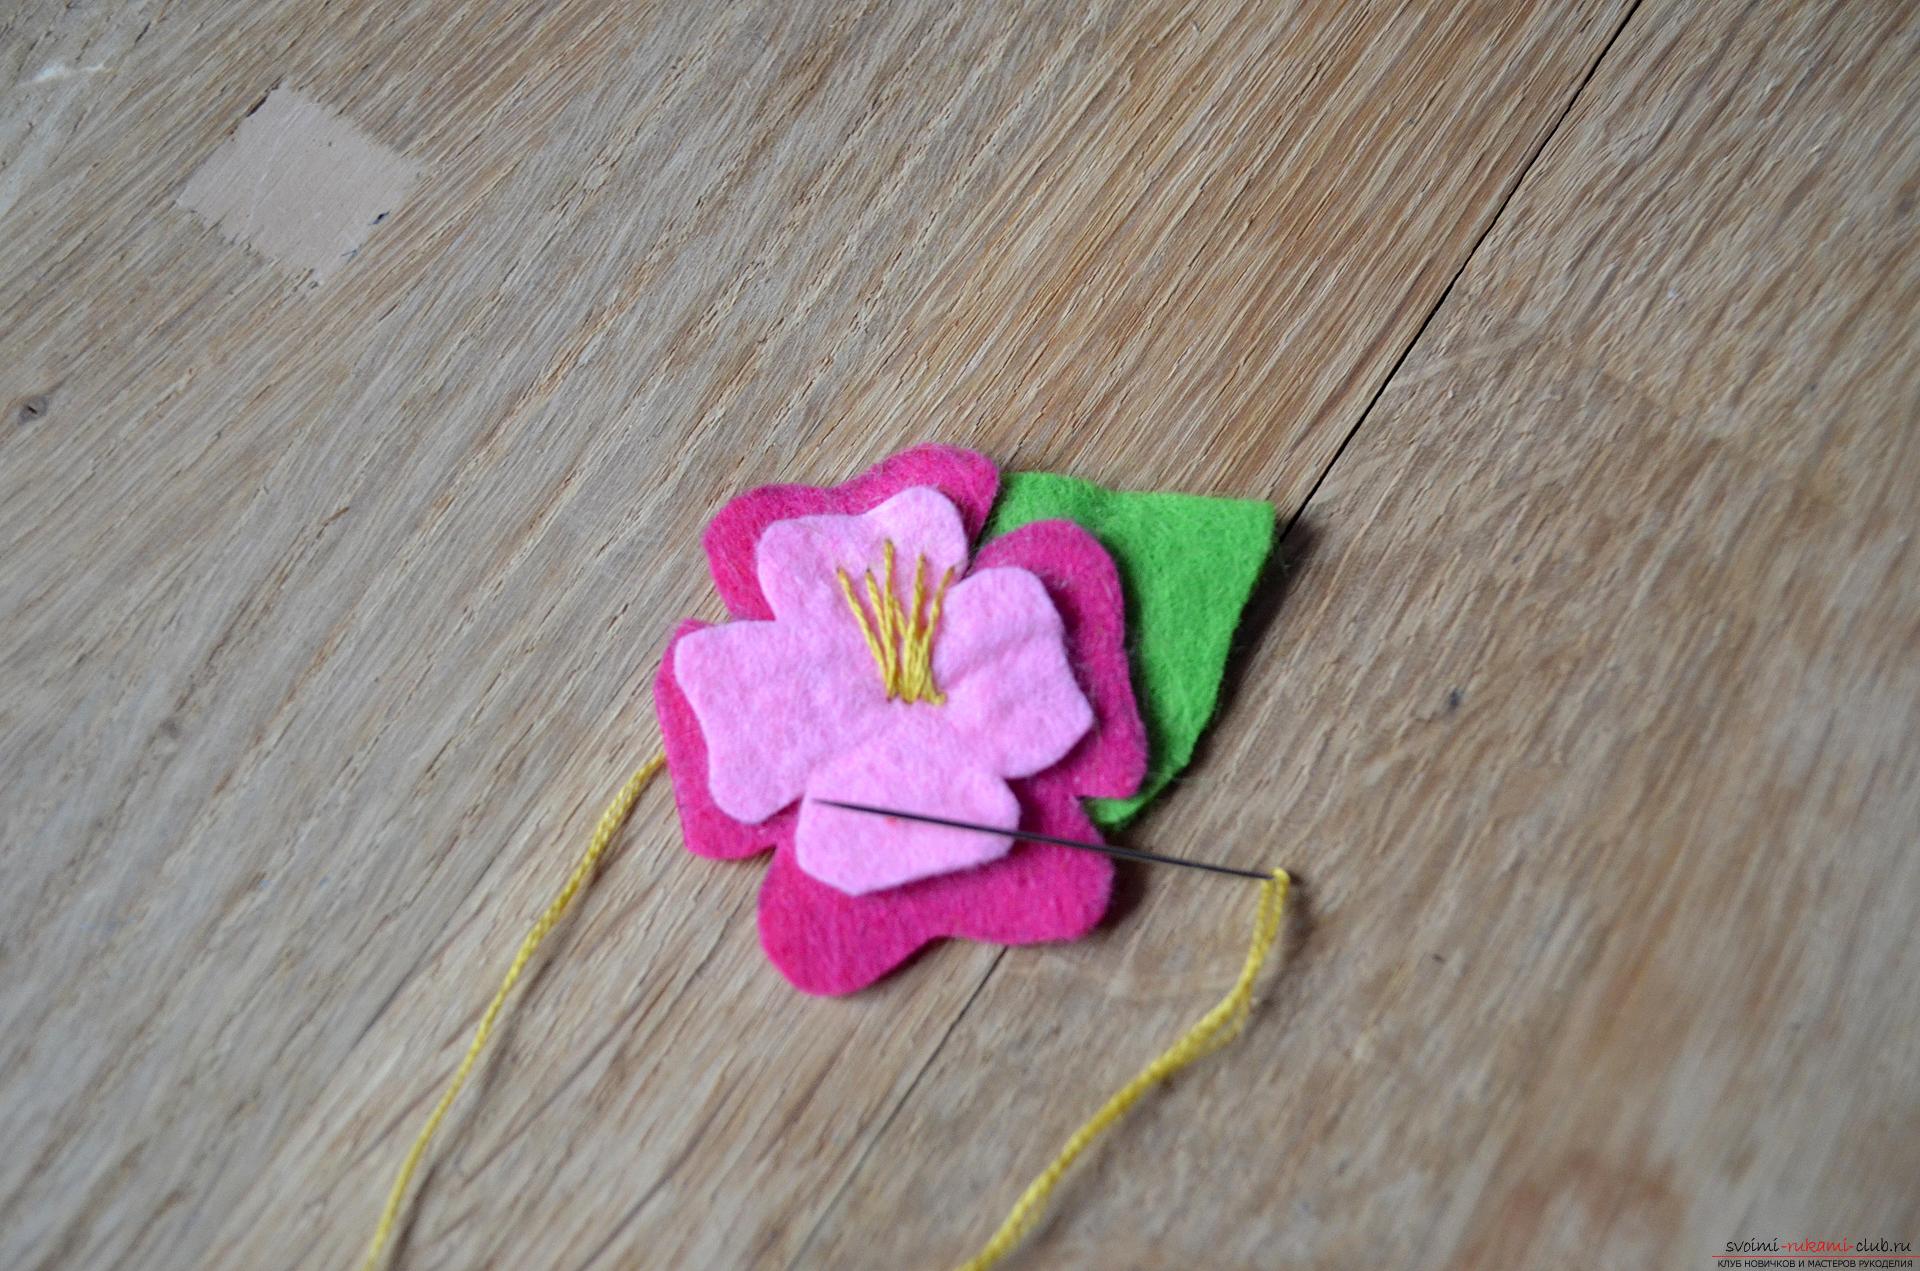 5.Weat yellow threads around the circle of the whole flower. That's how it should turn out.
 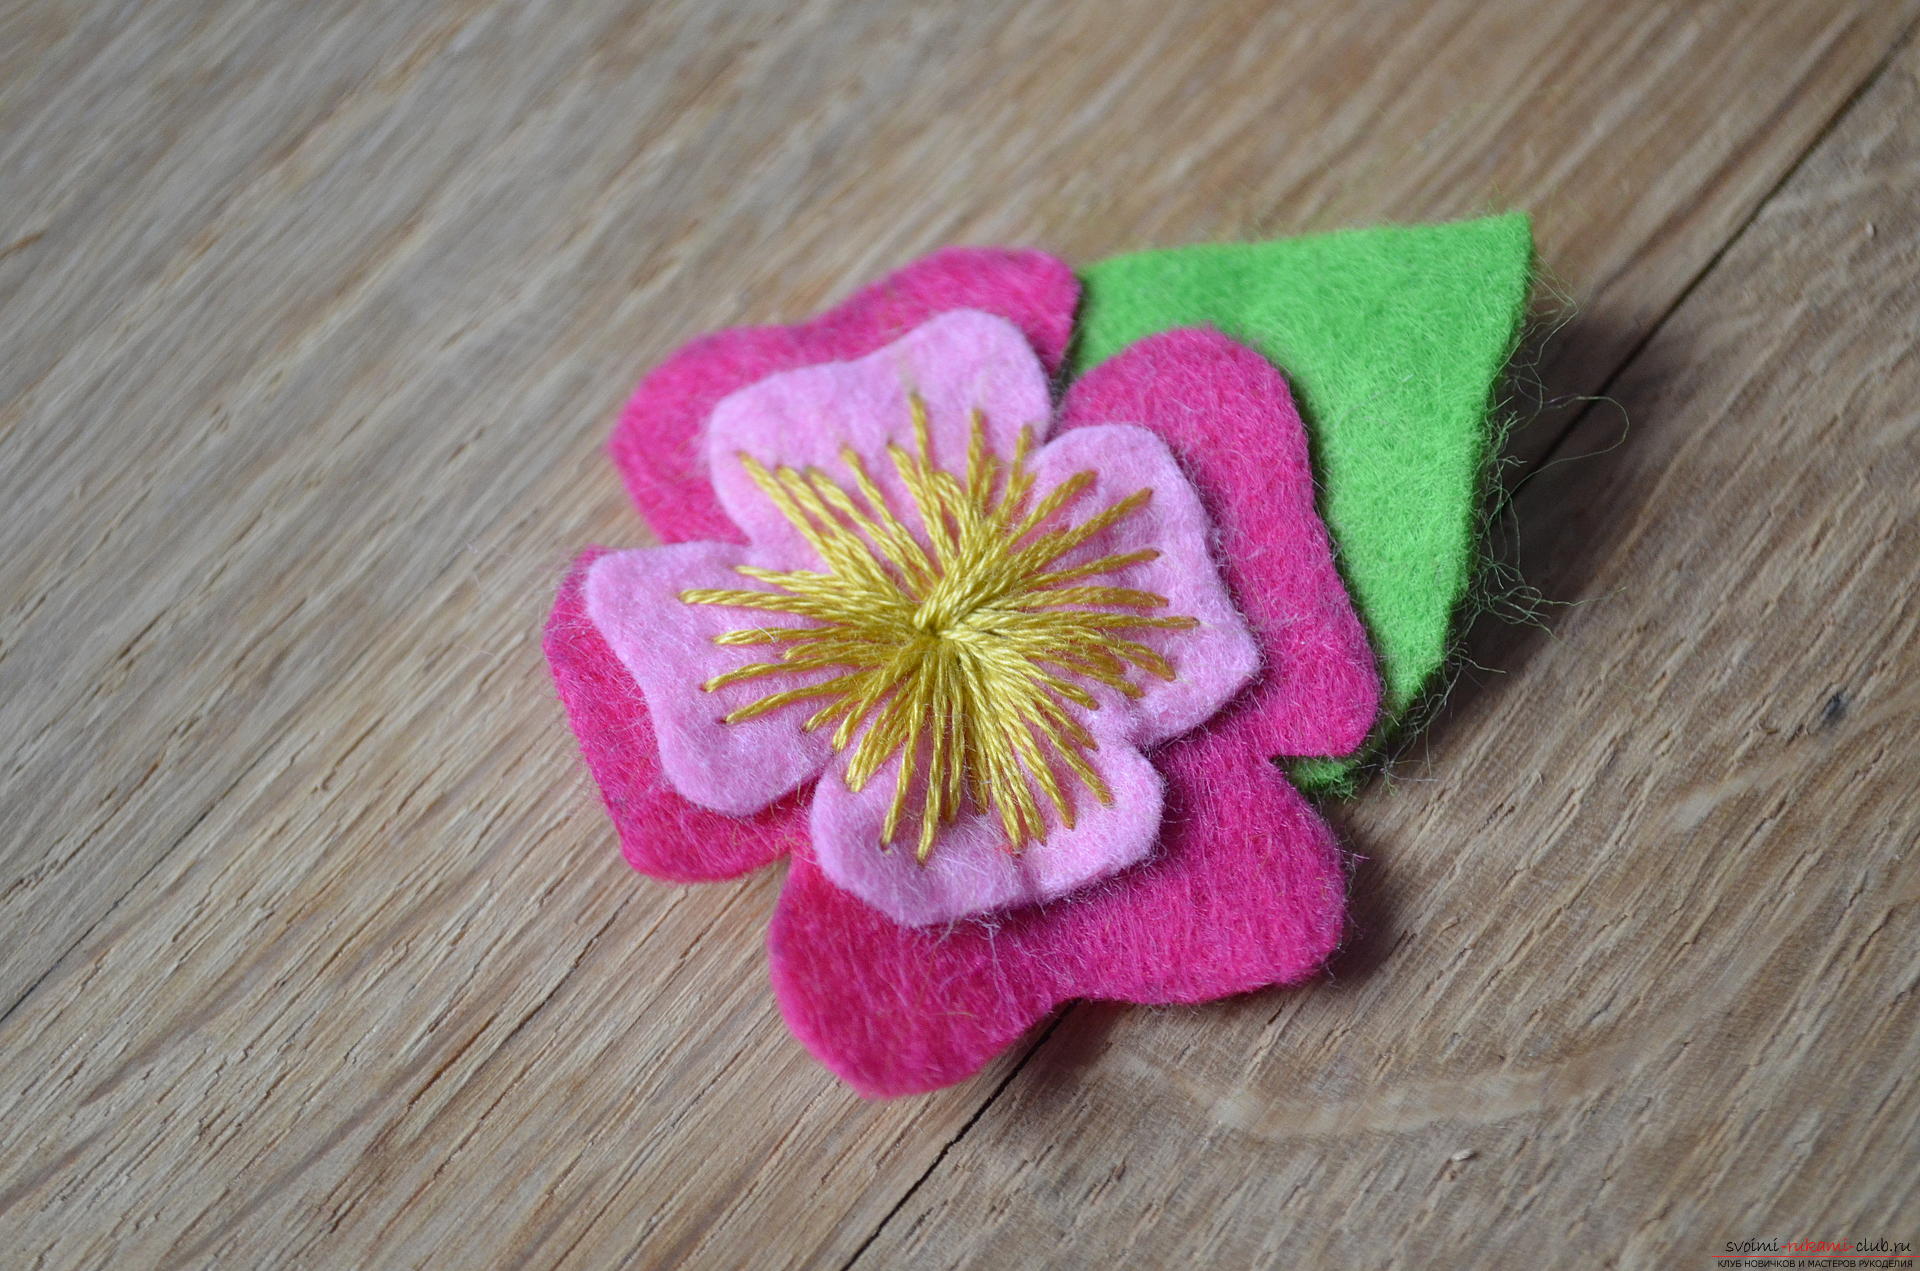 6. Next, we take the thread of the orange mulina in one addition, and we put several orange stitches between the yellow stitches, unlike the first ones, they should not be so thick, and only shade the middle.
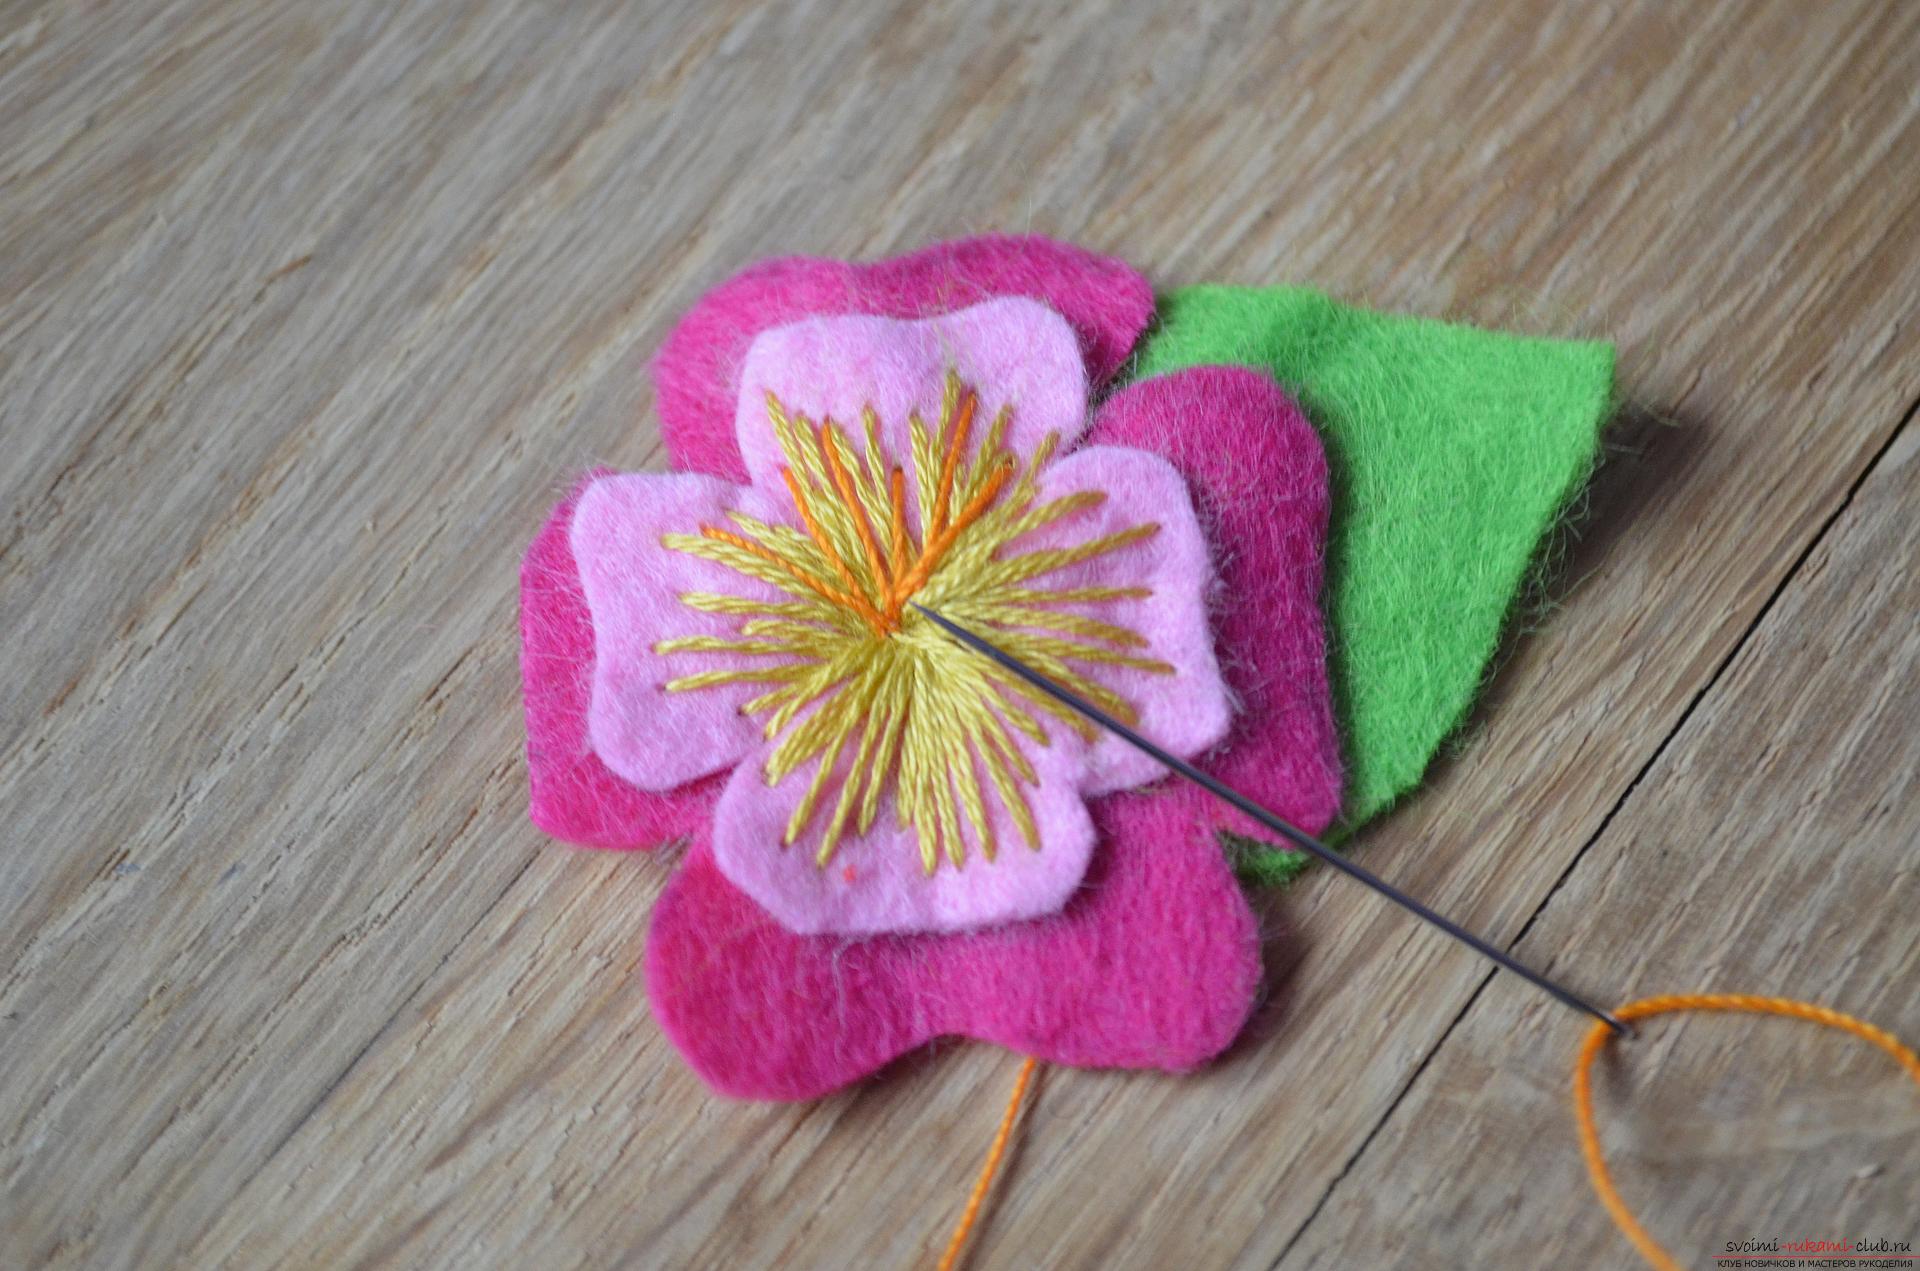 7.Following the orange threads, we take black ones, we also construct a few not very dense stitches along the circle, using a needle with a thread in one addition. Pay attention, all stitches should be laid from the center of the flower to the edge of the petals, like the rays, then the middle should be completely filled with embroidery.
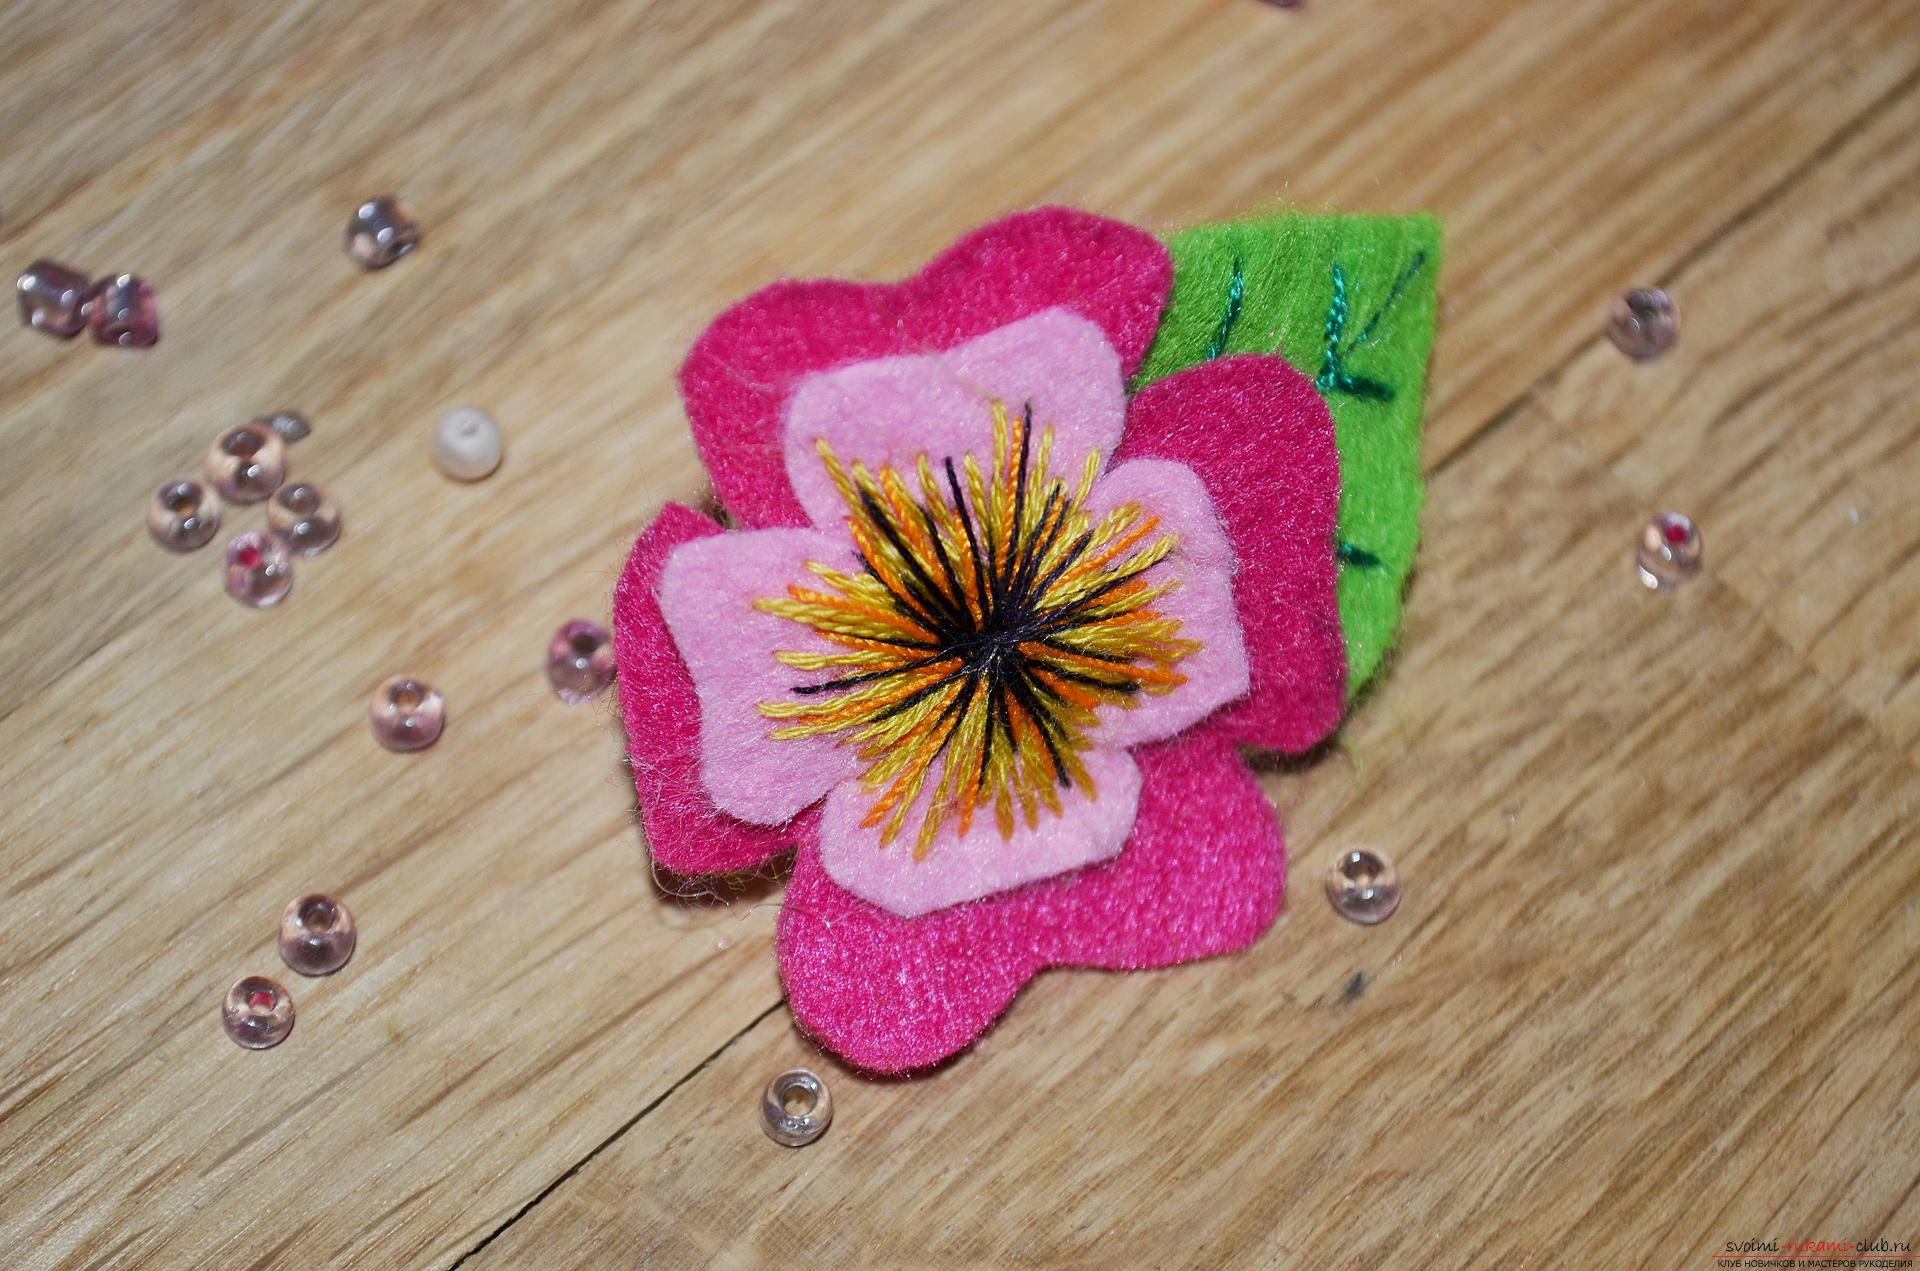
 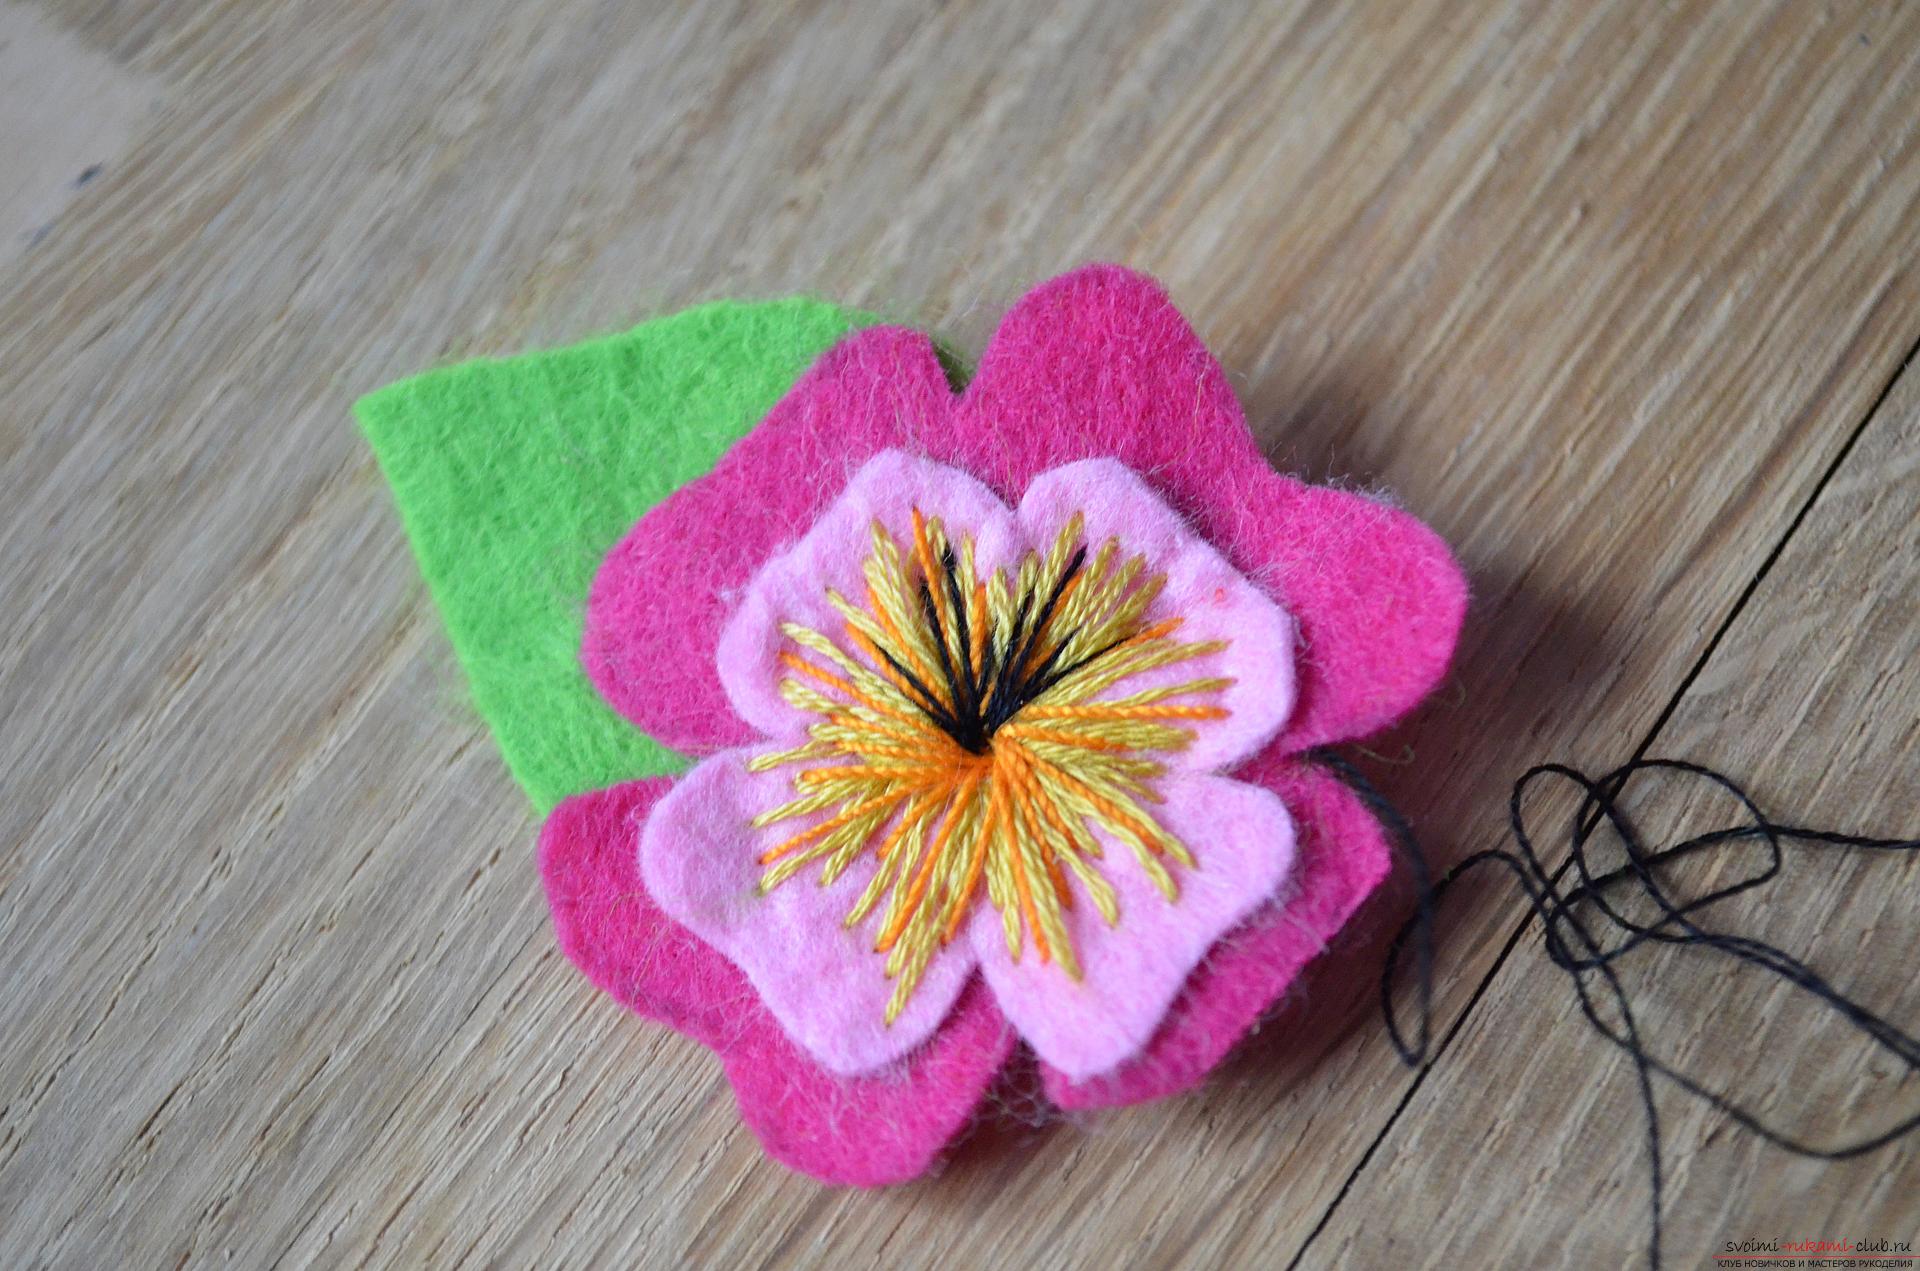 8. Here we have turned out such a flower of pansies.
  9. Next, take the thread of a dark green mulina and embroider it on the leaf veins, we use for this decorative stitch "stalk".
  10. The work on the flower is completely finished, if desired, for the decor of the leaf, you can also use threads of a few green shades, so the decoration will look even brighter and more original.
 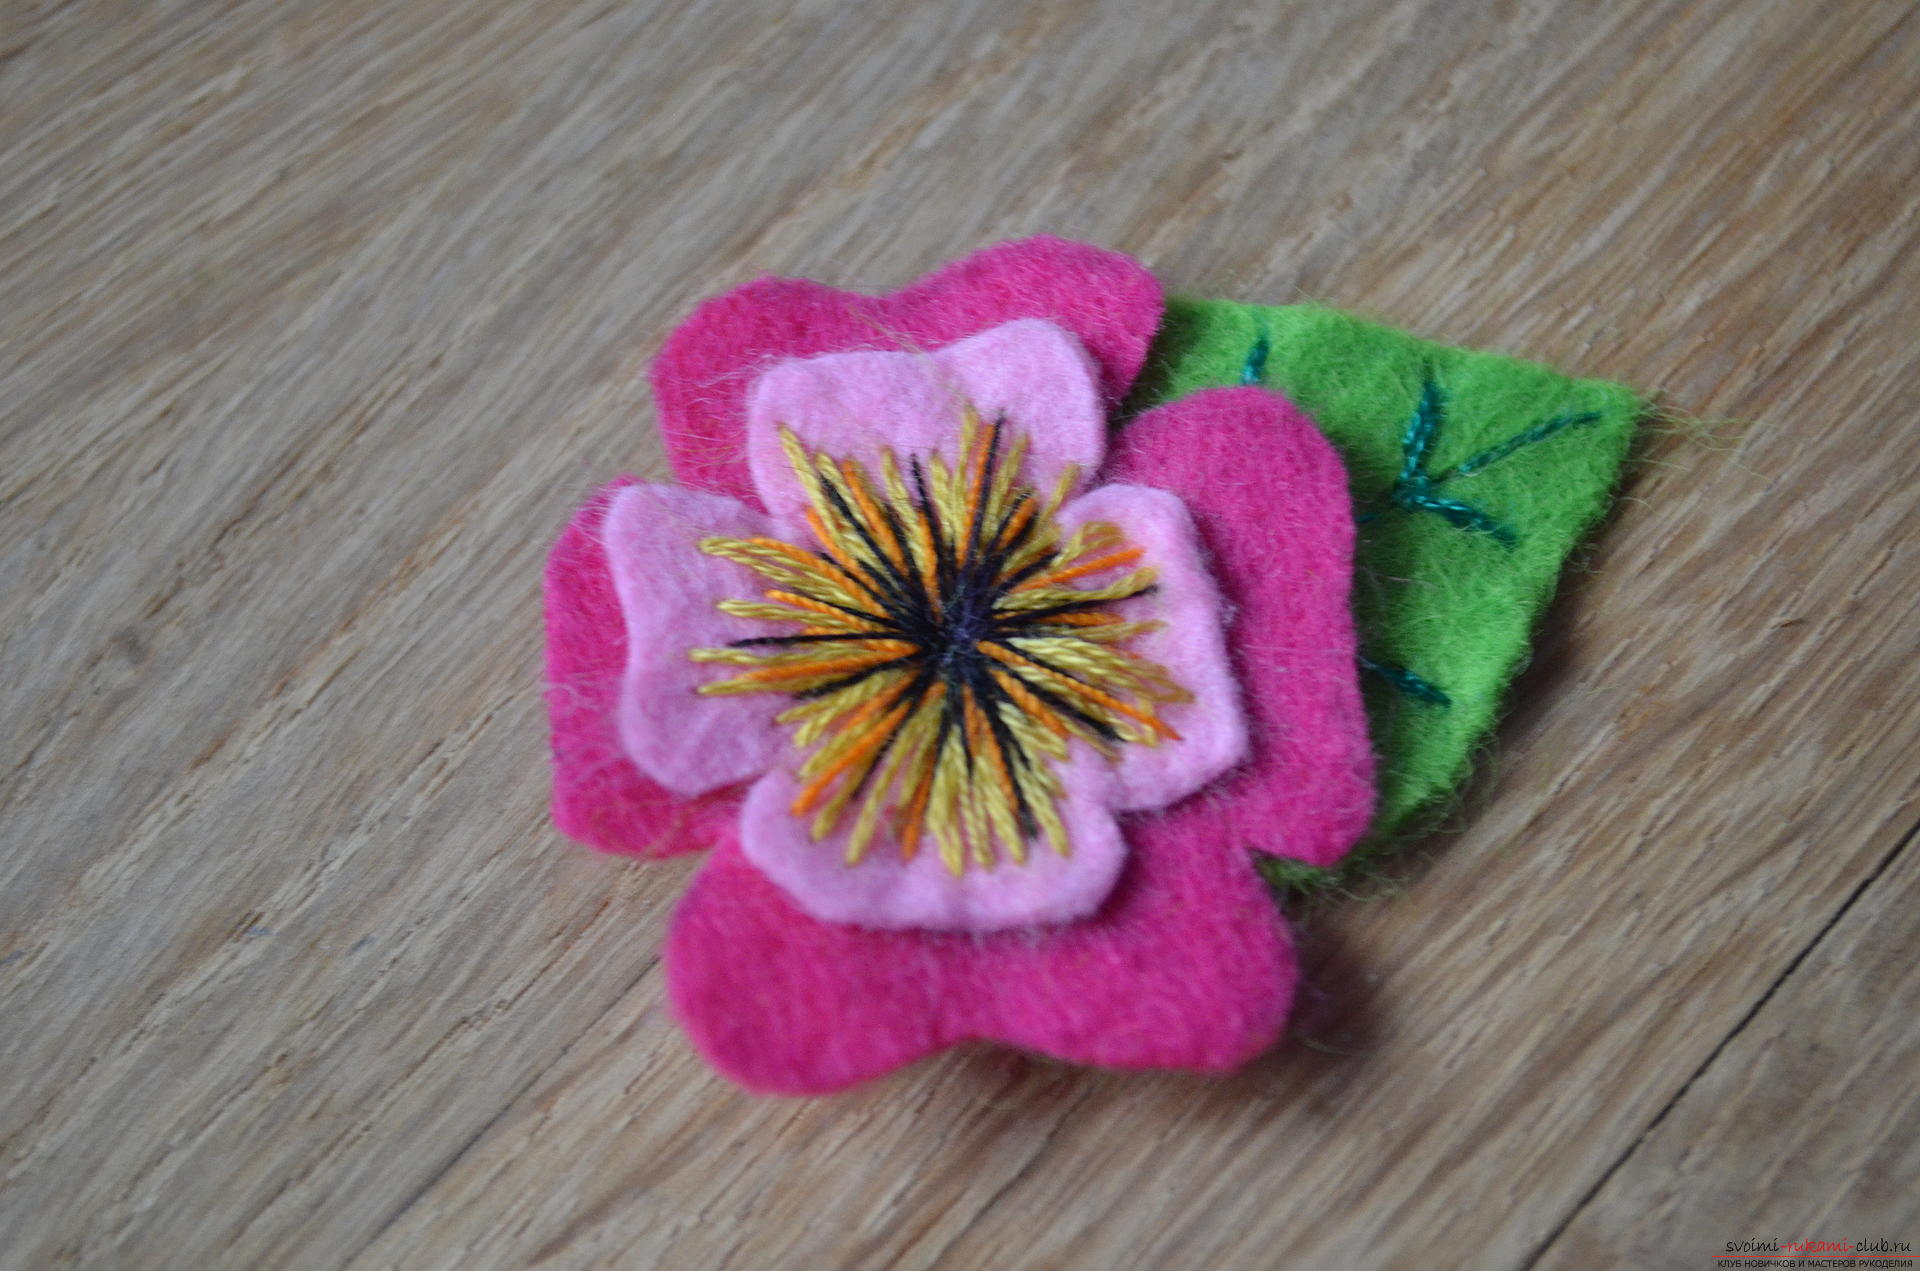 eleven.We can only fix the flower on the jewelery basis for the ring, we will do it with the help of hot glue. We determine in advance how exactly we want the flower on the ring to be located, and only then we glue it.
 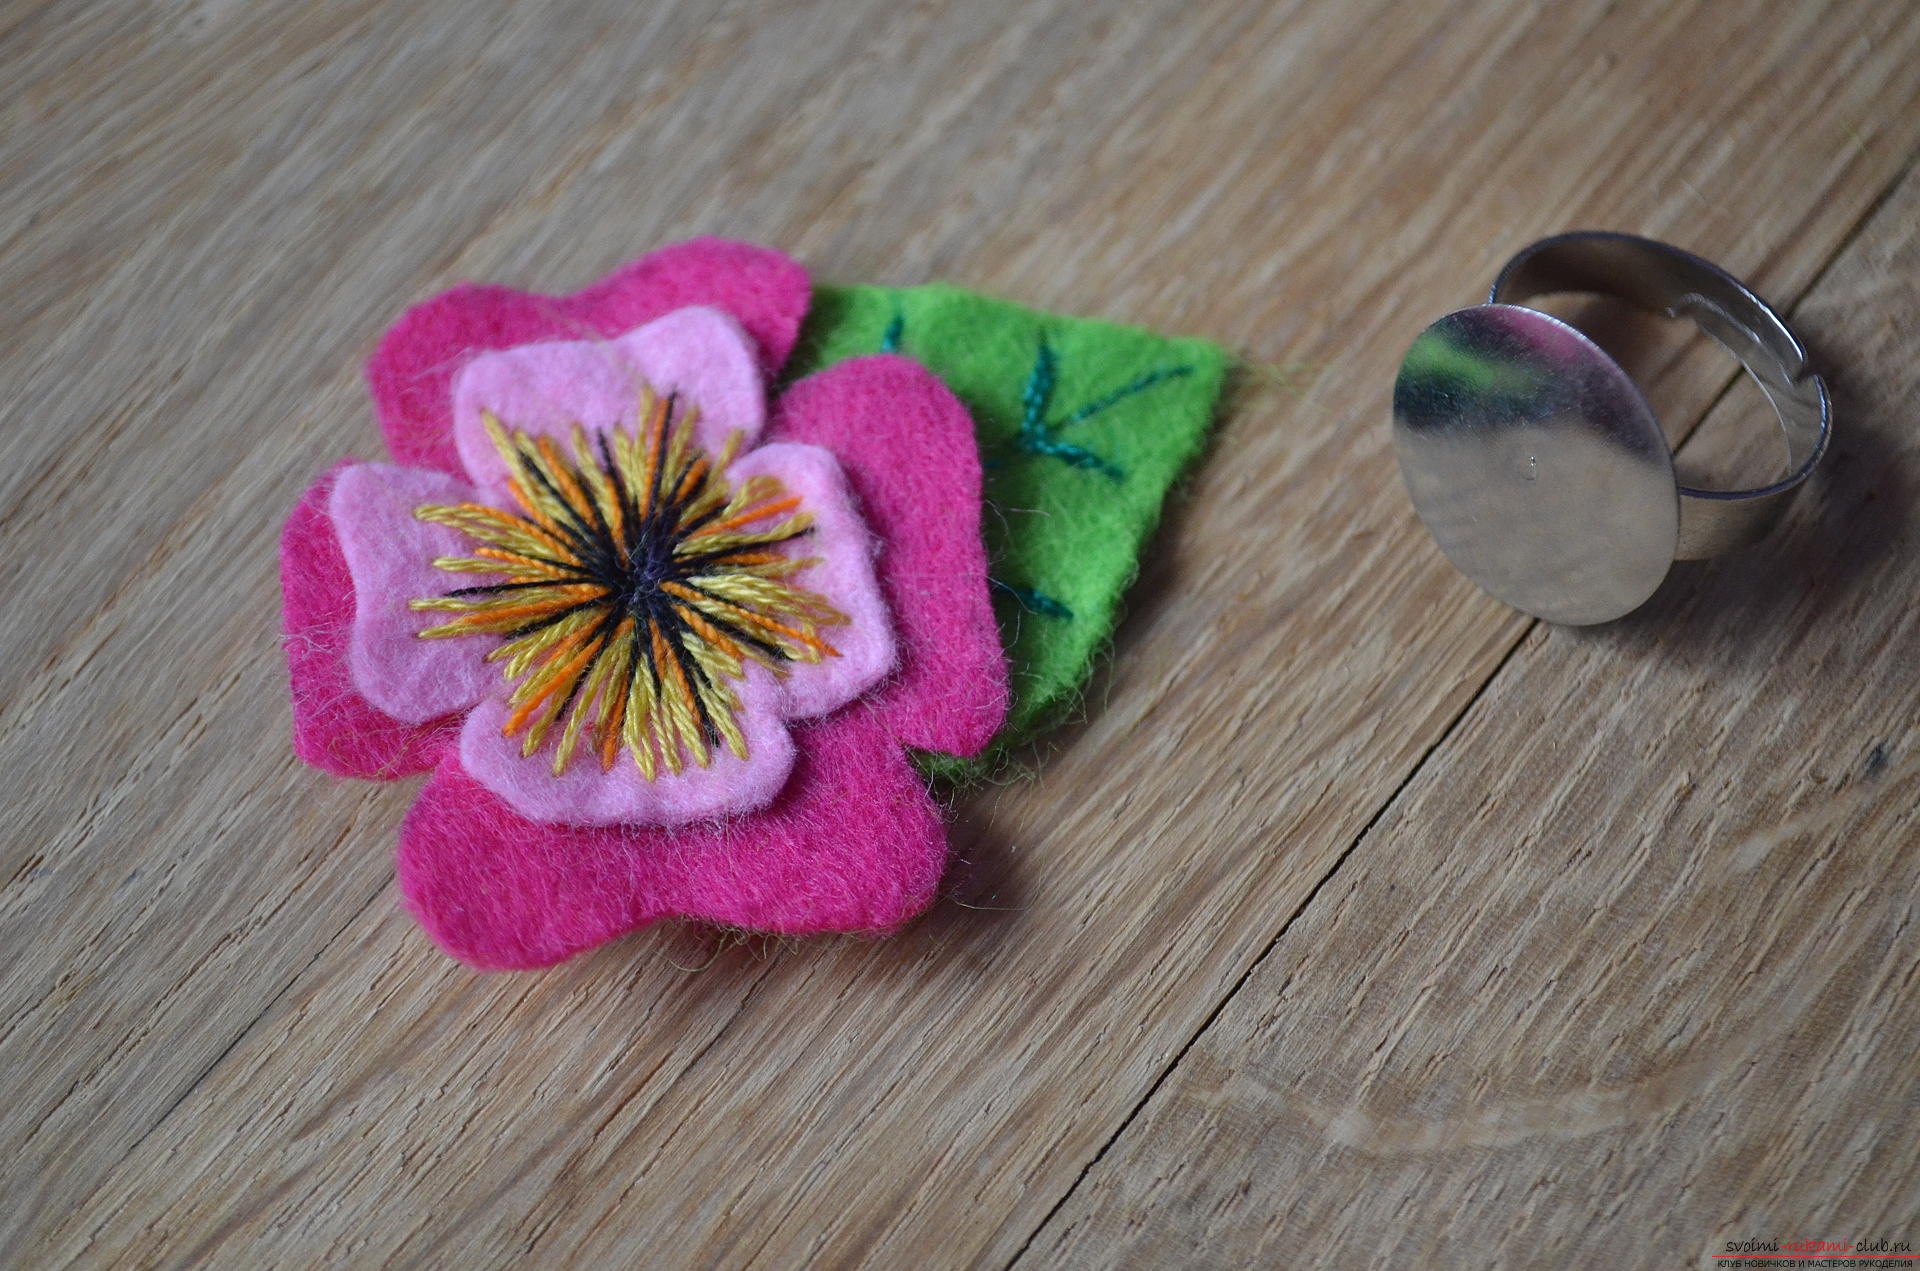 12.This is stylish and unusual ornamentation of felt by own hands - a ring, we have made in a fairly short time. In the kit to it you can also make earrings, a brooch or a hairpin.
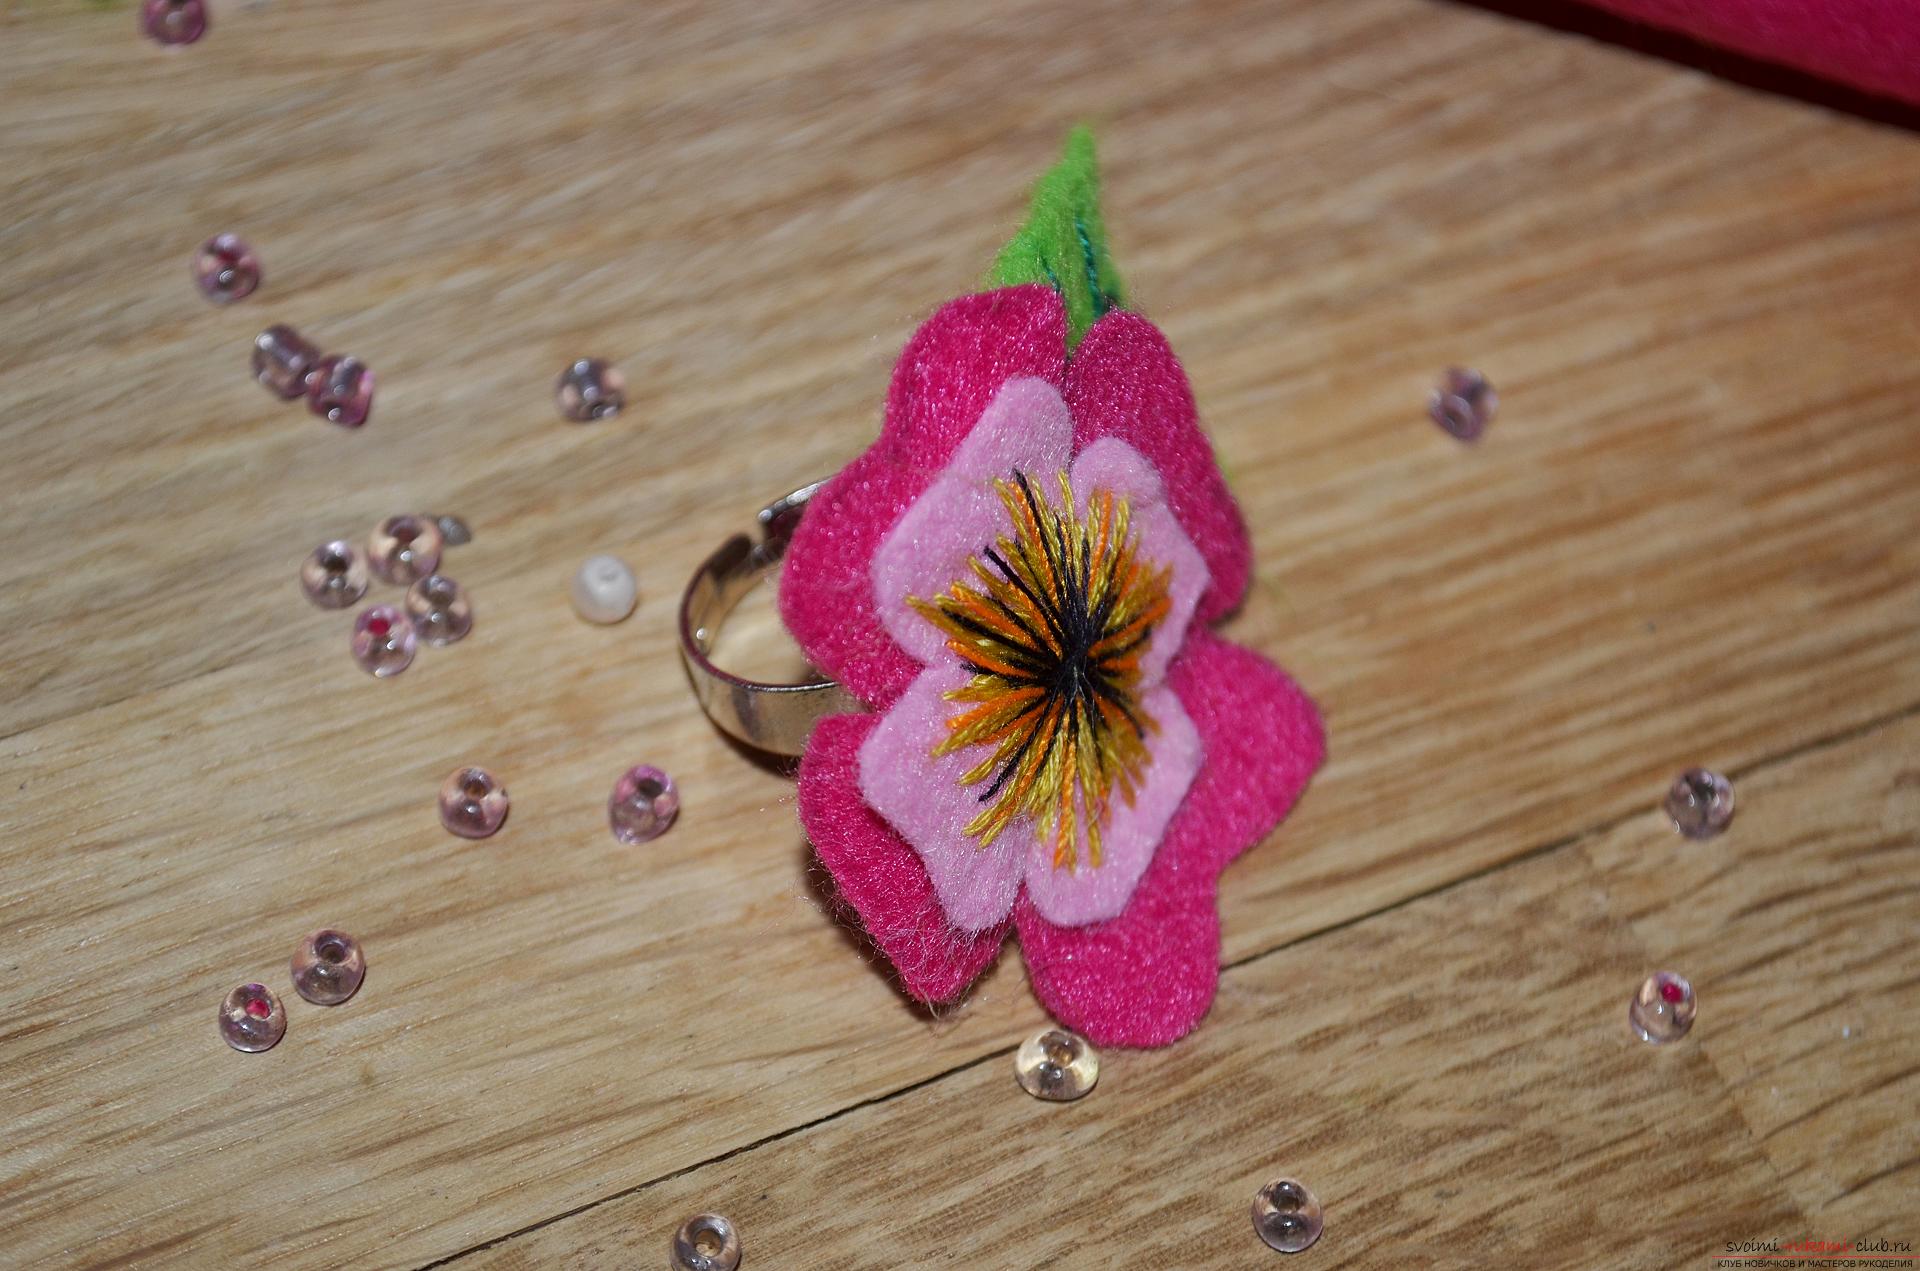
Comments
Related posts:
 Lesson on creating a decorative mini dummy for costume jewelry with step-by-step recommendations and photos
 How to make an original accessory - a tie with your own hands with Kanzash elements? Lesson with step-by-step recommendations and photos
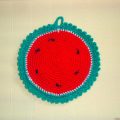 Crochet crochet tutorial for hot "Juicy Watermelon" with recommendations and step-by-step photos
 A lesson on sewing an original shopping bag made of fabric in a pattern, detailed instructions and step-by-step photos
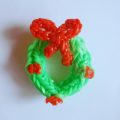 How to make a toy for the Christmas tree from the rubber pieces "Wreath" with their own hands? Lesson on the manufacture of cute toys for the New Year's decor