A creative house for creating order in a cardboard cabinet. Detailed description with photo
In the autumn and winter, home shelves and hangersfilled with all kinds of scarves, scarves, etc. And they usually now and then try to slip off the shelf or from the hanger. It happens because they do not have their own place. I propose to create your own "house" for scarves and scarves with the help of boxes and glue.  To create a house for scarves we will need:
We will select materials 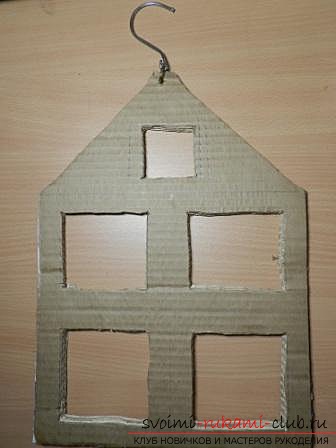 Cardboard thickness of 2.5-3 millimeter can be taken inpost office, but if you have boxes at home from under shoes or from household appliances, then they will do. Children's cardboard is not recommended to take, because it is very thin and overdo it with a thickness is not worth it - it will give an additional load on the hook. In total, we need 3 sheets of cardboard. The paint is taken as water-based, as it is easily washed off from hands and has no sharp odor. It adds a couple drops of blue color and as a result the product acquires a bluish tinge. You, if you wish, can take any other paint.
 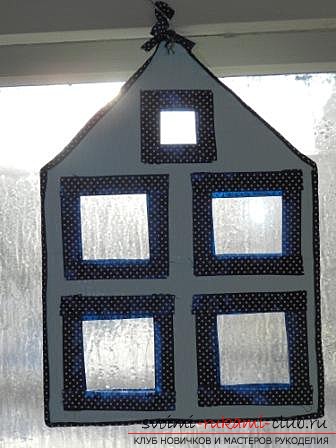 Glue was taken PVA universal, although you can take and "Moment". This is optional. Having collected all the basic accessories, we can start to make a hanger for scarves.
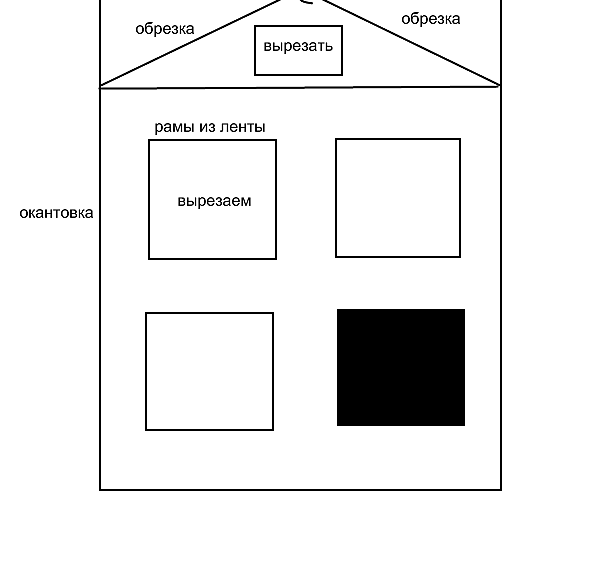
  First, we glue all three sheets of cardboardfriend (this can be done one day before the main job, if you work with PVA). In the end, we will get such plywood, which will serve as the basis for the hanger. Its size should be calculated taking into account the depth of your cabinet. Most often this is 50 * 50 cm. I got a house 30 * 40 centimeters. We make holes in the plywood for passing scarves, preliminary outlining them with a pencil. Here, a stationery knife will come to our aid. The upper corners are cut to form a roof. At the top of our roof a hole is made for the hook. In our case, this is the letter S curved from the wire. Note that the distance to the top from the hole for the hook should be at least 2 cm, otherwise the hook will break through the cardboard under heavy load.
 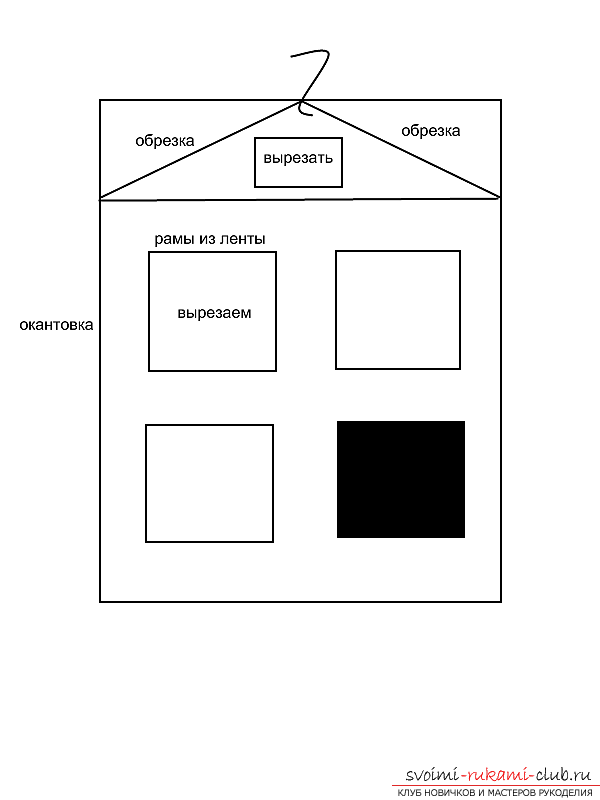 Then we paint the house with a brush and give itto dry out. It will take about an hour or two. You can paint in two layers. When the paint dries well, we proceed to decorating the hanger. Here you can come up with a lot of different options. One of the most simple options will be to cover the house along the perimeter and the windows with a satin ribbon. Which is what we will do. Then it is necessary to dry the product a little. That's all House for scarves ready!
Comments
Related posts:
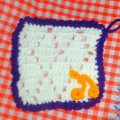 A lesson on knitting the cradle under the hot crochet "Elegance". Detailed description of the procedure for working with photos
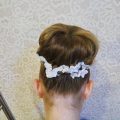 How to create a New Year's hair at home for long hair? Detailed description of the process of creating a hairstyle with step-by-step photos
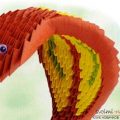 How to create a craft in the technique of modular origami - snake, step-by-step photos and a detailed description of the process of creating a module and crafts in general
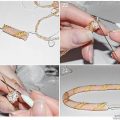 How to make a tourniquet from beads, weaving braids of different sections, crochet crochet, step-by-step photos and a detailed description of the creation of beaded harnesses and ornaments on their basis
 How to make a decoration on the Christmas tree "Gingerbread House" of felt with your own hands? Detailed description of the stages of work with photos