
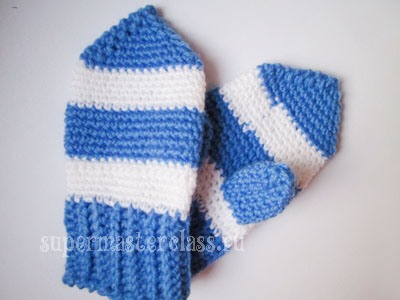
Crochet baby mittens: master class
 We have already told how to tie. And today’s our master class is for those who prefer the hook to the needles. Crochet mittens for children knit pretty quickly. The result will please you: tight knitting with single crochets makes the finished product very warm. However, mittens can be made even warmer, if you knit them somewhat freer than you need for a children's handle, and add lining of knitwear or even fleece. I knitted crochet baby mittens in addition to. And that is made of acrylic, but you, of course, can choose the yarn on your own - for example, wool, if the child is older, and mittens do not have to be washed frequently. Because of the frequent washes, I prefer mostly soft acrylic - it tolerates frequent washes, is pleasant to the touch and still quite warm.
For crocheting children's mittens, I needed:
acrylic yarn of two colors (white and blue) YarnArt Elite (100 g / 300 m); hook suitable to her size. 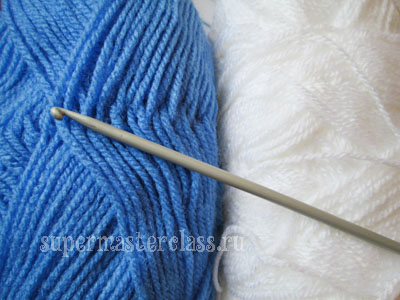
Crochet baby mittens: job description
Knit baby mittens start with gum aroundwrists. I propose a calculation for mittens for a child of 4-5 years. Of course, this calculation is very easy for you to adapt for mittens of any size, even for adults. I made the elastic cuff on mittens of blue color, 10 air loops wide. Of course, you can make it already or wider - at your discretion. So, we knit the blue yarn 10 v. plus 2 v.p. on the rise. 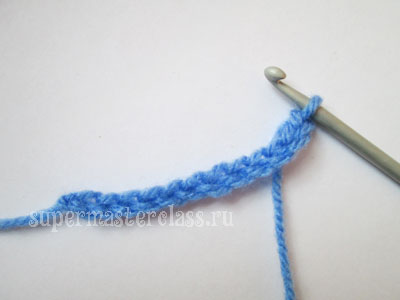 We knit 10 columns with 1 nakidom plus 2 vp on the rise. Knitting unfold.
 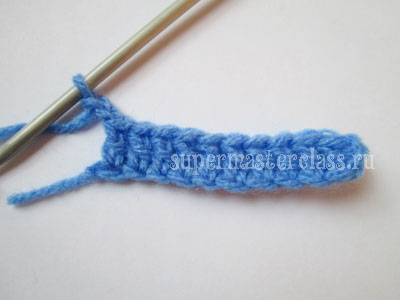 We knit 10 posts with 1 double cover; at the same time, for each post, we grip the front half loop. We reach the end of the series - 2 v.p. on the rise. Turn knitting.
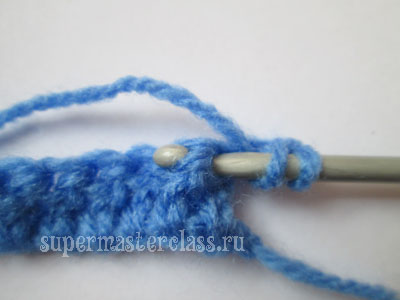
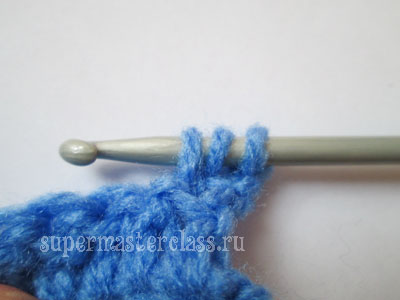
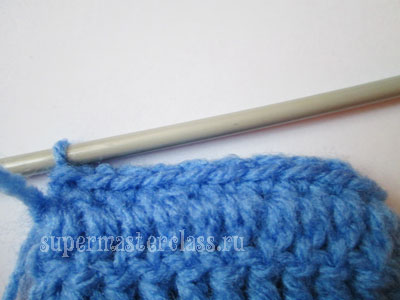
 That's how knitting now looks on the other side.
 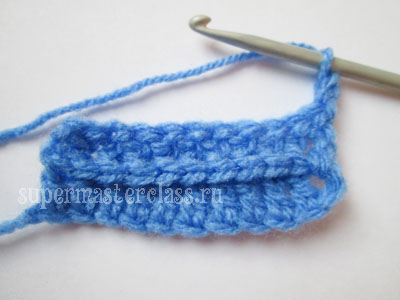 10 columns with 1 double bow, making a grip for each column behind the back half loop.
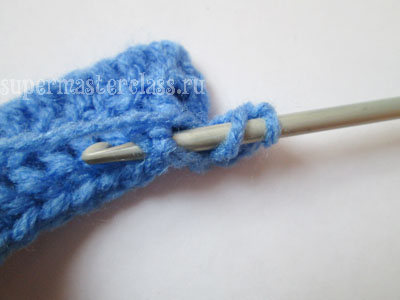
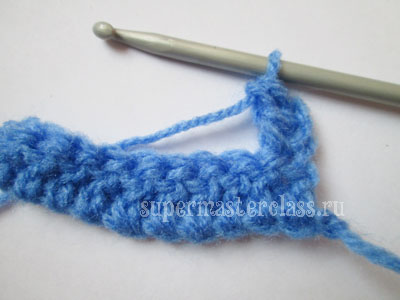
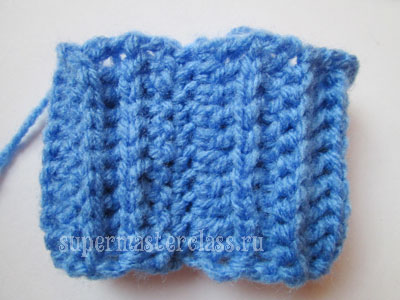
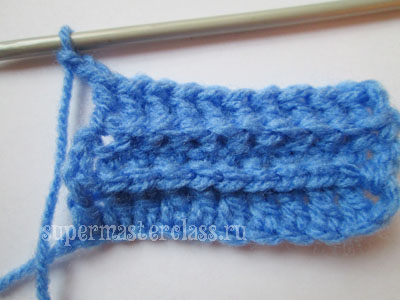 We continue to knit gum, alternating grips along the rows of the front and back half. Thus, we knit 14 rows or as many as necessary.
 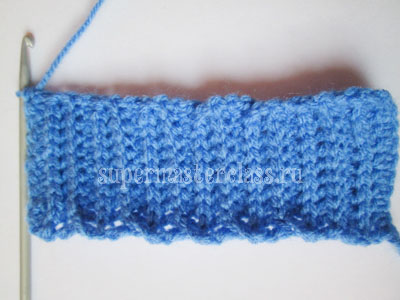 Fold in half, face inside, “sew” the edges with a single crochet. The result is a cuff.
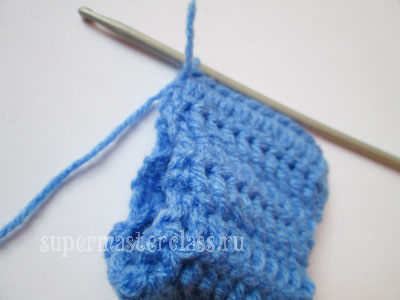
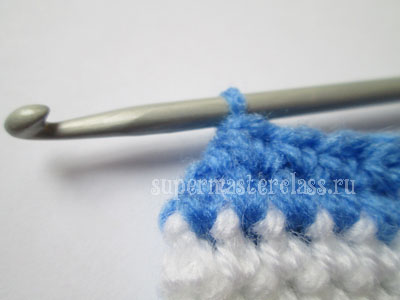
 We tie the edge of the cuff with crawfish step, cut the thread, fasten it, refill the tip.
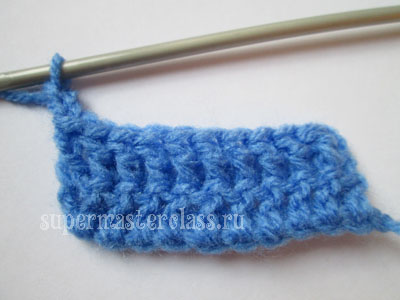
 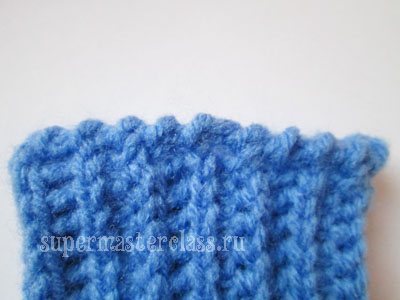 We take a white thread and tie up the second edge of the cuff with columns without nakida. I got them 32.
 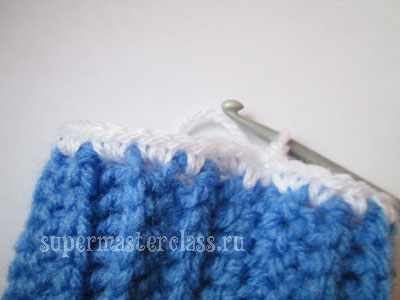 Next, we perform knitting with single crochets. Knit 4 rows.
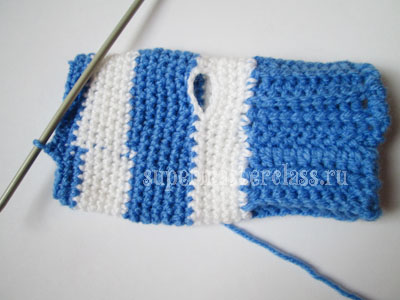
  Begin to knit the fifth row. Having reached the place where there should be a thumb, we do 1 vp on the rise, knitting unfolding and knitting in the opposite direction, to the point where there should be a thumb. I have 4 loops on my thumb.
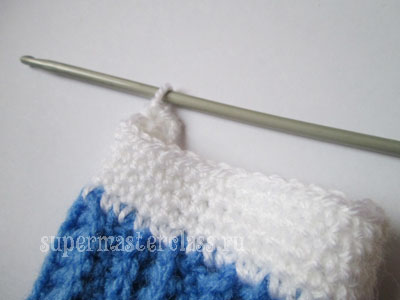
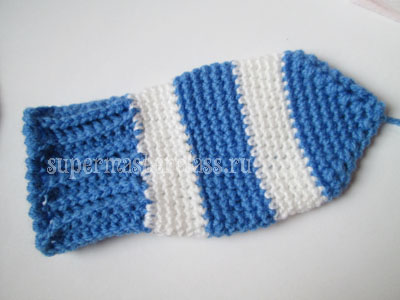
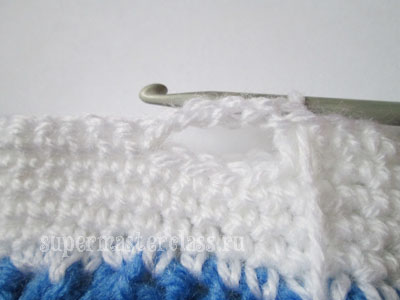 We get to that place, knit 4 vp, we tack on the other side of the hole for the finger, fasten the thread and cut it. We continue to knit children's mittens crocheted blue thread. The beginning of knitting is determined in the middle of the palm, where the seam is the cuff. We knit with columns without single row 6 rows.
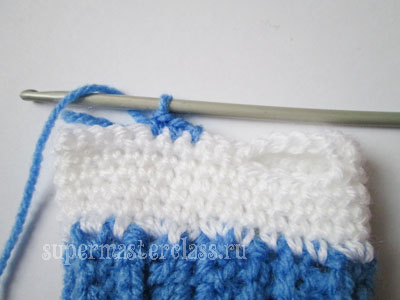
 Then we knit 6 more rows with white thread. On this white thread can be cut, because then the mitten will end, and it will end in a blue stripe.
 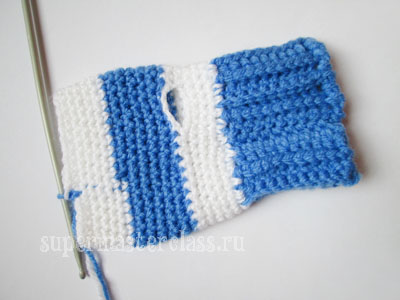 We knit the first row of the blue band without a decrease.
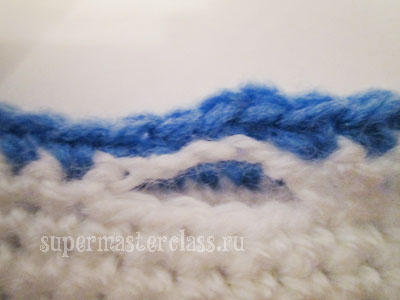
 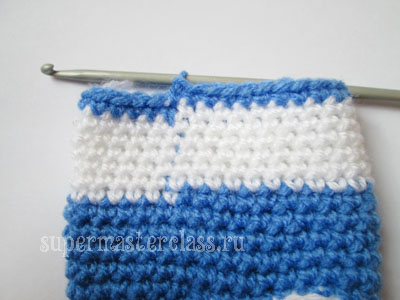 Starting from the second and each subsequent rowknit the final blue strip like this: reaching the fold of the knitted fabric, diminish one column; We knit the “end loop” with a single crochet column. Then, having already passed to the second side of the canvas, we again reduce one loop. So we make on each bend until the mitten closes a beautiful corner.
 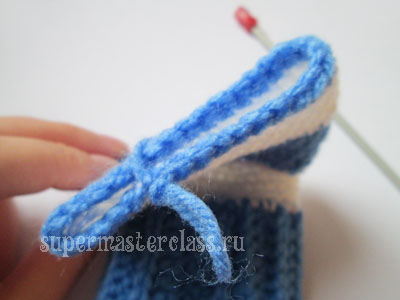 Pay attention to the method of reducing loops (without a hole):
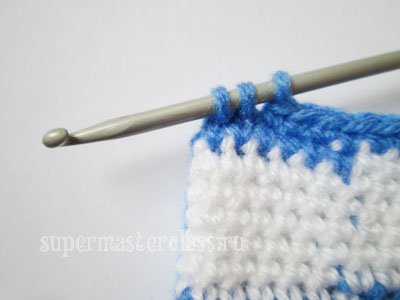
 The thread is fastened, cut off, the tail is tucked inside out. Go back to knitting your thumb.
 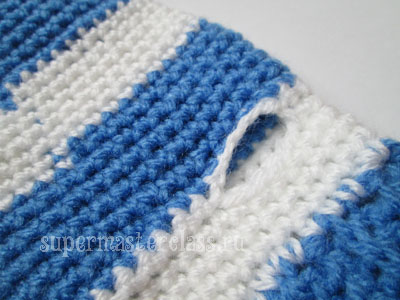 We tie the hole with single crochets - I got them 12.
 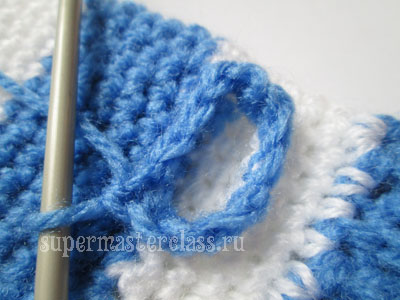 7 rows knit with columns without nakida.
 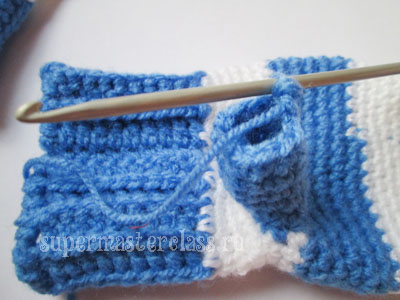 Starting from the 8th, we subtract every second loop. So we make 2 rows. Then close the hole, cutting all the loops. The thread is cut, the tail is tucked inside out. In the same way we knit a second mitten (do not forget to mirror the location of the thumb).
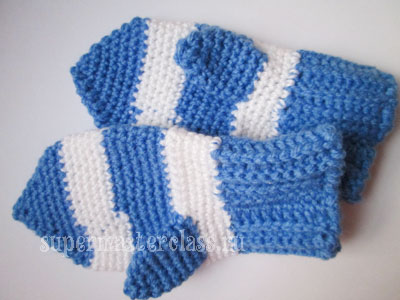
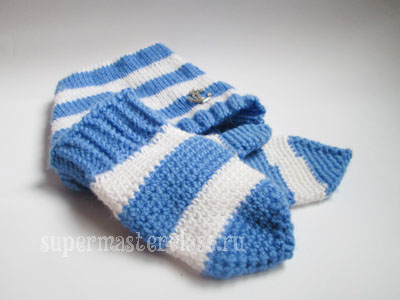
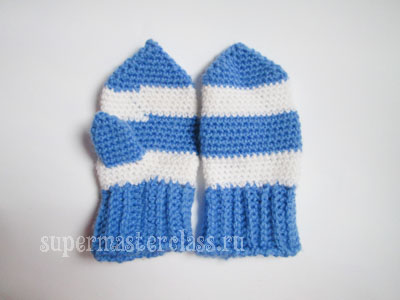 Crocheted baby mittens, warm and beautiful, ready for a walk with your baby. Eva Casio specifically for the site Previous article: Next article:
Comments
Related posts:
 This master class with the description and the scheme will teach how to bind the mittens with two spokes
 This master class crochet with a detailed description will teach you how to knit crochet flowers
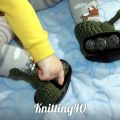
 Toys-mittens dragons crochet: master class
 A master class on crochet will teach you how to tie your mittens with your own hands.
 Baby slippers crochet. Master Class!