Crochet warmer on an egg with rabbit ears: a master class
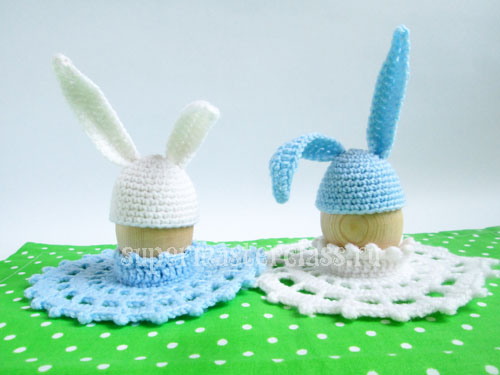
 Continuing the series of egg warmers, we offerone simple master class. This time the warmer will be in the shape of a rabbit. Decorate breakfast on a weekday with this accessory - and you will be surprised how quickly and with pleasure your child will join the game. And if an egg for breakfast is your family tradition, then do not be surprised if tomorrow and the day after tomorrow the baby wakes up early to make sure that the rabbit heater keeps the egg safe from cooling. Our master class presents a laconic version, and you can give plenty of imagination and decorate heaters for eggs at your discretion: for example, tie bows on ears; Embroider eyes and spout. If a girl is growing up in a house, tie such hot-water bottles not in a single copy: such a cap will sit perfectly on the head of the Monster High doll.
To bind such a heating pad for an egg, you will need:
pastel-colored acrylic yarn (100 g - 350 m); hook 3 mm; sewing thread to match the yarn; needle; scissors; egg for trying.
Egg warmer with rabbit ears: scheme and description of work
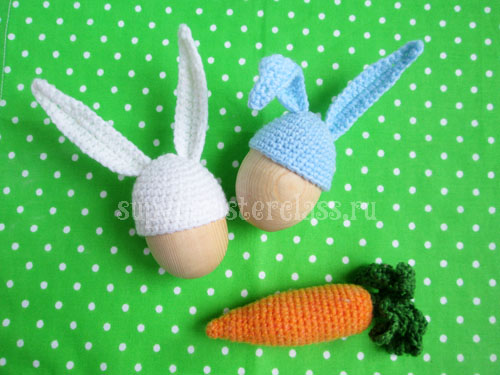
In the master class on knitting egg caps in the form of a carrot, we have already told how to tie the base for such a heating pad. We offer and knit a cap according to the description provided in the article. 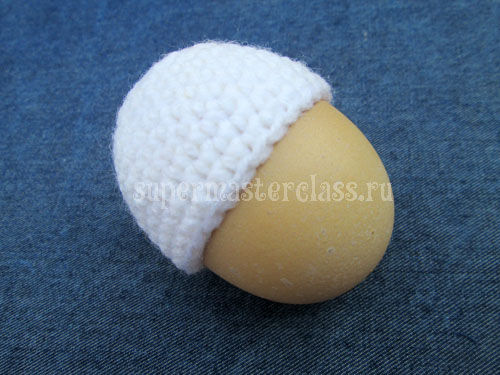 After this, proceed to the knitting ears. For each ear knit: 16 v.p. + 3 inc. lifting.
 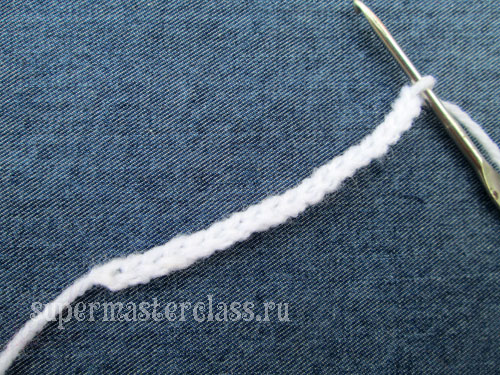 12 double crochets,
 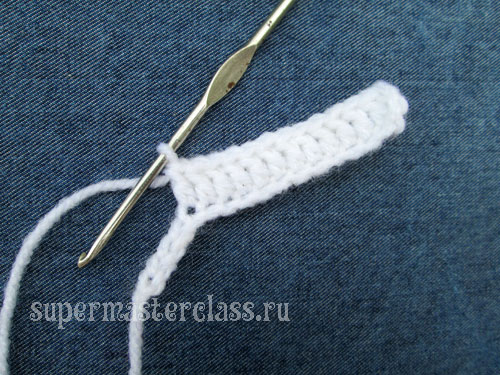 3 tbsp. without nakida Only one loop remains: we knit 3 tbs. without crochet, knit turn and continue to knit the ear on the second part of the initial chain of air loops.
 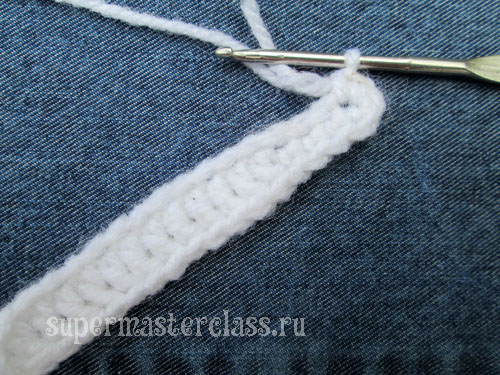 3 tbsp. without nakida, 12 tbsp. double crochet, 1 tbsp. double crochet in the first air lift loop. The thread is fastened and cut.
 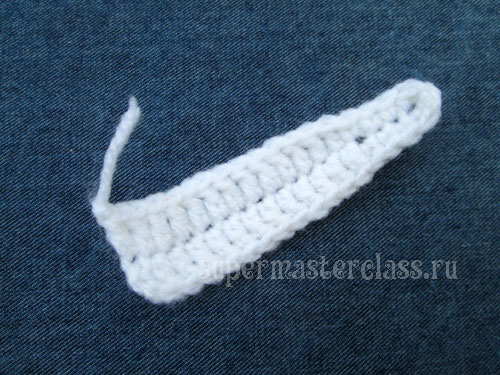 You will connect the second ear without problems.
 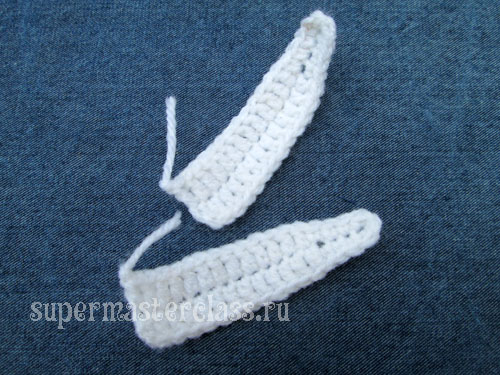 The scheme to knit the ear for the heater:
 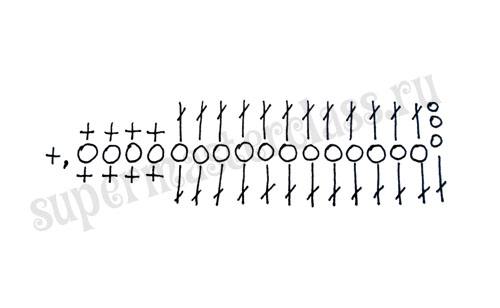 Sewing ears to the hat-warmer.
  To do this, twist the eyelet so that the foldaccounted for the initial chain of air loops, while the outside were the front parts of the columns. Pinning or attaching the lugs to the heating pad to clarify their desired location. Sew on.
 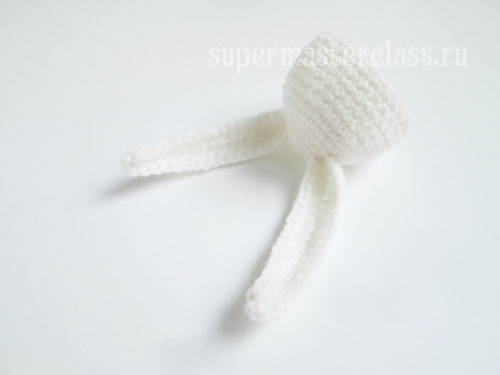 And this is the back side of the cap. You see that t.to. each row was closed with a deaf loop, a slightly embossed shovchik turned out at the back. The front part of the ear poles is turned to the back side - this gives the ear some rigidity, which allows the ear to give the desired position in the future.
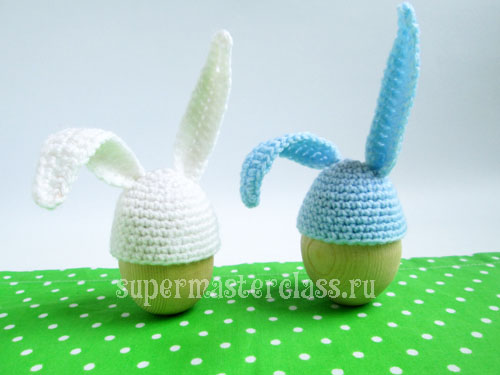
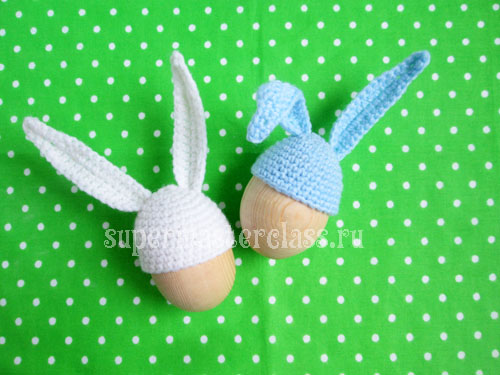
 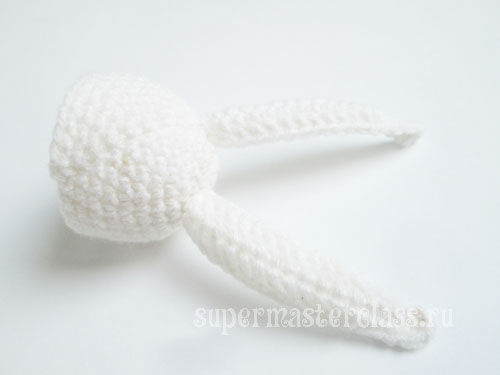 Crocheted do-it-yourself egg warmer is ready!
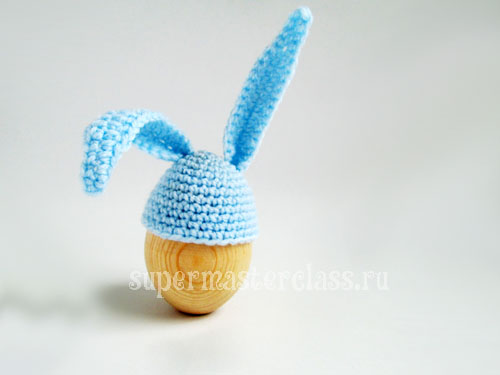
 You will find a master class on the knitted one on the last photo at the link provided. Eva Casio specifically for the site Previous article: Next article: