Cross Stitch for Beginners in the photo and video lessons
Content
- The necessary materials and tools for the job
- Selection of the first set for embroidery
- Workplace
- Video: Tips for organizing the workplace
- Video: preparing the canvas for embroidery
- Video: how to put the canvas on the hoop
- Technique Embroidery Cross
- Video: Learning to embroider a cross
- Shutdown
- Video: how to wash the finished embroidery
- Video: how to arrange your own embroidery framed
Embroidery cross - one of the most exciting ways. Step by step - and this is before the eyes comes from small stitches whole picture. Besides, his master is very easy and simple. But sometimes
Starter turns into needlewomenactual tortures of creation. Pricked fingers, crooked stitches and the result bears little resemblance to the image of the picture - a familiar situation, is not it? And the reason is simple - embroiderer acted blindly, ignoring simple rules embroidery.

The necessary materials and tools for the job
And above all, you need to stock up at least a minimal set of tools and materials for embroidery. So what does it take? Here is the full list:
- the hoop;
- set of needles;
- cushion for needles;
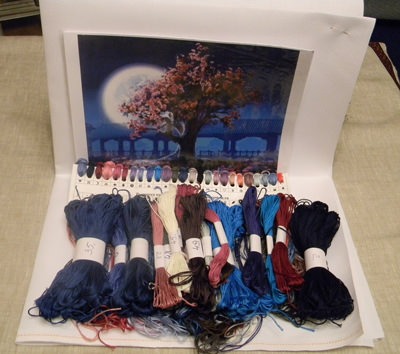
- sorter for the thread;
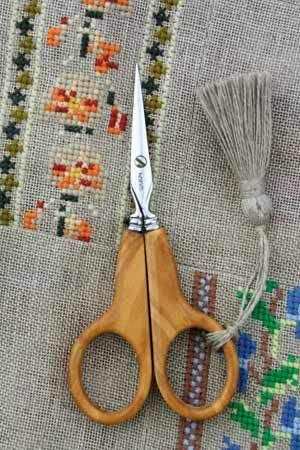
- scissors;
- line;
- loupe (optional).
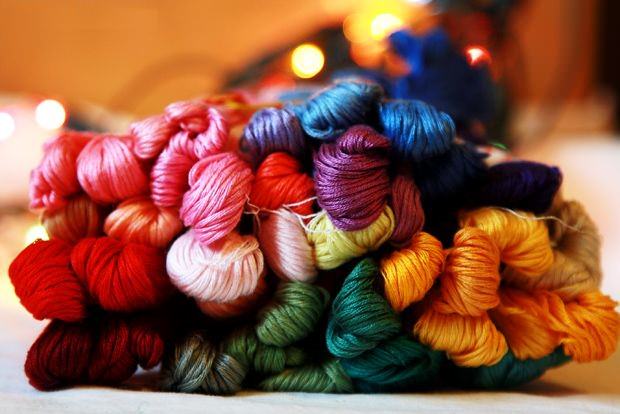
There are many other devices thatwill help ease cross-stitch. However, not all of them are necessary for beginners handy people. And because it is not necessary to buy them immediately. Also, still, of course, need a thread sewing
and the scheme for embroidery. But since this is usually already included in the box set for needlework, this will be discussed a little later.
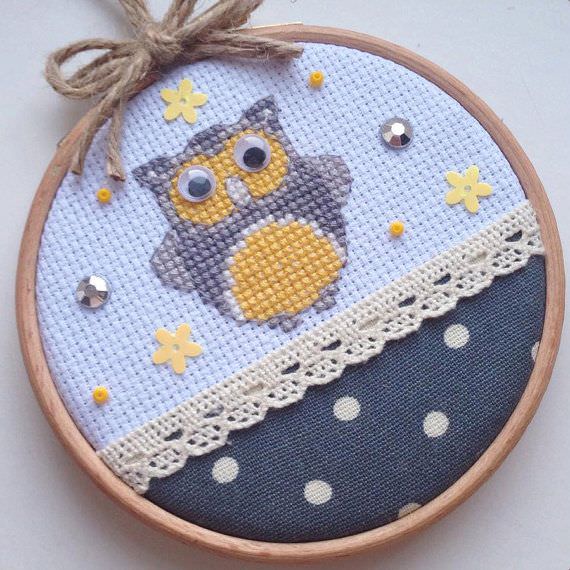
Thus, in the first place, it is necessary to pay attention toon the hoop. Of the variety for the first time it is best to opt for a round. They come in different diameters, optimally select those that are larger. This is due to the fact that the embroidery should keep them fully. If you fix parts of it can become distorted and fix it in the future will be simply impossible.
But whether the hoop table, floor ornormal does not play a special role. This is the most dependent on the financial and other opportunities. For example, the desktop still need to find a permanent place that may not be very comfortable in a small room. Tapestry hoop need only acquire if you plan to embroider the big picture or
. And it is absolutely not suitable for beginners handy people.
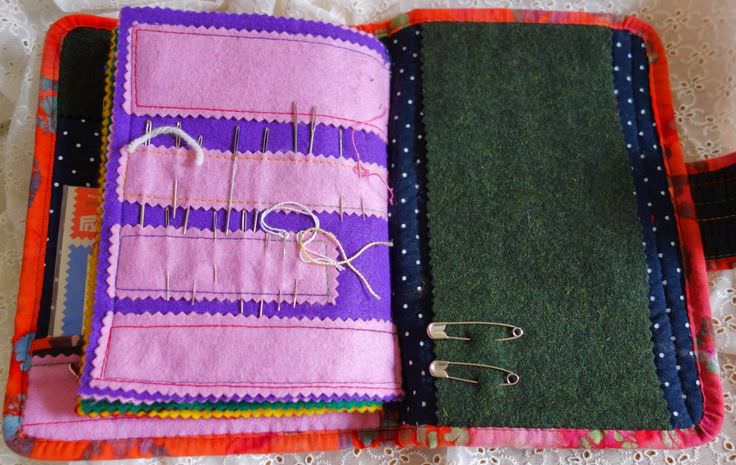
It is equally important to choose a suitable needle. From them, the quality of the finished work depends as much from the rest. And then did not fit the usual sewing needle. We need only special, embroidery. They mainly differ in that they have a blunt tip and a great eye. What is it for? The first - to cross stitch when not accidentally split weave. A second quality makes it easy to thread the thread through the eye of even the floss a few additions.
And the last. How much all you need to needles? Response and complex and simple. There should be enough to suffice. For simple works will take about a dozen, but the large canvas, embroidered with a cross, can use up to 30-40 flowers. And this means that the needle is desirable to have not less. For the very first stitch, and all can be enough 5-6 pieces.
Of course, to arrange these needlesit will take a regular pillow for needles. It can be purchased at a specialty store. It may be, by the way, is also handmade. But you can take an ordinary piece of foam rubber. It has no effect on the quality of the embroidery. It is very convenient to be, if it is combined with a sorter for the thread. It saves time to find the right shade.
Also still need the usual scissors, it is desirablesharp blunt, not to get hurt while embroidering a cross. Besides greatly facilitate the work will help a magnifying glass or a loupe, and the usual range of school. Thanks to them, you can easily find the right place in the scheme for embroidery. And to them it was impossible to accidentally dislodge, is yet to acquire a magnetic board with special markers.
There are many other small things and accessories, but they need to beginners embroiderers controversial. And because it is not necessary for them to focus.
Selection of the first set for embroidery
Buy everything you need, do not forget aboutthe main thing - in fact that is sewn. Today, this kind of needlework there are many presets - from the simple to the incredibly complex. And because of this variety to choose from that it will be easy to embroider very difficult for beginners handy people.
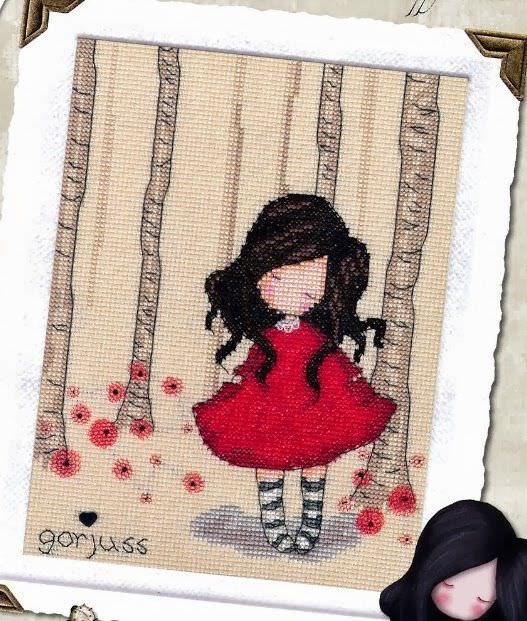
Initially should soberly assess their strength and thetime that could be spent on cross-stitch. For sure it will be much nicer to see the results of their work in a couple of days than weeks or months. The more that ordinary embroidery is much easier to learn. Therefore, let the first embroidery is not more than 130 crosses on either side. After all, this is a very big job.
Another important point - this is how many colorsused for embroidery. Than they are fewer, the less need to change the needle and thread. This means that all the work will be completed faster. However, it is a monochrome picture from 2-3 colors may be very boring to embroider. Therefore, optimal for beginners is considered to be a set of embroidery, which is used from 5 to 10 different shades, it is desirable contrast.
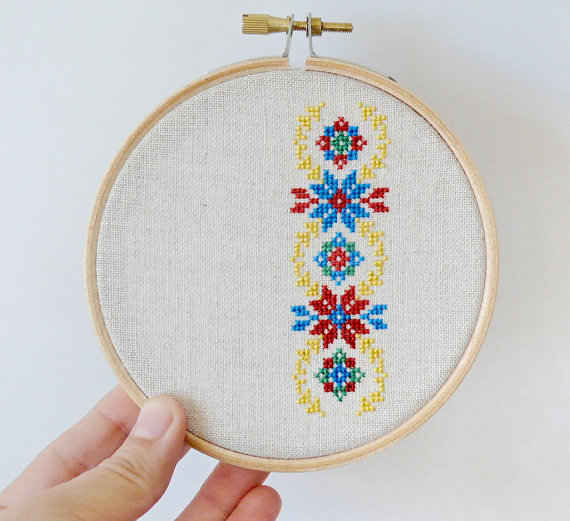
And, of course, should not immediately take on embroidery,where a large number of different techniques. The best would be, if only the usual embroidery cross, no more. It is necessary to pay attention to the size of the canvas. It is desirable that it was not less than Aida 14. It will be shown on the cover of the set.

It is worth to consider the whole set carefully toembroidery. Best of all, if the cover has to be the result of all the works shown. In this case, it will be easier to understand what happens in the end. It is also convenient if the proposed scheme will have a symbolic notation. And not even the chance to mix color. Finally, large manufacturers often label their collections in terms of complexity, and it is better to choose those in which there is a mark, it embroidery for beginners. Especially since they are often attached lessons in embroidery.
Of course, all components of the kit can be purchased atseparately. However, those who are just beginning their studies this needlework, pick up all the material is not easy. In addition, a preset purchase may cost a bit cheaper than buying all individually. And then the question arises, why torture yourself, if you have everything ready?
Workplace
Now, when all the necessary available,it is not necessary immediately start to embroider. It is also necessary to organize their workplace. After cross-stitch should bring above all, pleasure is still in process. In addition, it is important to do so to comply with the security framework. After all, the used needles and scissors, which can damage the small children and animals.
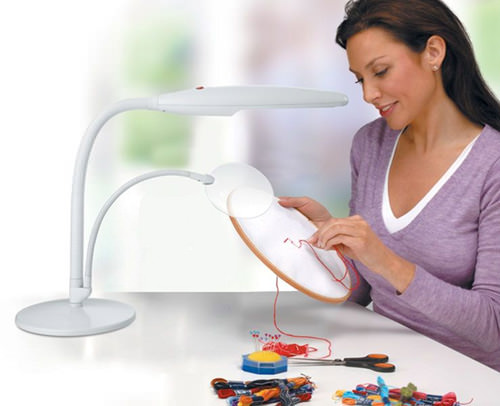
But above all, you need to take care of theircomfort. So, you should choose a location where it will be convenient to embroider. What does it mean? Firstly, it is desirable to sit comfortably. Ideally, it is soft and wide armchair. After all, in a sitting position will have to spend more than one hour. No one needs to first "lessons" embroidery ended a bad back.
Second, the workplace should be well illuminated. It is desirable that the light fell on the left side for right-handers and right for lefties. This is the same as in the case if the child does his homework. If possible, it is desirable to embroider a cross in the daytime when sunlight. In the evening, apart from general chandeliers can and should use a desk lamp.
On the same side as the light source neededarrange and scheme for embroidery cross. All other tools may be arranged randomly, but in such a way that they are at arm's length. Most embroiderers have them side by side with the scheme. Nothing superfluous, and "in reserve" to put it is not necessary.
Some more secrets and tips on workplace organization can peek in this video, which has already experienced needlewoman share their experiences. From it you can learn even a couple of interesting tricks.
Video: Tips for organizing the workplace
Preparing for cross stitch So, everything you need is ready and you can get in your favorite chair. But where do you start? Here, too, it is important to follow their own rules of cross stitch.
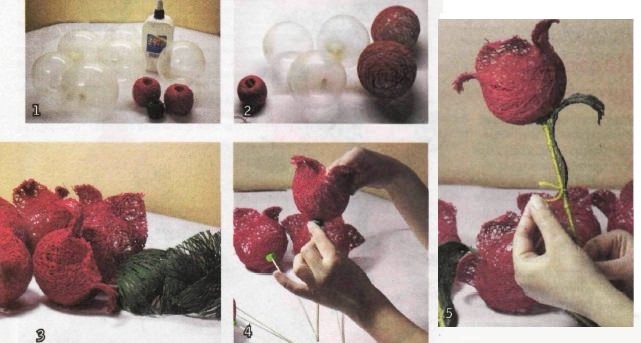
First of all you need to prepare the canvas forcross stitch. Her need to neaten the edges or just fluff glue or clear varnish. Then should find the center of the web, for beginners to embroider in this case, it will be easier and easier. To do this, fold the canvas twice in half and iron seats folded. Now, using washable marker or pencil, mark the outline of every 10 cm.
Video: preparing the canvas for embroidery
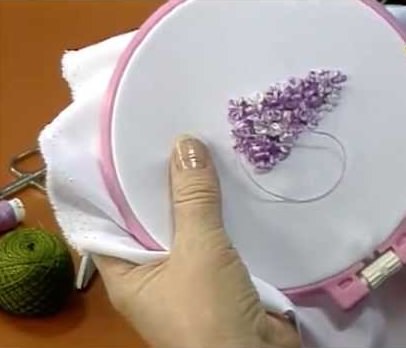
Now you can fix it in the hoop. Previously loosen the screw as much as possible. Lay the canvas between the two rings so that all future embroidery placed entirely. Tighten the screw well, but so as not to drag the canvas. This training action is fast, as no one wants a broken embroidery because of such trifles. Dec threads, needles and other tools. Only now you can start cross stitch.
Video: how to put the canvas on the hoop
Technique Embroidery Cross

It is believed that learning
maybe even a child. It's one of the easiest types of needlework. However, even here there are secrets. It is believed that a good job can not contain cross knots. This means that you need to learn just such a technology. The most simple - a few crosses to embroider, leaving the tip of the free thread length of 5-7 cm Then thread the inside out by his stitches..
The second technique is somewhat more complicated, but also its masteris not difficult. This is done so. The thread, which is planned to embroider, folded in half, and then is passed there, where it is supposed to start embroidery. Thus it is necessary to leave the loop from the inside, then just 2-3 millimeters again threaded the needle and the thread is pulled through the remaining loop. All of it is secure, and you can do cross stitch.
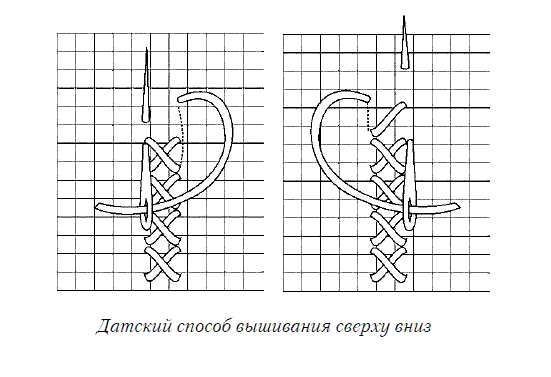
Here there are 2 popular technology - the Danish andEnglish. It was their show in most cases, when given lessons in embroidery. According to the first unit a first sewn, wherein the thread extends from the upper right to the lower left corner, and then vice versa - from the upper left to the lower right. Use this technique is useful when embroidering large horizontal rows. The second technique involves stitching cross each separately. It will be more convenient when embroidering large vertical rows. In general, it is desirable to learn to embroider the two techniques.
It details the technique of embroidery and work withfinished scheme shown in the following video. Experienced handy once again reminds about the simple rules of cross stitch and shows in practice how to do it.
Video: Learning to embroider a cross
Very often you can hear that the excellent embroideryIt should be just perfect inside out. This was even the subject of separate classes and learn this need. Of course, it kind of speaks to the skill of the needlewoman. But do not focus on this when sewing cross-stitch pattern. After all seamy side of this ideal is still no one will see. It is worth considering why so much effort on unnecessary work.
Shutdown
After the embroidery is completed, there is onlyit put in order. What is it for? After all, surely it is a little worn out and soiled. You also need to remove the washable marker to the base, it is no longer needed. First, briefly soak the finished work in warm soapy water and then otpoloskat. This is by no means impossible to rub and squeeze. Dry the upright, but not completely.
That's not all the rules for processing the finished embroidery. Now it needs to be ironed. This is done only from the inside through cheesecloth or iron and stripping. This should be ironed on the white sheet, to avoid accidental staining tissue. Perhaps this is all the secrets, not to spoil the work already performed.
Video: how to wash the finished embroidery
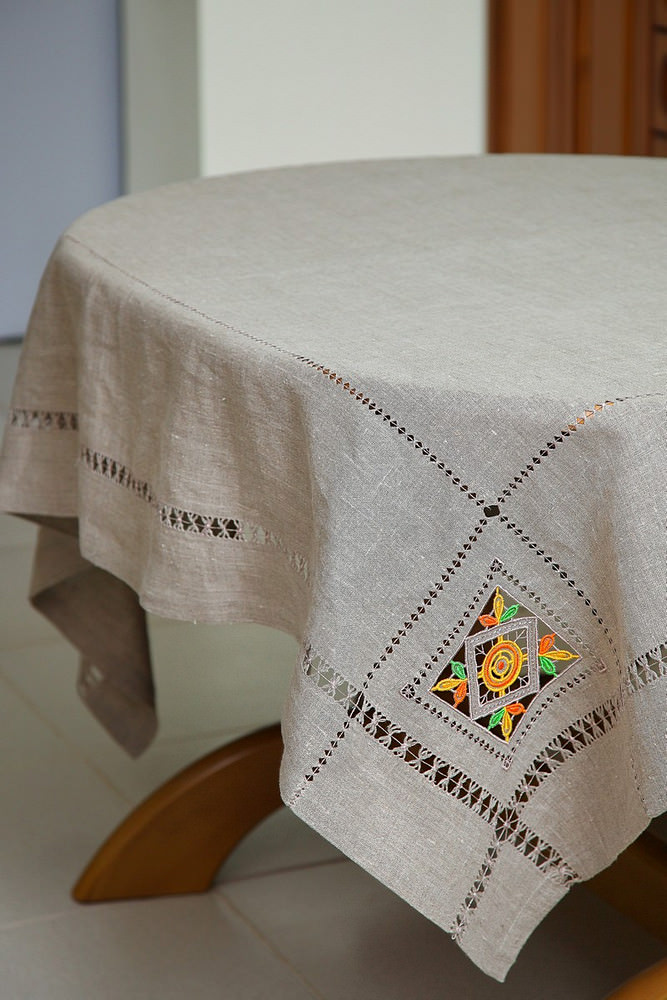
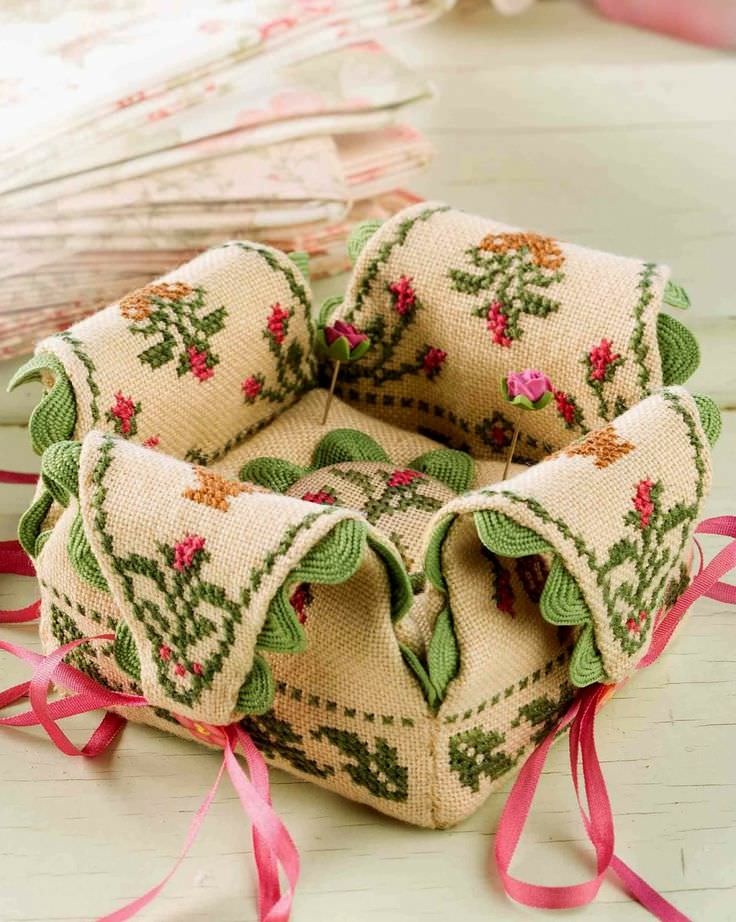
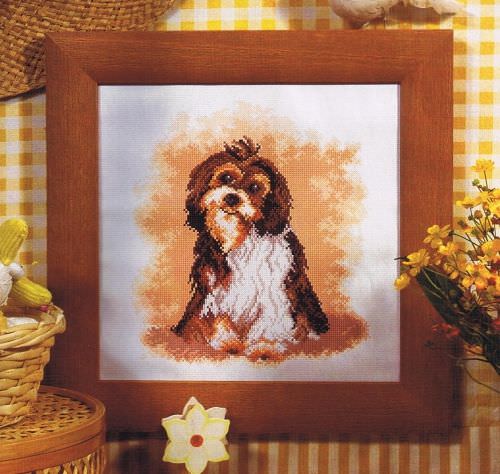
Making embroidery After the failedlearn how to embroider, I want to see around the work done. To do this, issue the first frame in the embroidery. Of course, you can order prints from professionals. But it is possible to do it on their own.

Thus, it is possible to use for small workphoto frames in standard sizes, as well as frames from old and already unnecessary pictures. To make the embroidery some luster, you can make your own out of cardboard mat. However, that has a little secret. To make it look better, it is desirable to make it 2-3 mm longer than necessary. Then gently bend the edges inward.
Besides, you can always decorate a baguettefoil, pieces of cloth, shells and other trivialities. This simple decoration easy to learn even for a child. Even taking special lessons will not be necessary. The main thing is to have a sense of proportion and taste.
To cross-stitch is not for beginnersturned into throes of creation, it is advisable to learn the simple rules. They offer needlewoman from his own experience. You can, of course, they do not blindly follow, changing according to your preferences. And let embroidery brings only pleasure and repose. Here, the main thing, just to start. Most likely, no longer stop work.