
Chamomile embroidery with ribbons: patterns and master-class
Content
- We embroider a bunch of chamomiles with ribbons
- Video: How to embroider chamomiles with satin ribbons
With the help of embroidery ribbons, you can create paintings and panels with three-dimensional and diverse plots. Embroidery is decorated with home interior items such as pillows, curtains, tablecloths and even clothes.
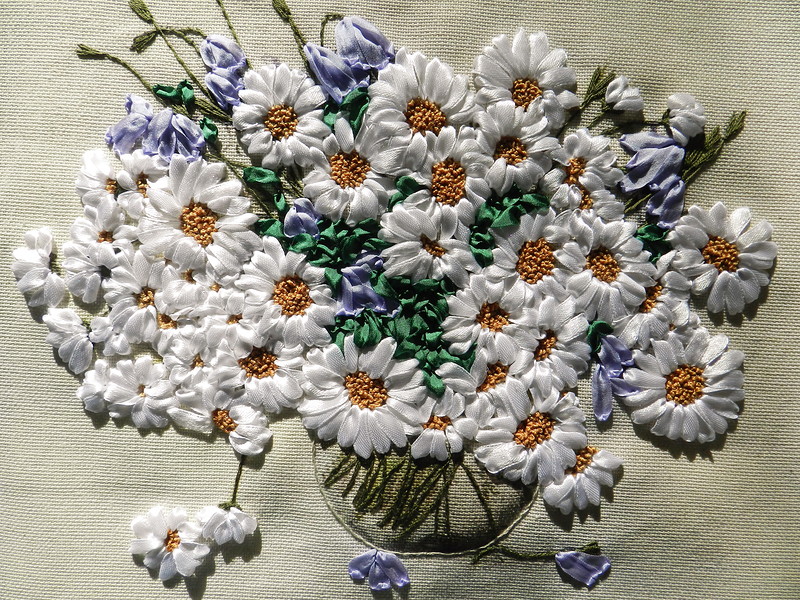
Of all the colors that are embroideredHandicrafts, chamomile flowers are considered the most loved and popular. They are quite simple in embroidery, but at the same time look very tenderly alone and in a bouquet. Especially when they are embroidered with ribbons.
For beginners embroidery of chamomiles with ribbons, it is consideredThe best option for mastering a new kind of skill. This will require not only a desire, but also a suitable master class with step-by-step photos and diagrams.

We embroider a bunch of chamomiles with ribbons
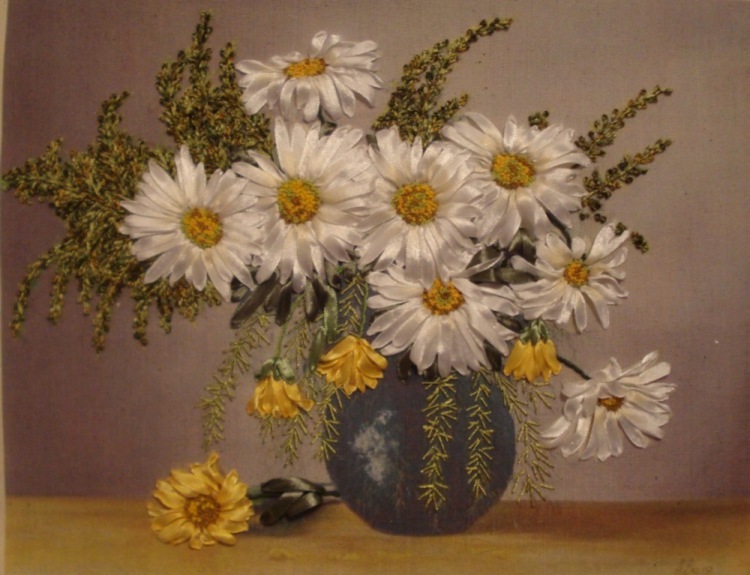
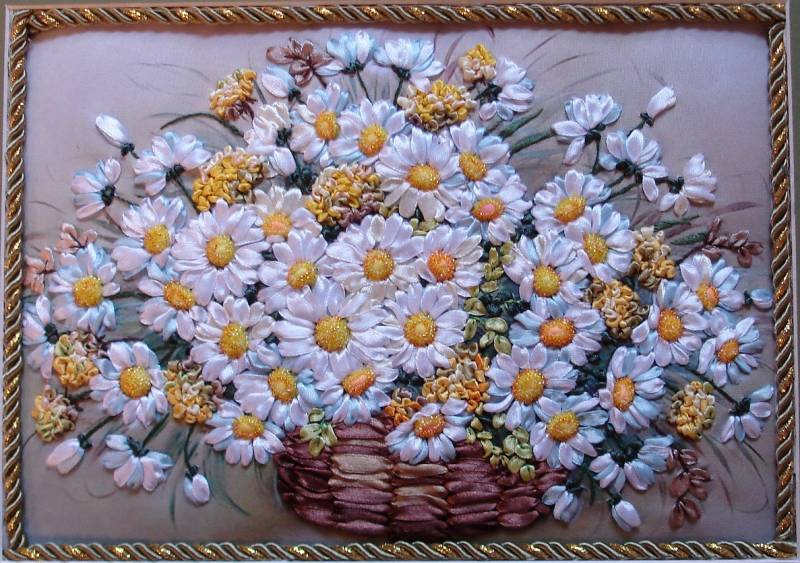
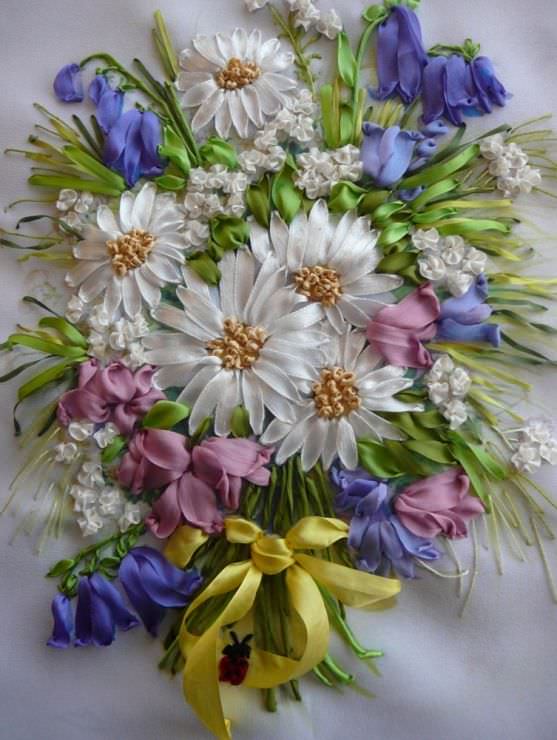
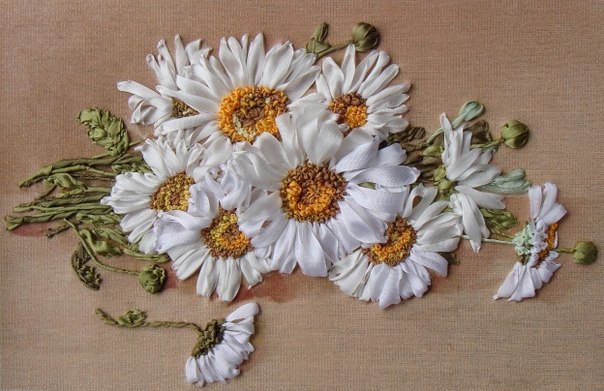
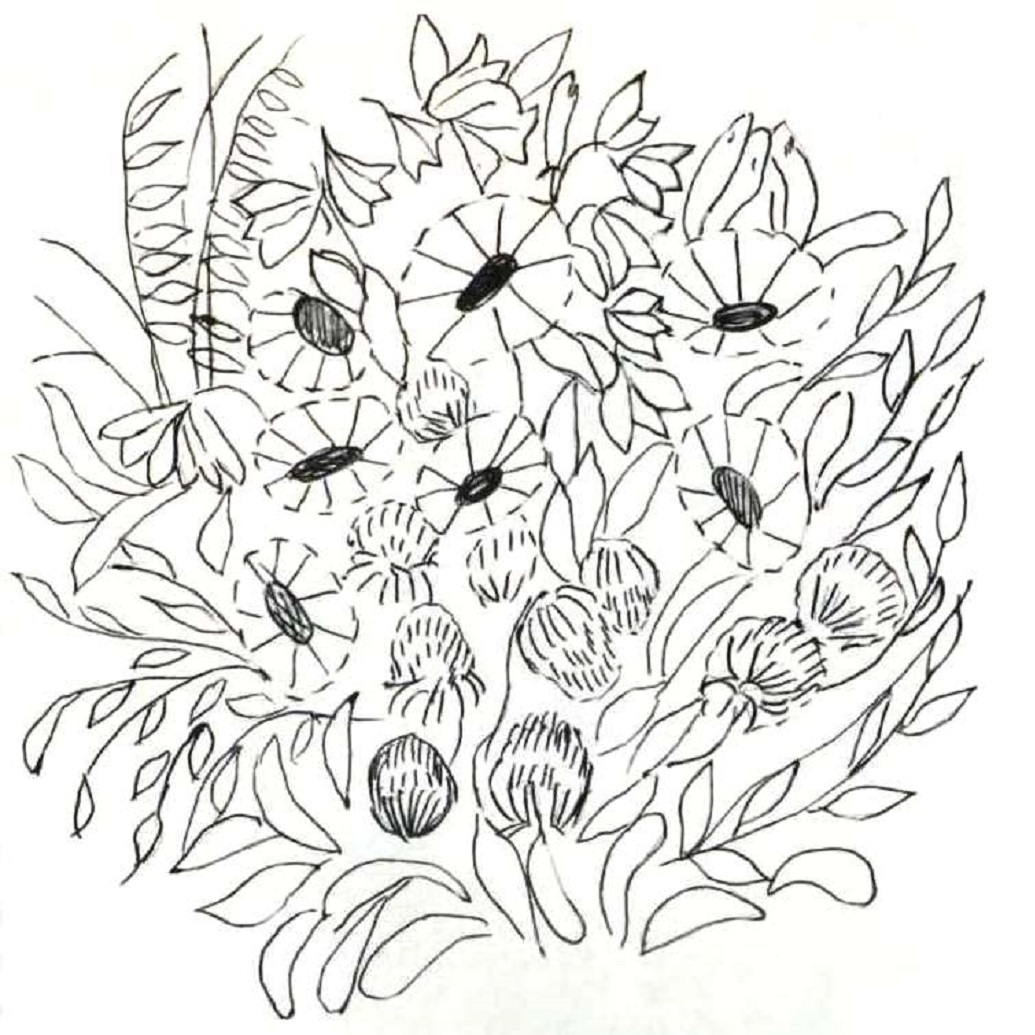
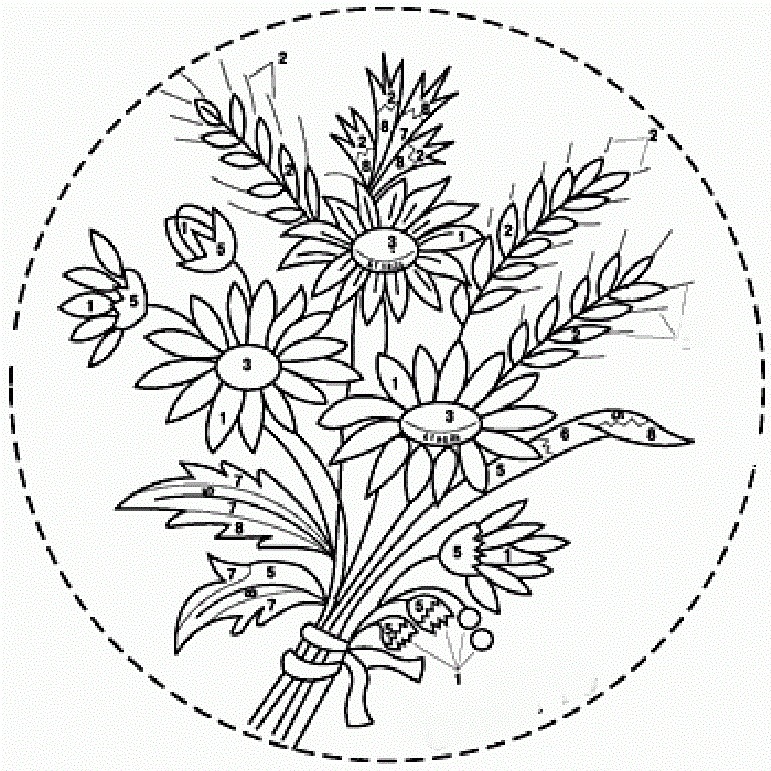
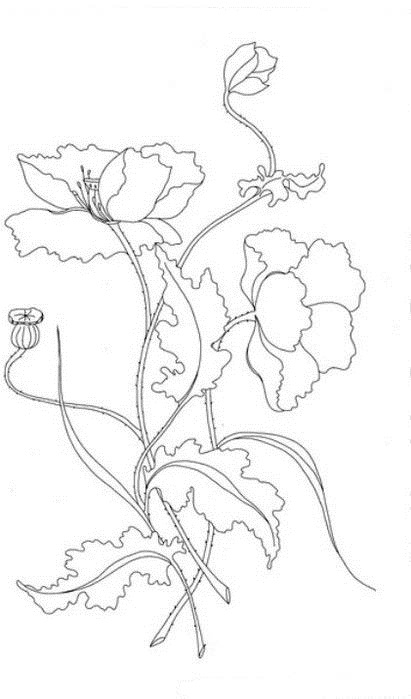
Before you get started, you need toDetermine the choice of scheme, the size of the picture and the number of embroidered buds. Camomiles are embroidered, either individually or in a composition with other colors. Here are some schemes that you can take as a basis. If you want, make a drawing yourself.

To implement your plan, you will needSome material. First of all, special needles with a large hole at the end. Through it, the tape should pass freely. Acquire narrow and wide ribbons of different thicknesses and you can start work. Embroidery with tapes is not a difficult task. One need only observe one important point. Securing tapes should be done carefully, avoiding too much stretching. Only in this case the embroidery will be voluminous and embossed.
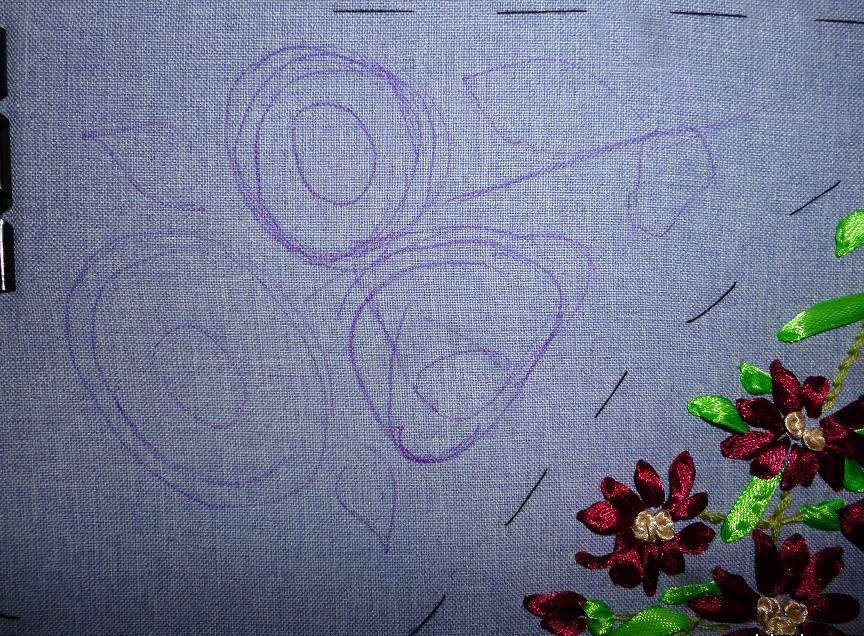
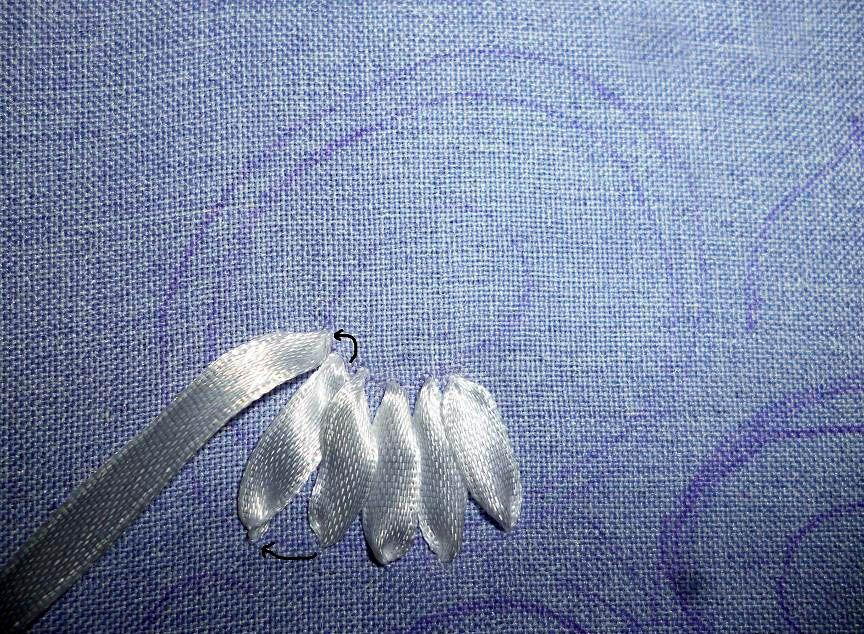
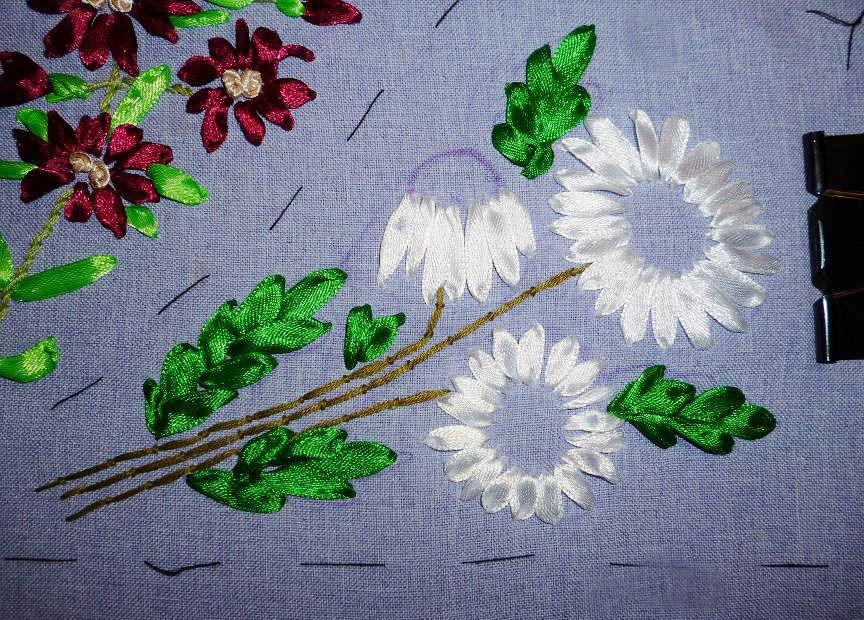
On the canvas should be designated a place on whichChamomile will be embroidered. Make it a marker whose traces will eventually disappear or make a stitch along the outline. Fasten the tape on the back of the fabric and start making a daisy with a straight stitch. The direction of the tape is shown in the photo. To save the tape, you do not need to display it to the middle of the flower on the front side, just poke the needle next to it. Embroidering the petals in a circle, you will make the first daisy. Pay attention to the moment that it is not necessary to make the petals exactly similar to each other. Let them differ at least in length. This form will make them more realistic. Beginners sometimes admit the most common mistake, too tightly tighten the tape. This should not be done. The tape should be raised above the material, then the flower will become a three-dimensional kind.
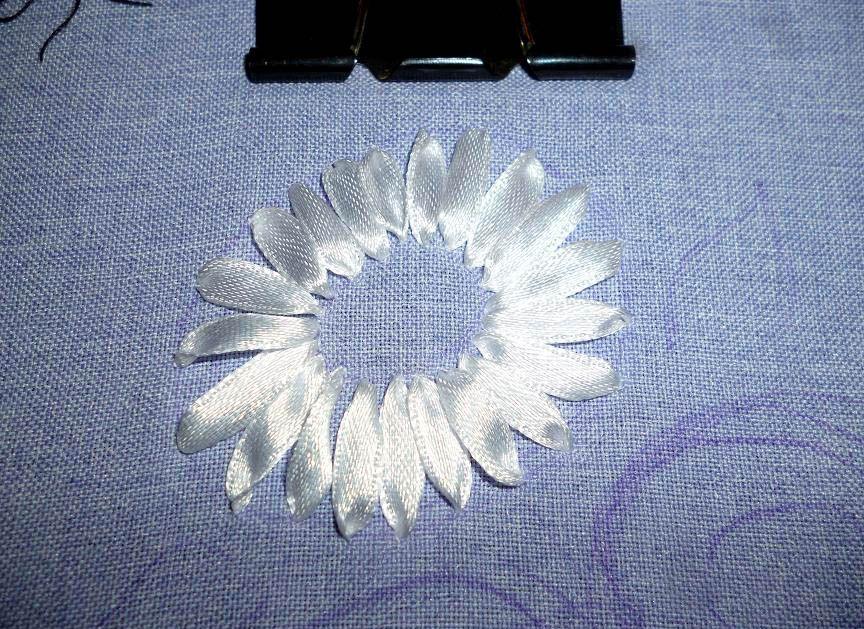
In exactly the same way, do the rest of the chamomile flowers.
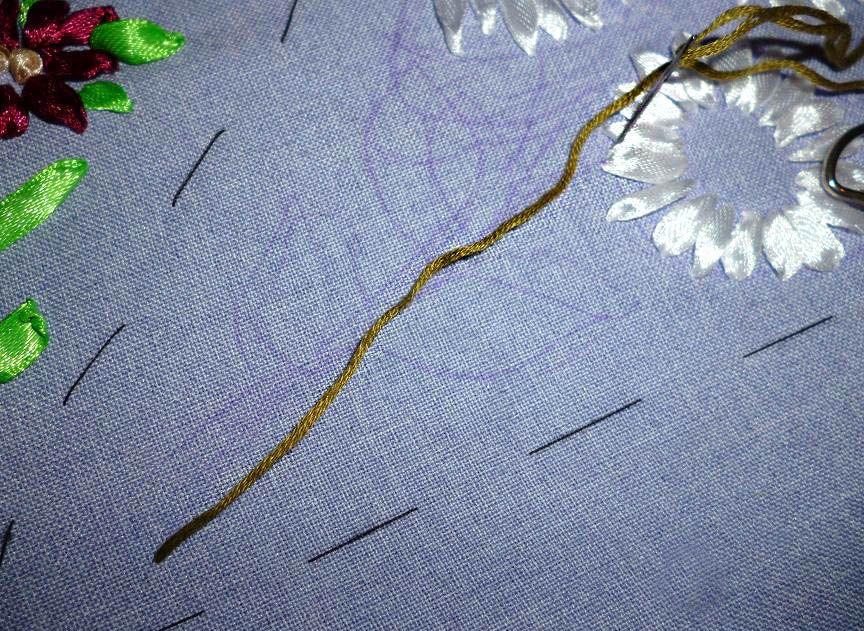
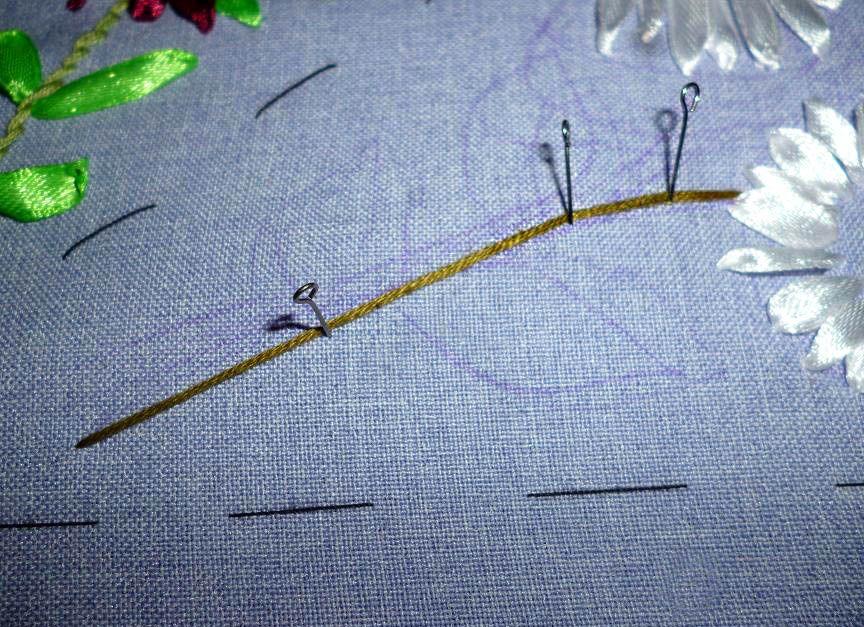
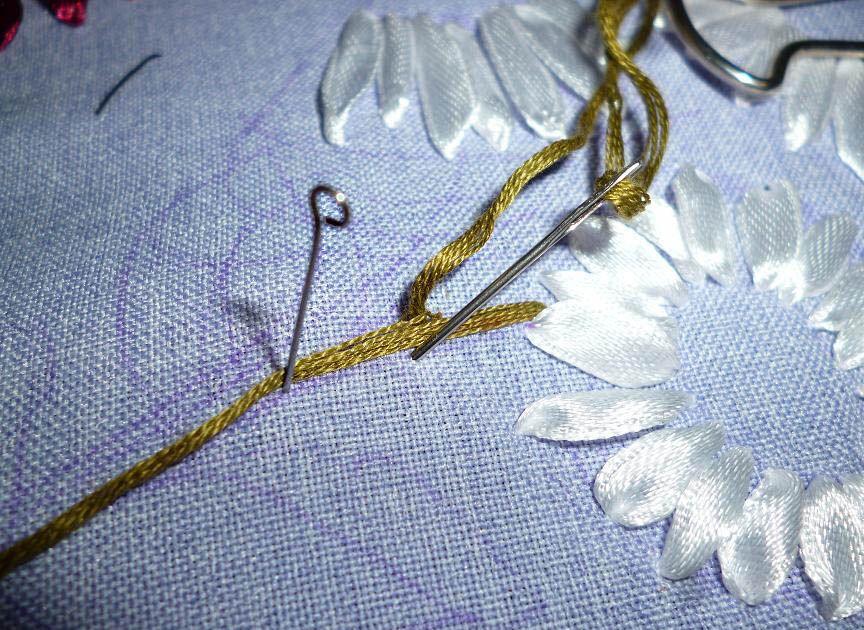
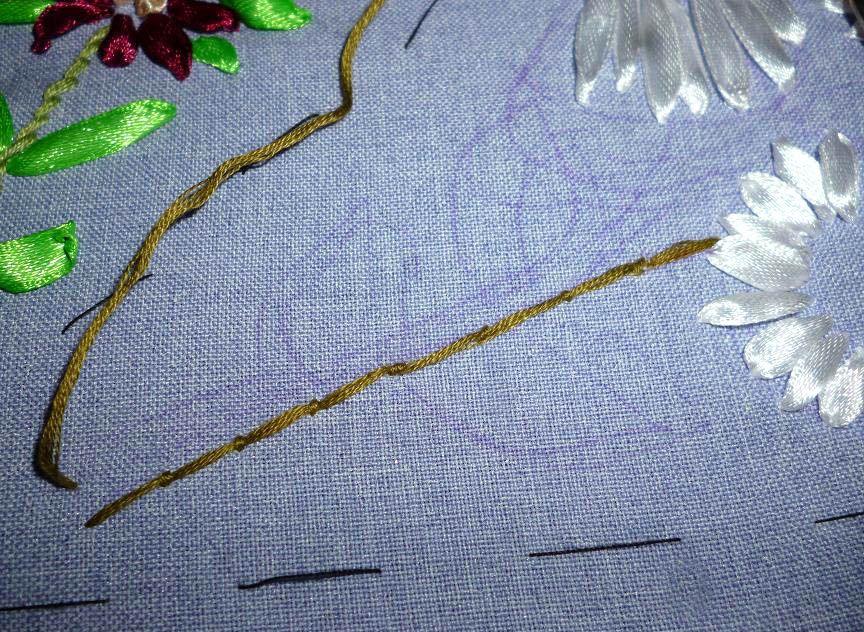
 The stalk is embroidered with a string of mulina, foldedrepeatedly. Lay it in the place where the stalk is depicted and stick the needles that will hold it. Take another thread and pull it from the wrong side, grab the one that lies on the canvas. As a result, you get a trunk of chamomile, which is shown in the photo. In a similar way, the remaining stems should also be stitched.

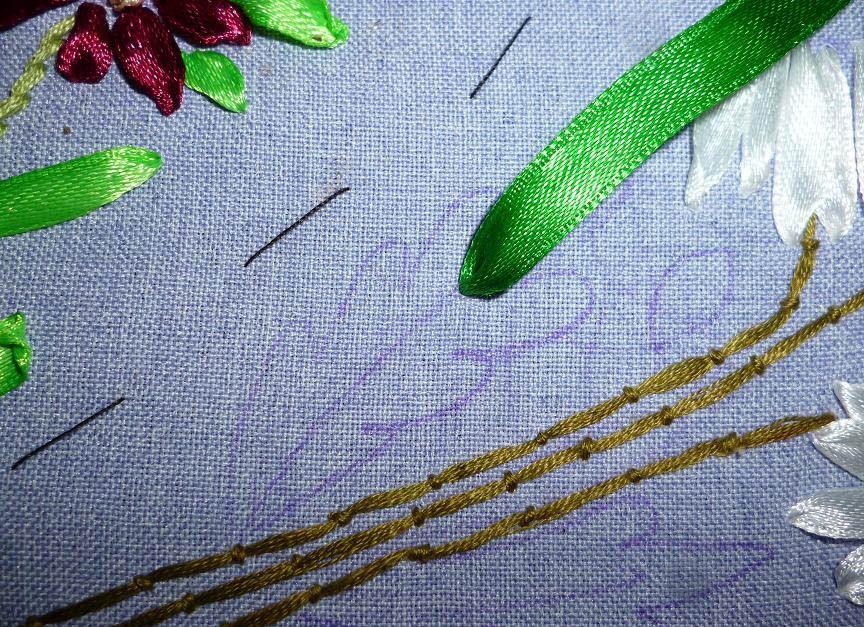
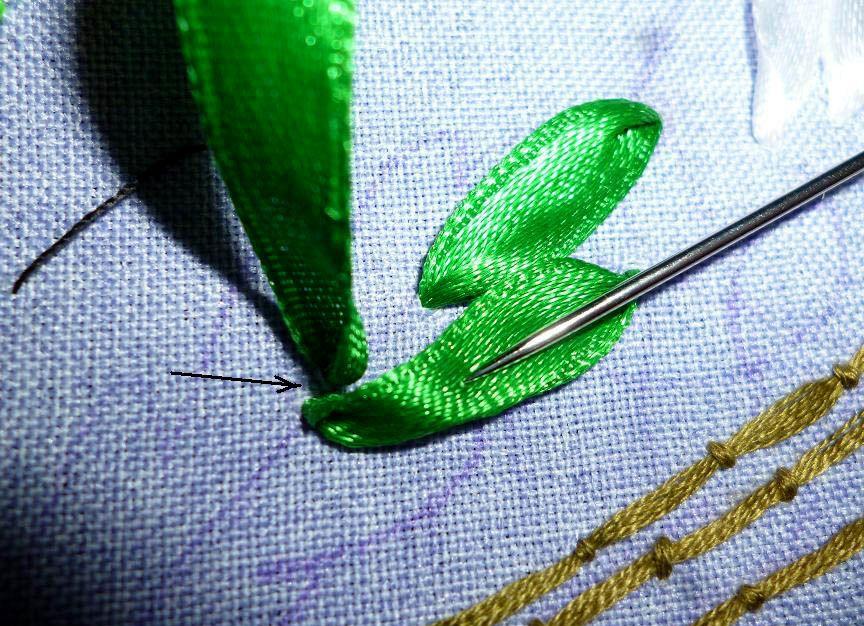
For embroidery of leaves, take a ribbon thatWill be slightly wider than the previous one. Embroider will be a straight stitch. Fasten the ribbon from the other side and start embroidering. First we make the top of the sheet. This process is shown in detail in the photo.

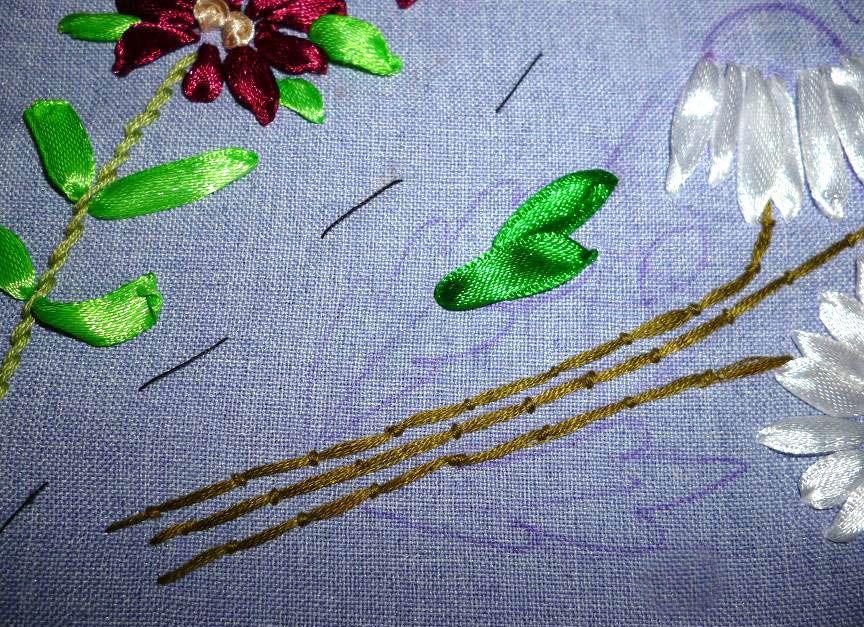
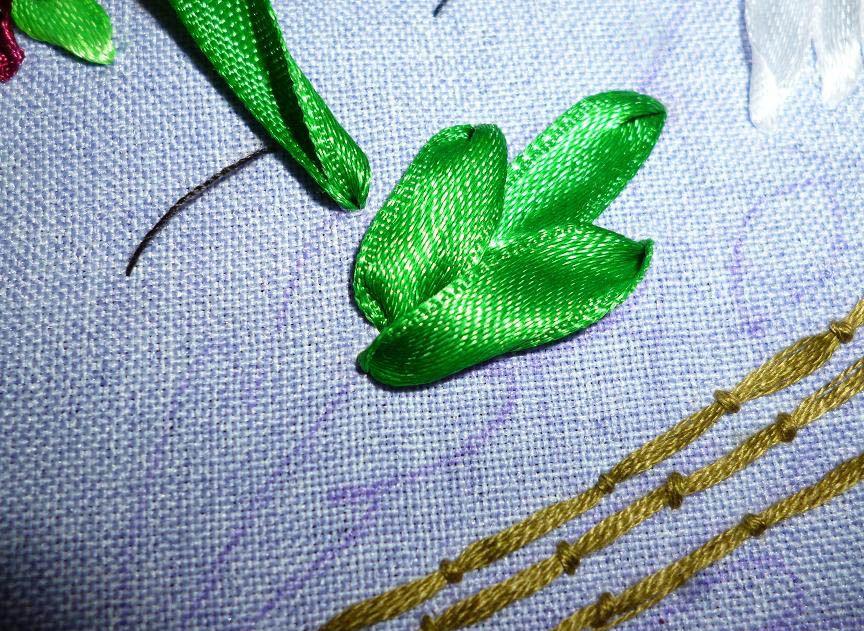
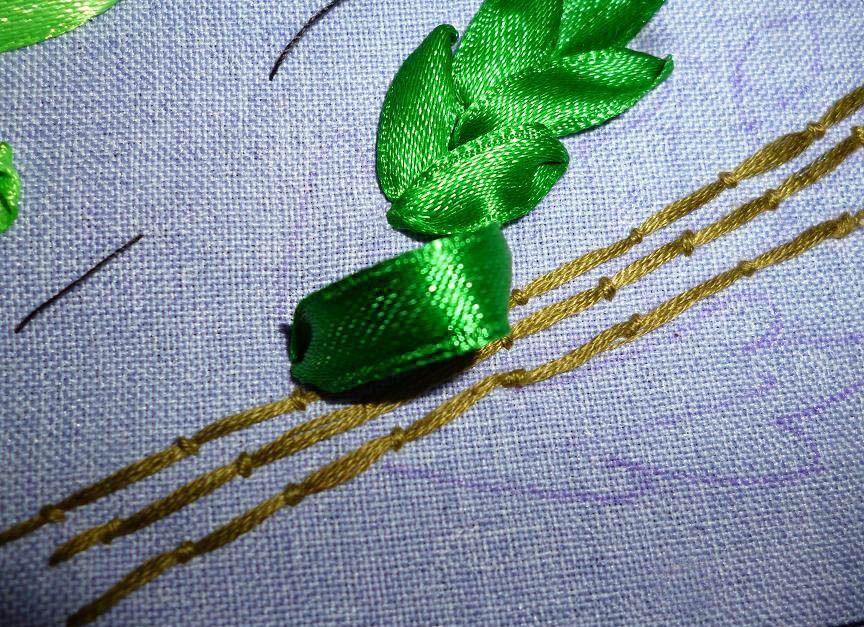
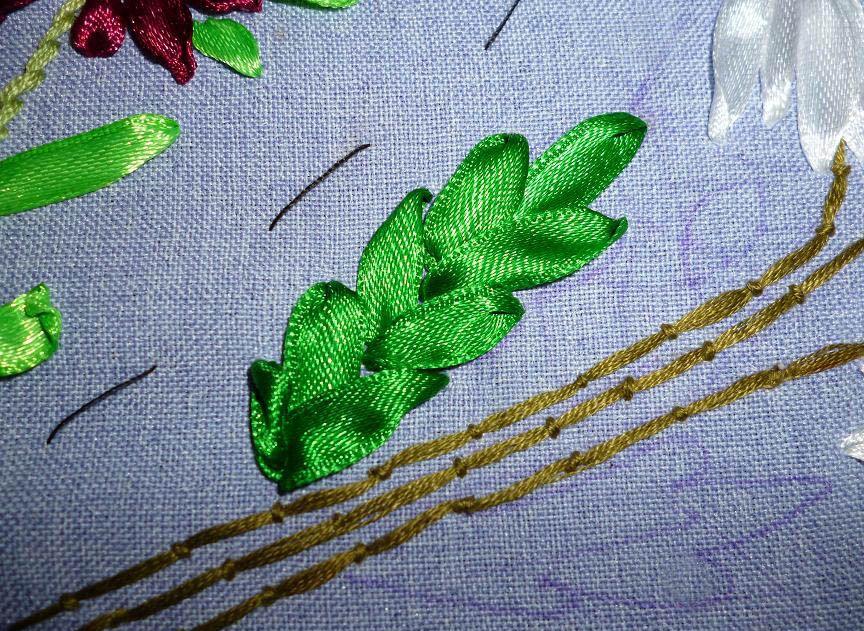
The next version of the embroidery shows how you canMake a pairing sheet. The stitch is not displayed next to, but under the ribbon. So you avoid the gaps. Each time align the tape so that no twisting occurs. Embroider leaves to the very end.
At the end of the master class, it remains only to fill the middle of the chamomile. For this, yellow beads are perfect.


Here in such a quick and not difficult way you can embroider white field chamomiles.

Video: How to embroider chamomiles with satin ribbons
Comments
Related posts:
 Embroidery ribbons for beginners master class rose (video)
 Embroidery ribbons for beginners video lessons and master class
 Embroidery with ribbons master class pansies video and photo
 Embroidery ribbon paintings in the photo and video master class
 Flowers embroidery smooth schemes and a master class