We decorate the egg with the help of wax painting technique - master class and photo
Easter holidays are very popular on ourterritory and have a special attitude on the part of society. Many families prepare for Easter on a special scale, taking into account all the canons and rules for preparing for the celebration. One of the main attributes of the holiday to date is the Easter egg, which rightfully has the same importance of decorating the table as Easter itself. 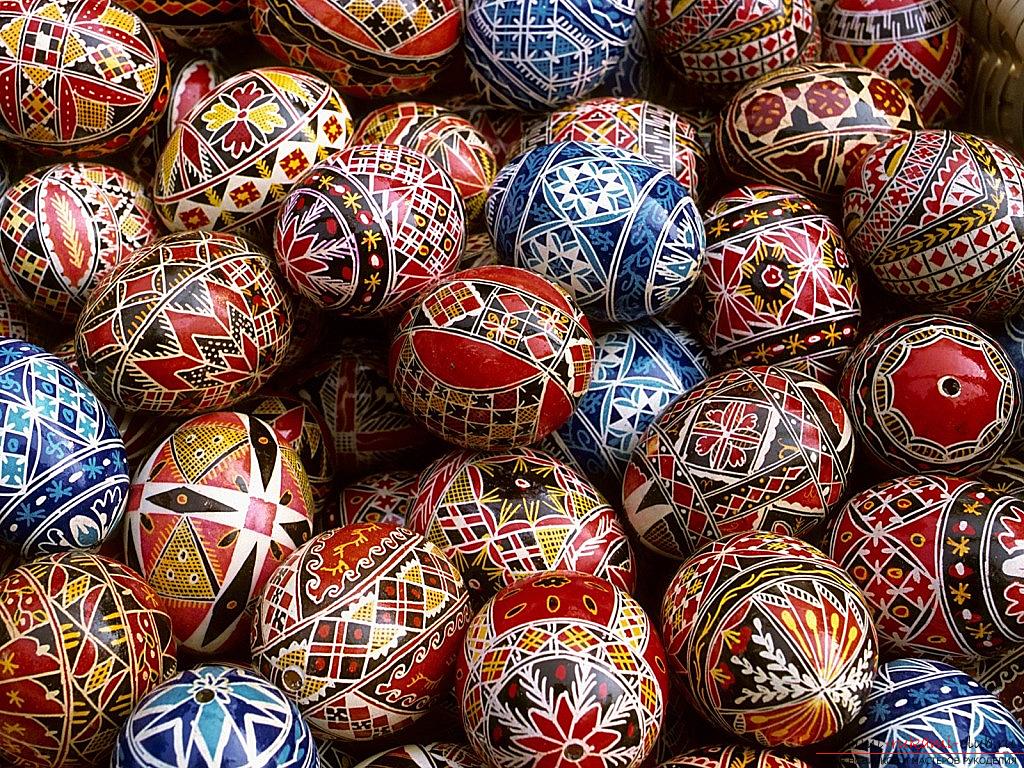
We decorate the egg with the help of wax painting technique - master class and photo
Therefore, to create a beautiful Easter egg,using the popular mural painting techniques are tried by many craftsmen. Fortunately, lessons for mastering this technique are more than enough. In this article we will analyze one of the variants of popular Easter decorations, and also tell you how you can prepare the painting for the egg yourself. Preparation of tools and workplace First of all, it is necessary to pay attention to the surrounding materials and objects, through which we will make the right masterpiece for the table: 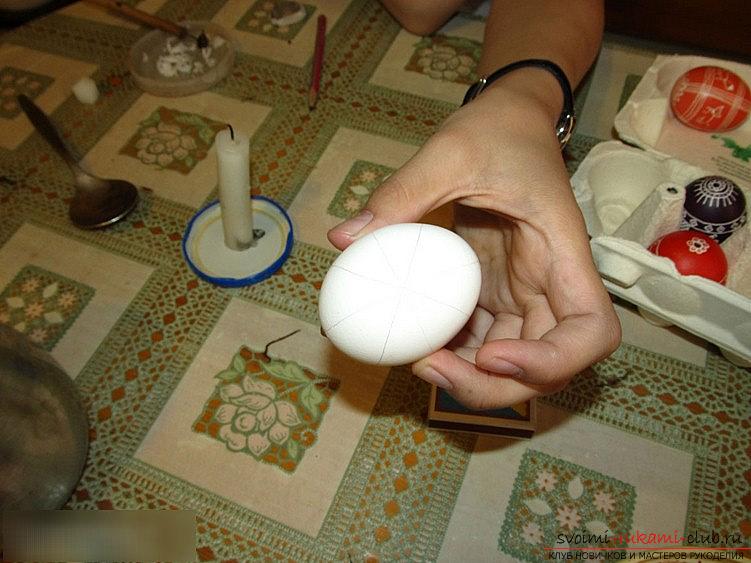
- It is necessary to take an empty, blown egg.
- Also, take a conventional candle.
- It will take paraffin, which can be extracted from a candle.
- Aniline dye fabric, or a dye for the Easter egg.
- Pencil for sketching
- Spoon
- Thread for the suspension of the testicle.
- Needle from wire, or special needle.
- Half-liter jars
- Towels and rags
These items should be enough for a qualitywork on the future Easter egg. It is not necessary to use everything, but in this lesson we will analyze the technique, thanks to which you can make a beautiful Easter decoration, covered with wax. Before starting work, you should prepare all the tools and workplace for future action:
- We remove unnecessary objects from the table, we cover the table with an oilcloth, or an unnecessary tablecloth.
- We find the right banks for work.
- We use a tray for eggs, we immerse the eggs there.
- We use a candle, setting it in an upright position.
- Cut the part of the candle for the Pisachok tool.
- Prepare towels, as well as cloth from paper.
Detailed work on the egg
 To begin with, we will need to prepare our ownworking elements. We need to prepare dyes. The most commonly used aniline dye, which is suitable for tissue. Such drawings do not fade and do not swim over time. Also, conventional dyes will also work if the craft is not designed for many years. Next, we prepare the vinegar solution, which is made from a quarter liter of water and 1 teaspoon of vinegar 9% solution.
 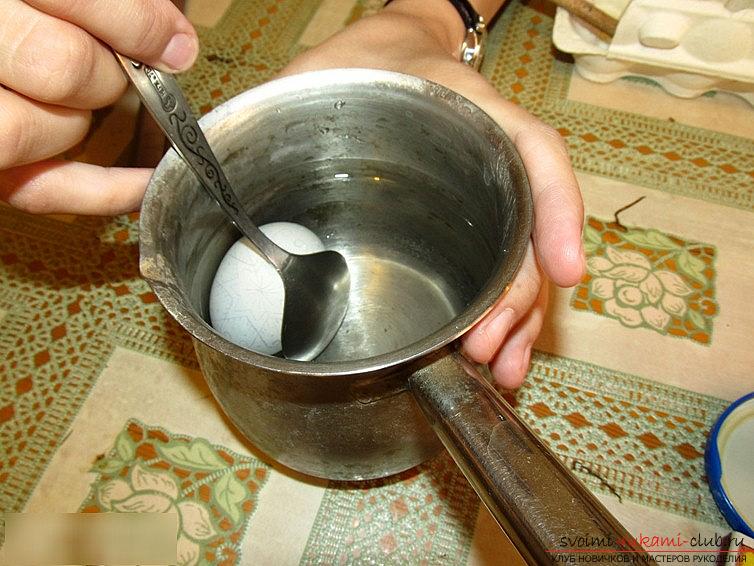 Next, we will work with the drawings. To do this, take our testicle and prepare it for work. We draw the egg with a pencil. The drawing process takes place on special lines, which will become an auxiliary object in the work on the Easter decoration. The pattern in this case will be more smooth and beautiful. Preparing wax and creating patterns
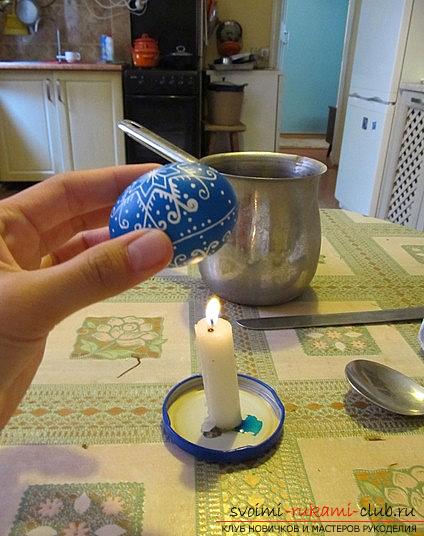
 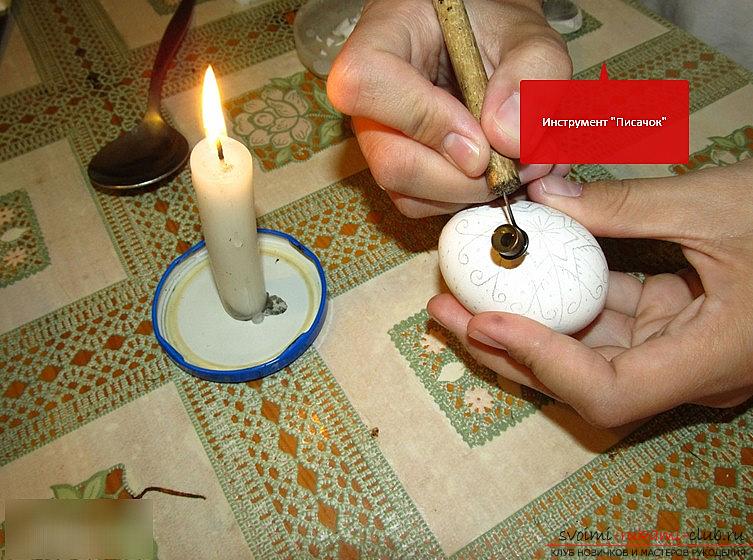 We prepare a candle and light it. A piece of wax fits into the pencil tool, then the scribbler warms up under a degree of fire. At the moment when the wax becomes liquid, you can begin to perform decorations. Afterwards, drive a pencil along the hole to the egg, increasing the amount of waxy liquid. Close the hole with a wax. After, the second hole is closed in the same way. After that, we lower the egg into the vinegar so that small bubbles with air form on it. After that, remove the egg from the vinegar and wipe it with tissue, napkins the whole surface. Let's try our piss in the field of drawing. We spend them on the lines that were previously drawn by you. We spend pisachok until the wax is hot. After that, reheat the pisky to the liquid state of the wax and continue this procedure. When the procedures are completed. We lower the egg into the paint solution for 1 minute to fix it.
  We color the egg after applying the wax Formulticolor solutions there are special rules for coloring. Using white, yellow, red or orange colors, it is necessary to paint the white parts with wax, and then - decorate the wax with the necessary colors and paint with wax elements of the same color. After that, we lower the egg in the next color and paint with wax details of the same color. And also do the next color. It is advisable to do this in order with white, yellow, red and then, orange flowers. Due to the fact that you can not paint the dark colors in the light, you should perform the procedure correctly. Next, when each layer is processed and ready,will only hold the element above the fire at a distance of not more than 15 centimeters. When the wax in the heating places will flow, you need to quickly wipe it with a cloth or cloth. So we get rid of the wax on the egg. Holes with wax also relieve him of the same action. So, our pysanka is completely ready!
Comments
Related posts:
 We make a new Christmas tree toy from the old, using the papier-mache technique. Master class with description and photo.
 Painting an apartment - a unique master class of painting techniques
A master class with a photo will show how to decorate Easter eggs with your own hands using crochet.
Painting an apartment - a unique master class of painting techniques
A master class with a photo will show how to decorate Easter eggs with your own hands using crochet.
 Preparation of New Year's articles with paper and cardboard - a master class and techniques
A detailed master-class on the folding of two snowflakes using the modular origami technique.
Preparation of New Year's articles with paper and cardboard - a master class and techniques
A detailed master-class on the folding of two snowflakes using the modular origami technique.