Decorative egg with the help of quilling techniques: crafts with your own hands with a photo
Decorative egg with quilling technique 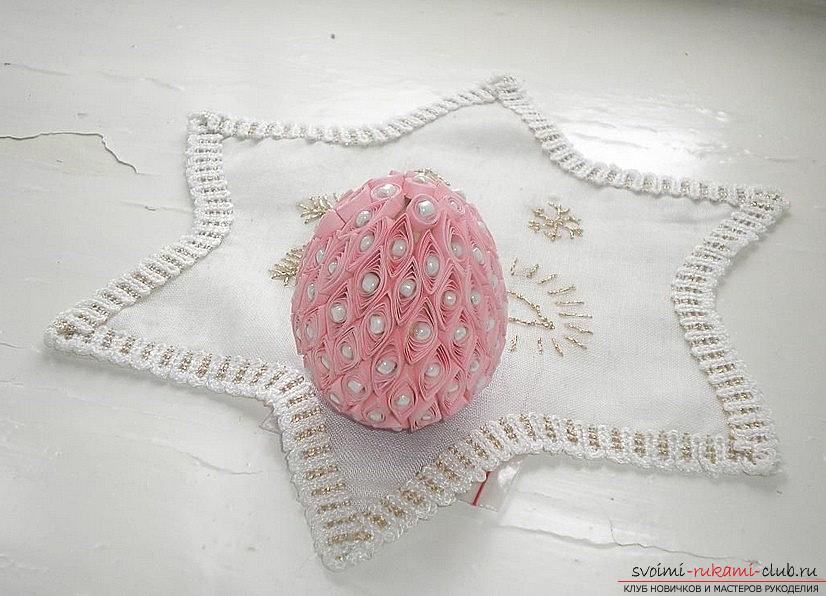 In this article, you are asked to make a speciala kind of needlework with simple tools. Decorative egg technique quilling is simple, if you know what materials and in what order to work. The material will be useful as an adult who wants to make a special gift to a loved one, as well as a child who needs to develop finger mechanics and improve their knowledge in the world of needlework. This kind of needlework will be necessary for those who want to decorate an apartment for a small amount of money, with their own hands. First, we need:
- Glue
- Paper (Dressing)
- Quilling paper
- The ball is airy, or the egg is plastic
- toothpick for quilling
- scissors
- paints, acrylic
- tweezers
Preparation of the basis
 Let's start our work. To begin with, it is necessary to prepare the shape of the product, which will later become our base and on which the elements of quilling will be superimposed. To do this, you need to take a balloon, or an egg and spread it with a special tool. A variant of petroleum jelly, or a cream for hands can approach or suit. After that, the egg is processed with the help of glue. To make a beautiful papier-mache, you need to use newspapers or pages of old books. In our case, we will work with toilet paper, but you can choose your own option. Feature of toilet paper is that it dries quickly, which allows you to quickly work out the desired surface.
Work with the base
 We tear toilet paper on smallstrip, and then cover the ball with these residues. After this, you need to again spread the ball or egg with a layer of glue, and then - again cover with toilet paper. Toilet paper absorbs the glue well, after that, we will form the thickness depending on the part of our base. Next, the workpiece must dry out. If you used a ball, it's enough just to stab our needle with a needle after it dries. For a plastic egg, it is necessary to cut the base structure in half, and then - to glue.
Decoration Eggs
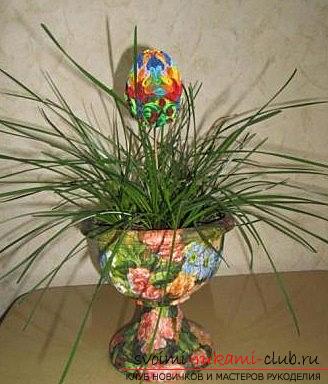
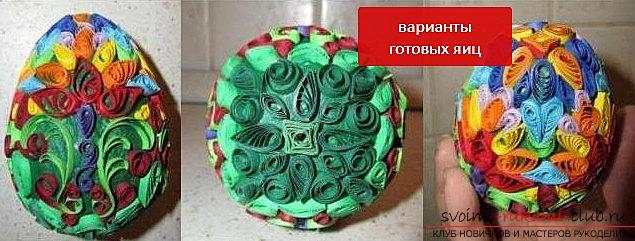
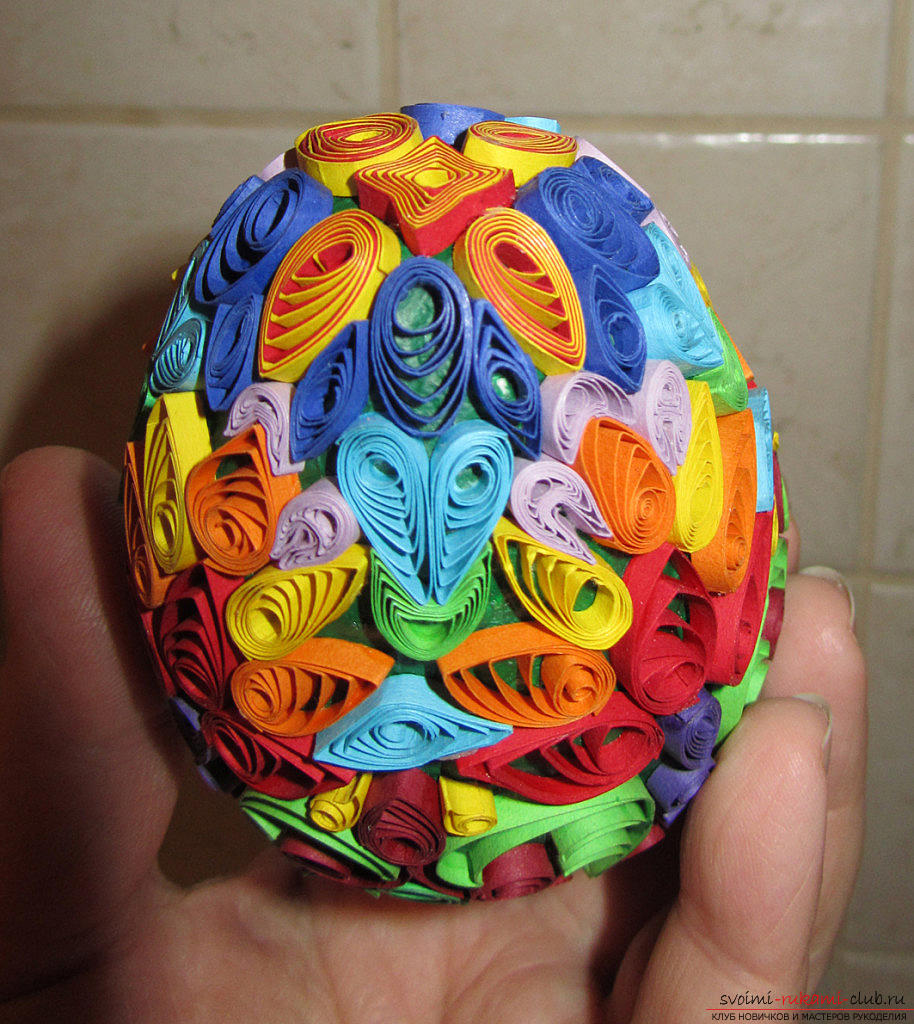
We work with the egg. It must be brought into a normal form, therefore, we take up the paint and safely cover the whole egg with acrylic. After the paint has dried, we'll start working on the decorations. Forms of quilling in this case can be done in a free form. It all depends on which picture you have designed. You can also arrange the patterns in chaotic order. Quilling elements are made with a strip of paper, which are superimposed on the toothpick. You make a cut in the toothpick and through one end, wind the quilling paper onto the base of your instrument. After, just form the form you need. Next, it is necessary to paste the quilling forms on the surface of the egg. In this case, it is best to use tweezers, especially if some forms of quilling are very small. Figures may not be symmetrical, and it is best to combine different deformed shapes to make the egg more fun. The work is ready! Now the egg can become an ornament of your flowerpot, cabinet or window!
Comments
Related posts:
 We decorate the egg with the help of wax painting technique - master class and photo
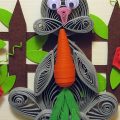 How to make Easter quilling for a rabbit - in the technique of quilling yourself
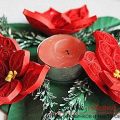 New Year candlestick with the help of quilling technique - master class with own hands
 Easter crafts, crafts for Easter with their own hands, crafts for Easter for children, how to decorate an Easter egg with their own hands, festive decor, Easter compositions, Easter door-bellies.
 Quilling for the younger: crafts for children, self-made quilling and schemes