Decorative Christmas tree made of paper and cardboard by own hands
Decorate a table or shelves with a small decorativeherringbone is a great idea, but such decorations can be quite expensive if you buy them in stores. Why spend money if you can make an original, interesting and funny tree with your own hands, using improvised materials? Variants of Christmas trees made of felt, thread, fabric and books, we have already considered. Now I propose to make four variants of a Christmas tree made of paper and cardboard. Content:
Christmas tree from sheet music or books
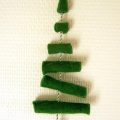
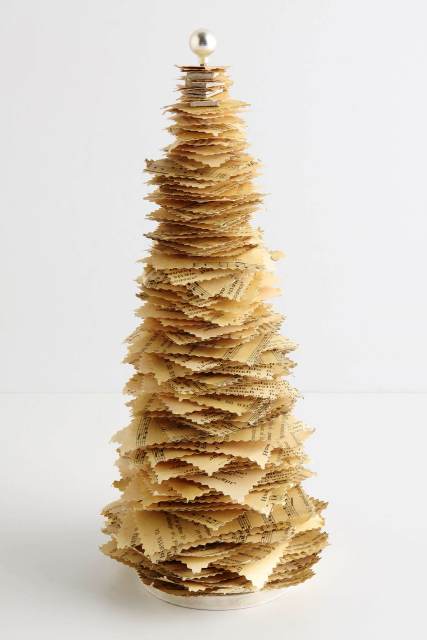 In the Soviet era, and now here and there,saleswomen in the shops pinned checks on the pin. By the same principle is made and this original Christmas tree from the music pages. Take a thin metal (plastic, wooden) axis and fasten it to some kind of stand. For example, you can drive a large nail into a wooden block or glue it to a plastic cover.
  We will make the branches of the Christmas tree from the pages of the book,a newspaper, a magazine, a colored paper or a note-book, as in this example. If you have jagged scissors or a special figured paper cutter, it's best to use them - the edges will look unusual. In the end, you can cut wavy or zigzag edges with ordinary scissors, just time and patience will be needed more.
  Begin to cut out the largest, lower layersChristmas tree. Size select yourself, based on the desired amount of crafts and the height of the base - the pin. For each size of a paper square cut 10-20 copies.
  We also need a large number of cardboard spacers between the paper parts. Cut them out of thick cardboard. In the middle of the cardboard spacer, make a hole in the hole.
  Now all you need to do is start to stick the paper squares on the axis, starting with the large ones. Place cardboard pads between several page details.
  Let the pages rotate in an arbitrary order to get such a cone-like effect.
 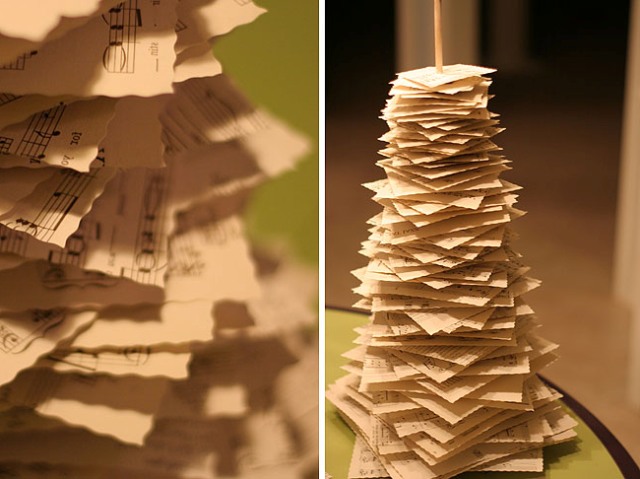 The top is decorated with a large bead or any other decorative element.
  Beauty! A simple and quick New Year's hand-crafting for you and your children!
Christmas Tree of Color Paper
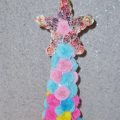
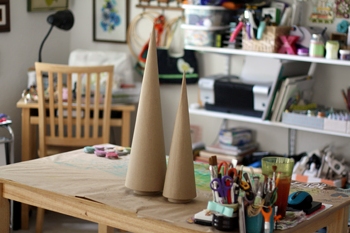
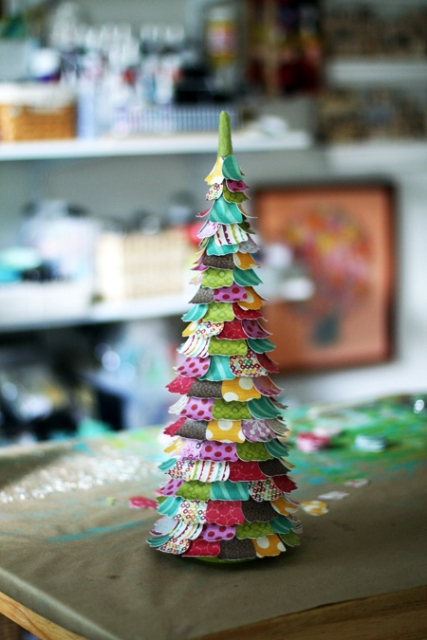 Bright, colorful, cheerful Christmas tree will supporta festive mood and add a lighthearted joy in the house! The basis for the craft is a cardboard cone. Also you will need several sheets of colored paper, better with some patterns.
  From the colored paper, we cut out small details in the form of petals. The amount depends on the size of the substrate. If the details are not enough to glue the whole tree to the top - it's better to cut it later.
 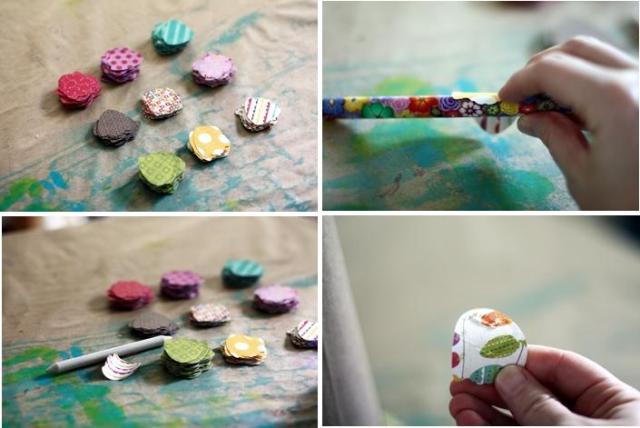 To give each petal a slightly curved appearance, wrap it around the pencil. You can curl the petal before gluing, do not necessarily curl all the time.
  Apply a little glue on the pointed partpetal, and, starting with the bottom row, glue it to the surface of the cardboard. Let the details find each other, slightly overlap. If the rows will turn out slightly crooked, with a slope - it does not matter! This will give even more charm to the tree.
 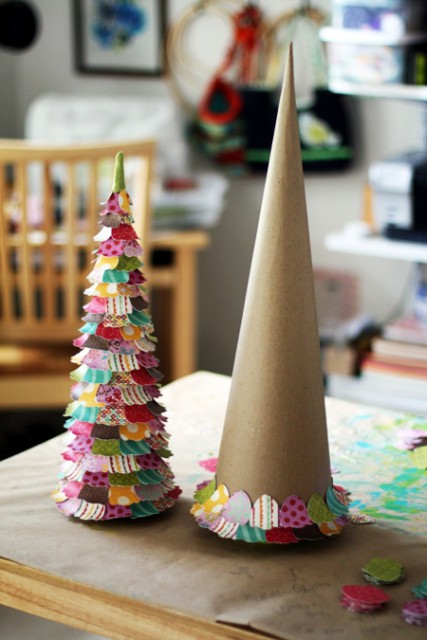 Done!
Done!
Christmas tree of cardboard cones
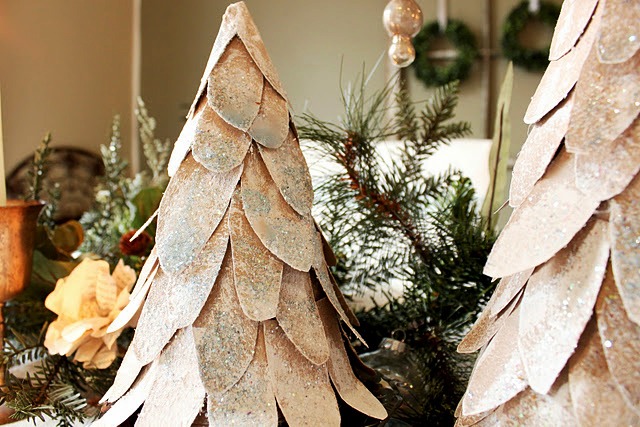 For this variant of the Christmas tree, you will need a cardboard for crafts or just boxes of cereals, chocolates and other products or things.
  The tree is made up of cardboardCones, carved from boxes and glued together with glue. Base the cones in the form of petals. The first 4-5 cones from a larger one to a smaller one are dressed on top of each other. The uppermost cone is simply covered with separate cardboard petals. Theoretically, you can not make several cones, but make one big one, which already has glued details, as suggested in the previous idea of the craft.
 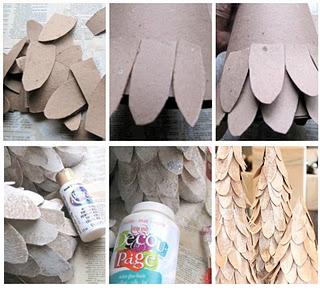 To decorate the whole tree, cover it with sequins.
Christmas tree of paper
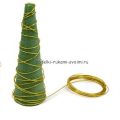
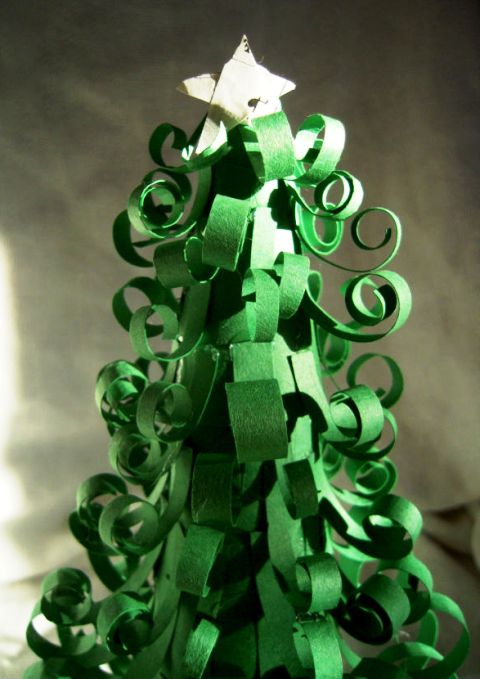 The basis, as usual, is a cone made of cardboardor polystyrene foam (expanded polystyrene). You will also need green paper, glue, a pencil and ornaments (for example, an asterisk at the top). If a cone of foam, then paint it in green or just wrap it with green paper. Cut a lot of different pieces of paper, long and shorter. Twist the tip of the strip on the pencil, and then glue it to the cone, starting at the bottom row.
 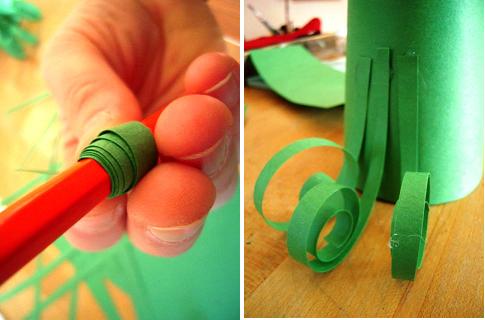 Larger strips of paper with large curls, glue from below, and smaller ones - from above. The result will be like this:
 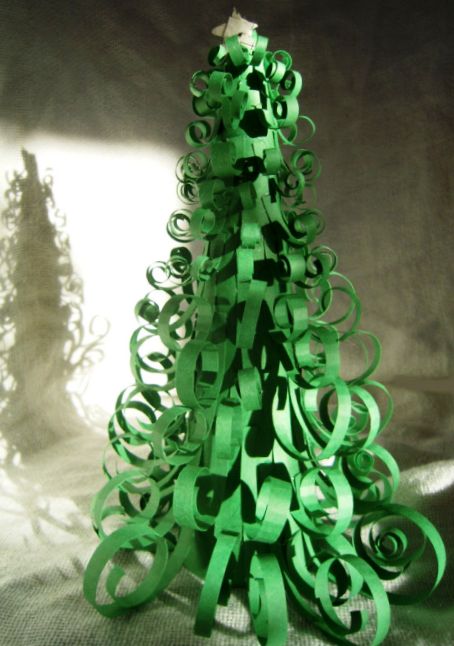 If you make a large tree, a meter or more in height, to scrape the lower strips of paper, take an object of a larger diameter, for example, some aerosol can.
Herringbone from the book
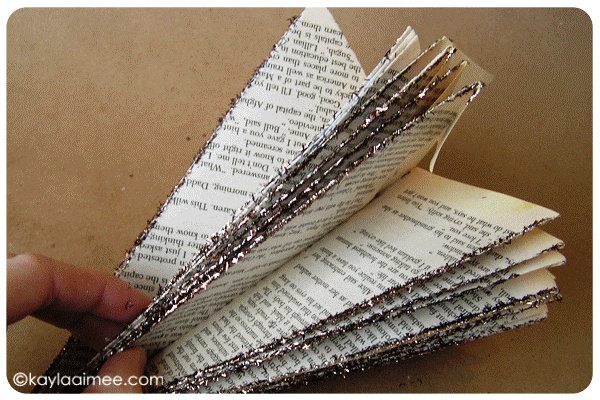
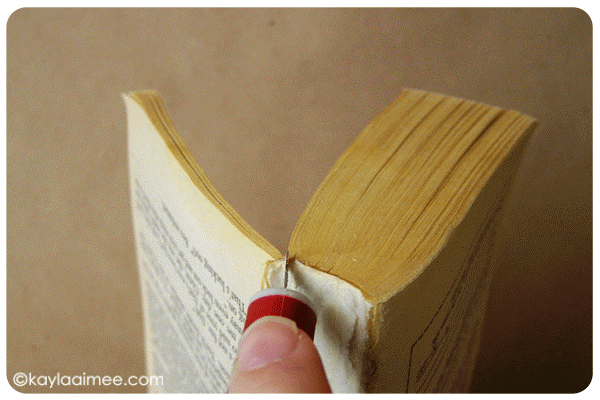
I'm for making absolutely any books that youdo not need, give to public libraries. The tastes of all are very different, and even literature on Marxism-Leninism or the handbook of electrical engineering of the 1970s will find their devoted readers. But if you have books in a very bad, crumbling state, they can not be repaired and they do not represent any value to you and your loved ones, then making them decorative Christmas decorations will be a great idea. Like these ones: 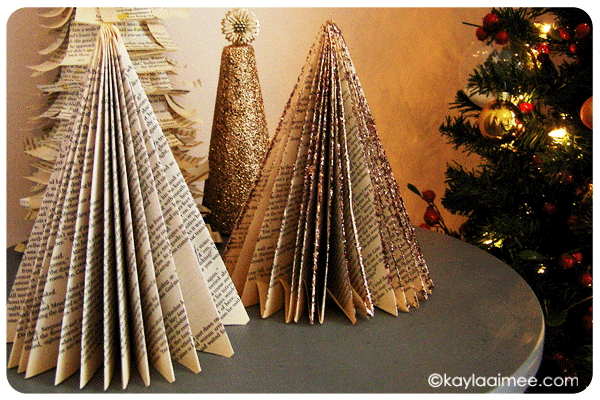 For this we take a paper book and release itfrom the cover, which can be used for other crafts. We count at least thirty pages and cut them off with a sharp clerical knife. This stage is better for children not to trust, so that no one is cut.
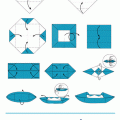
  Each page is bent as shown in the photo below:
 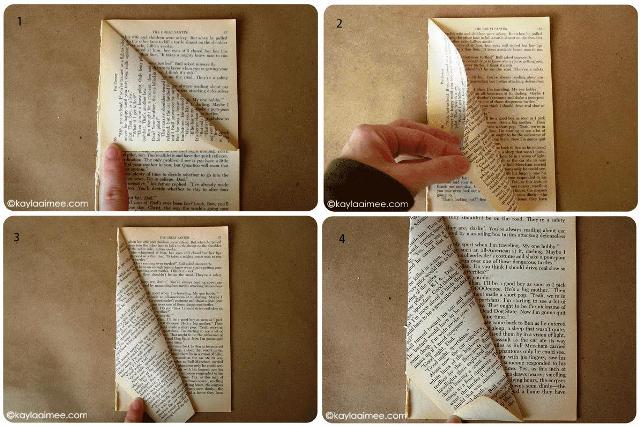 When all pages are bent and triangles,connect the two extreme ones, thus making a cone. For additional decoration, you can cover the edges of the pages with glue and dipped in sequins, and top with a paper snowflake, an asterisk or a ball.
