Decoupage caskets in vintage style with their own hands (photo)
Content
- Vintage wooden box
- Casket in the form of a book
- Ancient suitcase
- Making the chest decor
- Video: Making Decoupage Caskets
Every day, objects in the style of vintage, acquireAll the more popular among needlewomen. Such an old thing, with the effect of aging, will be a wonderful addition to your interior. It is a pity that not everyone has the opportunity, to acquire real trivia, in the style of vintage. The way out of this situation is, to do this decoupage with our own hands, under the old days. Thus, you will show your creative skills and abilities.
Master classes that will be presented in the article for beginners, narrate in detail, how to turn the old days into fashionable interior items.
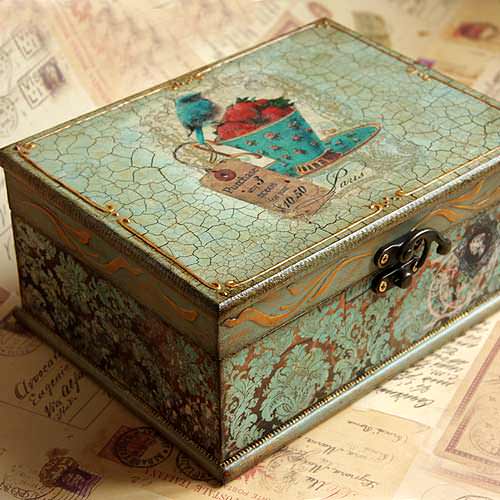


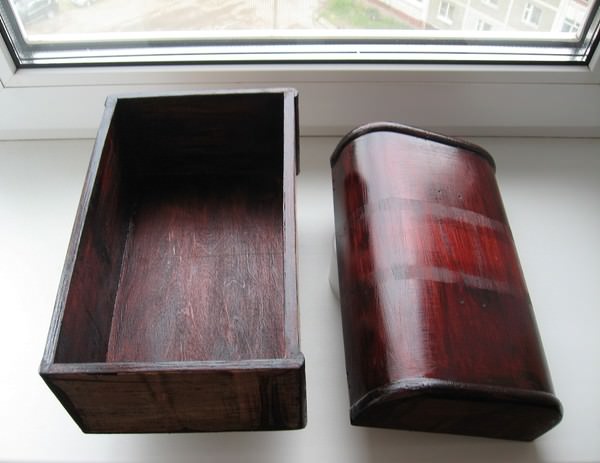
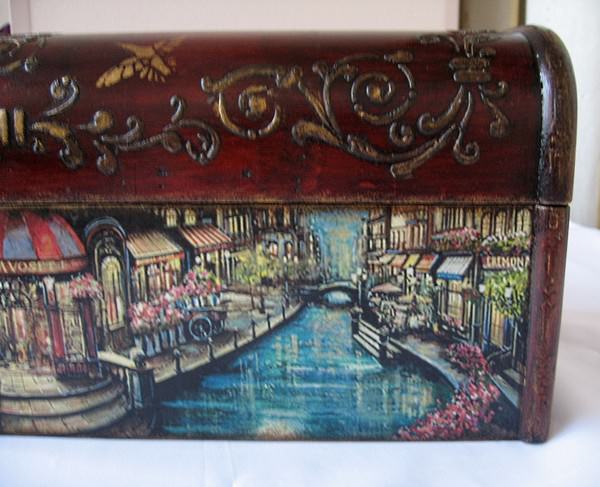
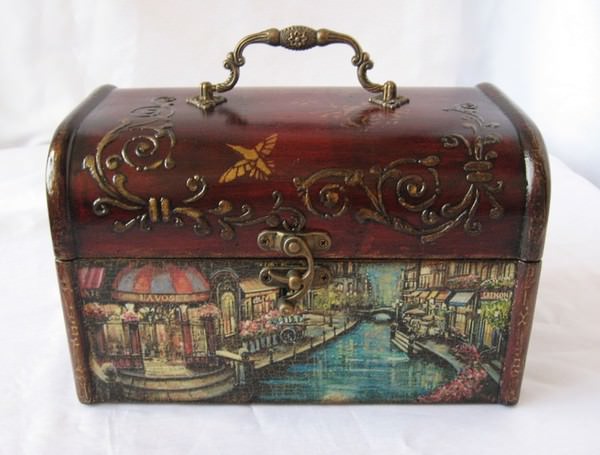
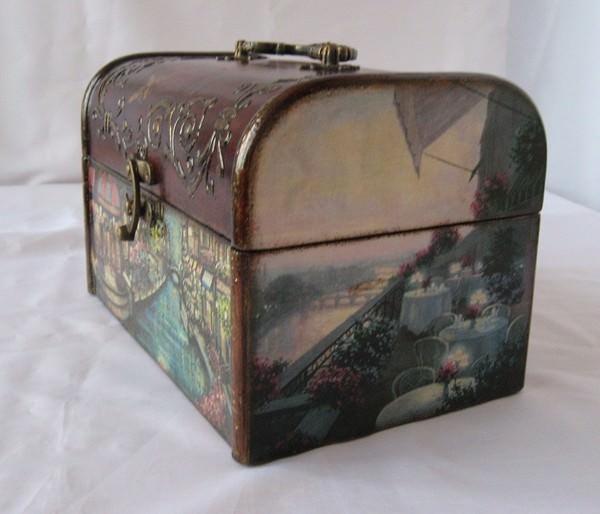
Vintage wooden box
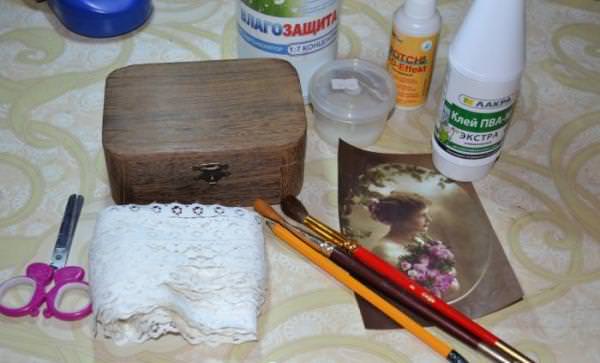
For work, in the technique of decoupage, you will need material that is easy to buy in a specialized store, namely:
- Wooden cask of dark color;
- priming;
- Glue, scissors, brush and sponge;
- Napkin or decoupage;
- Lace of white color;
- acrylic paints;
- 3D varnish;
- acrylic lacquer.
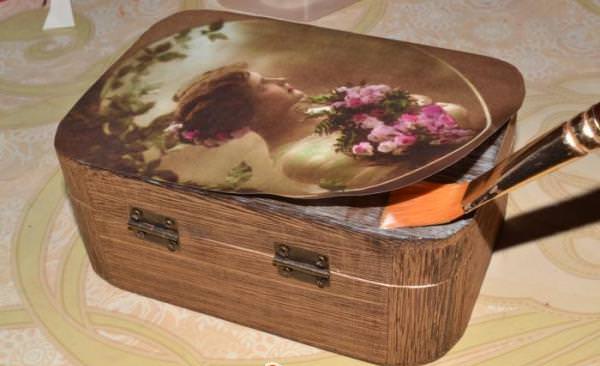
After you have prepared everything, you can hold a master class and do the decoupage of the casket. First of all, you need to measure the size of the card or napkins and adjust it to the casket.
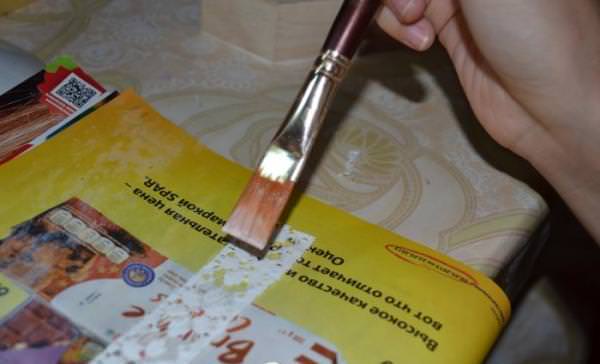
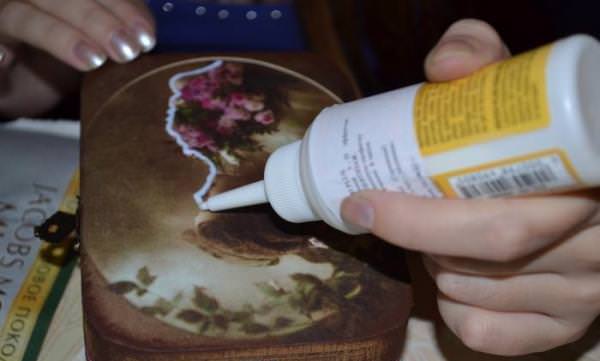
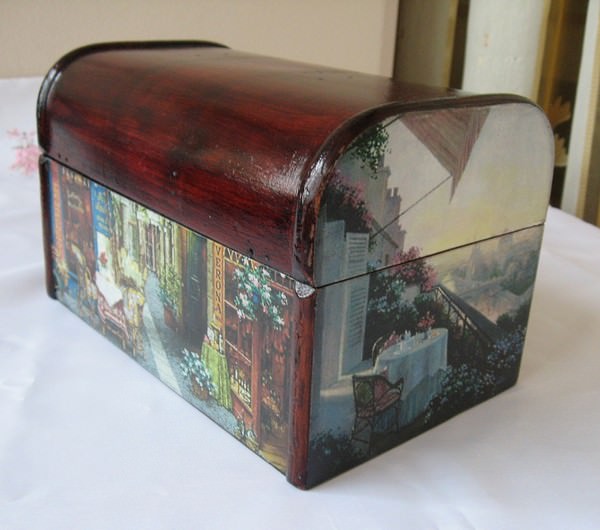
Pour the PVA glue in a small container, then,Lower the brush into it and start smearing it, the whole surface of the box. Attach the image to the lid of the box and immediately apply glue, over the picture. Do not worry, if there are white strips of glue, PVA, after drying, becomes transparent.
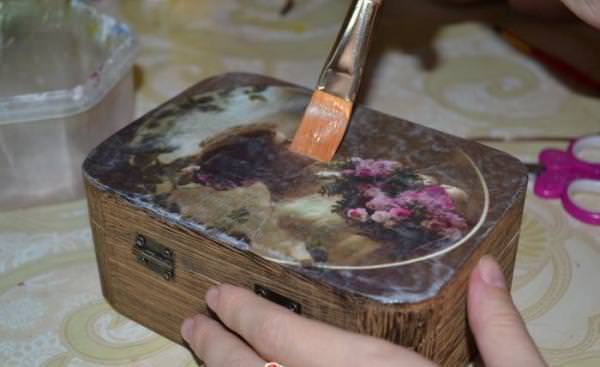
Glue the card or napkin neatlyMovements, to avoid the formation of wrinkles and air bubbles. If, they have already formed, raise the image and once again make smears with glue. The lid of the box remains until completely dry. The next stage of work, moves to the bottom of the casket.
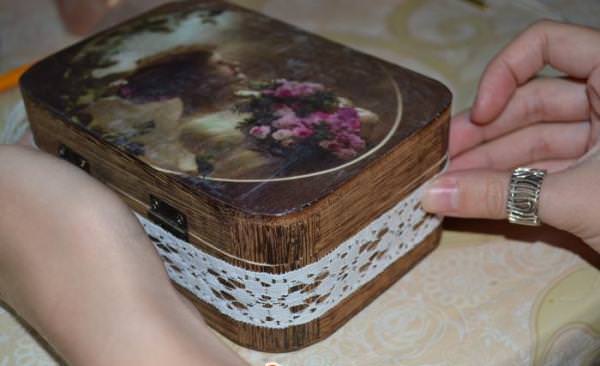
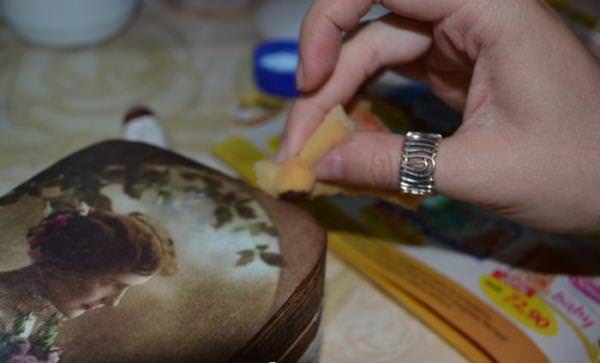
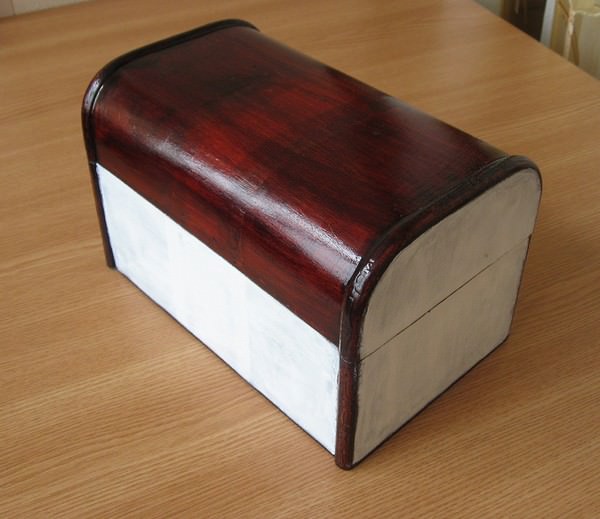
This plane of the casket, in the technique of decoupage, will be decorated with white lace. It is necessary to measure the length and cut off a suitable piece.
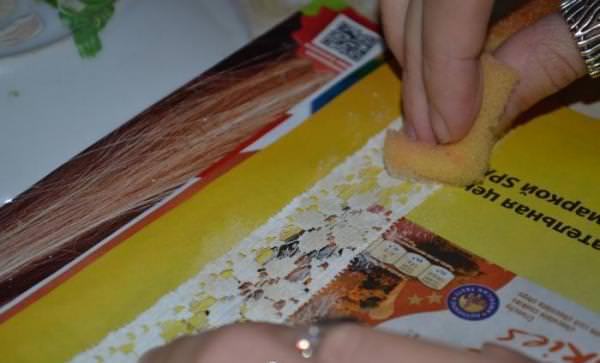
Since decoupage of the casket is done in vintageStyle, lace need to grow old. Do it yourself. Take the acrylic paints and spread a dirty beige shade on the plate. Lay out the lace on the newspaper, so as not to smear the table. Next, dip the sponge into the paint and apply to the material. Do this until you get the expected effect of the old look. Wait until the matter dries completely, and then turn it over and back with glue. Glue the lace on the side of the box.
We proceed to the design of the inner side of the box. Do the priming of the entire surface and leave to dry.
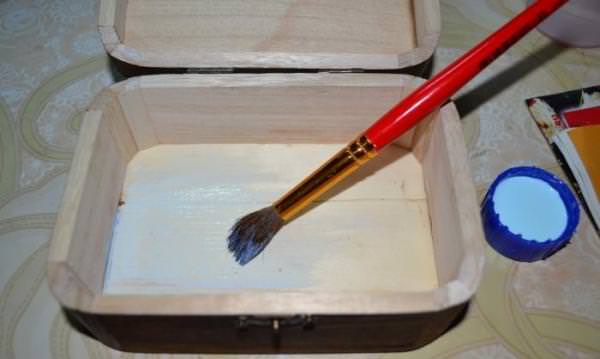
To ensure that the box does not look tooGloomy, paint the middle in a muted color of a bright hue, for example, pink. For greater harmony, the outer and inner parts of the box, glue the lace over the pink shade. We are waiting for the whole work to dry up.

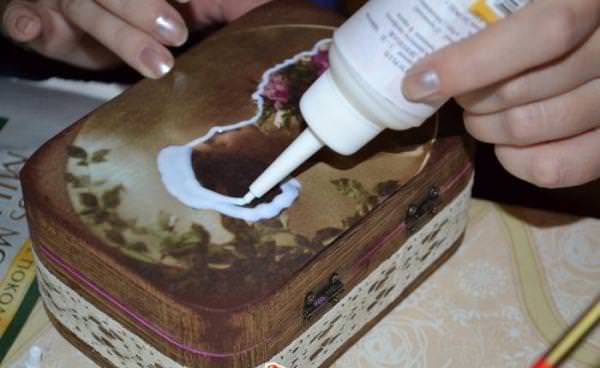
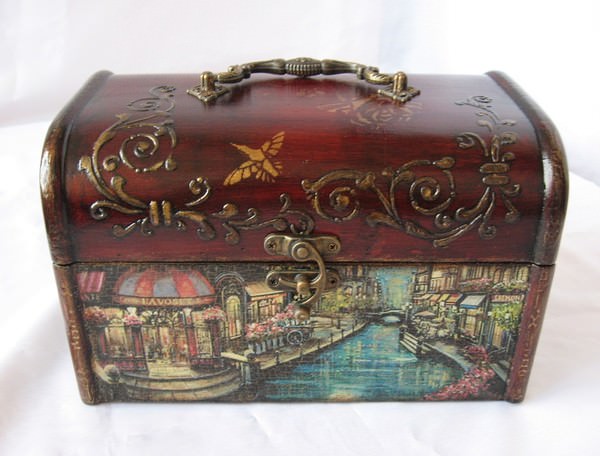
The master class returns to work on the lidDecoupage of the casket. Now, you need to erase the boundaries between the card and the edges of the lid. Dilute the acrylic paint in a dark brown color, and using a sponge, apply to the plane of the lid.
It is necessary to select the outline of the image on the postcard. Use 3D varnish, which is applied throughout the contour of the picture.
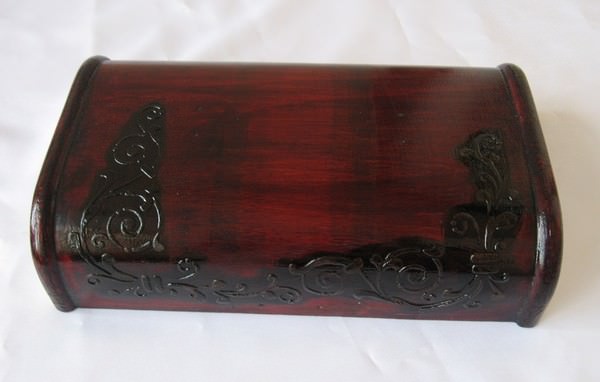
The box remains on all night, dry in a dry andWarm place. The last piece of advice that you can make to decorate the casket is to paint it with acrylic lacquer, about two or three times. Making the intervals between the painting. And again we leave for the whole night to dry up.
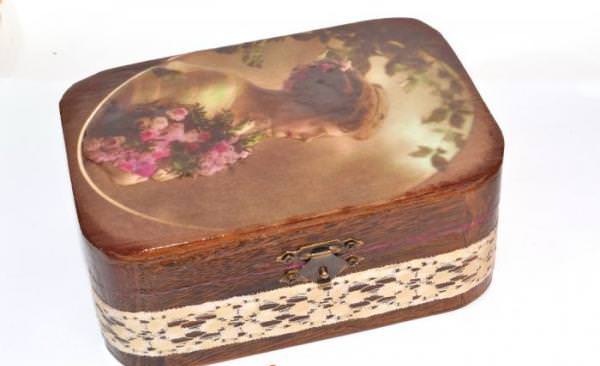
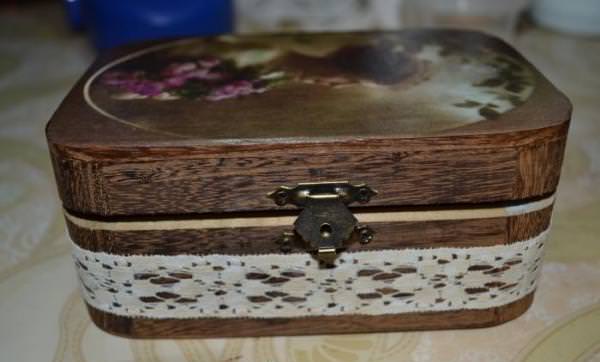
After all the work done, decoupage caskets, in the style of vintage, ready. Use it under decorations or to store expensive trifles.
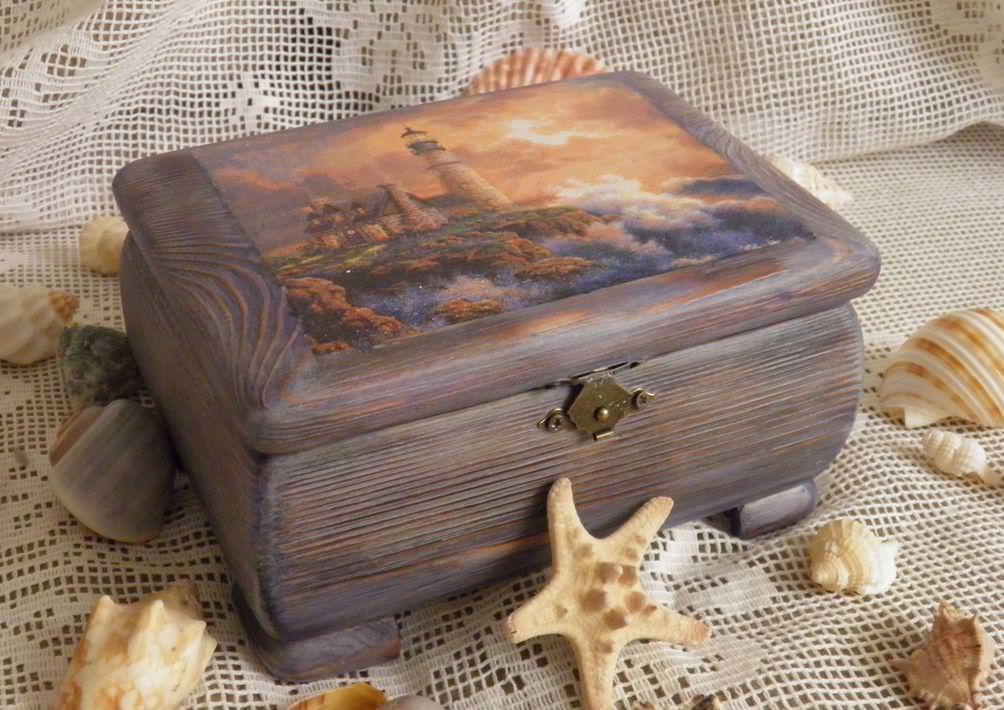
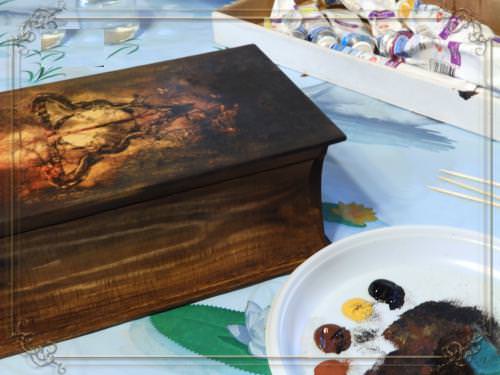
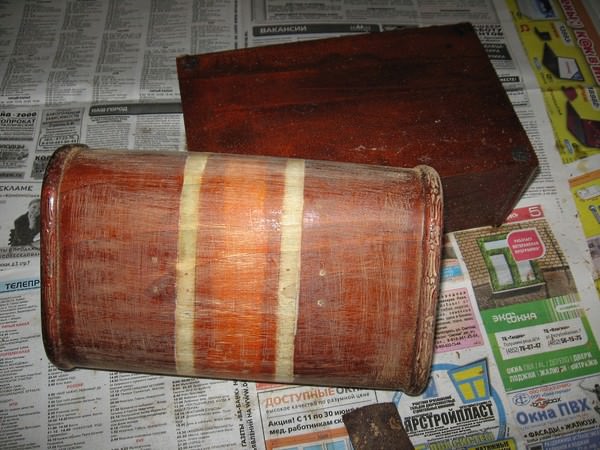
Casket in the form of a book
Decoupage of a wooden box, will look like an old book. Such a master class is interesting because it looks unusual and the box, indeed, is easy to confuse with such an object as the book.

Here is a list of those materials that will be useful in conducting a master class:
- The workpiece is made of wood, in the form of a box-book;
- lacquer;
- Acrylic paints and stain;
- sandpaper;
- Roller and spatula;
- A suitable image for your taste.
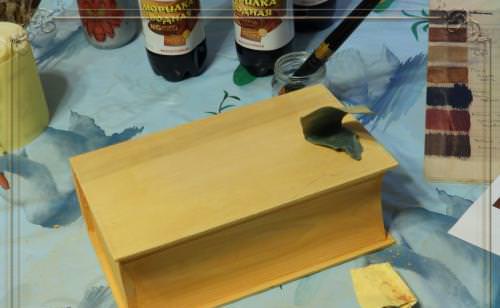
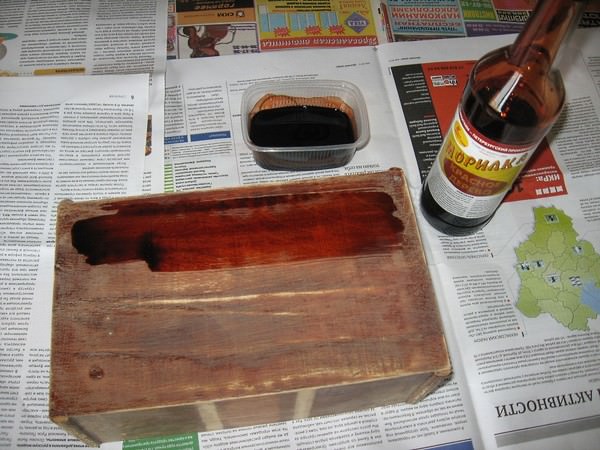
First of all, the main task is to chooseAncient motive. Take into account the fact that the image should be with the effect of antiquity, and everything else you will do with your own hands. In this case, the box does not require sanding, but only, covered with stain, a suitable shade. After the done manipulations, dry it with a hair dryer, for a quick process. Only now, treat the surface with sandpaper. It is necessary to make it lighter and remove all irregularities. Sanding occurs in the direction in which the wooden fibers are located.

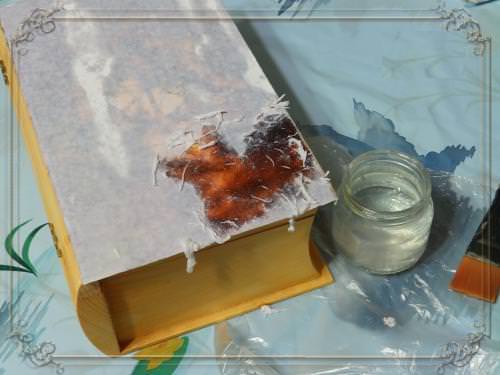
Cover the lid with several layers of varnish, makingBreaks between the application of the material. Put the picture on the file and put on it the same lacquer. Attach a motive, a picture down and walk on it with a platen. Next, remove the file and rubber spatula, expel excess lacquer and air bubbles.
Wet the paper with water and wait until it is completely soaked, now you can roll it. Dry the product with a hairdryer and cover with a varnish.


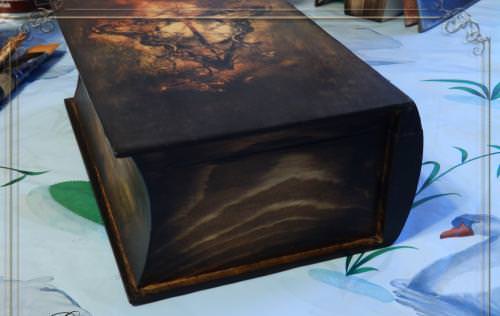
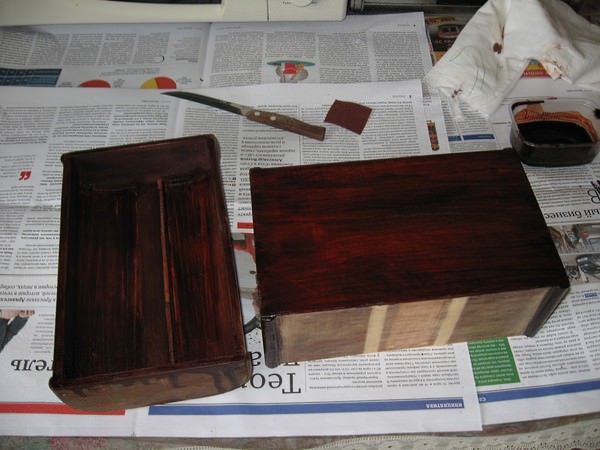
While the lid completely dries, we return to work on the rest of the casket. Apply a layer of stain, a little darker than the tone of the previous time and dry it. Again, we paint the surface.
Further, the work will proceed according to the principle, the stylus layer and sanding of the same layer. When, you make sure that enough stains are applied, you can cover the product with varnish.

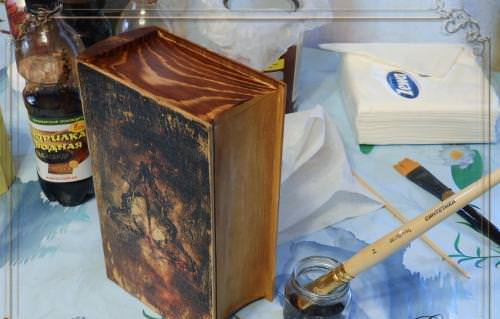
Take a disposable plate andColor acrylic paints. Press them into the container and using a sponge, apply to the lid. Make sure that the bast was half dry, very important, do not overdo it with the amount of paint.
Put a dark tone around the edges of the product and all sides of the box. As a result, you will get a dark color from the edges, which becomes brighter to the middle.
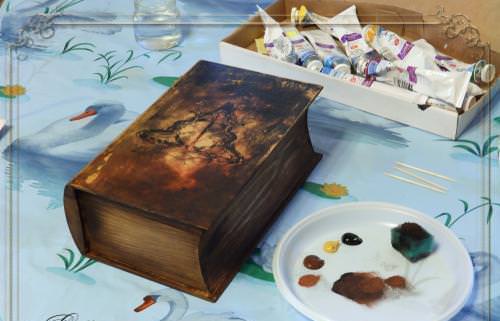
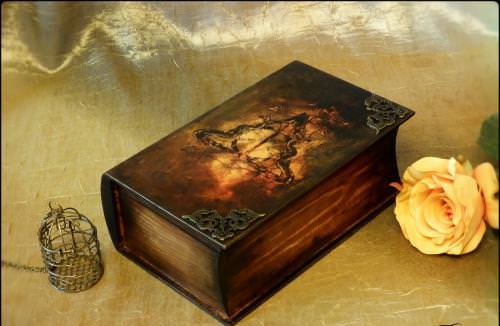
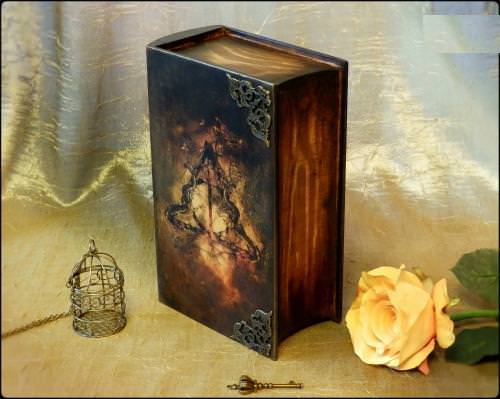
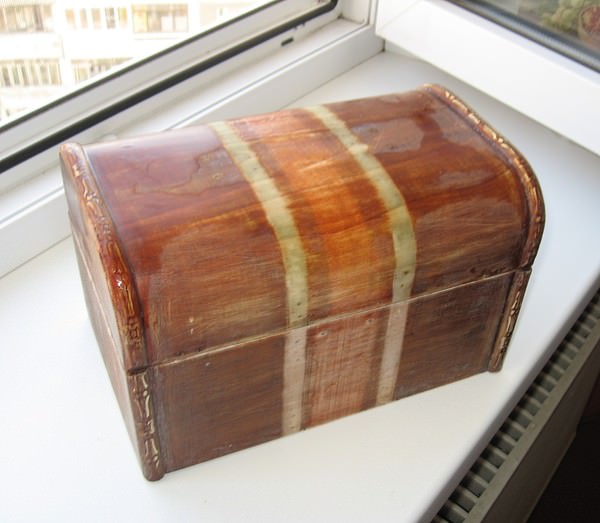
It remains only to cover the casket in the form of a book with lacquer and decorate the edges as your fantasy tells you. The master class is finished, the amazing old casket-book, looks perfect.
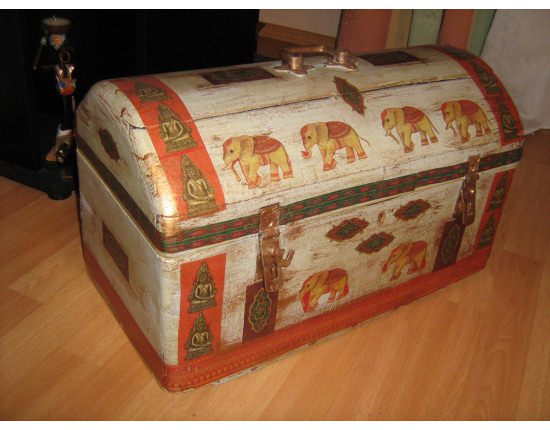
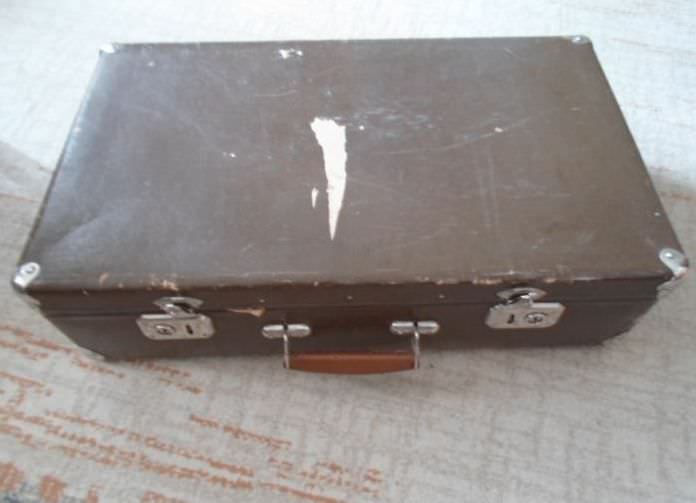
Ancient suitcase
If you, lucky enough to keep in one piece,Long-time suitcase, then do it yourself with his hands, using a napkin, in vintage style. This master class for beginners, clearly shows how to do it.

Here are the accessories that will be needed in such a work process as decoupage of a suitcase:
- suitcase;
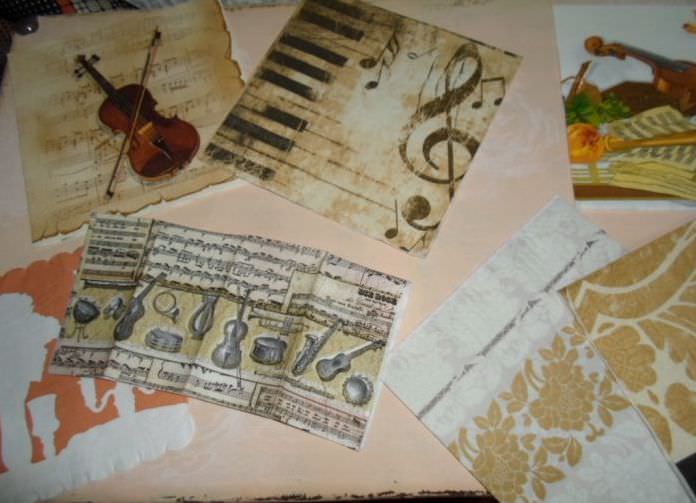
- Napkins with suitable motif;
- glue;
- file;
- acrylic paints;
- nail acrylic;
- candle;
- Brush and roller;
- Washcloth and nazhdachka.
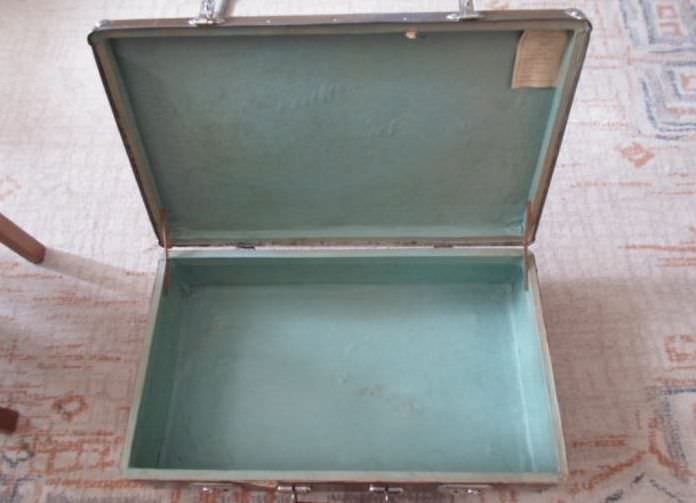
Clean the surface of the corners and repair the handle, and then, degrease the suitcase with alcohol and leave it to dry.
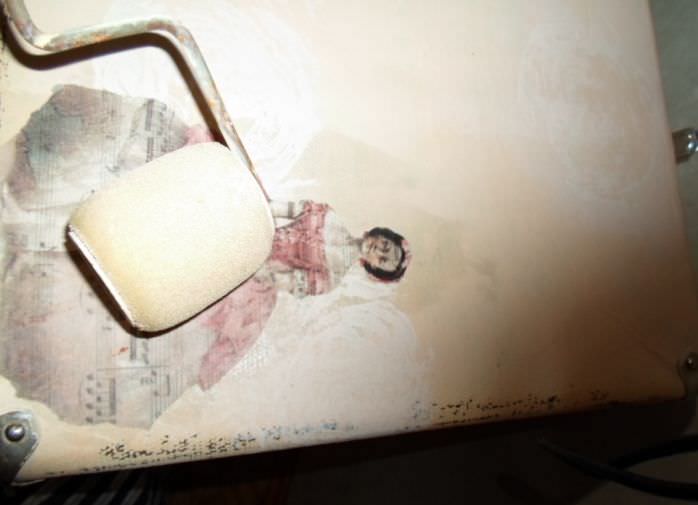
Rub all sides of the suitcase, candle stove, and then, paint it with beige acrylic paint, several times, giving time to dry, between work, as demonstrated in the photo.
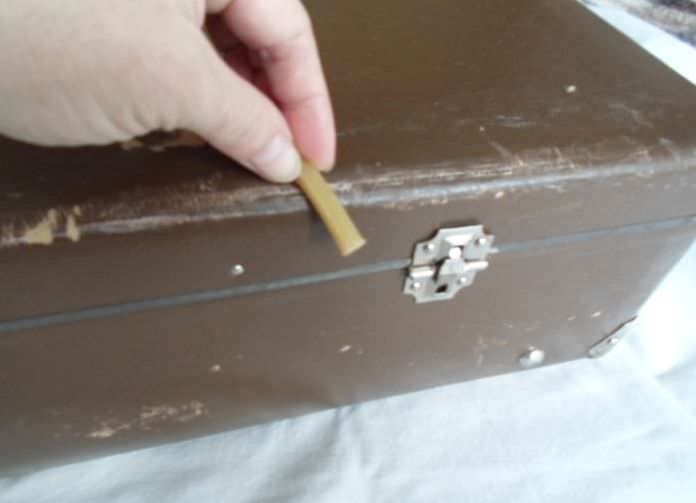


In order to get the effect of antiquity, sandpaper, go through all the faces, as shown in the photo, and remove the paint.
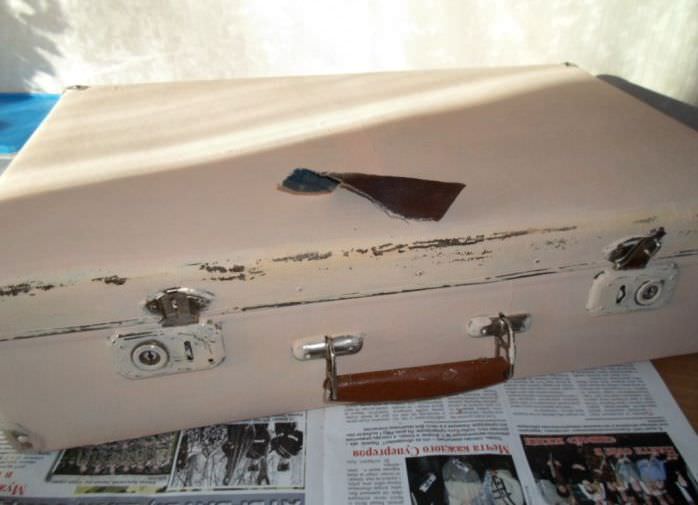

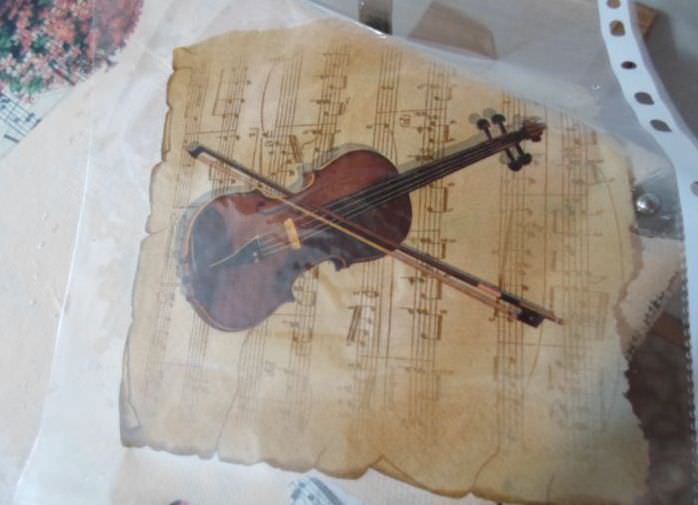
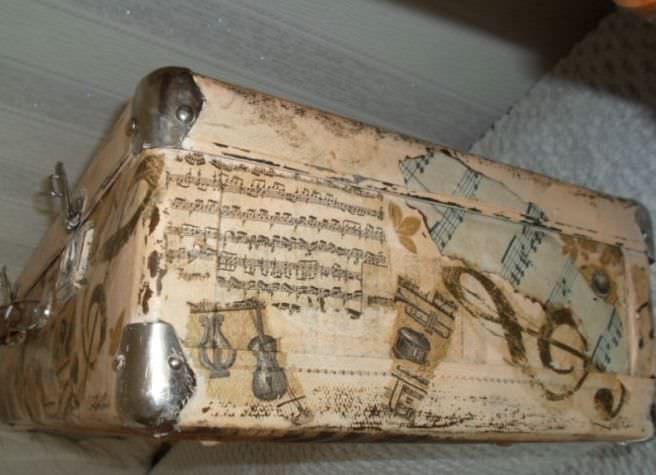
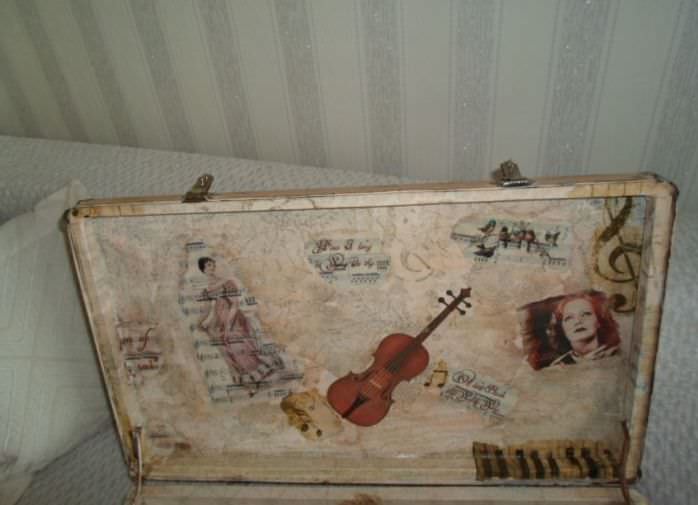
Select the napkins in a vintage style and separate the top layer. Put them on the glued plane and walk on them with a roller.
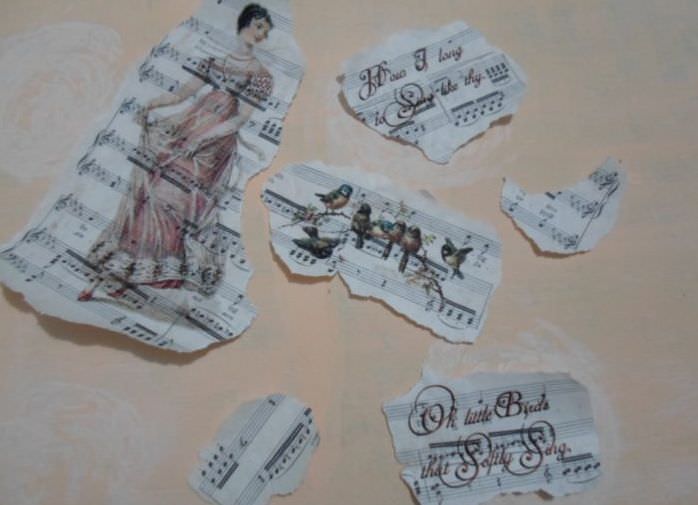
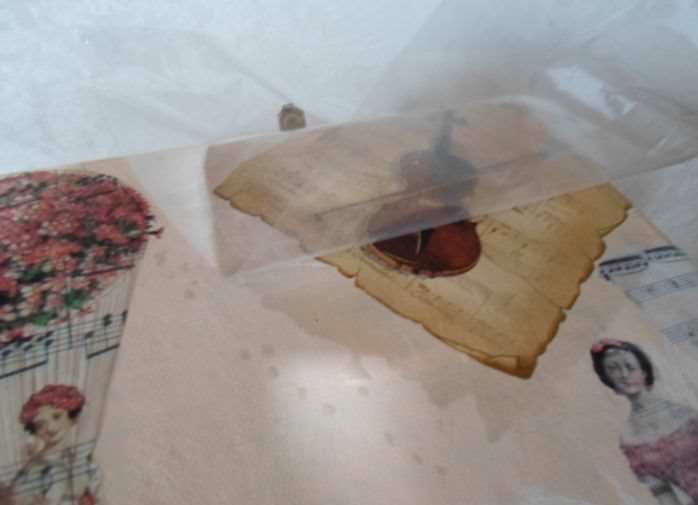
The most central drawing of a napkin, put onFile, and water is poured from the top. Then, aligned with a brush and applied to the suitcase. Remove the file by holding the napkin behind the corner, and cover the drawing with glue. Leave the product to dry.
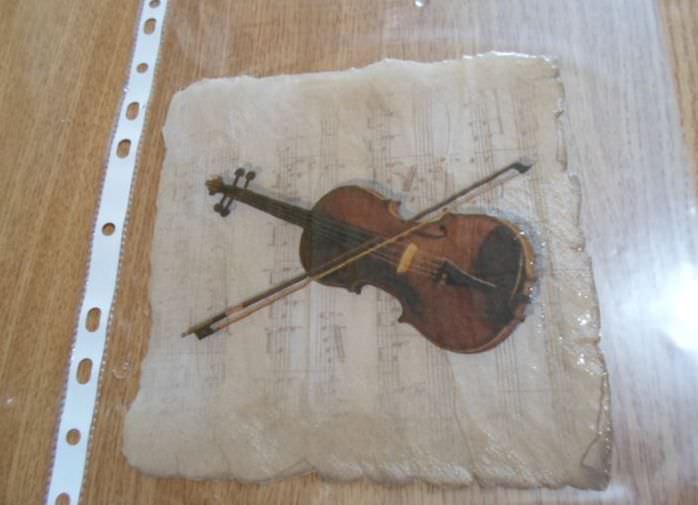

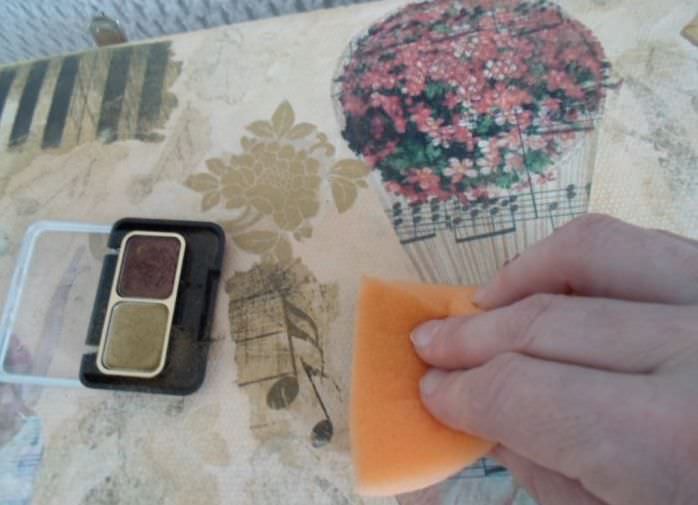
Use a washcloth, a bronze shadow on the entire surface and in the intervals of the image, as shown in the lower photo.
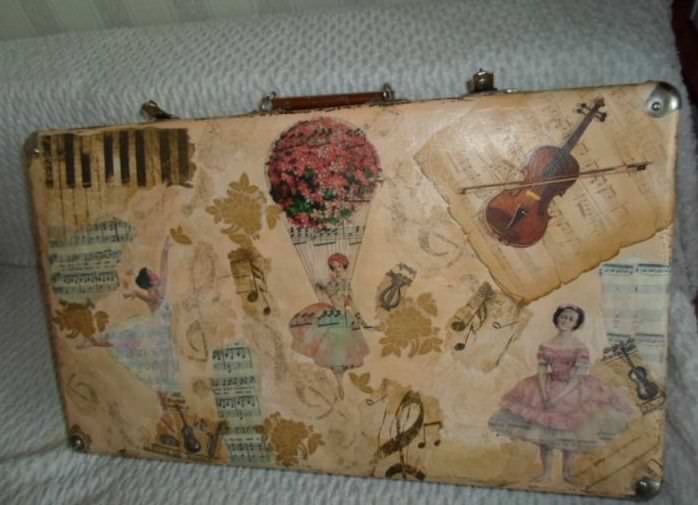
The final touch is that the suitcase is covered with acrylic lacquer and the suitcase is decoupled. The master class in vintage style is finished, and such a musical suitcase will serve you for many more years.
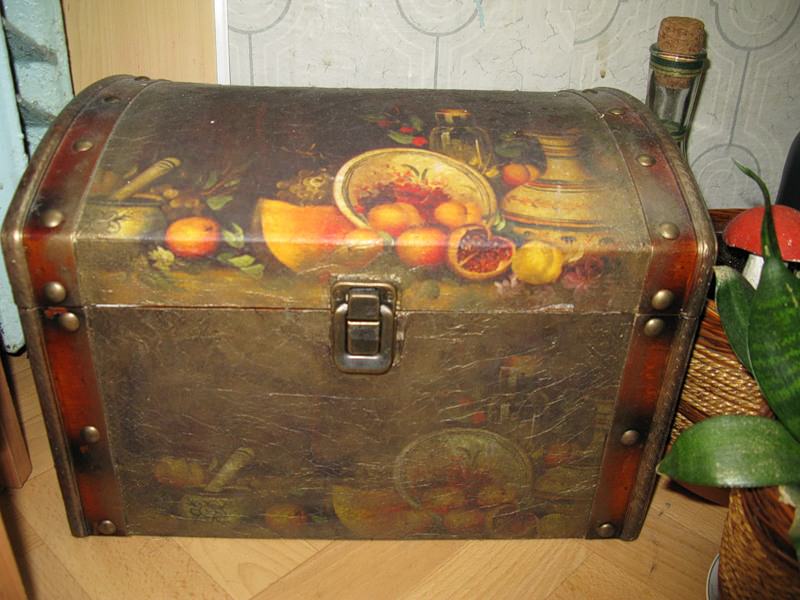
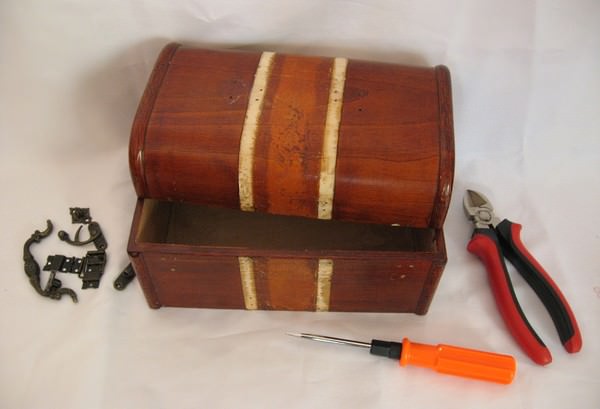
Making the chest decor
In order to breathe life into old things,You can make decorating yourself. Especially, interestingly, the old objects look in the technique of decoupage. Such ideas will be interesting, even for beginning masters.
Take the old chest and remove from it allAccessories. And now, cover it with a special wash for the old paint, which will help remove the top layer of the old varnish and stain. Wait for thirty minutes and remove the top layer with sandpaper. Leave the chest, dry.

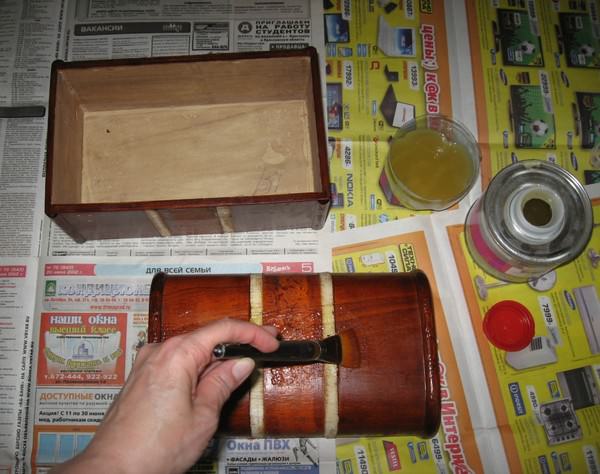
Once again, you should hide the chest, and then cover itStain the whole surface, except the one where the paper motifs will be applied. For best effect, mix a few shades of stain and apply on the décor.

Apply the primer to the material in several layers and polish until the tree is smooth.
Glue pictures with glue on the side of the chest, as demonstrated in the photo.
Using a stencil, you can decorate the lid. To do this, apply the construction putty and level it, and then quickly remove the stencil.
Take the bitumen and apply it on a white pattern, and then, with a sponge soaked in alcohol or kerosene, erase unnecessary smears, as in the photo.


The facade image can be made more muffled, using craquelure, and then, bronze construction powder. Above all, an acrylic lacquer is applied.
Vintage master class is finished, chest decoupageCompleted. In the end, it turned out a wonderful antique product that will decorate every corner of your apartment or house. Such a decoupage of the chest, it will be actual to look at the dacha.
As you have already seen,Master classes in the technique of decoupage that create such versions of products with their own hands, not simple, but very interesting and entertaining work that brings not only aesthetic pleasure, but also helps diversify the same interior of an apartment, house or villa.
Vintage things, have long been fashionable and entrenched in the works of skilled needlewomen.
For beginners, it is recommended to view the video,More simple master classes, to start better with them. When, you make sure that you are able to duplicate the lessons of decoupage without problems, you can move on to a more complex level of skill. Do not try to cover all the facets of decoupage, do it gradually.
It is possible that such a hobby can developNot only in everyday work, but also work that brings in material income. After all, practically, every person in the house has an old thing that got from the grandmother. With the passage of time, it lost the required appearance and requires restoration. To correct such a person can be, who is devoted to work in the style of decoupage and can correctly make the necessary decor.
Examples of master classes can be found in large numbers on the Internet. On them, you are sure to find something suitable for you and your level of skill.
Video: Making Decoupage Caskets
https://www.youtube.com/watch?v=UZO6fUS6BK0
Comments
Related posts:
 Decoupage Wallets: decor items with their hands (photo)
 Volumetric decoupage with their hands in the workshops (photo)
 Decoupage of furniture with their own hands with photo examples (video)
 Decoupage of the picture of the picture with your own hands photo and video
 Decoupage battery heating with their own hands (photo and video)