Decoupage drying for beginners - design of two-level drying step by step
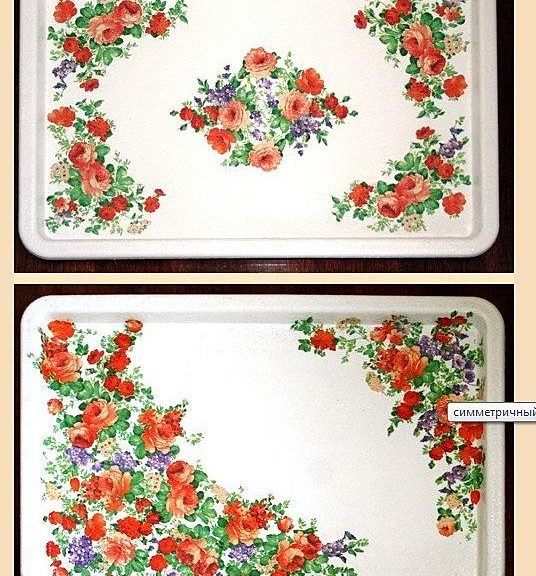
We use the usual drying for dishes on twolevels to decorate our subject. Our version was made of plastic, so for this decoupage it is recommended to find just such an option for drying dishes. This tray will be an excellent option to decorate it in the style of decoupage.
Decoupage drying for beginners - design of two-level drying step by step
- First of all, it is necessary to take an acrylic,white paint for the primer (also can come and artistic paint, we took the interior, matte acrylic paint, which was bought for repair work).
- We also need glue. In this case, PVA is great.
- Lacquer without color (transparent)
- Three-layer napkins
- Sandpaper
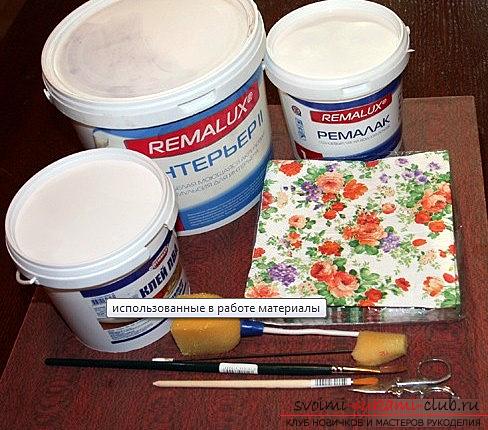
Next, you will need to select a specific list of tools:
- A special sponge (for priming) - this can be an ordinary sponge for utensils.
- Brush with soft bristles
- Scissors - for cutting out different patterns.
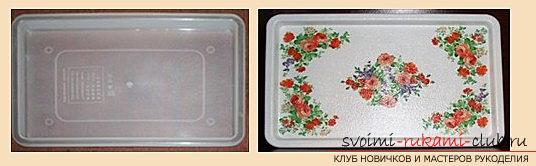
 Let's start working on drying. To begin with,it is necessary to prepare a tray for work. To do this, you need to wash it with a special remedy, removing all dirt, grease and other residues. Then, also use drying to fully work the surface of the material. Then, wipe our product with alcohol or vodka, so there will be no fatty traces.
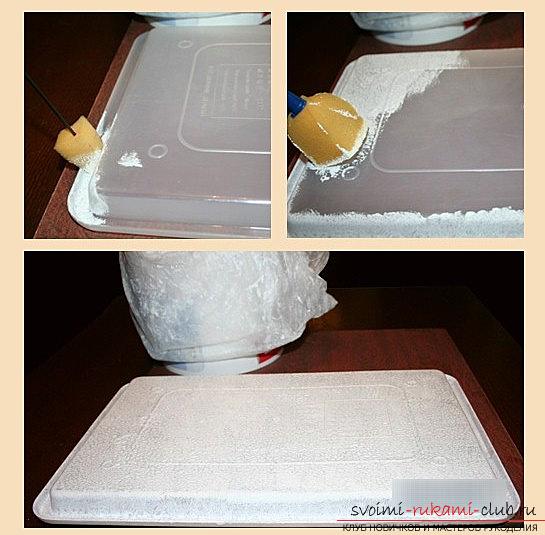
 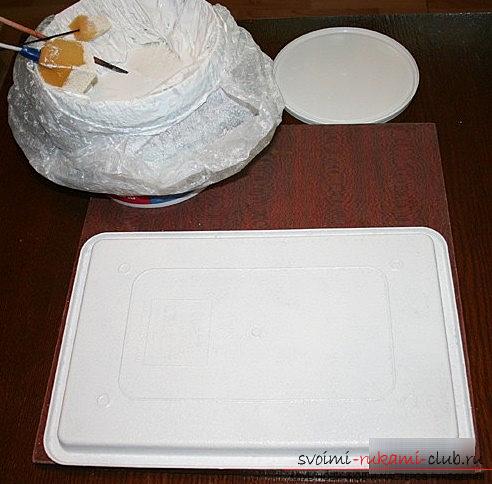 Priming the surface (bottom) After this, weWe primed our surface of the inside of the tray. For this it is necessary to decide what part of the work you will be primed. Let's try our plastic tray primed on two sides. Therefore, we ground the surface with white paint on both sides. We use spozhnami from foam rubber and we will put a ground exactly 2 times. If the surface is sourish, treat it with a special skin. This is for the paint to fall better.
 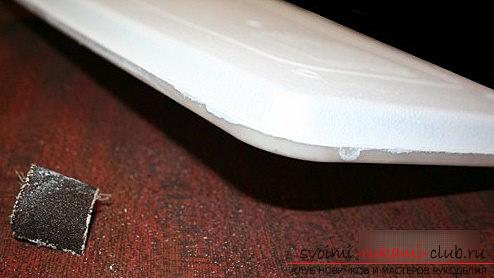 Then, wait until the paint layer dries (thisabout 3-8 hours depending on the product and paint properties). Then we apply another layer of paint to make the surface elegant. We leave the tray and wait for the final drying of the material properties for some time. Remove the paint from the surface
  Next, remove unnecessary paint with the help ofnazhdachki not to damage the surface. Then, you need to wipe the tray from the dust that could have formed all the time. We varnish the surface with a thin layer. Apply varnish, using one directionality. Acrylic lacquer will have a milk base, but after drying will cease to have color qualities. Then we put the second layer, before waiting for drying (the instruction of a varnish). Then, use the roller to process the surfaces.
 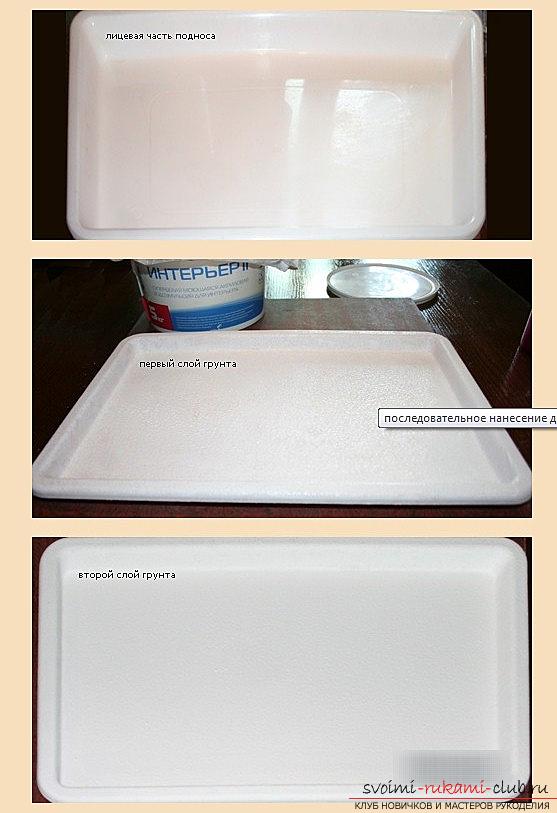 Primer front After this - wewe ground the front side. It must be primed with the same paint, but do not apply lacquer. Then, we make the stage of decoration. We spread the glue with water and lubricate the space that we are going to decorate. Next, waiting for the drying of our tray. We prepare decoupage pictures or fragments. Take three-layer napkins, cut out the necessary pieces of fragments. White parts of the sheets for decoupage pictures can be left. They are suitable as a surface simulator.
 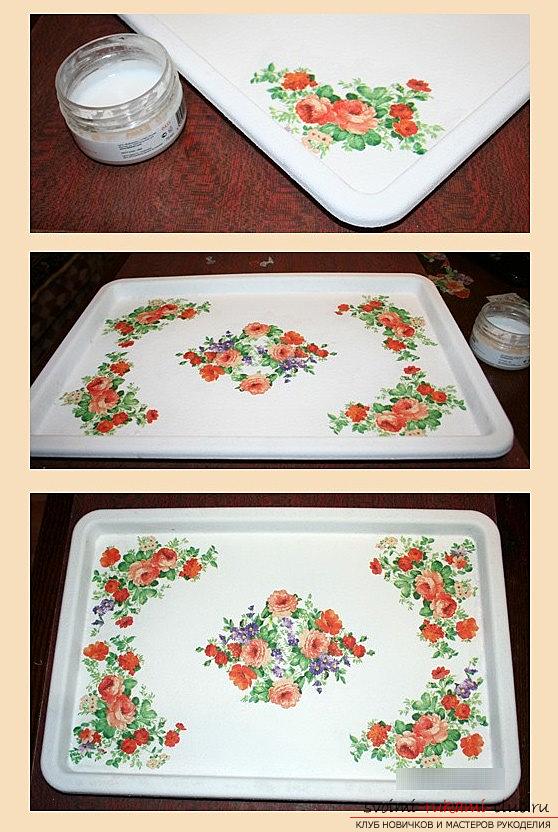 Drying After - stick all the necessaryfragments in the necessary parts of our future "new tray". We put the leaves in the right zones, we compose our composition. You can use the iron in order to straighten the work. This will help get rid of the wrinkles. Gradually, we paste on the tray all the fragments we need. Remove excess parts of the adhesive backing by dabbing with a soft cloth. Do not glue to damp areas.
 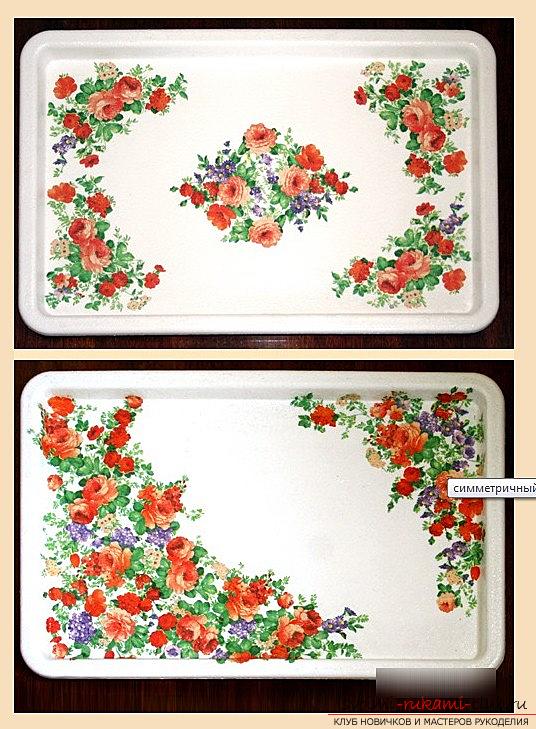 Next, you need to varnish our surface using two layers in order to process the top of the surface. Before applying the varnish, wait until the glue dries.
Comments
Related posts:
 Eternal calendar in the technique of decoupage, decoupage for beginners step by step with photos
 Clock-decoupage for beginners: photos and instructions step by step
 Wooden tray, decorated with decoupage, decoupage for beginners step by step with photos
 Tea house, decorated with decoupage, decoupage for beginners step by step with photos
 Decoupage master class step by step. Photo ideas for decoupage.