Decoupage for beginners step by step (photo and video)
Content
- Decoupage for beginners
- Decoupage and creative ideas for your home
- Reverse decoupage
- Video: Doing a reverse decoupage
- Lesser, as a kind of decoupage
- Brashing
- Video: Handmade
- Potal
- Imitation of malachite in decoupage
- Nabryzg
- Video: We create nabryzg own hands
Very fashionable now the term Decoupage comes fromThe French word decouper. This word in translation into Russian means cutting something. The technique of decoupage assumes such performance of works on decoration of various things, in which the cutting of pictures or drawings is made. The technique of decoupage also has a second stage, when the carved ornament should be combined with a certain thing, and cover it all together with lacquer, giving the composition a shine and wear resistance. The decoupage school is rooted in the fifteenth century Germany, where carved ornaments were added to furniture for its decoration. Nowadays the school of decoupage acquired its second birth, and became very popular. Many needlewomen perform decoupage with their own hands in order to give novelty to everyday objects. Modern decoupage techniques are used not only for furniture, but also for decorating many other items of your home, such as caskets and trays, hats and bags, accessories and clothing.


Today the technique of decoupage is done usingFabrics, computer and printing technologies, and can be used in decorating almost any surface. In addition, he was enriched with completely new technologies. A variety of creative ideas allow you to make artistic and
. Perform in this technique also gildingSubjects. Very fashionable was the technique of decoupage, which allows you to age any object. To a newcomer who is interested in this technique of decorating surfaces, it is advisable to visit a special site of decoupage enthusiasts, where you can find everything about decoupage, various novelties and creative ideas.
Decoupage for beginners
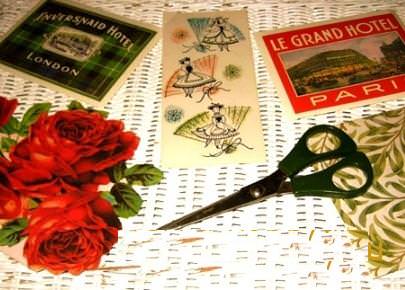
These lessons of performing the technique of decoupage areFrom several sections, where in stages it will be explained to all beginners and children, exactly how this magnificent technique is performed. The first master class contains decoupage for beginners, and step by step will tell you how to succeed in the technique of decoupage. Considering the master class, we study the photos presented in it step by step, which will facilitate the assimilation of the material. This technique has some difficulties, one of which is to eliminate wrinkles and assemblies. For learning decoupage techniques, prepare such materials:
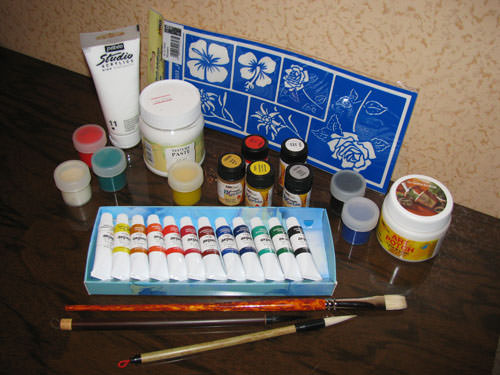
The basis for decoupage;- decoupage glue;
- Knife and scissors;
- Centimeter and ruler;
- pencil;
- sandpaper.
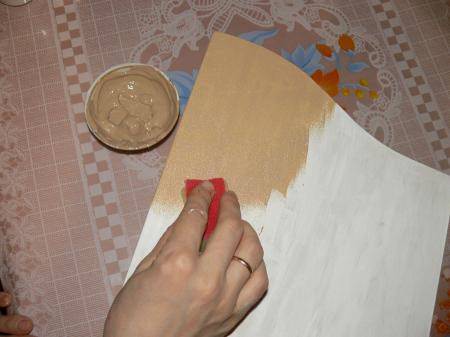
Decoupage of any surface at home is necessary with its preparation. If this surface is glass, then wash it, and wipe it well. In the case when for
, Before the work starts it is necessary to perform its grindingUsing sandpaper. If there are cracks on the wooden surface, fill them with putty, and then polish. Before you make a decoupage of a wooden surface, you can, if desired, paint it with acrylic paint. After preparing the surface for the work, you need to decide on the design. To do this, you must conduct several experiments, placing the cut out details on the surface of the base. Only in this way can you choose the optimal location for each element. The next step is to glue the parts to the surface, for which apply glue on both surfaces. After gluing each part, carefully and gently smooth it, trying to avoid the formation of folds and assemblies.

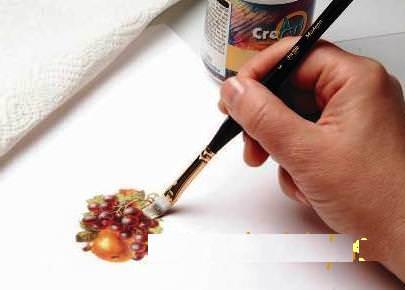


The final stage of the work isIn the application of varnish to dried parts. To do this, you can use a brush or a sponge. When the first layer of varnish has dried, perform varnishing again. In order for the varnished surface to be as smooth as possible, each layer must be sanded with very fine sandpaper. Preferably use acrylic lacquer. Having finished mastering decoupage for beginners using step-by-step photos, you can conduct other lessons, as well as the next MK decoupage.
Decoupage and creative ideas for your home
Decoupage can provide creative ideas, very useful for your home, and also contribute to the development of your children's imagination. It is very useful for children to study in stages
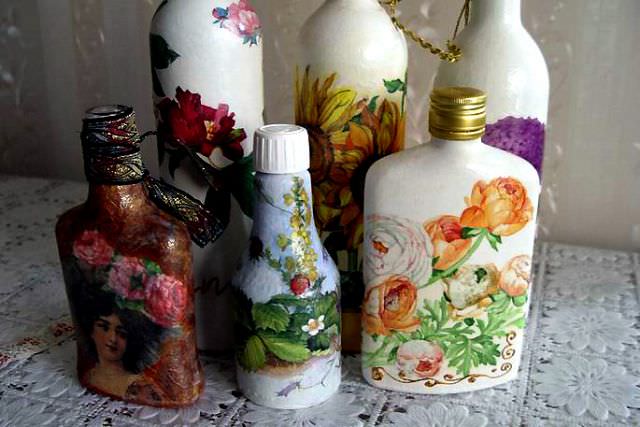
, Notebooks, albums and lovely giftsTo small friends and girl-friends. In addition, your studies together with the children will greatly strengthen the relationship with them, and add credibility to the parents. A list of things that can be updated and changed, turning them into works of art, is simply endless. These are kitchen utensils, mirror frames and photos, bottles and furniture.


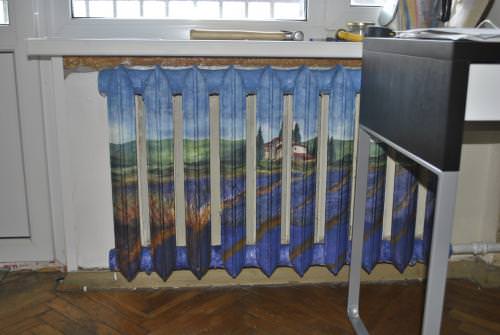
At home, you can do decoupageAlmost any thing. The photo clearly shows beautiful hangers for clothes, door handles in the national style, as well as chests of drawers. Note that the individual parts of the chests of drawers are made in different ways, but there is a coincidence in color and style, so everything looks very harmonious. In order to help those who want to learn the types of decoupage, as well as to see various novelties and creative ideas, there is a site for fans of decoupage. On this site you can find any information, and learn how to make decoupage in many different ways.
Reverse decoupage

Now a very interesting and fascinating master class will follow.
, Which is called reverse decoupage. For clarity, this master class has a video that will help you master this topic. We need the following materials:
- Glass plate;
- A napkin with a pattern;
- Varnish "one-step craquelure";
- decoupage glue;
- Varnish for decoupage;
- Brush and sponge;
- Colors of two contrasting colors.
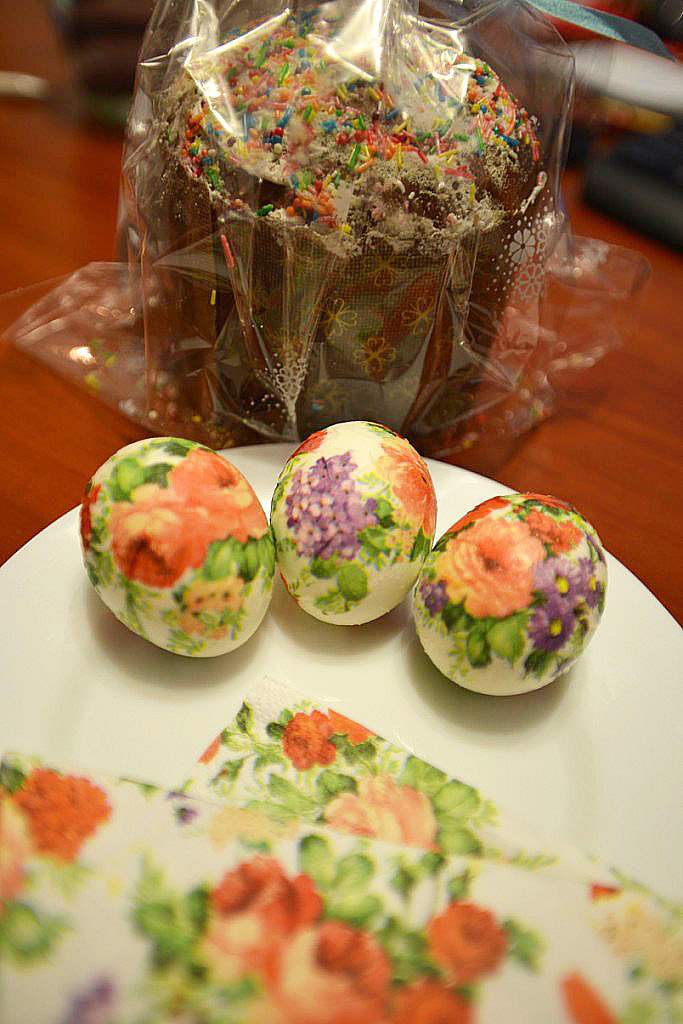
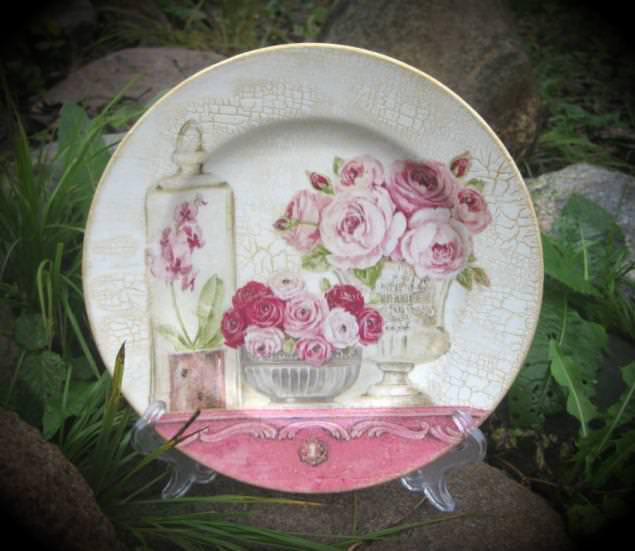
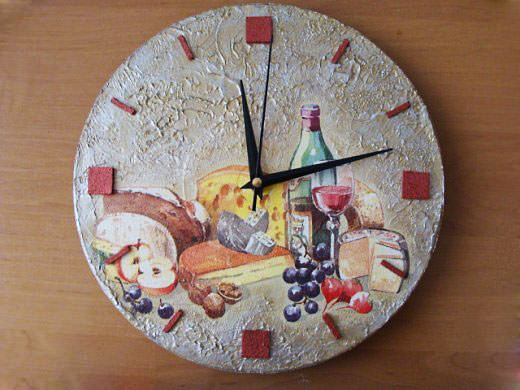
You may ask why this needlework is wornTitle "reverse decoupage"? This is because it is performed on the back of the dish. Moreover, the picture is applied to the glass by the back side, and therefore a double reverse decoupage is obtained. We start with cleaning and degreasing the working surface. After this, lay the napkin pattern to the glass, and the back side to yourself. Now we work step by step, pouring a little water on a napkin, so that it gets wet well. We leave the plate for a while, and when it is dry, we put glue on it, and again we dry it. The next step is to apply a white paint on the areas with a pattern, and apply a crackel (special varnish) on the entire work surface, which is perfectly demonstrated by the video.
Crackelure is applied only in one layer, andIs left to dry, until the fingers come loose. Then the entire surface of the work is gradually covered with white and blue paint. Cracks will be visible almost immediately, but drying can be accelerated by a hair dryer, the main thing is not to overdo it. On top of the white, apply a contrasting blue color, and allow it to dry. After that, we will cover the surface with varnish several times. Now look at the result from the video. We have a gorgeous plate with a pattern for antiquity. Very beautiful!
Video: Doing a reverse decoupage
Lesser, as a kind of decoupage
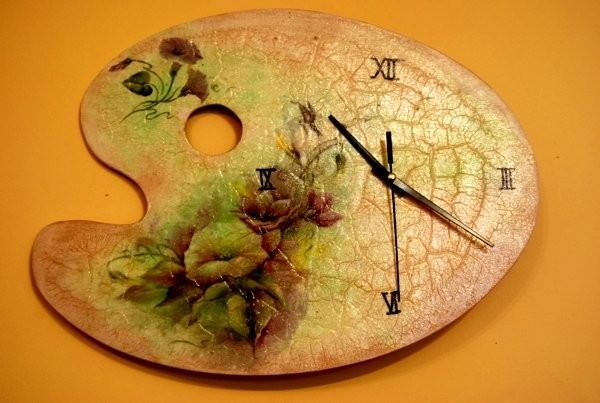
Sawing is a special techniqueOverlay layers of paint on top of each other. The paint is strongly diluted with water, and can be applied step by step to both an unpainted surface and previously colored. As a result, the resulting color is very deep, and the number of shades is just infinite.
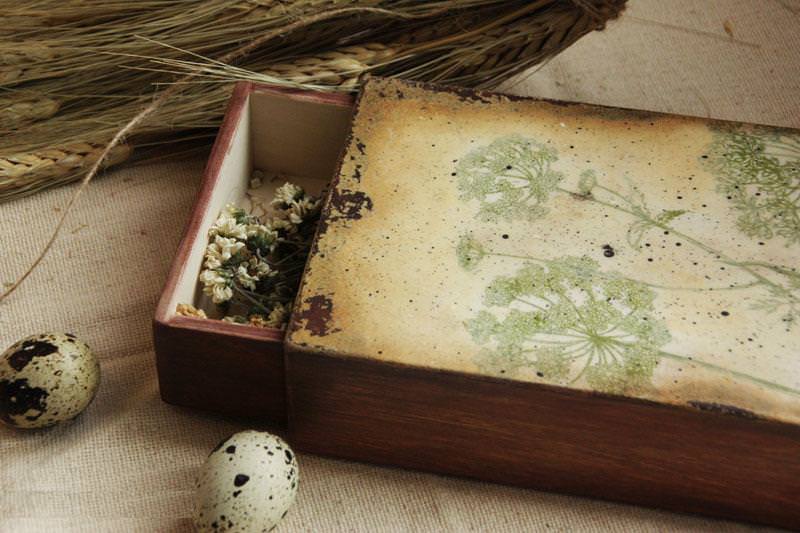
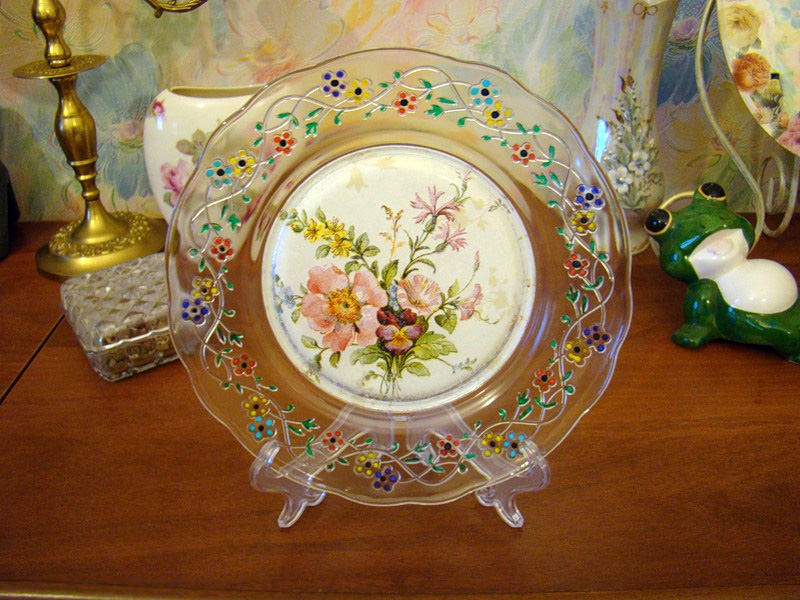
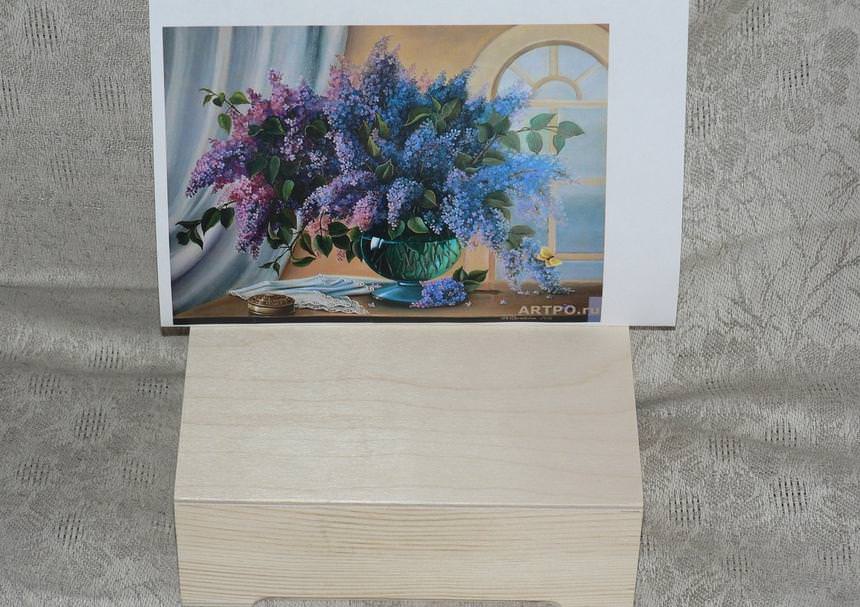
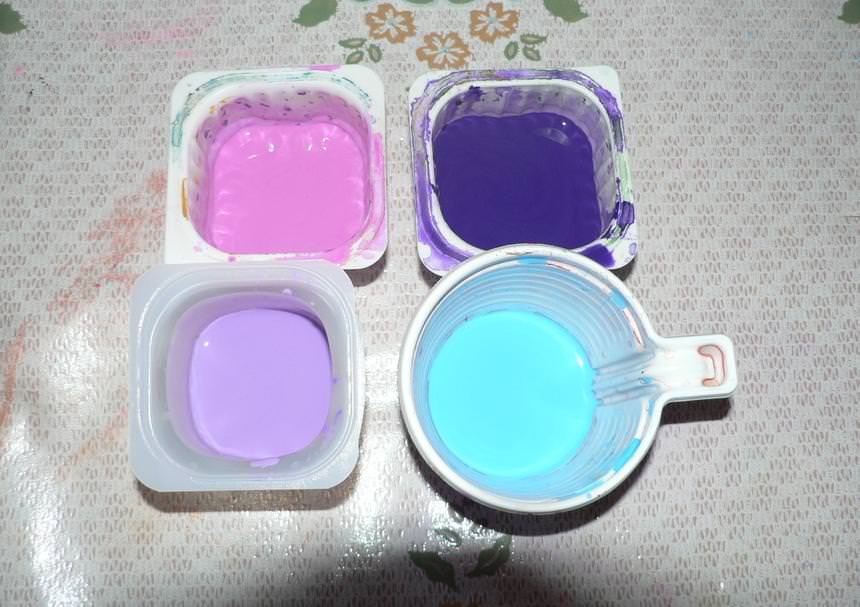
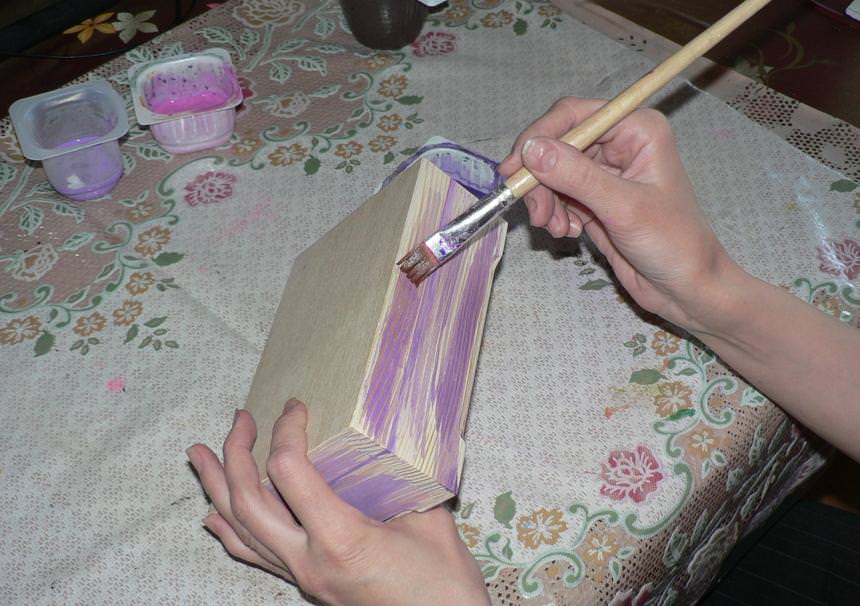
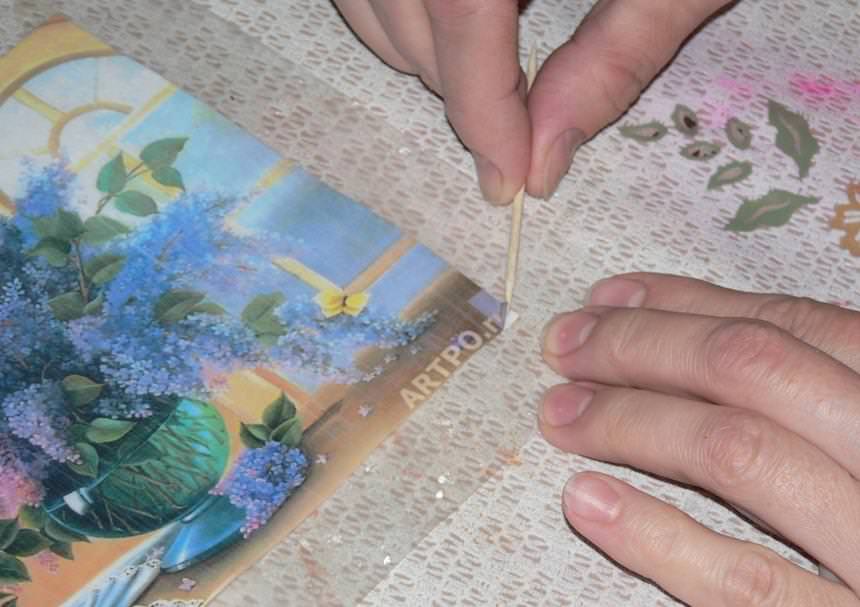
Learn the skill of glazing can be an exampleGiven master class with step-by-step photos. To do this, prepare a wooden box and print a picture you like. In our case, this is a beautiful bouquet of lilacs, where violet and pink shades predominate. Before the beginning of the dressing, we treat the wooden surface with fine emery paper, and then dilute the acrylics of the appropriate shades in separate containers with water. The more gentle and muted the desired colors, the more water should be added to each container. Now we need to cover our casket inside and out with several layers of different colors, doing this step by step, applying the paint, drying the next layer and again passing the sandpaper.


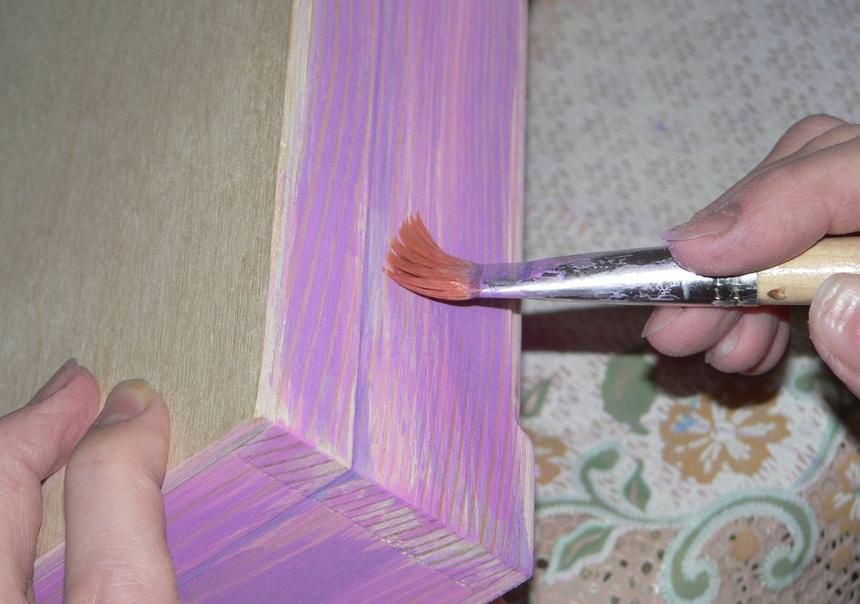
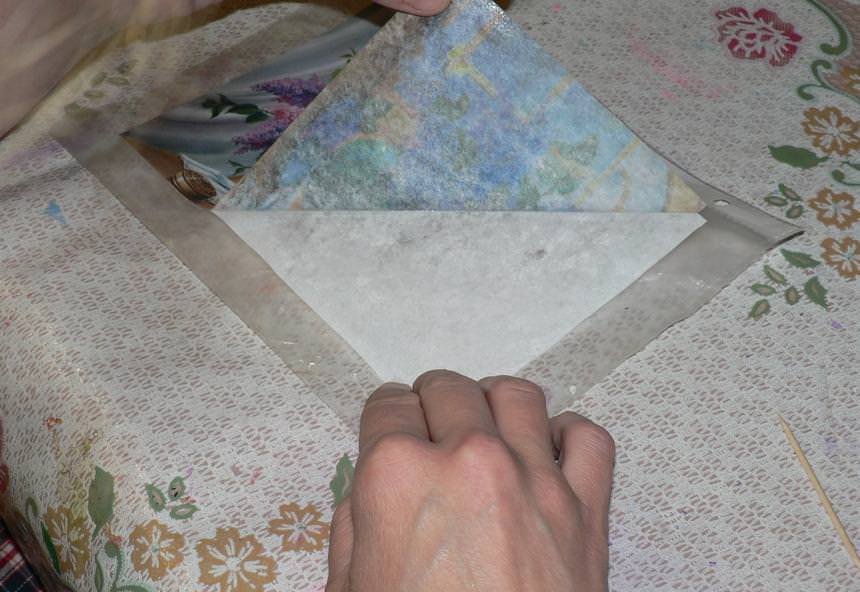
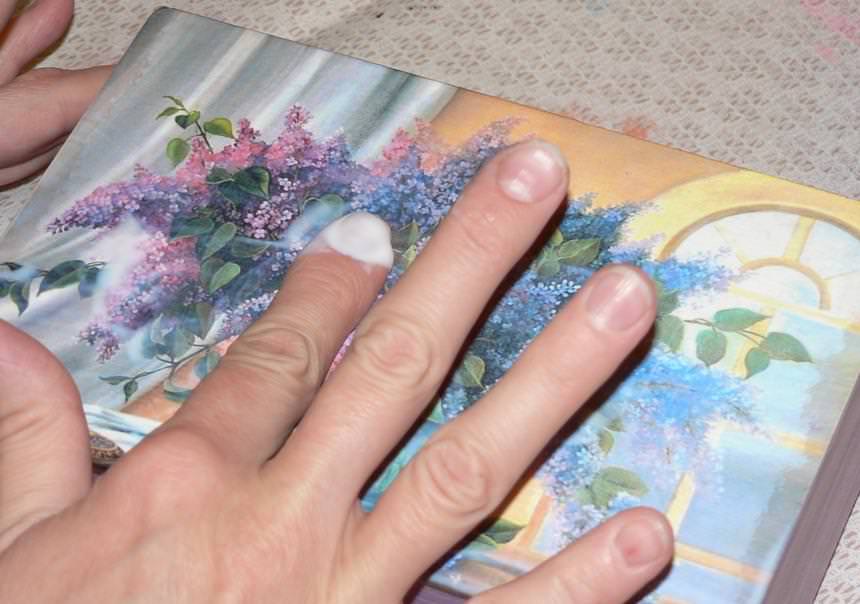
After this, the glaze continues, and the workA printout of a bouquet of lilac is applied, on which an acrylic varnish is applied in several layers. After each layer, it is advisable to take a break for twenty minutes to dry. After that, cut out the outline of the picture, and cover with a layer of water for a few minutes. When the paper is wet, it is better to separate it from the top layer, leaving only the picture in the work. Until now, the lid of the box remained clean, untreated. And now it is necessary to cover it with varnish, paste a picture of the printout on the varnish, and allow it to dry. The finishing touch in the work is done by tinting the edges of the lid with paint remaining from the previous coatings of the side and inner surfaces. To achieve the effect of merging the lid with the picture, we apply the paint with a sponge, rather than a brush. Finishing the casing of the cask, cover the entire surface of the casket with an acrylic lacquer twice.


Brashing
Another secrets of decoupage technology isBrashing of wooden products, which gives them a unique and original appearance. This master class for decoupage is simple, and gives an idea of the technique of brashing. For clarity of work, the master class has a video attached to it. We prepare the following materials and tools:
Small wooden decorative box;- gas-burner;
- Stain and lacquer;
- A thin wooden plaque, encrusted with glaze.
We start brashing at home,Using a gas burner. Using the flame of this burner, we burn the wood of the decorative box, making it very carefully. Each section is fired until the manifestation of the wood. The firing is carried out inside and outside the box. At the end of roasting, it is necessary to go through the entire box with fine sandpaper, removing the top layer of wood. Then we will wet it under the faucet so that the soft layer of wood is easier to scrape off, and we process the box with a brush with plastic bristles.
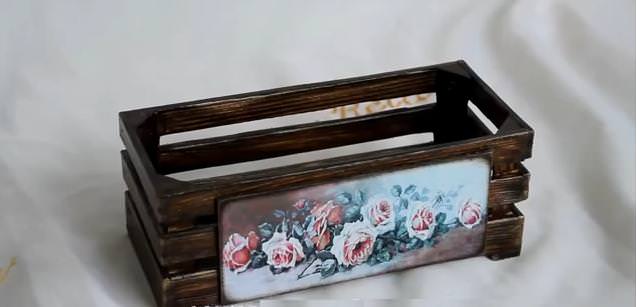
The best is for pineapple pine,Because it clearly shows the structure of the tree, which even more brightly appears after brushing. The result is a very beautiful relief, which is covered with stain, and then step by step with two layers of varnish. After completing the brashing, we decorate the box with the rose-colored plaque made in the technique.
Video: Handmade
Potal
The next master class will be devoted to whatPhew in the decoupage, and what is it. This is a special coating in decoupage, which is the finest foil. Thin foil can imitate both gold, silver or copper. There is also an imitation of oxidized metals, which is oxidized potassium. Oxidized potassium, it's just the multicolored stains that are obtained as a result of oxidation in the open air. The goal is to create the effect of a gold, silver or copper metal coating. In order to understand the technique of applying the potali, let's perform some tasks. We begin with a special glue on which to stick thin leaves of a foil, or so-called flakes (pieces) of a foil. These leaves should be very carefully smoothed and pressed to the surface.
The finest layers of foil is difficult to pasteTo the surface of the product without minor defects, creases and wrinkles. But the fact that, as a result of all the manipulations on implementation, has been poured, it is pleasing that these defects become absolutely invisible. The most important thing is that the working surface for the sweat is pre-primed, and treated with sandpaper. You should not be frightened by the foils that are formed during the gluing process, which are easily masked by other patches made from the same foil.

If the product needs to be visually "aged", then we will resort to one of the following methods:
- Leave temporarily glued foil in the open air, which will lead to its oxidation and "aging";
- Cover the pasted foil with vinegar.
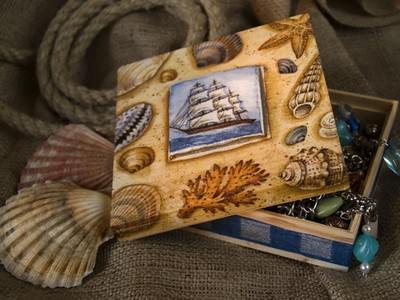
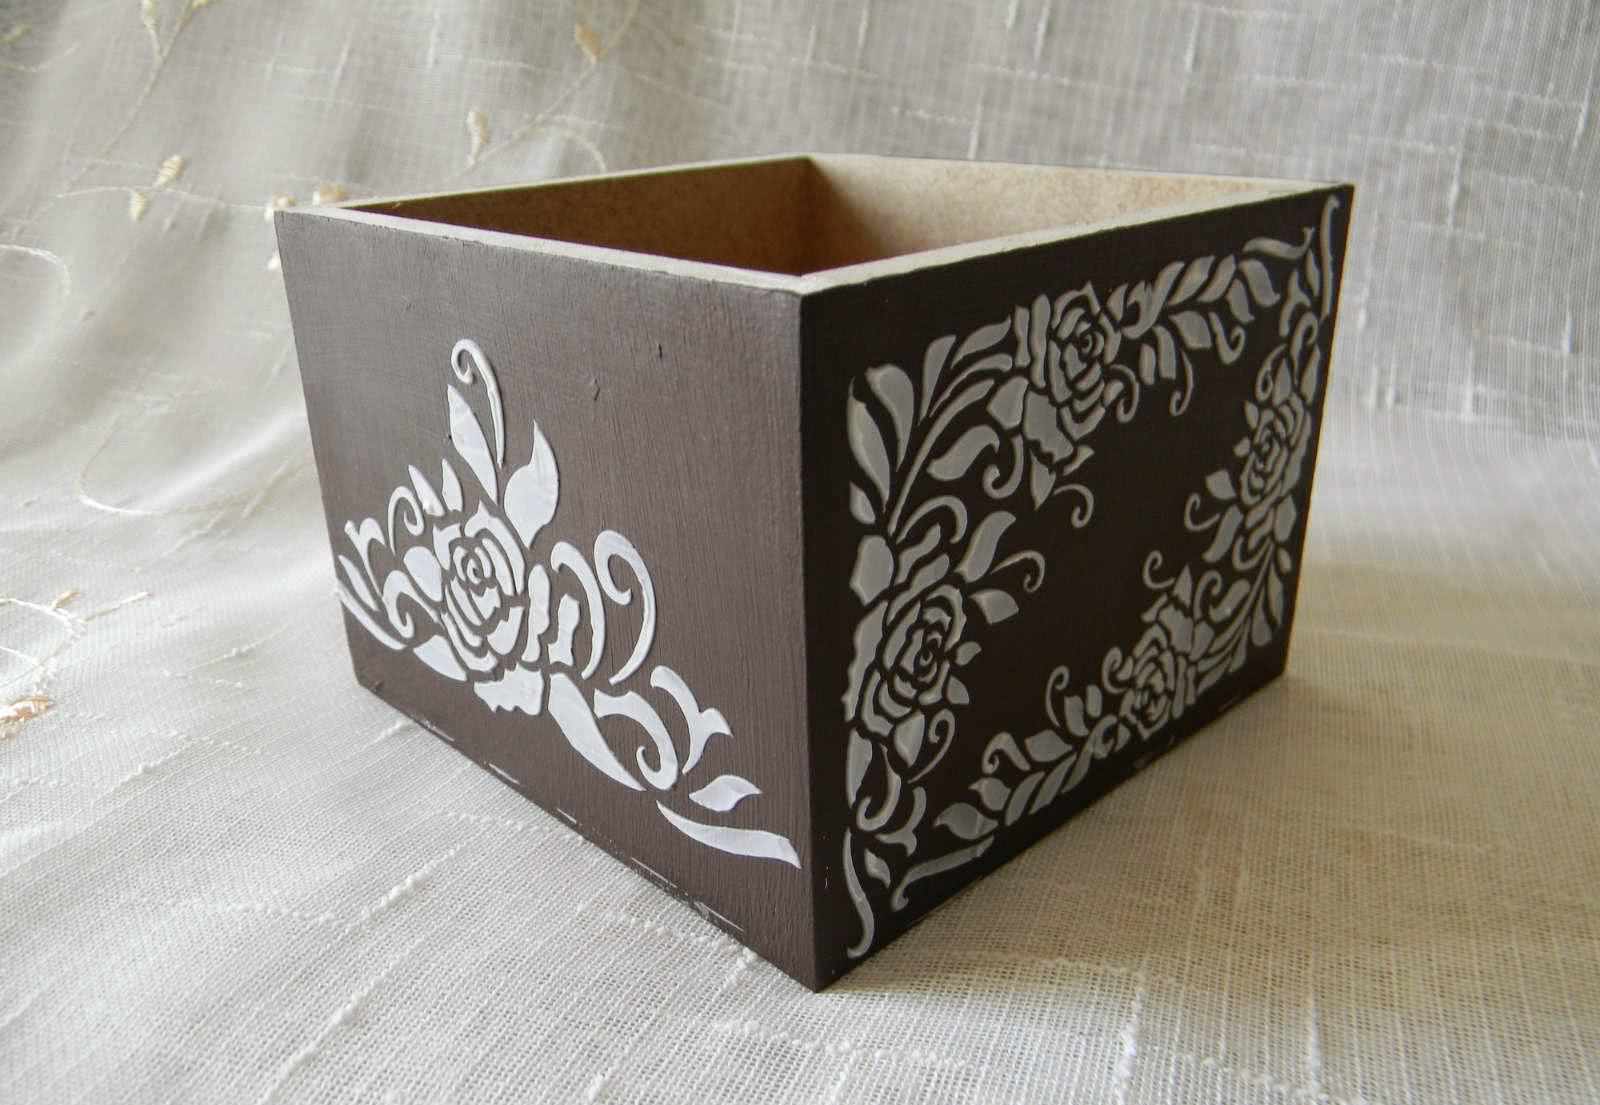
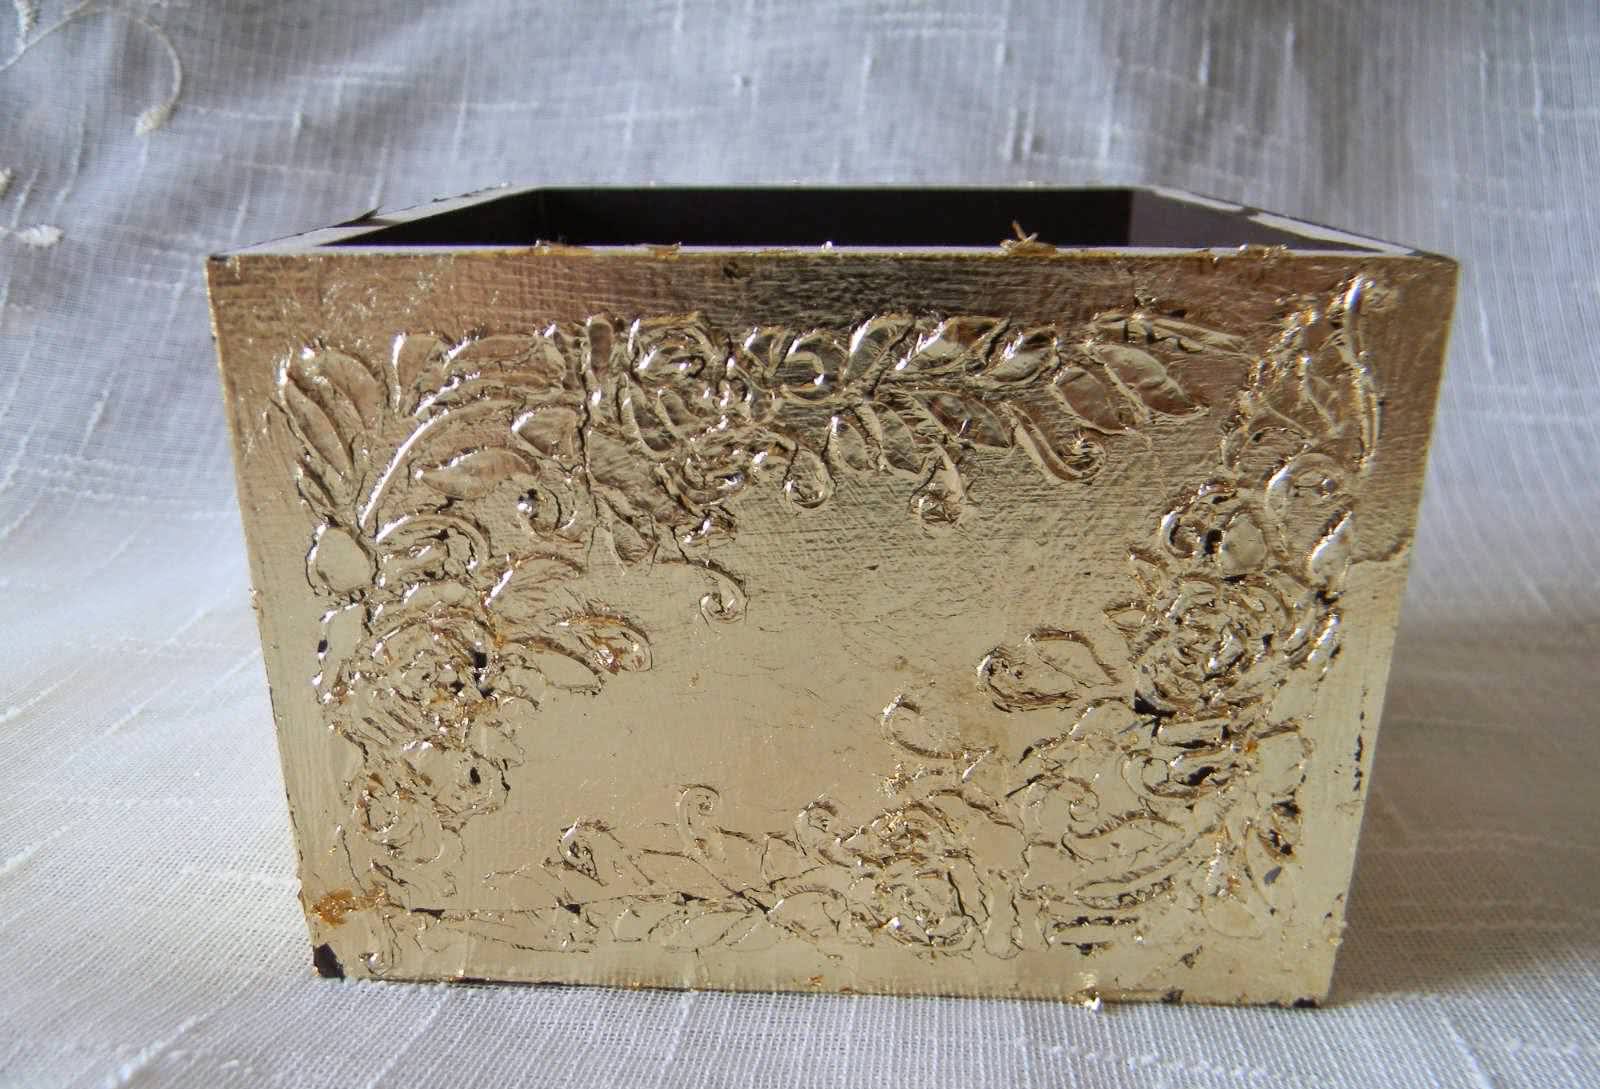
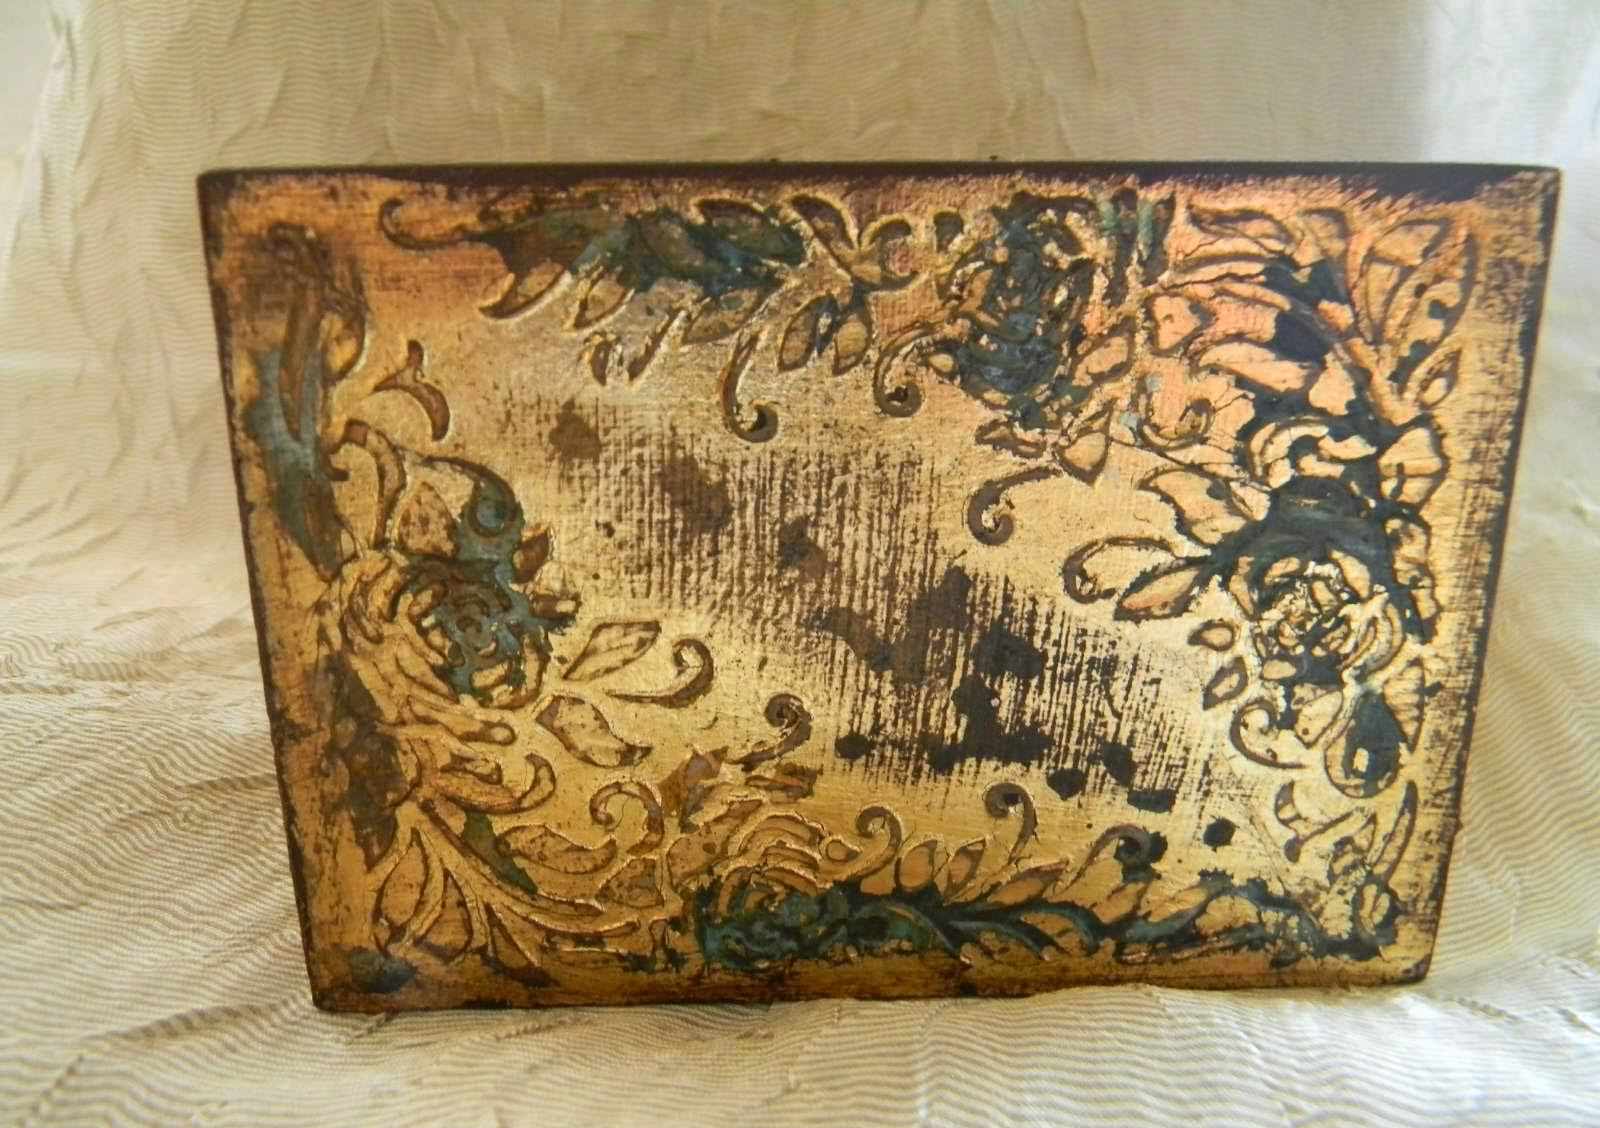
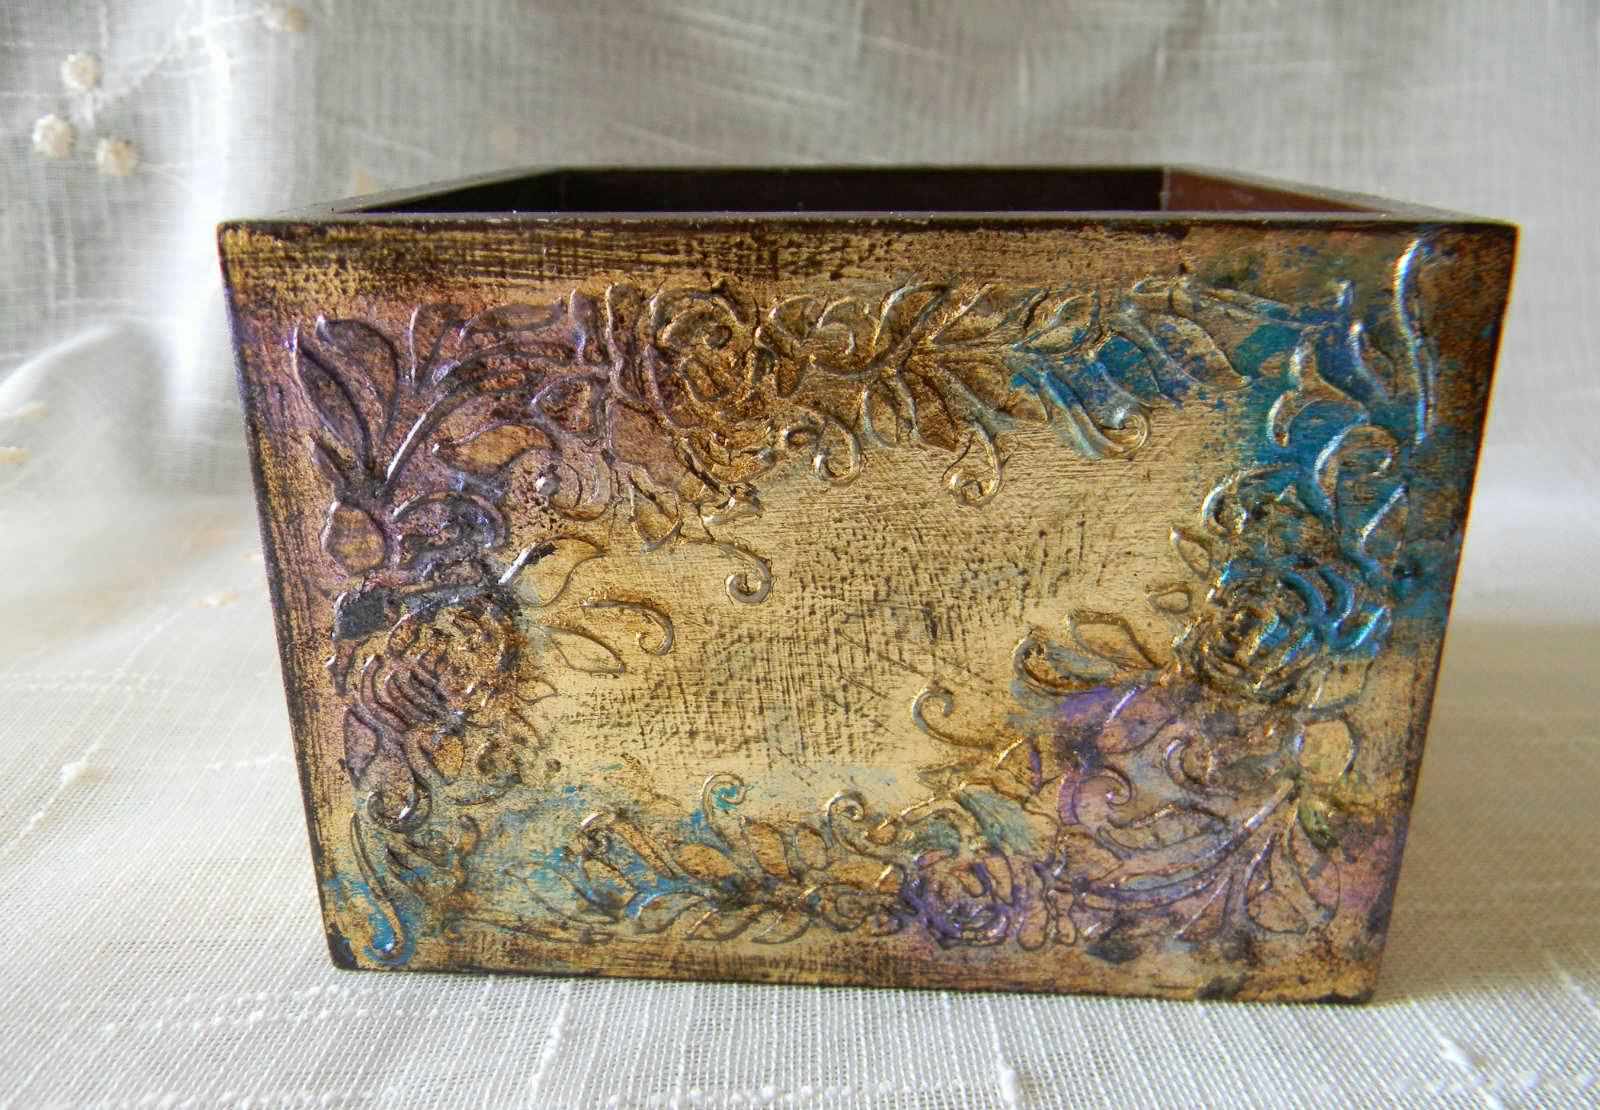
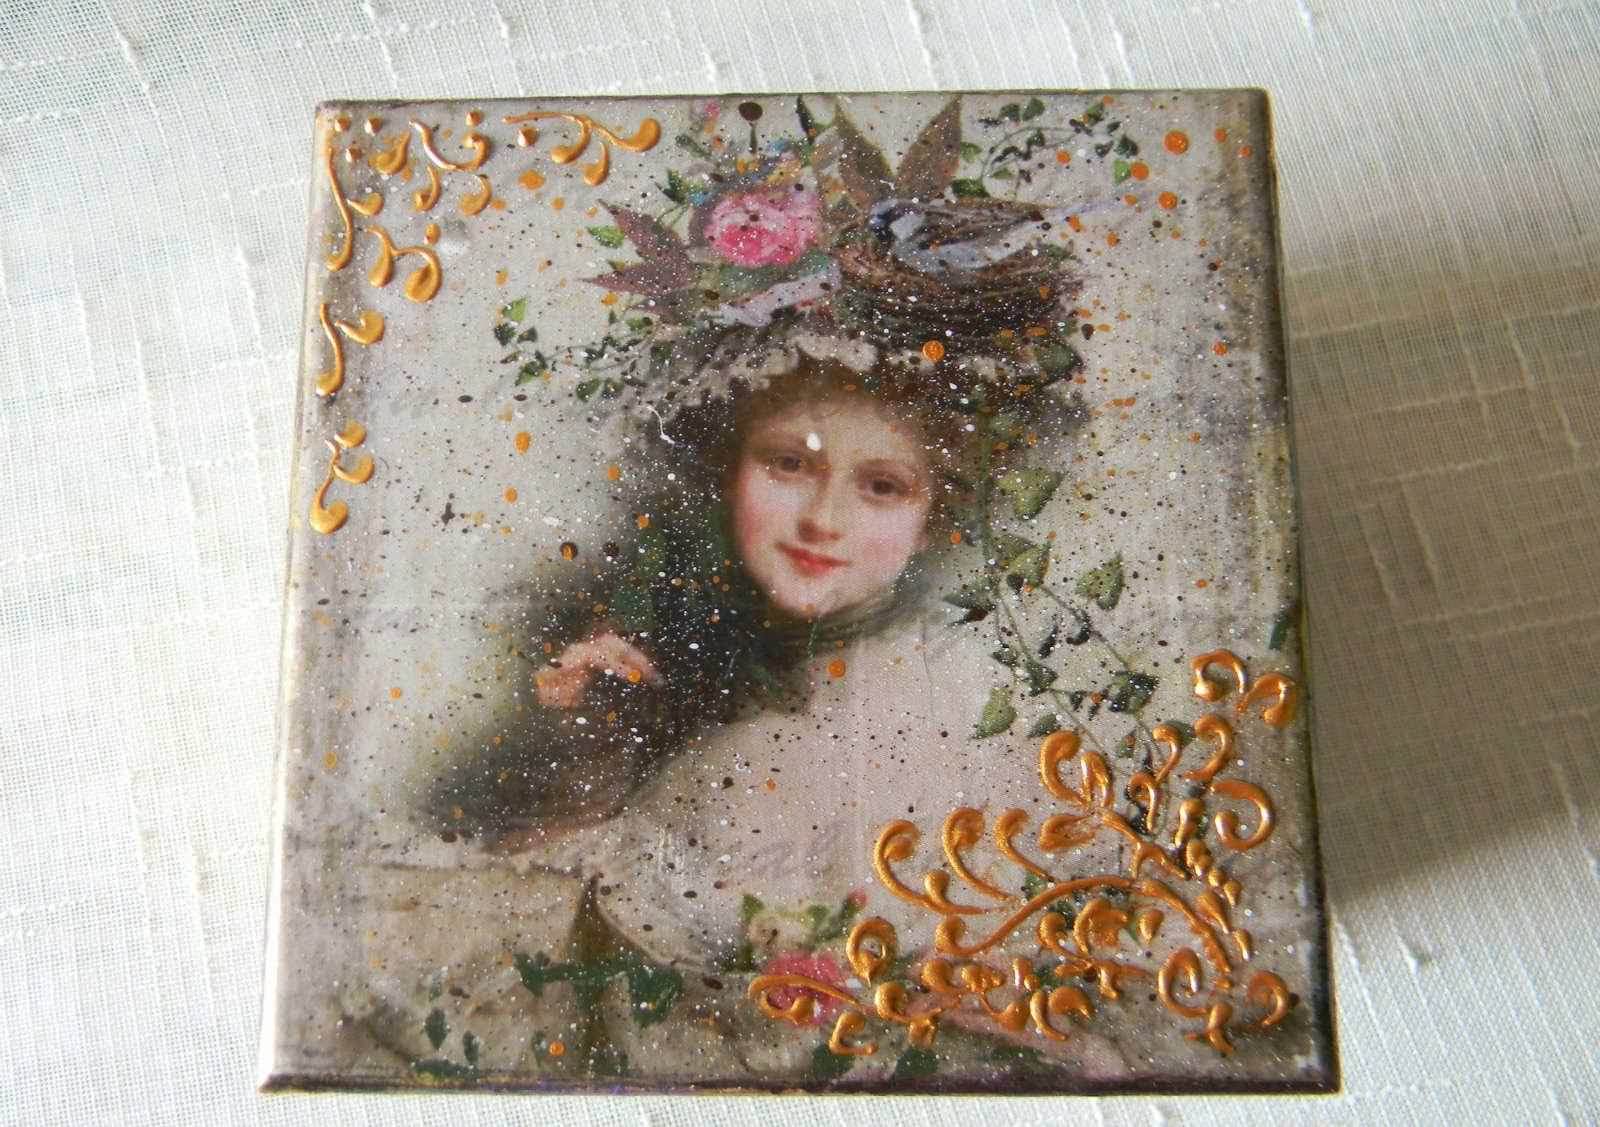
Before wetting with vinegar add sea salt, thatWill lead to the formation of spots of blue color. When the thing is already "aged", shellac varnish is applied to it, but it can be added with bitumen treatment of its individual sections, or painting with paints with metallic shade. Pay attention to the attached photos. On them you will see the process of making a box with the use of potal technique. The lid is made using a glaze, and is decorated with a photo print under the antiquity. The lateral surface is covered with a primer, a relief pattern and a foil for gold. Then the casket was "aged", for which it was treated with sandpaper, bitumen and randomly tinted with metallic paint. The final stage consisted in varnishing with finishing varnish.


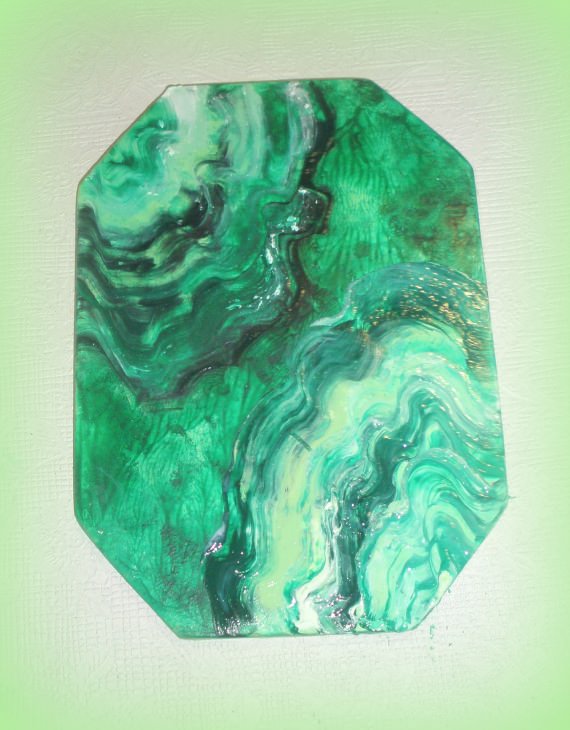
Imitation of malachite in decoupage
One of the subsections of the decoupage technique is the imitation of malachite. To understand how it is performed, the following master class and such materials will help:
- Basis for work (plywood billet);
- Acrylic black, white and several shades of green paint;
- A drug that slows the drying out of acrylic paint;
- acrylic lacquer;
- Cardboard and paper;
- Sponge and brush;
- sandpaper.
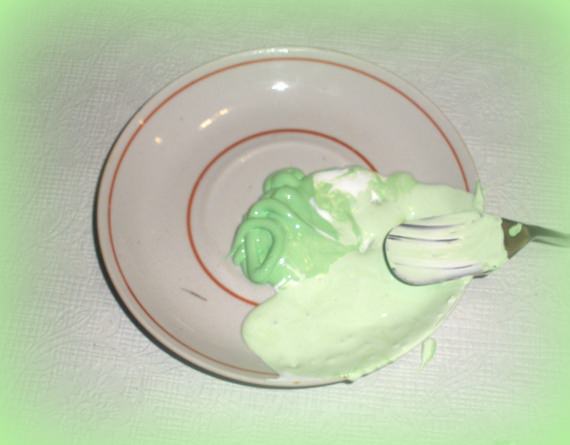
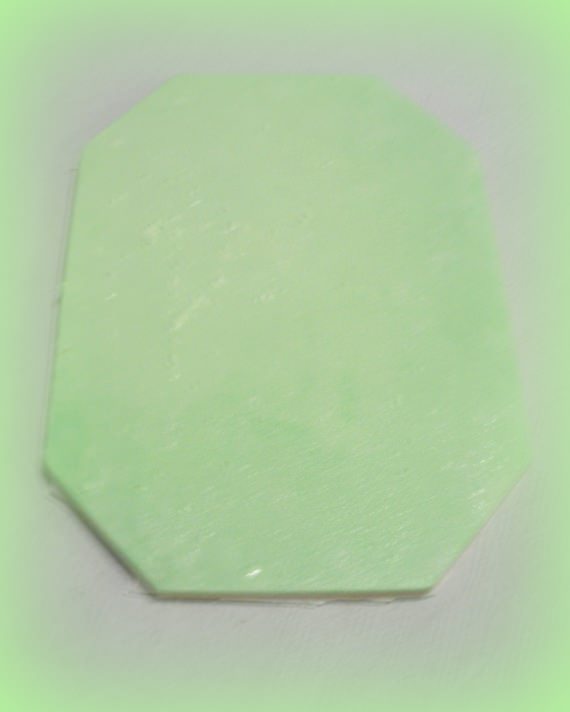
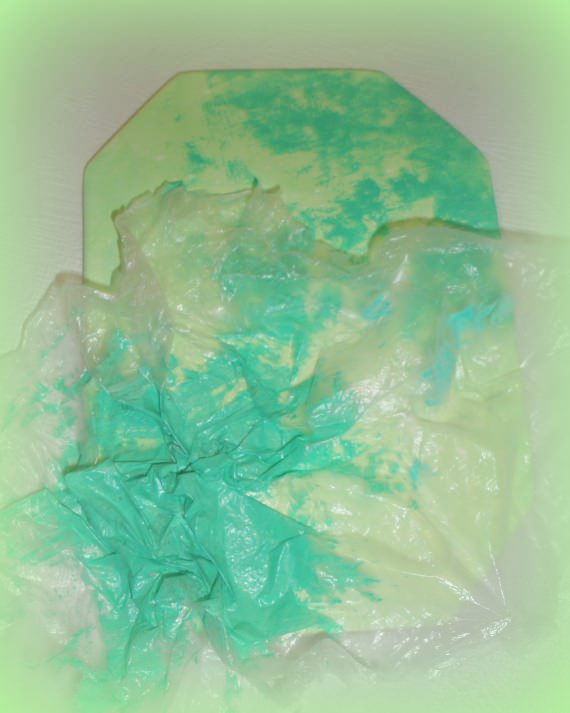
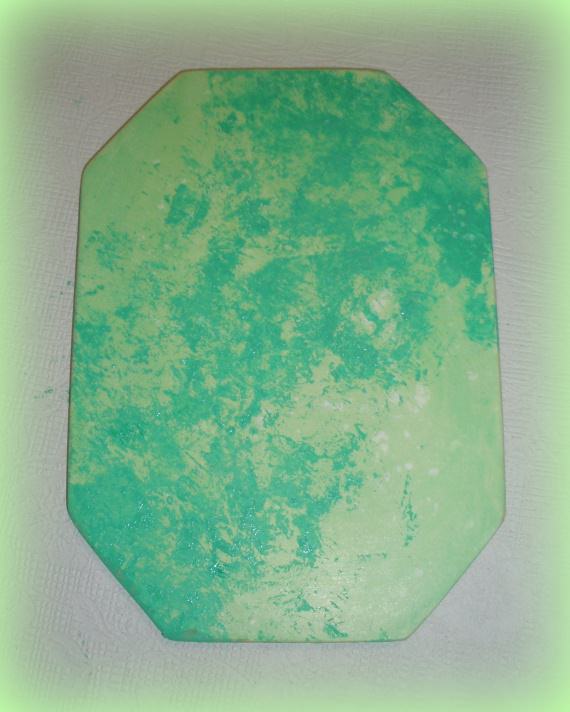
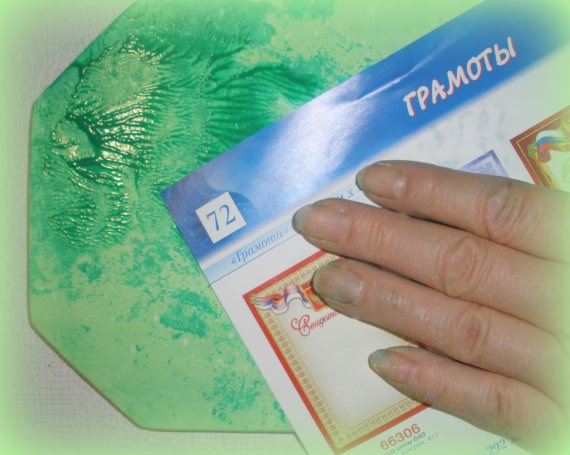
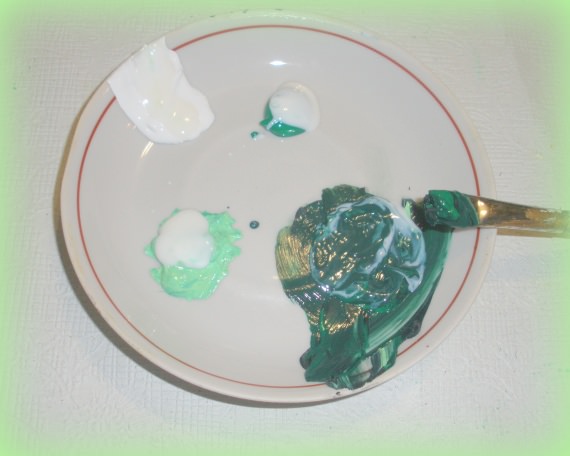
Let's start with the preparation of a wooden base, for whichLevel the surface with putty and sandpaper. After this, the real magic begins, namely the imitation of malachite. The first operation is to mix the paint two colors, white and green. This mixture will be the basis for the background layer, and it will be necessary to cover the entire plywood billet. When the substrate has dried, step by step through its surface with sandpaper, and then apply a varnish coating. After this, we introduce a shade of green a little darker than the previous one. Performing strokes with a brush, paint the surface of the base, and cover with a usual cellophane bag, crushing it first. For a more complete impression, you can look at one of the step-by-step photos, how to do it, and what result you got.

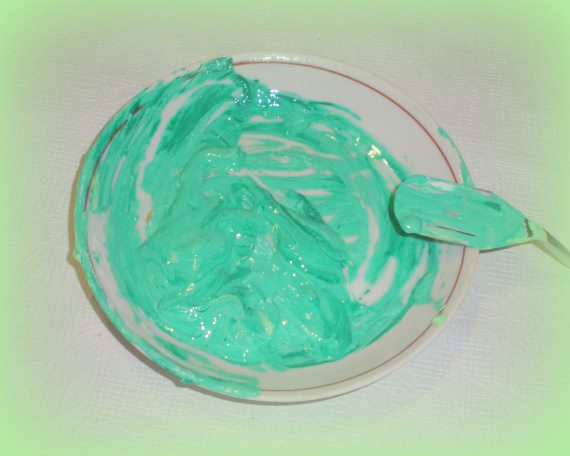
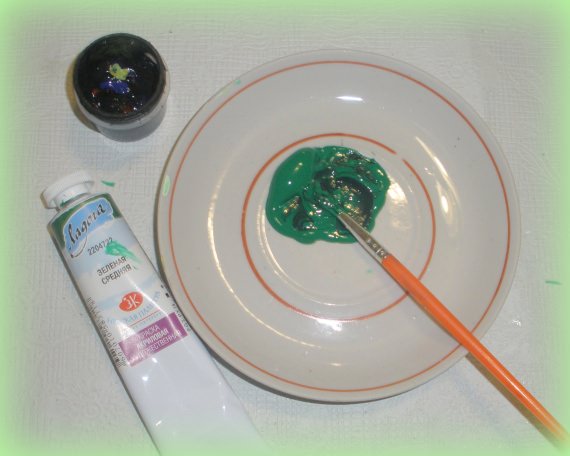
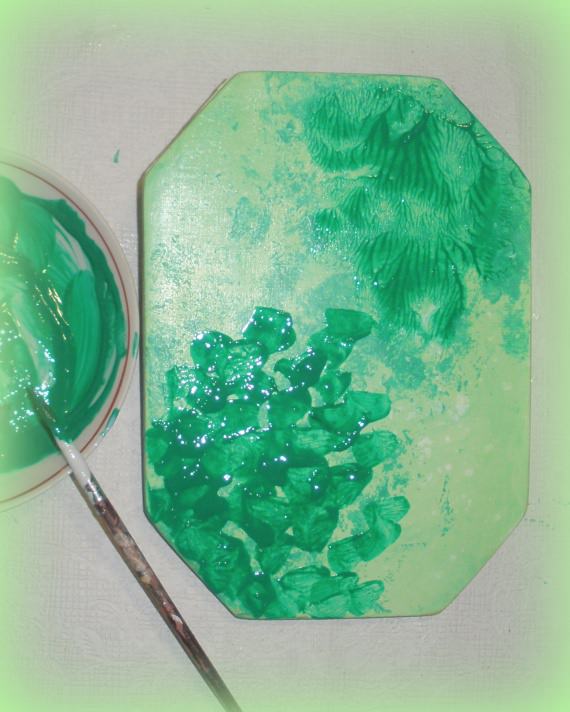
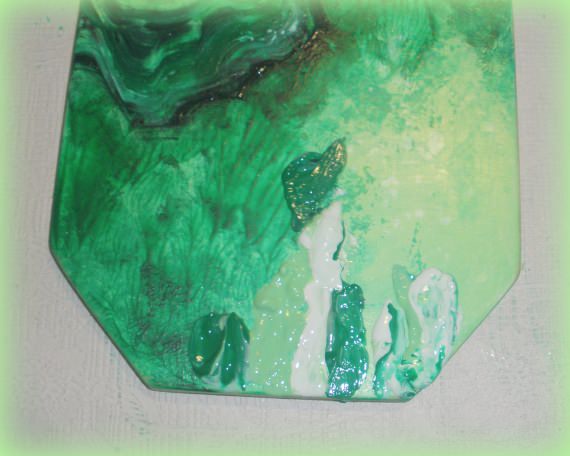
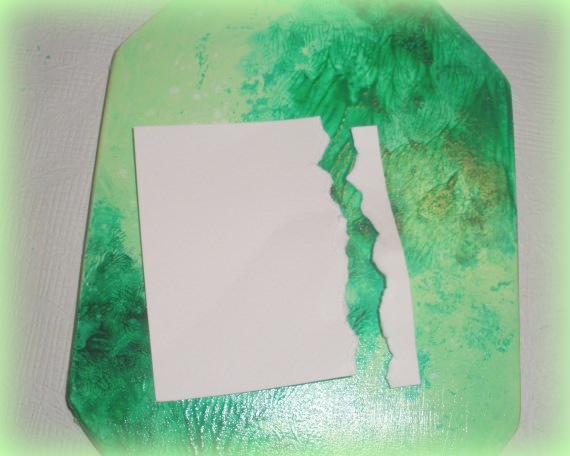
Now perform another blend of black andGreen paints to get a darker shade. We paint the plywood blank with smears, as in the first case, and then we put a sheet of any glossy magazine on top. Strongly press, and then one corner move in a direction upwards, and on itself. And in conclusion, jerk off the sheet from the workpiece, forming a magnificent drawing. This ornament is better to fix, covering with varnish. The final formation of the malachite ornament is carried out using four different shades of green, each darker than the previous one. For mixing paints we use a preparation that slows down drying. Separate strokes apply all four colors, observing the order. And now, unevenly torn off the edge of the cardboard we stretch the paint in a circle, slightly mixing colors. In the photo you can see what a beautiful imitation of malachite as a result you should get.

Nabryzg
The final part, which consists of lessons onDecoupage, is called nabryzg. This is a very important element of decoupage, with the help of which you can artificially age any product and implement different creative ideas for your home. Video master class clearly and intelligibly explains how to properly do nabryzg. This will require the following materials:
- Wooden frame;
- A flat container for paint;
- Hard brushes or old toothbrushes;
- Acrylic paint.
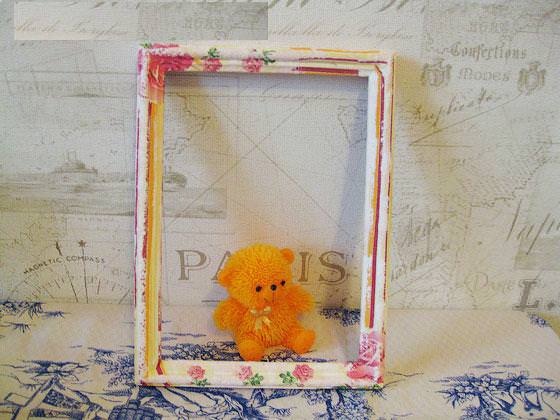
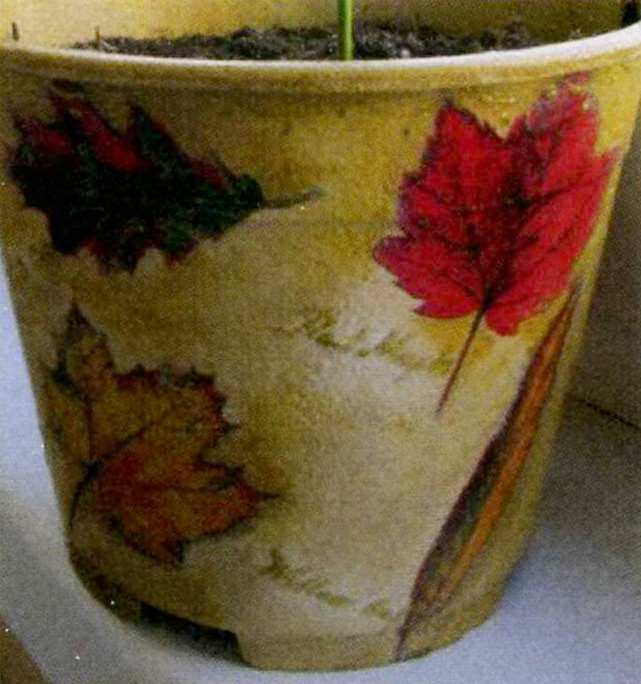
Wooden frame is necessary in advancePaint, then varnish and dry. Only after this, you can start experimenting, and try to perform a spray. The consistency of the paint for spraying should be similar to sour cream of medium density. If you try to do nabryzg too thick paint, then the spray will turn out bulging pimples. Thick paint can be slightly diluted with water. Take a hard brush, and dye its end with paint. After that, lightly press your finger with a brush, and then release by spraying the paint on the previously prepared surface.
You can practice on a sheet of paper, doingSplashes near and far from it. Spraying the paint near the surface, you will get very small drops, and splashing the size of the droplets will increase. The shape and size of the spray depends also on the quality of the paint that we used for this purpose.