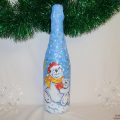
Decoupage of a gift mini-bottle of champagne for New Year's holidays - lesson
The New Year holiday is a period when everyonearound get ready to feel next to a magic. But, as you know, the most important magic for us is the attention and care of our close people. Many of us independently invent and organize gifts to their relatives and friends. Very beautiful ideas appear on the web so that craftsmen can make pleasant gifts using their knowledge and experience.
Decoupage of a gift mini-bottle of champagne for New Year's holidays - lesson
 The technique of decoupage reveals the possibilities of the master andallows you to make a good gift, using interesting methods of decorating any things. Including this applies to decoupage of glass surfaces, over which we will have to work in the future. A bottle of good Champagne is considered an excellent souvenir gift for a friend, or for a relative. But, if you design the bottle individually - using the principles of decoupage, it will be twice as pleasant! A Christmas bottle of champagne for a gift - how to do? This lesson will tell you about the specifics of creating a beautiful and cozy label, as well as competent priming, decorating the glass surface for a bottle. Using this design method, you can improve the appearance of the bottle and recreate a unique, really interesting and high-quality version of the bottle, which can be used as an interesting presentation. You will need a special material, as well as an instruction with photos, which will be presented below:
- Prepare a festive bottle with which we have to work
- Materials for degreasing (alcohol, washing aids)
- Materials for priming (paint, acrylic paint)
- Materials for processing (sponge, brushes, surface for work)
- Napkin for decoration, or a decoupage card
- Glitters, foil, sequins - decor elements
- Adhesive - to fix the image and decorative particles
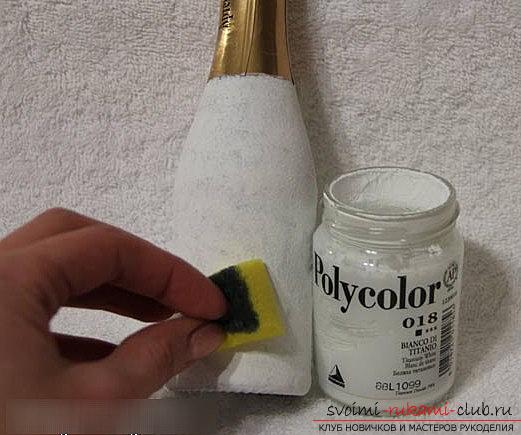
Preparation of the bottle: degreasing - priming  So, the process of creating a New Year's DecoupageThe bottle is officially open. We need to take a small bottle of champagne in order to carry out all the actions on it. To begin with - we will carry out the process of degreasing or cleaning. To do this, you need to take a bottle and put it under cold water to disrupt the labels from the manufacturer. For prevention, you can also treat our bottle surface with alcohol, so that there are no difficulties. Next - there is a primer. For priming we apply a layer of white paint from acrylic so that we have a free space for future work on the product. We wait until the paint dries in a few hours and in the same way, we cover two more layers of paint on the bottle, to end our work. Decoration and Design
  At the moment when the paint dries up, wewe are preparing the napkin. To do this, you need to select the appropriate theme and with the help of a New Year's, a small drawing - to decorate our bottle. A large picture for a small bottle is not suitable, because it will be too cumbersome. With the help of hands you need to tear off the necessary fragments for the future decoupage. We take beautiful greeting inscriptions and interesting characters. Using the adhesive for decoupage, we have to smear on the top of the fragments of our product, after, they will easily join the layer of the bottle.
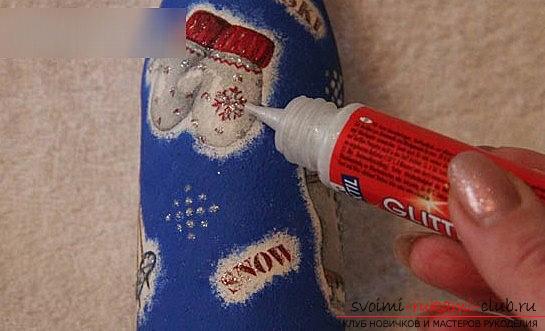
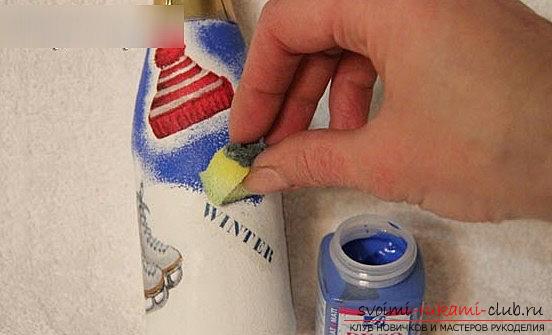
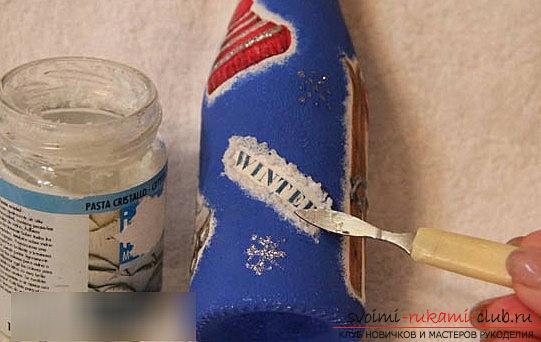 After, take a soft brush and startprocess each of the drawings. There should be no wrinkles, a brush will help us in this. The surface of the bottle will be very small, but not flat. After such gluing, you need to wait until each fragment dries. When one element is ready and dried, we proceed to work with the next one. This is necessary in order to not accidentally damage the composition of the picture. Next, we form the main background. Using the sponge, we take a bright blue paint from acrylic, and carefully distribute it between the fragments of our drawings. After the paint has dried, we proceed to design the volume of the drawings.
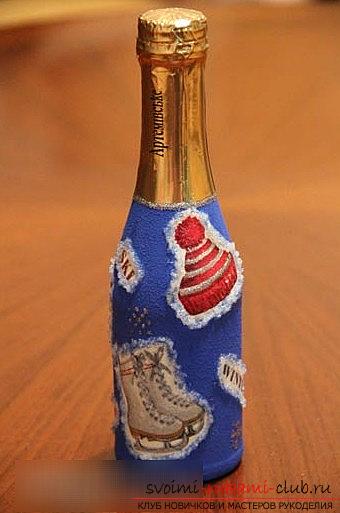
 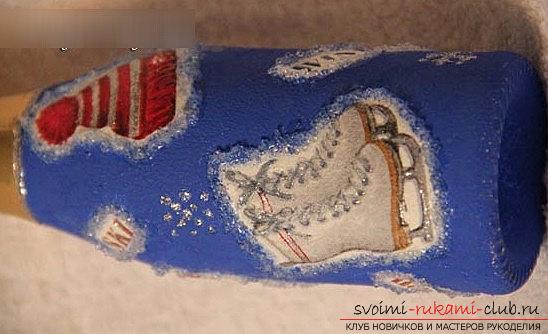 Decoration, decoration, varnishingtransparent contour for the volume and draw the details that are present in our drawings. In our case it's skates of skates, ski poles. Also, you need to add a shine to the bottle. We use an element of silver glitter to produce distinct points in the lower edge of the foil. They will form future snowflakes, which will look noticeable on the blue surface of the product. Do not forget to paint the napkin images with the help of paints. Use the outline to express every detail of the composition picture. Crystal paste will help make the transition soft from blue to other colors. Further, it remains only a matter of fixing the result. To do this, we take a jar of acrylic lacquer and cover our product (Of course, after the complete drying of all elements of the design). Apply a few layers. That's all! Our work is completely ready and we can go to friends and relatives, in order to present such a wonderful bottle for their celebration!

