Decoupage of shoes, covers for a passport and a cover for the phone (photo)
Content
- Technology decoupage on shoes: we restore the heel
- We decorate the skin: we decorate the cover for the passport
- How to make decoupage on the phone case
- Video: We decorate different surfaces
With the help of technology decoupage can not be done with their own handsOnly decorate the most diverse interior items, but also various accessories and even shoes. Because today, we will understand how the decoupage of shoes, decoupage covers on the passport and decoupage of the cover for the phone. Just imagine what an exclusive subject you will get. In addition, owners of such unique products can become your loved ones if you present them with a gift made by your hands a wonderful little thing.


Technology decoupage on shoes: we restore the heel
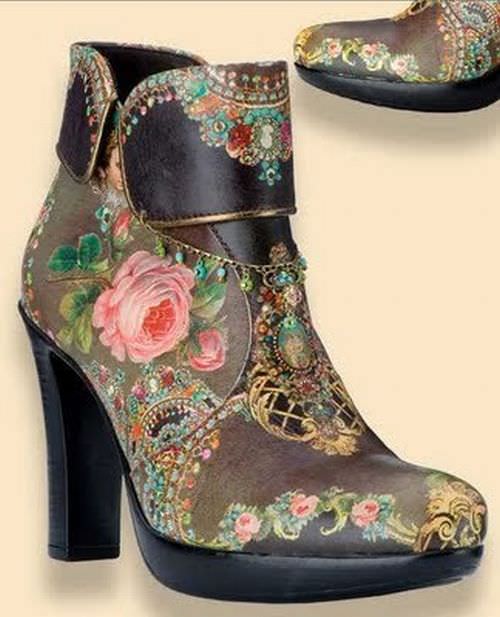
Unfortunately, in the process of wearing our favorite shoesLoses its original appearance. But what if you still do not want to part with your beloved couple. In this case, you can help decoupage shoes. This master class offers you an interesting idea of decoupling on the example of restoration of the worn heels of ankle boots.
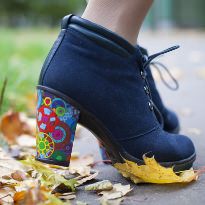
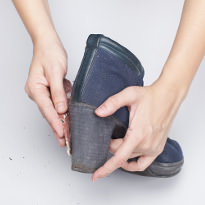
First of all, you need to remove the coverHeel, and also wash and dry shoes. Next, you need to take the sandpaper and polish it all the surfaces of the heels. As a result, you will have to get a smooth surface, on which the subsequent decoupage will lie flat.

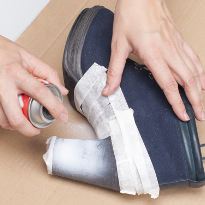
Using paint tape close the surfaceNear the heels, leaving areas on which decoupage will be conducted. Now the heel is covered with white paint, this will help the paper application to keep its bright colors.
Prepare an interesting image withWhich you will do with your own hands decoupage shoes. This master class uses a bright motif printed on a laser printer. Before using the image, it must be prepared. For this, you need to apply the varnish to the color part of the picture in the beginning in the horizontal direction, and then - in the vertical direction. In this way, apply five varnish layers.

After drying, you will need to wetPaper colorless layer of water. Wait until the inside is soaked and gently clean it yourself. Peel the paper layers carefully and evenly and apply water over them.

To remove the pattern from the heels, it is wrappedIn the cut off tracing paper, which equals the heels relative to the girth and height. Next, on the tracing paper, two heel bends are redrawn (from above and from below). After that, the resulting template is translated into a drawing prepared for decoupage.
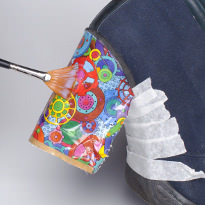
On the heel is applied a varnish, on top of whichAn image is glued. The excess paper is cut off. After letting the varnish dry, apply a few more layers of varnish over it with regular drying. That's all the decoupage of shoes is complete. In addition, for the additional decoration of shoes on the platform ankle boots a strip of green. For a more durable effect, the paint was pre-mixed with acrylic lacquer in a one-to-one ratio.


We decorate the skin: we decorate the cover for the passport
The next master class is devoted to how to make decoupage on the skin. As an example, decoupage of the cover on the passport was chosen.
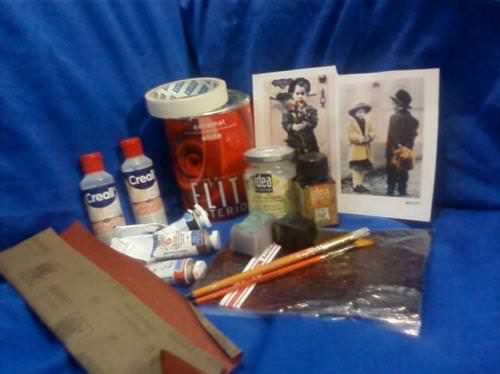
In order to make your own unique decorative cover on your passport, you need to prepare:
- Skin Cover;
- A paint based on acrylic light color;
- Solvent;
- Building scotch;
- Sponges;
- Brushes;
- Vitreous varnish with a water base;
- Bitumen;
- Film for light planes;
- Sandpaper;
- Paints based on acrylic.
We begin to study decoupage of the cover on the passport andMaster Class. In the beginning, take the building scotch and seal the back of the cover. Then, with the aid of a solvent, degrease the outside.

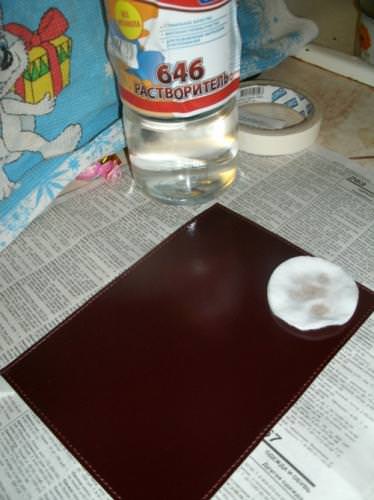
Now, take a paint based on acrylic whiteColor and primer the product in several layers. After applying the first coat, sand the surface and primer again. After the secondary primer, the surface is again sanded and covered with a vitreous lacquer.

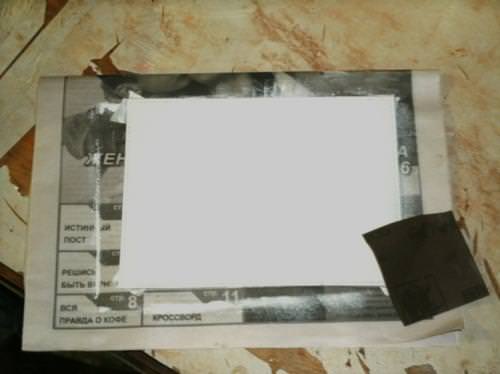
We select the image you need and cut it out. Now the film is soaked in water. Then, excess water needs to get wet and begin to gently move the image and paste it.

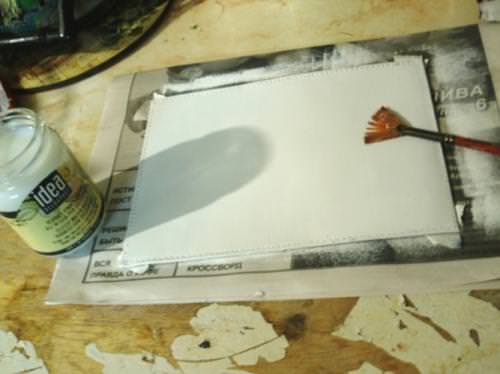
Formed bubbles with air are expelled atAid rags. After taking these actions, leave the product to dry. Next, the master class starts working with the background. Choose an appropriate shade from the acrylic based paints and paint the background of the product.


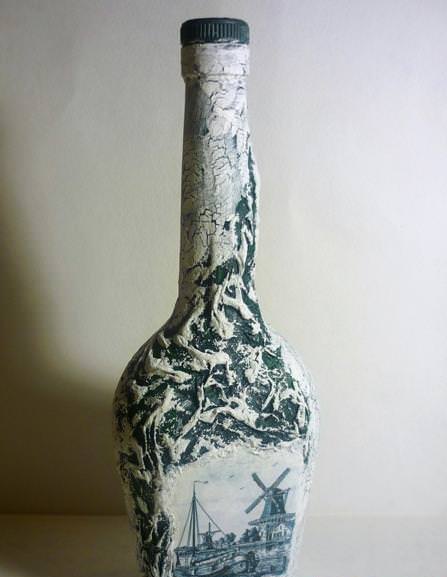
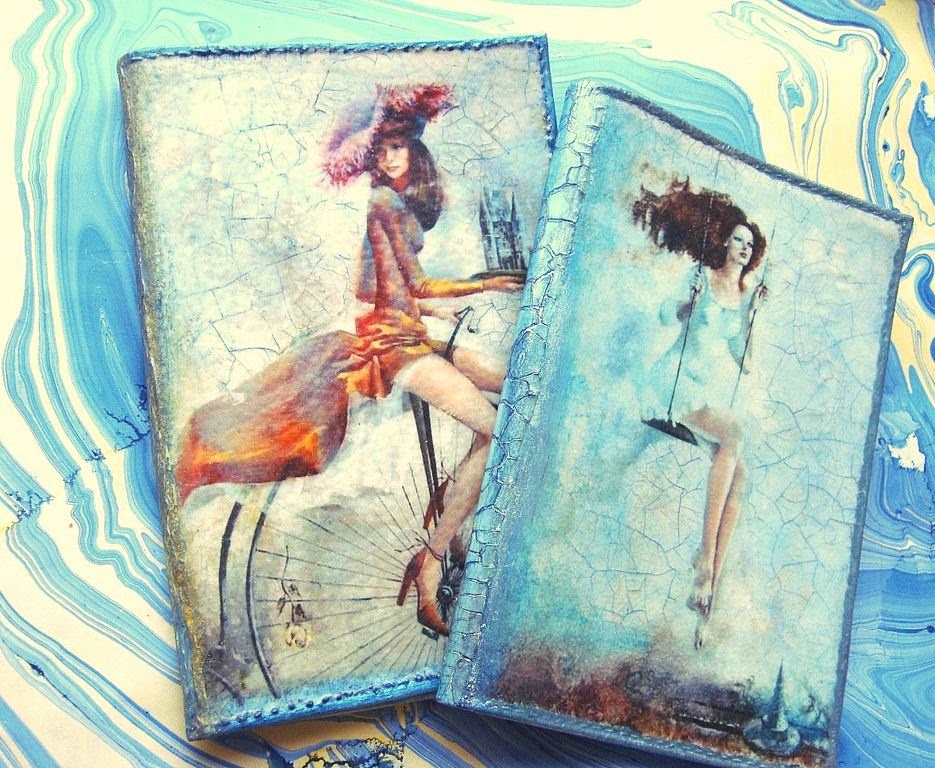
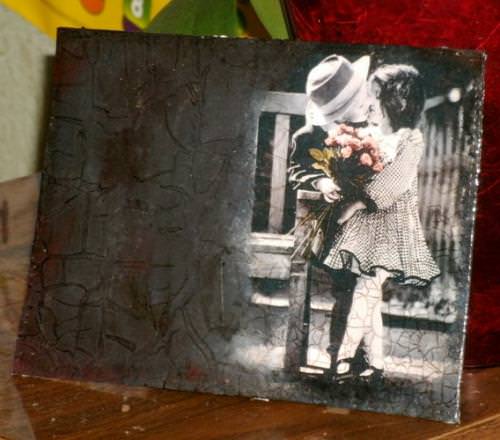
After the paint dries, a varnish is applied to the cover. After letting the lacquer dry, the master class will demonstrate how to make the crocodile effect with your own hands. For this, the initial coat of lacquer called "Creal" is applied with a brush. Leave it to dry for half an hour. To form a relief surface, make a fairly thick layer. After the set time, apply one more varnish layer using a finger for these purposes. Align. This layering should also be thorough. To speed up drying, take a hair dryer and dry the cover. In the process, you will see how on the product will begin to form large cracks. Subsequently, they are rubbed with bitumen. Excess can be cleaned with vegetable oil and allow the work to dry.


At the final stage, you will only have to coverCover several layers of vitreous lacquer. Walk through it and in the bend. After drying the varnish, remove the adhesive tape and see what beauty you can get. As a result, you will receive an original decoupage on the skin, made on the cover of the passport.

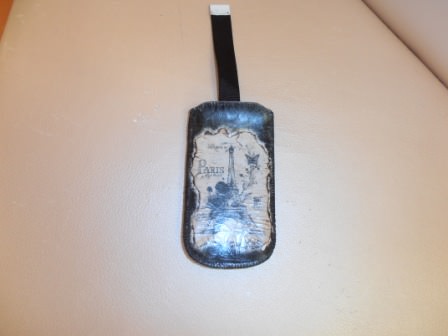
How to make decoupage on the phone case
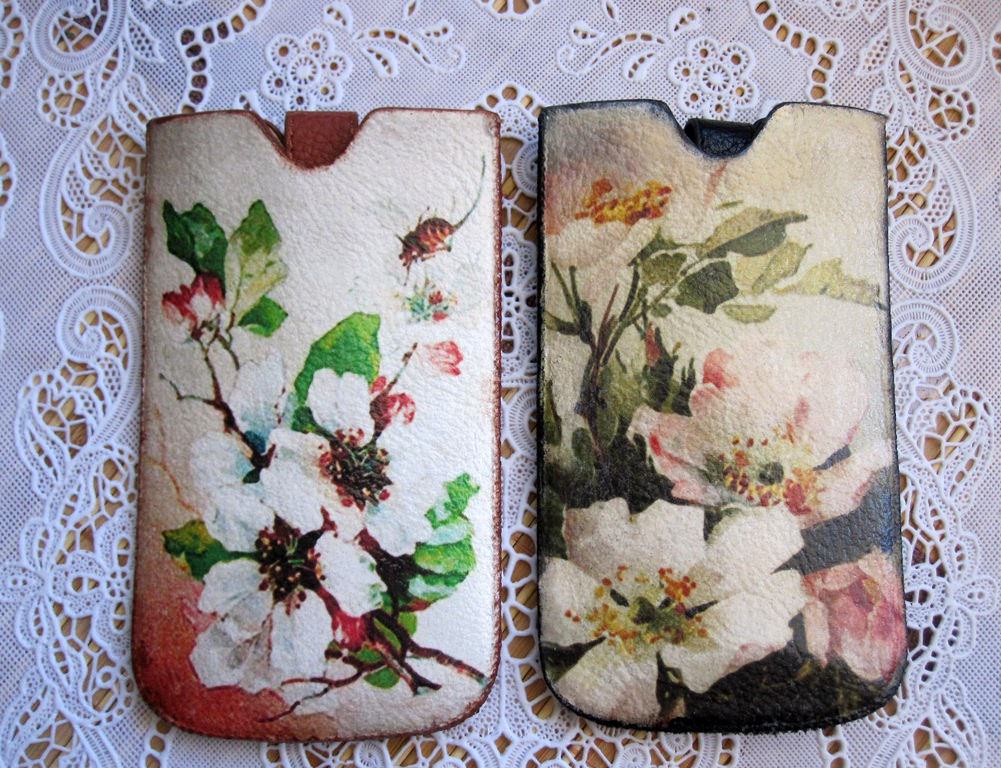
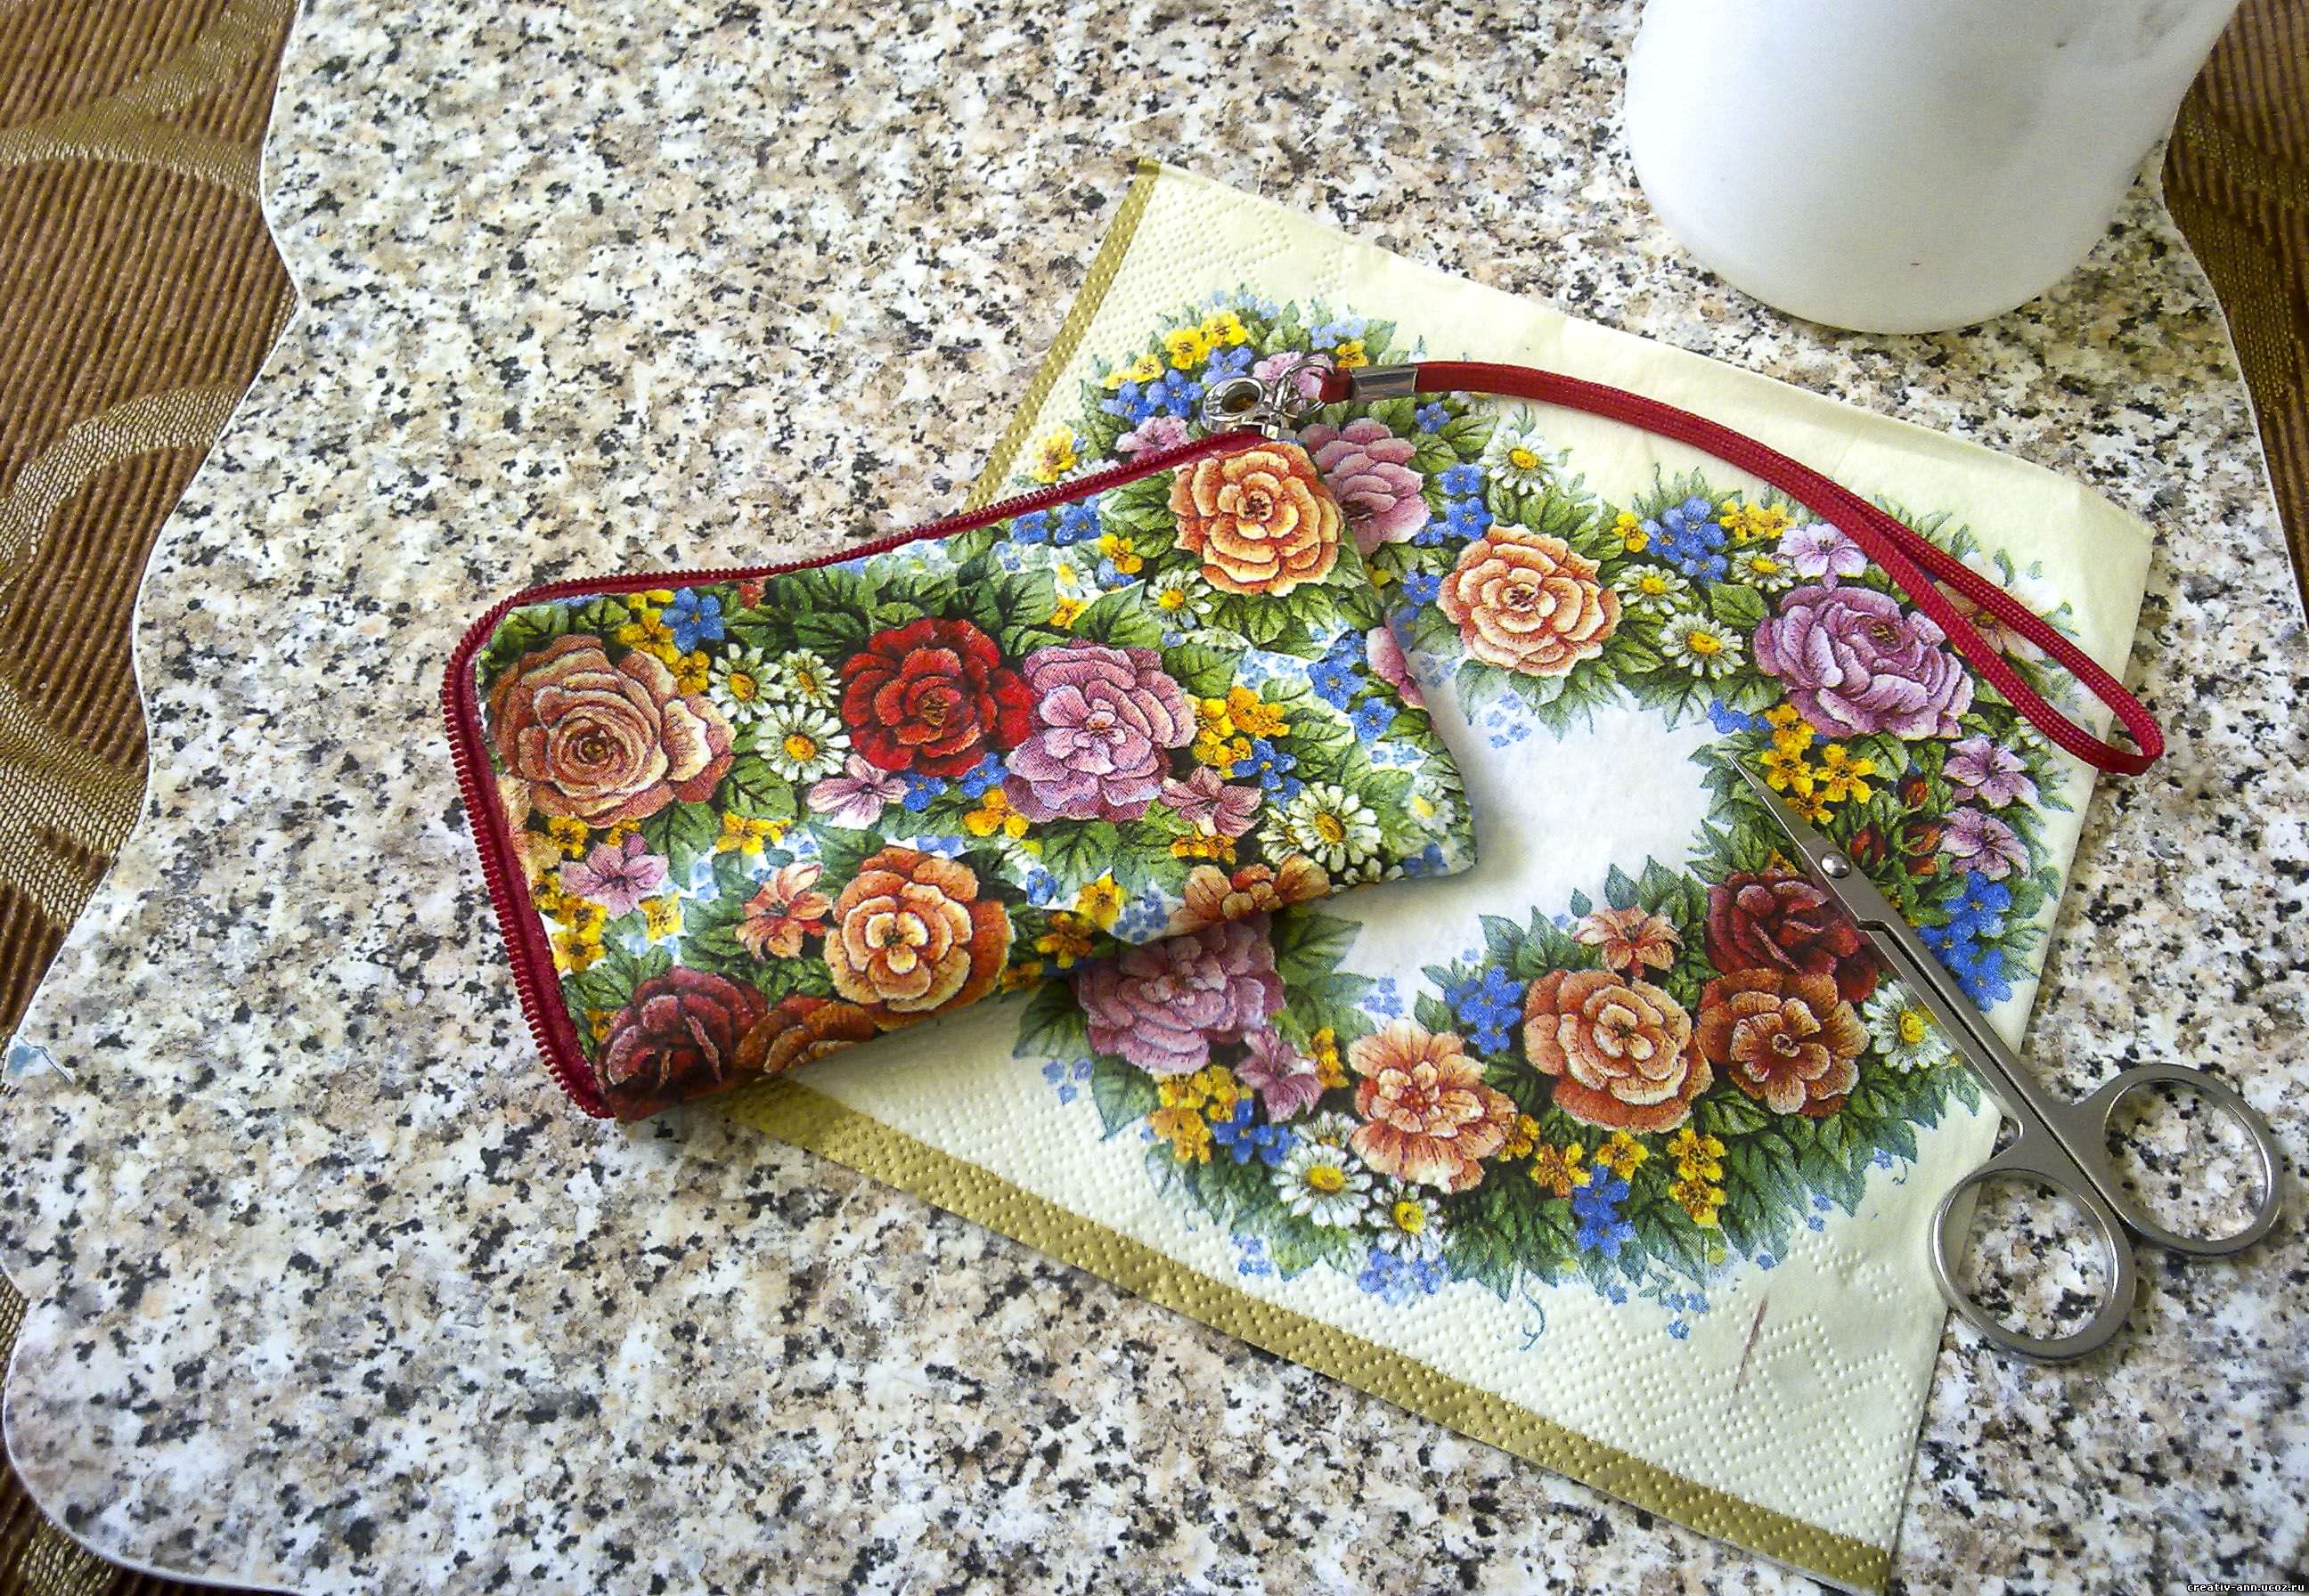
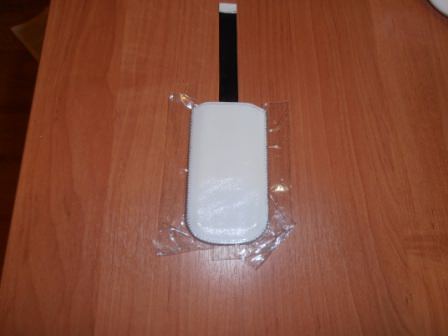
And the last master class will show you the decoupage of the cover for the phone. Such a technique will quickly and easily transform a monophonic product with its more attractive.

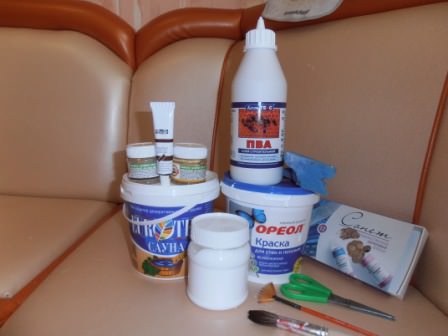
For decoupage, you need to prepare such materials and devices:
- Cover;
- Print a suitable image on the printer;
- Primer;
- PVA glue;
- Paints based on acrylic;
- Brush;
- Lacquer for craquelure (two-step);
- Dark oil-based paint;
- Scissors;
- Scotch;
- A lighter;
- Varnish with a water base.
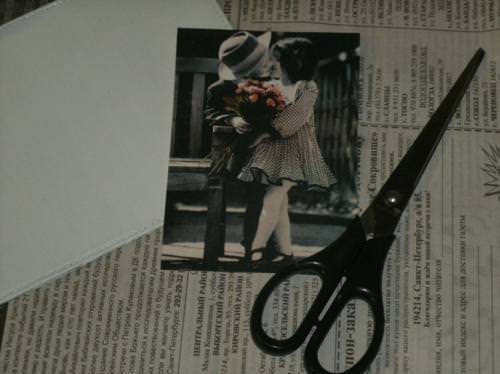
Before doing a master class and decoupageDetermine the image you need and print it on the printer. Next, you need to thin the paper so that the picture shines well. In order to remove step-by-step stratification of paper, use scotch tape.
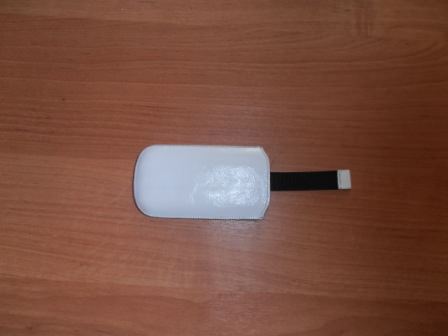
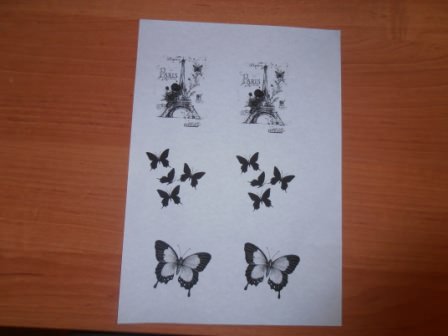
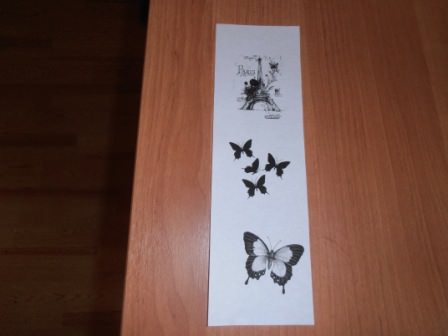
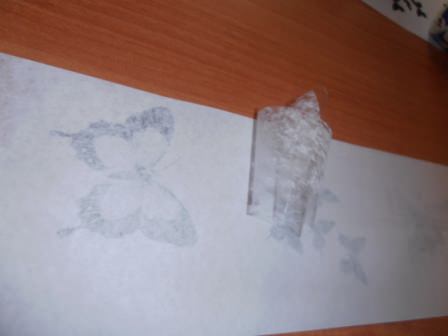
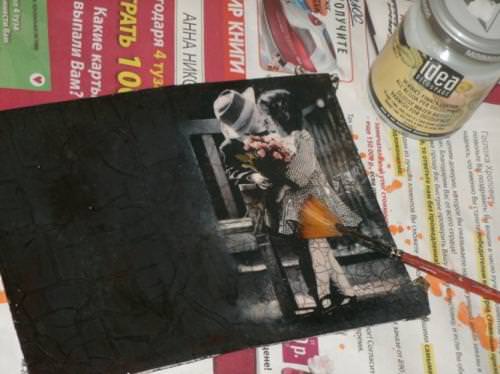
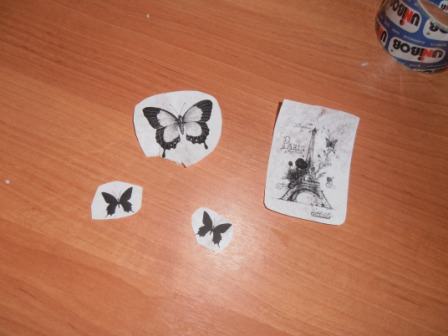
After bringing the image to a translucentCondition, cut out the necessary details, going beyond their contours. The presented master-class uses further drawings with singed edges, as in the photo. This will give the motive a more aged look.

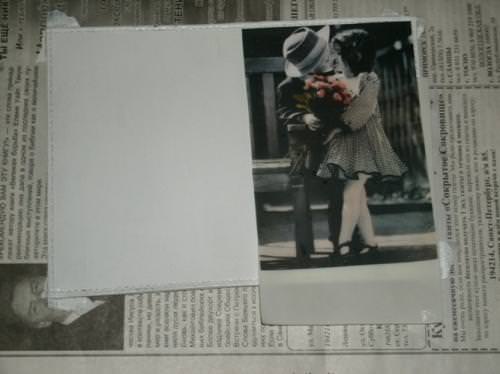
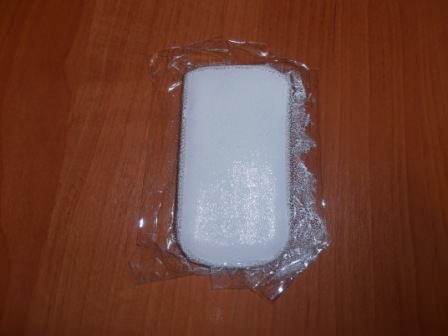
In order to leave the light borders onCover, cover it on all sides with adhesive tape. Next, apply a primer and leave to dry. On a dry ground, glue the motif with PVA glue, diluted with water in proportions one to one.

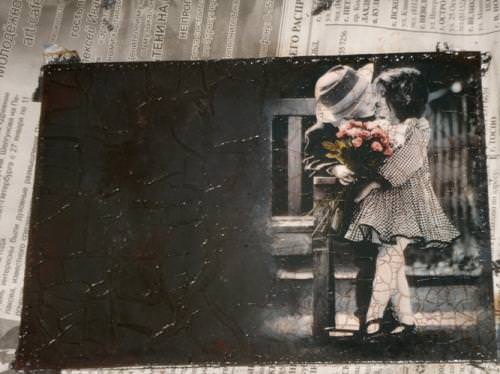
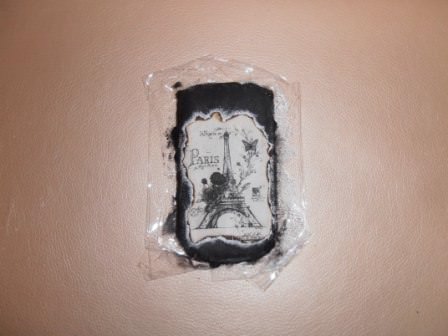
In the continuation of the master class, after drying,Prepare the paint based on acrylic black and "chpokayuschimi" movements, using a sponge, put it on the boundaries of the image. Leave small areas among the drawing and the contours of the paint to create a bright space. Remove the adhesive tape and cover with black paint the edge of the product.


On the second side, decide on the location and fix the selected motifs. Then, on the basis of the same principle with your own hands, paint it with dark paint.

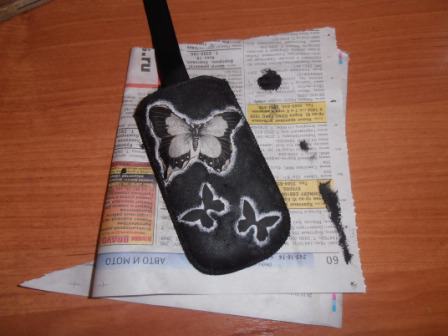
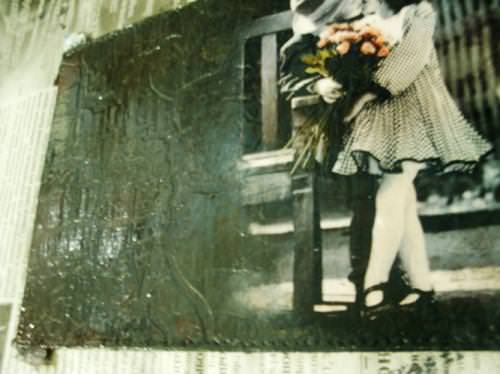
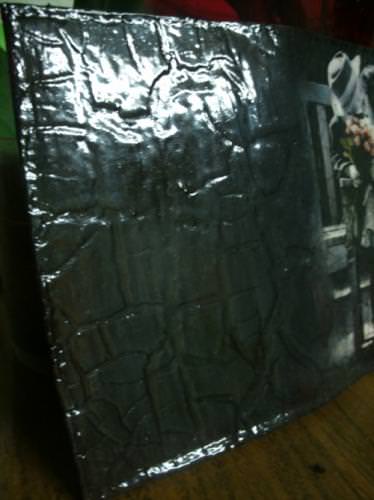
The front side of the cover is covered with the first step-a layer of varnish for craquelure to get cracks. After half an hour, the second step is applied. After that, the cover will be dried the whole night.
At the final stage, the cracks that appear are overwritten with the help of an oil paint of a suitable shade. This master class uses a shade of burnt umber.
Next, the reverse side is covered with varnish. Total on both sides need to apply three varnish layers.
Video: We decorate different surfaces