Decoupage of a unique plate with an angel by one's own hands: a photo and a master class with a lesson
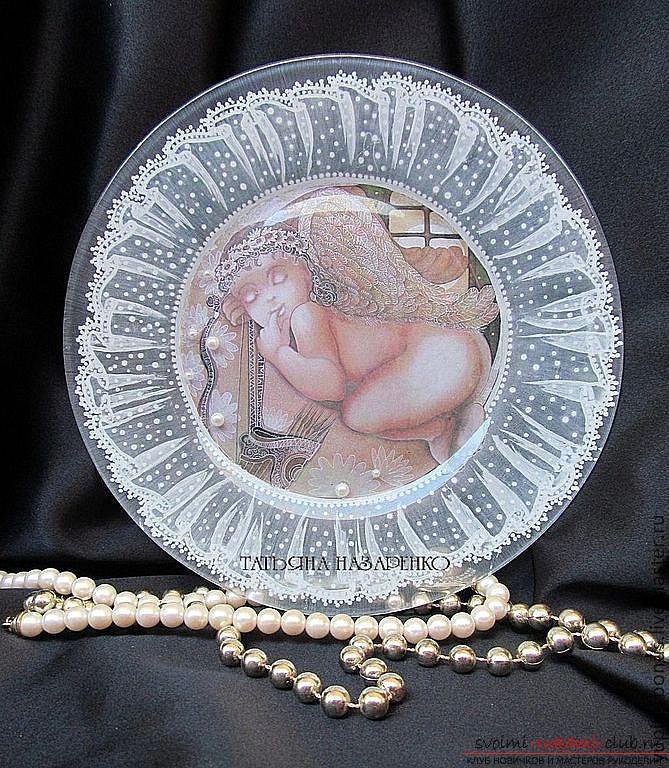
Decoupage cymbals with an angel This master classis intended for mastering only one simple lesson of decoupage. In our case, we will work with ceramic materials, for example - a plate. The master class will be simple even for those who are just starting their way and working in this technique of the product. For decoupage, we select at once two variants of a plate, which we will do by our own hands. In addition, using examples of knowledge from this master class, you can depict your own dish decoupage. To work with plates, we need:
- Ceramic containers (plates)
- Paper towel, white napkin
- PVA-adhesive
- Drawing (napkin-decoupage or printout)
- Varnish (acrylic)
- Acetone
- Paint (acrylic)
- Contour, gold (acrylic)
Material study
First of all, we have to process and washa plate. Then, carry out the degreasing process, using acetone or alcohol, or a special means for decoupage. After the action is carried out, we continue to work the surface, creating a primer. For this we need a white color acrylic and glue-pva, which are mixed in half. Then, apply acrylic on the surface of the plate and let dry the material. After that, reapply the layer and also allow the product to dry.
Drawing of decoupage
 Next, we start working with the graphic elementdecoupage. We will glue the drawing in the center of the product. For this, it is necessary to soak the pattern in warm water. Keep it there no more than 2 minutes. After that, apply the product to the towel and wait until the water comes out. Next, we cover the plate with the help of PVA glue in the same place where the decoupage will be made. The opposite side is also covered with glue. The picture needs to be glued to our point. You need to smooth the surface, so that there are no different pimples or creases on the product. Now, the plate needs to be alone in pride, so that it dries up
Cover the plate
After, take a napkin or a paper towel. The size of this product should be more than 1,5-2 times than the sides of your plate. You need to crop an unnecessary amount. Next, take the PVA glue and dilute it with water one to one. After that, glue the product on the edge of our plate. The edges will be tucked under the plate. The napkin can go beyond the picture of the product, or lack. Inaccuracies will correct later.
Image processing
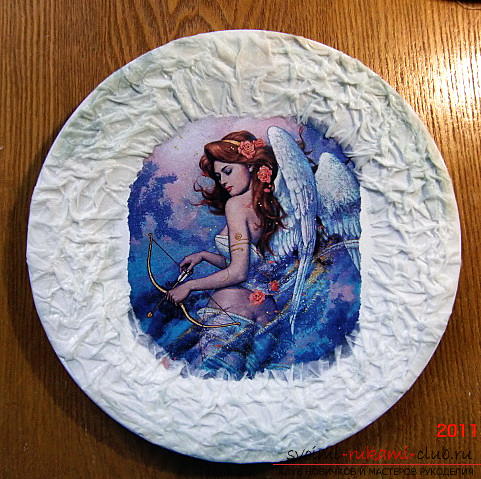
Let's take care of ourceramic product. To do this, it is necessary to dilute the paint in the right keys and cover the sides in a chaotic order. But, it is necessary so that the drawing continues from your smears. In our case, the drawing of an angel. Therefore, we make contours from it. Also, you can superimpose darker layers, but the colors should be combined with each other. After that, cover the plate with a coat of varnish and wait until the product dries. After, take the brush and go through each fold of our product. In dark places we put light colors, and in light - dark. Now, we varnish again. Three or four layers for the product will suffice. Each coating should be accompanied by respite to dry the glue. Now, we take the contours and modify the details of the product. Now, our decorated plate is ready.
A gift or a decor?
If you feel sorry for the product, you can issue themyour apartment. It's enough just to hang your ceramic plate on the surface. To do this, take a glue-second, which will fix our product. Then, take the plugs from the wine, cut off the circles from them. After, use a cord or wire on which to hold the plate. The cord must be glued between the cork, and then, attach to the plate. Now our product is ready to hang it. Well, if you want to make a gift - it will be an excellent sign of attention! Decoupage cymbals with an angel is over!
Comments
Related posts:
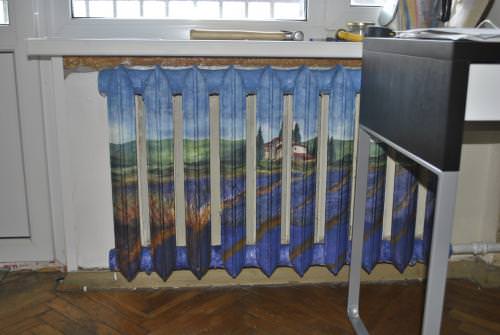 Decoupage battery heating with their own hands (photo and video)
 Volumetric decoupage with their hands in the workshops (photo)
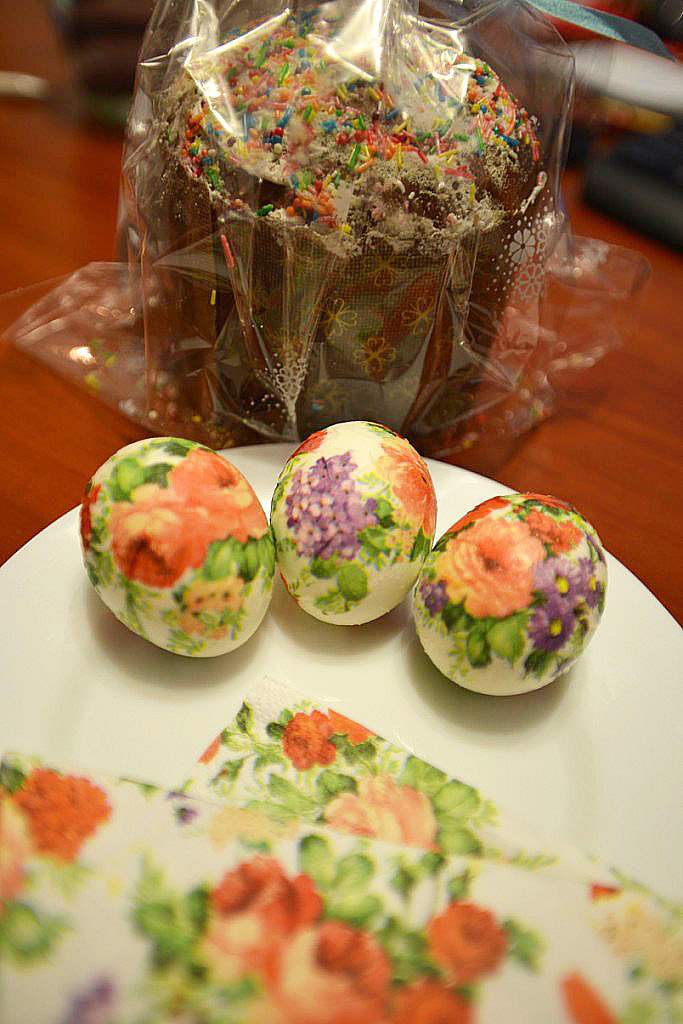 Decoupage of eggs for Easter master class (photo and video)
 Decoupage master class step by step. Photo ideas for decoupage.
 A master class with a photo will teach you how to make an elegant box from your box with your own hands.