Decoupage vases with their own hands: decoupage of glass vases, pictures and flowers
Technique decoupage is one of the mostpopular in the field of needlework due to its set of excellent features. First of all, the main advantage of decoupage is the fact that you can decorate absolutely any surface with the help of an applique or special cards for decoupage. Decoupage of a glass vase with flowers 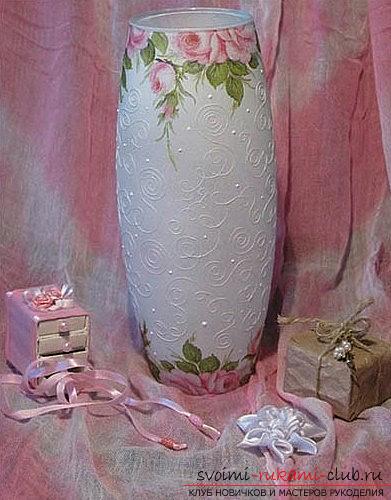 For work, certaintools, thanks to which, working with technology will be easier and possible in implementation. So, in order to realize a beautiful vase-decoupage, it is necessary to have in place a certain "arsenal of tools" for work:
Materials
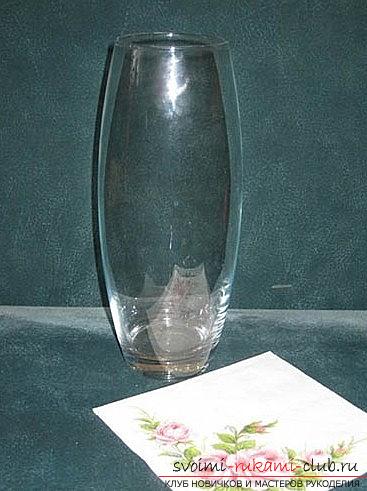
- Vase (glass)
- Drawing of a rose (napkin)
- Decoupage glue (PVA glue)
- Paint (acrylic, white)
- Varnish (acrylic)
- Threads
- Sponge foam
- Toothpick
- scissors
- water
Priming and pattern processing
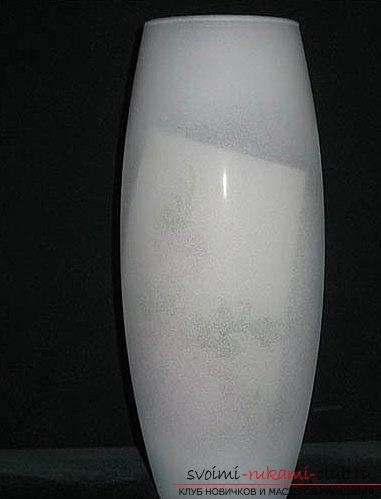
 Using a sponge, we must applypriming on our vase. Make it necessary so that the top layer of paint was more saturated in those places where your drawing is likely to be located. This is necessary to ensure that the graphic element of the vase is properly allocated and not lost on a transparent (semitransparent) background. Then, several layers must be superposed. We wait until the paint dries. It is advisable to spend 2-3 hours on time. Next, you need to cut out the motif of the rose and then, divide and cut them in such a way that the flower has its own horizon.
We glue the product
 After the blanks are ready, they are necessarypaste on our product using PVA glue. The motive does not need to lie flat on the rim of our product. To do this, you need to make special incisions, until the moment we glue our product. Using this element, the motive will necessarily settle exactly.
Patterns for a glass vase
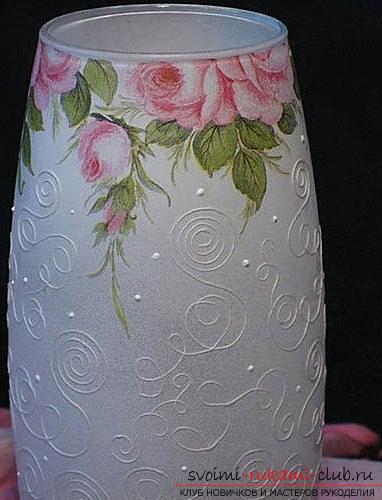
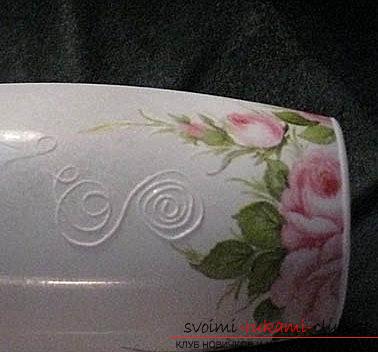 Next, using threads, create patterns. It is necessary to cut a thread in the size of 10-20 centimeters. further, it is necessary to moisten the thread with water, with one end holding the thread in the finger. Next, after that, we dip it into the glue and remove excess glue with the help of a brush. Next, we lay our curls, so that after that we help the thread, forming it. With the help of a toothpick we equal those elements that we did not like. Thus, we continue laying the threads until we fill the entire area of the vase. It is necessary to allow the curls to dry out in order to continue the work further.
Finishing work
After this action, we are waiting for the drying of our patterns. Add more, with the help of beads or tootshek beautiful patterns. After that, the vase needs to be covered with acrylic lacquer in two layers and then, wait until it dries. The first layer dries 2-3 hours, the second - day. The vase is ready!
Comments
Related posts:
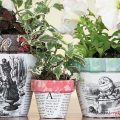 Decoupage pot for flowers with their own hands, decoupage of flower pots, master class
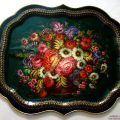 Zhostovo painting for the tray - pictures and flowers with their own hands
 Classy homemade vases made of wood and glass tubes
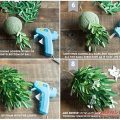 Flowers with their own hands, how to make a flower from paper with their own hands, flowers from corrugated paper, tips, recommendations, step by step execution instruction.
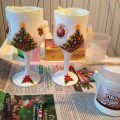 Decoupage of master-class wine glasses for the 2015 contest, decoupage with their own hands