Detailed lessons on weaving simple bracelets from elastic bands
Content
- Simple bracelet on the machine
- Step-by-step weaving bracelet "Fish tail"
- Weaving braid bracelet "Stars"
- Video: Bracelet "Scale of the Dragon" on the machine
Every day many women, girls and girlsUse elastic bands. These small accessories help create amazing hairstyles and fix the hair in the right position. But, besides this there is another no less popular way of using rubber bands. We are talking about weaving of multicolored silicone rubber bands.
In this master class we will talk in more detailOn how you can make bracelets and bracelets from rubber bands. Choosing a theme is not accidental, because these ornaments, following the instructions, can easily be woven even by a beginner craftsman!


This master class will be devoted to weaving the baubles. To begin with, we will get acquainted with a machine for weaving of rubber bands and try to create your very first fresco.
Simple bracelet on the machine
To make a bright multi-colored bouquet, you will need:
- multicolored rezinochki;
- hook;
- machine.
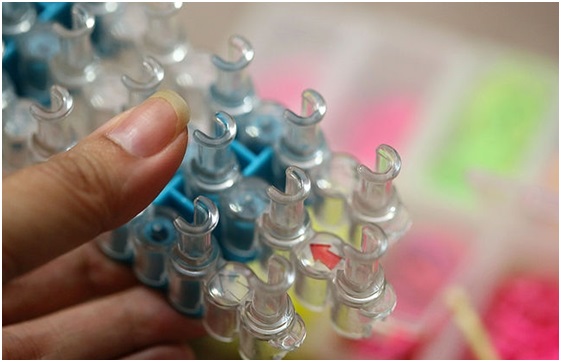
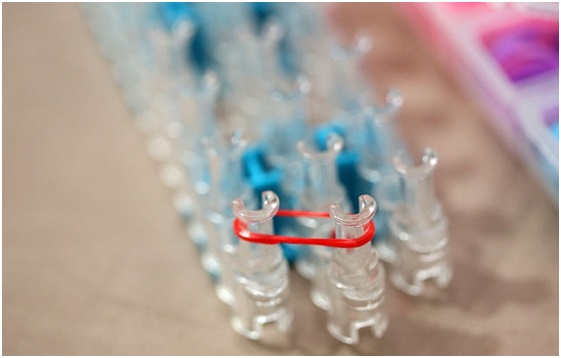
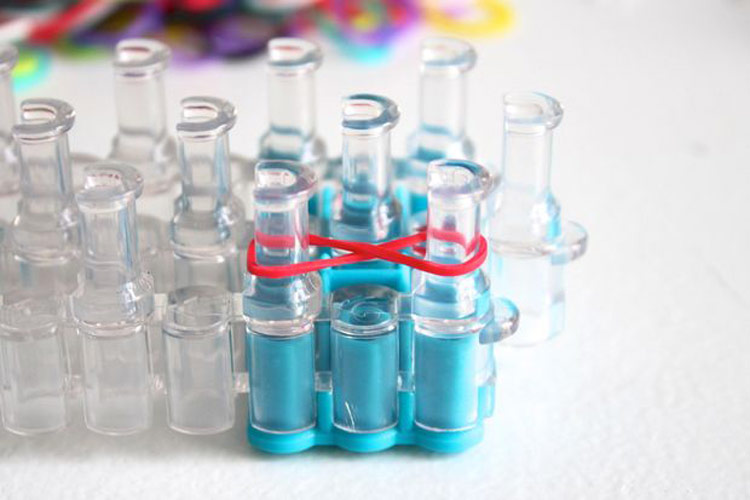
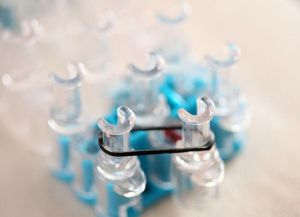
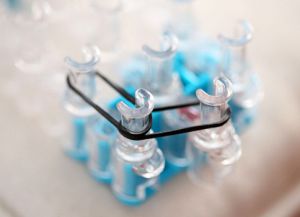
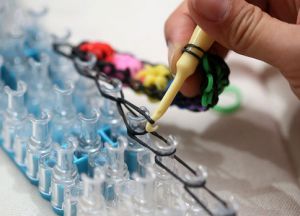
Instructions for braiding. Place the rubber weaving machine so that the notches on the pegs are located in the opposite direction from you. Hook the first rubber for the future baubles diagonally.
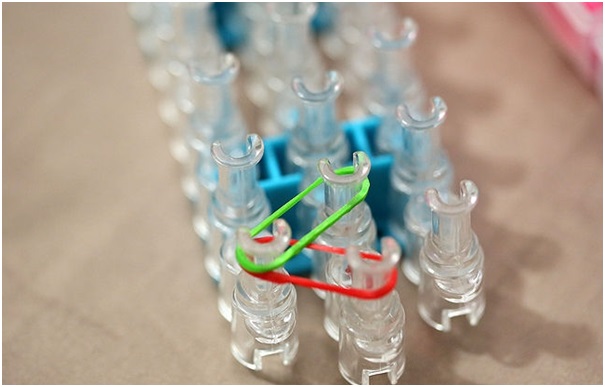
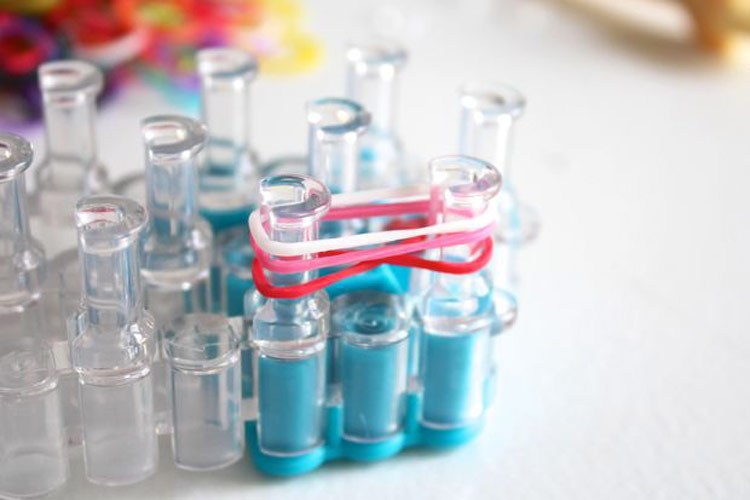
Take a detail of another color and stretch it between the columns of the machine, as shown in the photo. Without changing the scheme of action, pull the rubber bands on all the columns of these two ryadochkov.
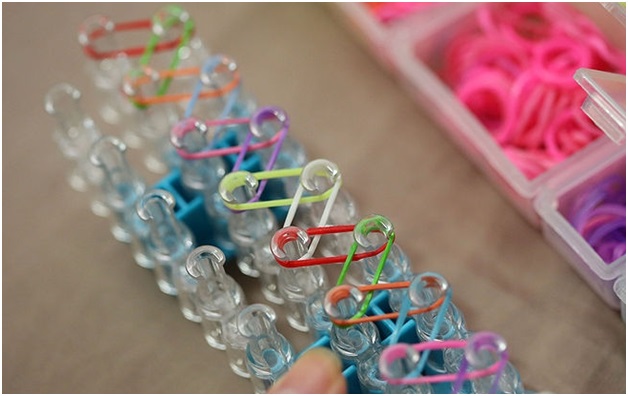
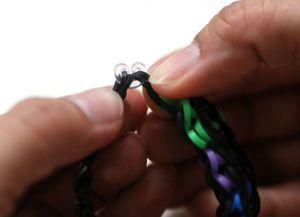
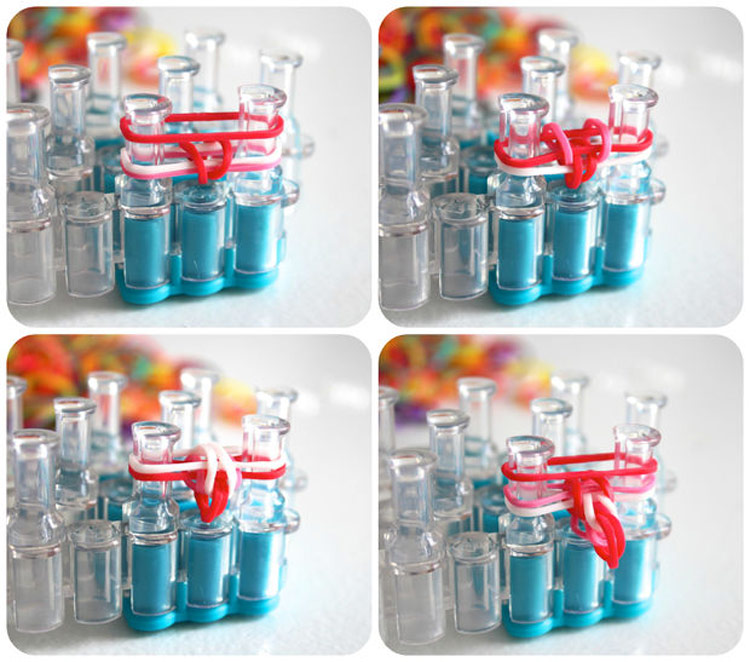
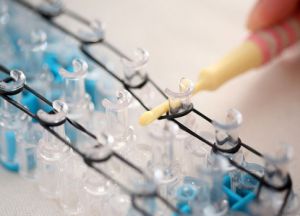
Then, turning the machine upside down, so that the notches are looking at you, pick up the bottom piece from the protrusion located in the center with the tool. And throw it to the second ledge in the next ryadochke.

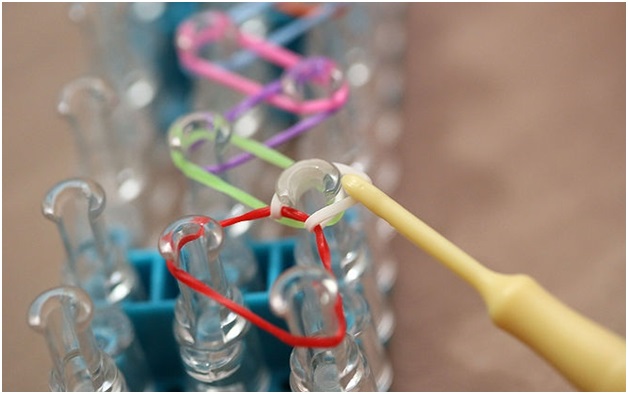
By the same scheme, transfer all the rubber bands on the machine. Now, in the very first detail of the woven bracelet, poke the lock.


Remove the finished baubles from the machine and thread the second part of the lock into a loose loop.

We hope that thanks to thisStep by step instructions you will be able to weave a beautiful bright fresco! And having mastered the instruction on weaving of baubles, you take up the manufacture of more complex ornaments - bracelets!
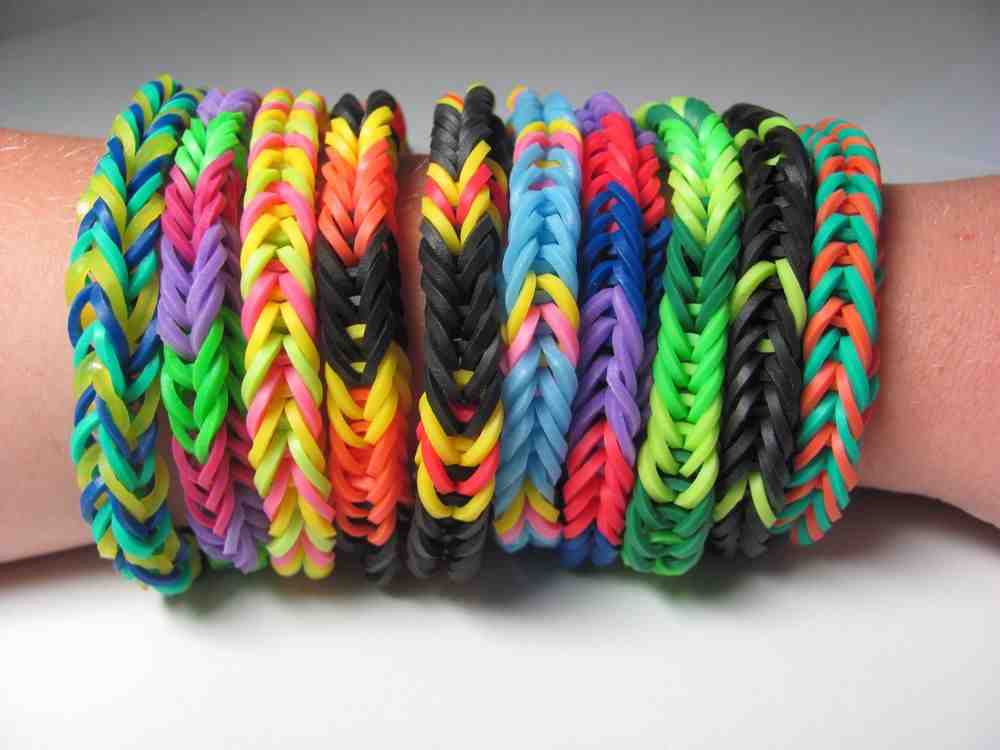
Step-by-step weaving bracelet "Fish tail"
With the help of a machine tool and multicolored rubber bandsMake a lot of different ornaments, including bracelets. However, today we suggest that you learn a simple, understandable instruction for braiding a bracelet called "Fishtail".

The scheme of weaving such a bracelet is quite simple,But the main thing is clear. It is suitable even for beginners who just recently joined such a fashionable and interesting hobby like weaving from rubber bands. To make a bracelet "Fishtail" you will need:
- Rubber bands of 3 different colors;
- machine;
- Small hook;
- clasp.
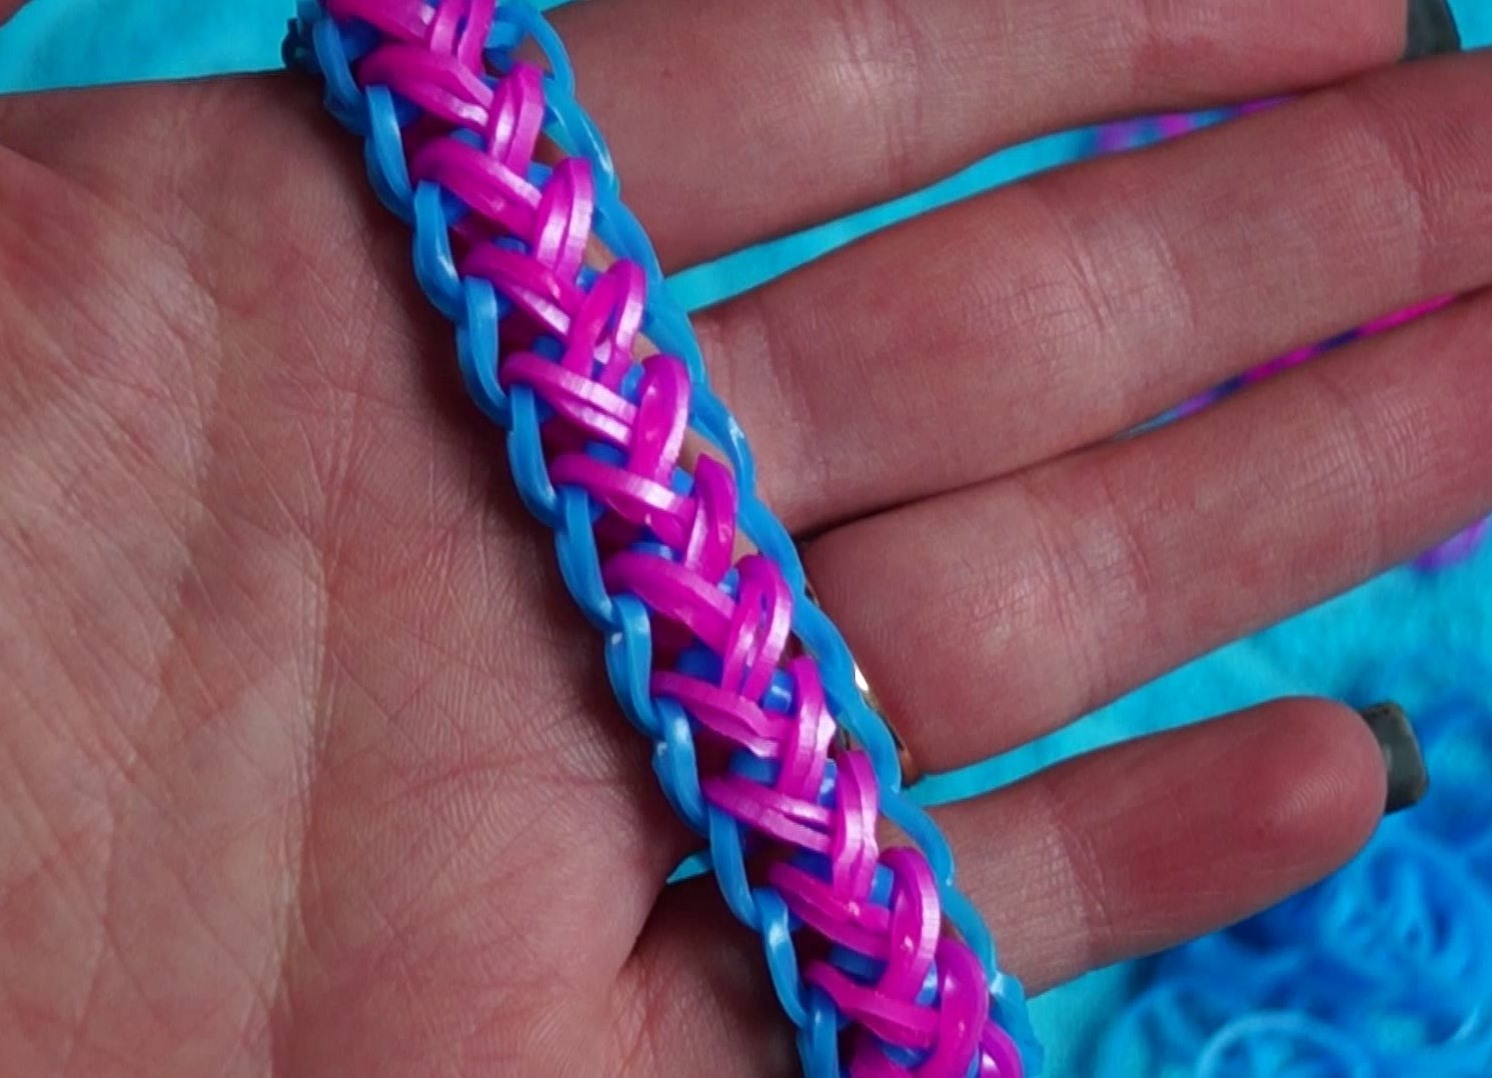
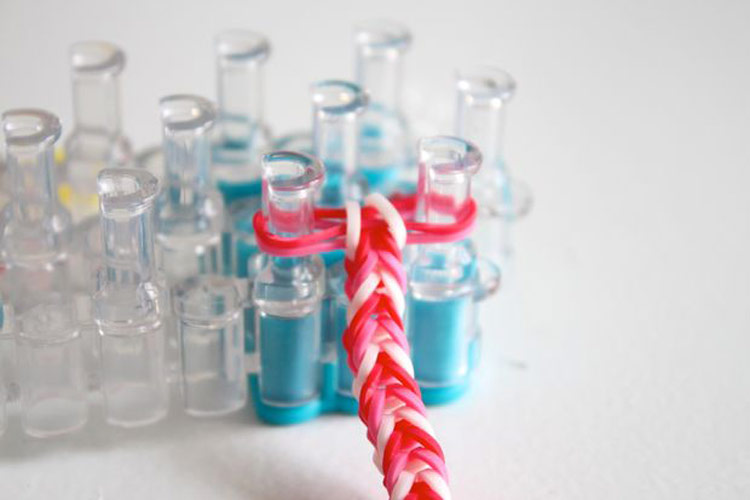
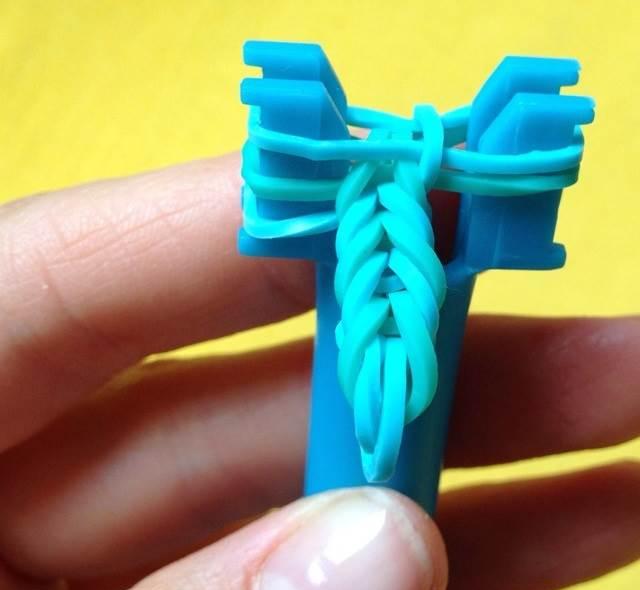
The braiding scheme for beginners. Weave this bracelet on two columns. The remaining protrusions during operation are not involved. The first rubber is put on the figure-eight. And the next two details are no longer twisted.
Then the loops of the first gum alternatelyThey are removed from the pegs and thrown into the middle of the weaving. After that, one more piece is put on. If you want your bracelet to be three-color, special attention should be given to alternating the selected colors! At the next stage of the master class, the lower elastic band is reset to the center of the weaving.
Under this scheme, we continue to work until the length of the baubles grows to the size we need.
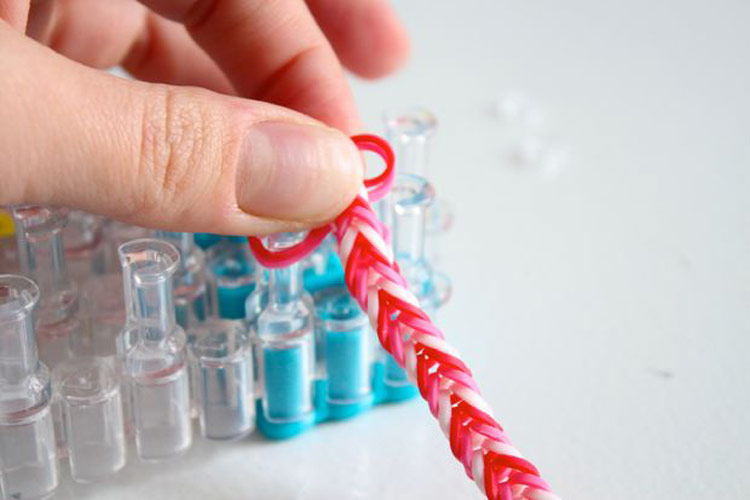
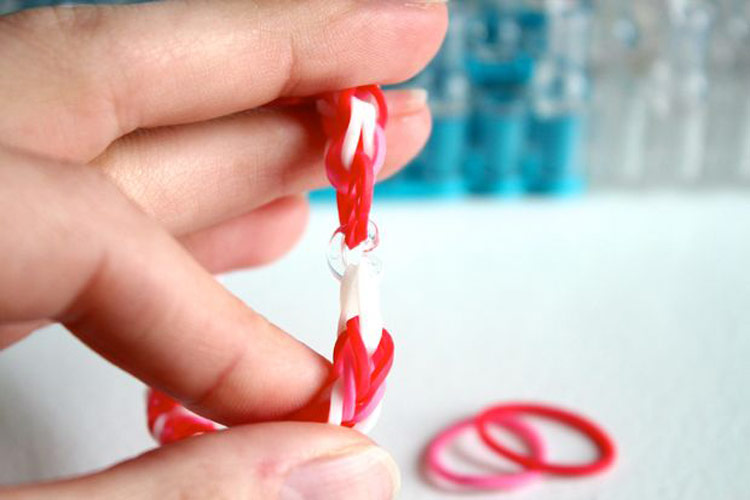
The finished bracelet must be carefully removed from the machine, while holding it with your fingers, so that it does not disintegrate. The ends of the fishtail bracelet are attached to a special fastener.
With this simple, understandable instruction, youYou can make not only tricolor, but also single-color bracelets. Beginner masters can try to experiment with color combinations and form a bracelet using details of 3 shades of the same color!
Weaving braid bracelet "Stars"
Weaving bracelet with an intriguing name"Star" will be on forces even to the beginning masters. Therefore, if you recently use silicone rubber bands, you will still be able to make such a wonderful bracelet! Before you begin to weave according to the instructions of the bracelet, you need to prepare all the materials and tools necessary for work:
- hook;
- multicolored rezinochki;
- machine;
- One clasp.
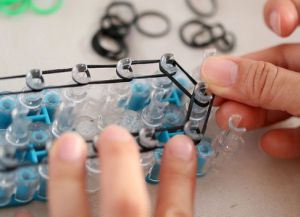
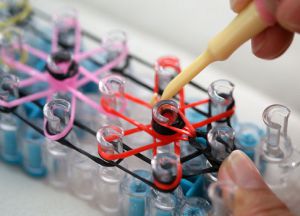
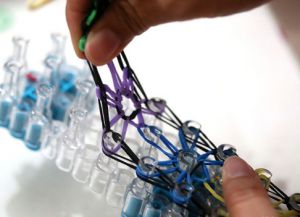
We begin work. Install the machine in front of you, so that its recesses are directed to the opposite side from you. Pull the black rubber band between the first protrusions of the left and center rows. The next workpiece is tight, as shown in the photo.
Continue to weave this pattern beforePenultimate column of this series. Then pull the rubber band between the penultimate and last column in the center row. Continue weaving in a circle, without changing the scheme of actions.

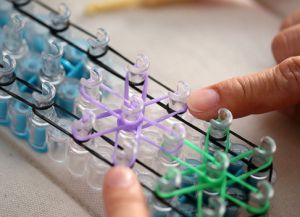
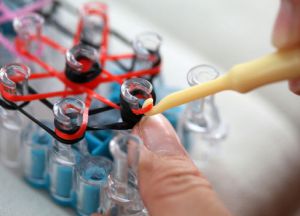
This stage of the master class can be considered complete. Now we need to prepare the machine with the blanks for further work. To do this, all the details must be pushed to the base of the pegs. Now following the instructions with a simple and understandable description, you can proceed to filling the machine with asterisks. First you need to put aside 6 pieces of the same color. Then take one rubber band and put it on the second pillars of the central and right rows. The remaining 5 rubber bands are worn according to the same pattern. In this case, you need to move clockwise.
Woven "star" must be neatMove to the base of the machine. The center for the second "star" will be the 4th column of the middle row. The photo clearly shows that the second six of the rubber bands is worn in the same sequence as the first one. Only the color of the parts changes. Following a simple, understandable instruction it is necessary to form 4 more exactly the same "stars".
Then take 1 black and fold it in half,Put on the first column of the middle ryadochka. Then put the same half-folded workpieces on the ledges that are centered on the "stars". Set the machine so that its recesses are turned in your direction. Pick up the rubber band from the 1 column of the center row.
Pull this part to the central protrusion in"Asterisk". Under the same scheme, continue working until the core of each billet is replenished with one more loop. Note that beginner needlewomen need to weave very carefully, as any oversight can lead to the destruction of the picture!

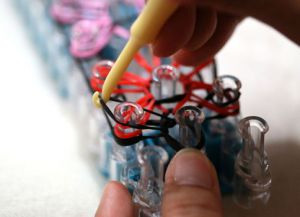
At the next stage of the training master class withStep-by-step instruction we proceed to the formation of the second part of the skeleton for the bracelet. His weaving begins with a single column of the middle ryadochka. To do this, hooks are hooked with a rubber band stretched between the first columns of the middle and left rows. Lifting, this part is moved to the first column on the left side. According to such an understandable even the beginning needlewoman scheme is woven all the left, as well as the right part of the bracelet. After that, hook up all the blanks located on the last column of the middle row, draw through them 1 black rubber band and put it on the working tool.
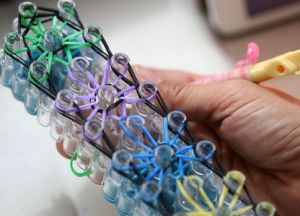
Now slowly take off the machine readyBracelet. At the same time, hold the eyelets on the hook with your fingers, so that during the removal of the bracelet they do not disintegrate! The bracelet itself is ready, but now it needs to be extended a little. For this, 5 black parts must be attached to the machine.
Now you need to transfer the eyelets from oneThe bar on the other, as shown in the photo. Woven chain should be removed from the machine and attached with a special lock to the main part of the bracelet.
At this weaving bracelet can be considered complete. We hope that this simple and clear description helped you to make an original bright bracelet with your own hands!
Not all beginners are fond of learning how to weave bracelets according to the instructions. For those who do not like master classes and instructions, we recommend viewing a small training video.
In the video, the whole process is described in detailCreate a stylish wide bracelet that mimics the scales of the dragon. The work begins with the preparation of the tools and materials necessary for creating jewelry:
- Rainbow silicone rubber bands;
- hook;
- Machine with 1 row of columns;
- 4 lock.
According to such a clear instruction, even a beginnerThe handicraftsman can easily do "Scale Dragon" literally in one evening. Volumetric wide bracelet, of course, will be a worthy reward for any beginner craftsman!
Video: Bracelet "Scale of the Dragon" on the machine
Comments
Related posts:
 Master-classes on braiding on the fingers of bracelets made of rubber bands
 Photo and video master-class on weaving turtle from rubber bands
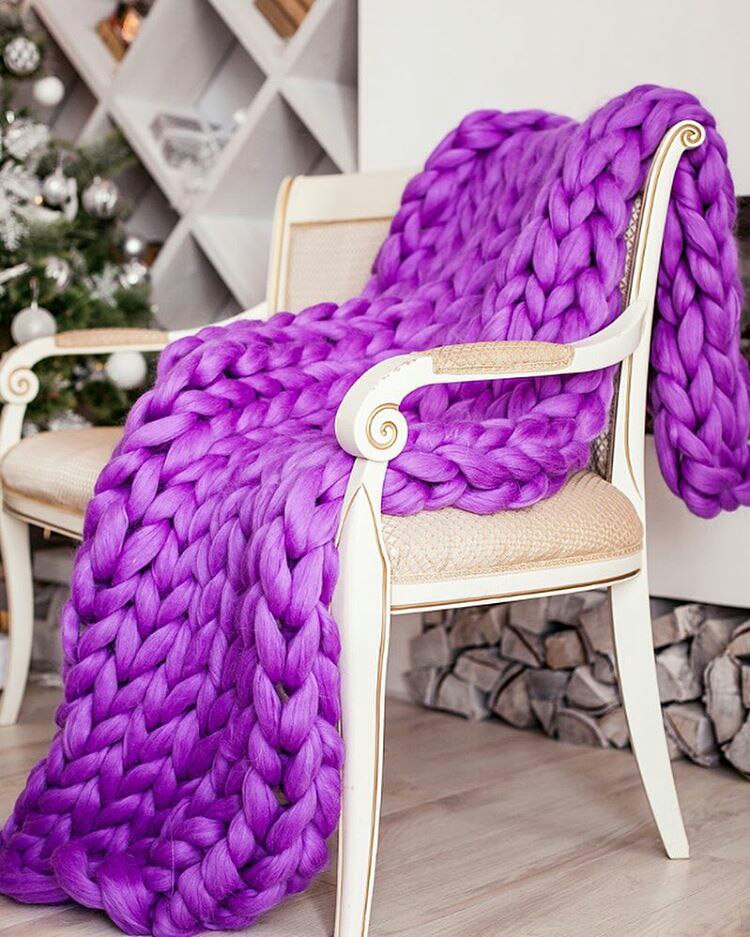 Detailed video lessons on knitting products from thick yarn
 How to weave bracelets on the slingshot with rubber bands on photos and videos
 Takes knitting needles: knitting lessons with diagrams and photo-video lessons