DIY gift for March 8: workshops and 37 photos
Every year on March 8, millions of men are puzzledby the fact that you need to pick up some kind of gift for your beloved women, wives, mom or daughter. Of course, you can always buy a banal bouquet of flowers and chocolate, but if you really want to surprise the beautiful half of humanity, it is best to make a gift with your own hands. 

 Content
What to give for March 8: do-it-yourself gift?
Now we will meet some masterclasses that can bring to life not only adults, but also children. So stock up on the right materials, choose a gift option, and go to the start! A gift for mom on March 8 with her own hands. Mom is the closest person on earth, so she wants to give the most expensive gift. And here I mean “dear” not by the amount of money spent, but really by the contribution of my soul and imagination. Simple idea:. Master class “Corrugated Tulip” - flowers for March 8 with your own hands A lot of effort and time will not be required to create this flower. Here is the main course of work:
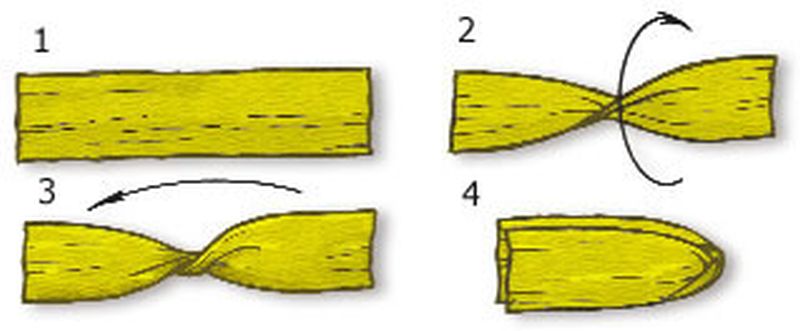 Fig. 1
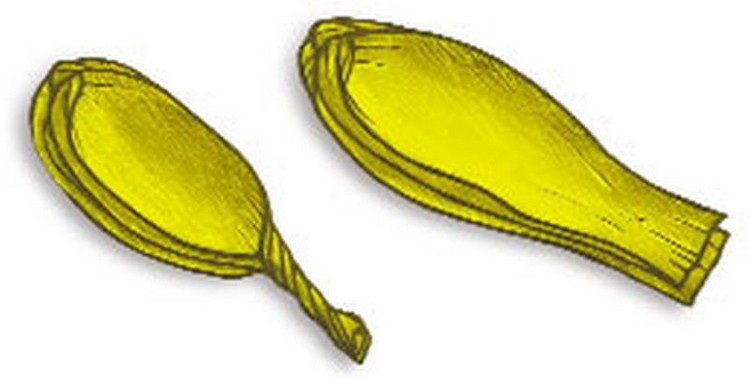 Fig.2
Fig.2
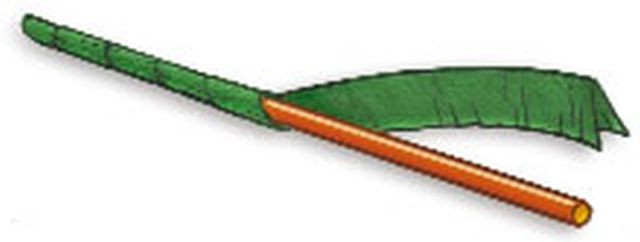 Figure 3
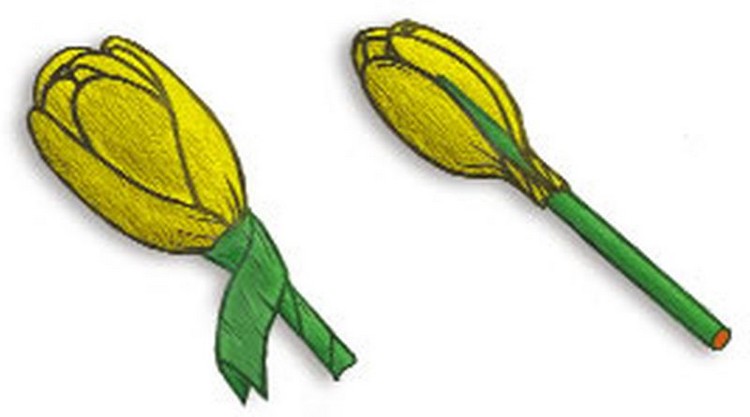 Fig. 4
Our flower is ready. Believe that mom will be pleasantly surprised by the craft. In addition to the gift, you can also buy a small vase, where we put our tulips. 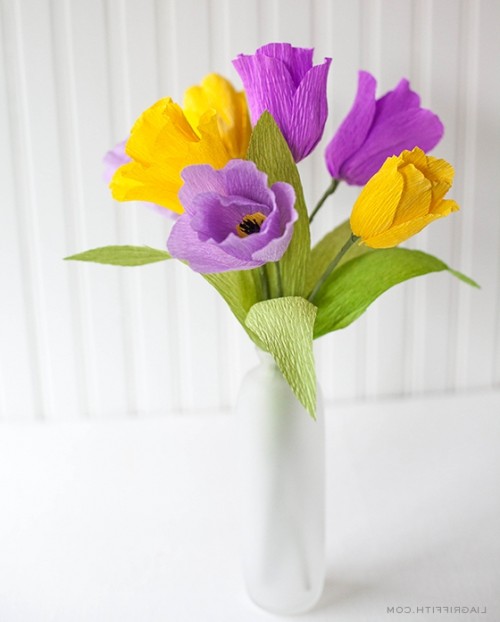 Craft "Tulip" - as a gift for March 8 Giftgirl on March 8 with his own hands It's no secret that all children are sweet tooth. Therefore, you can beat this idea and give the girl a handmade gift from candies. Master class “Basket with sweets”: idea for a gift for a girl on March 8 Depending on what size we will make the basket, you need to calculate the number of sweets and paper. Working process:
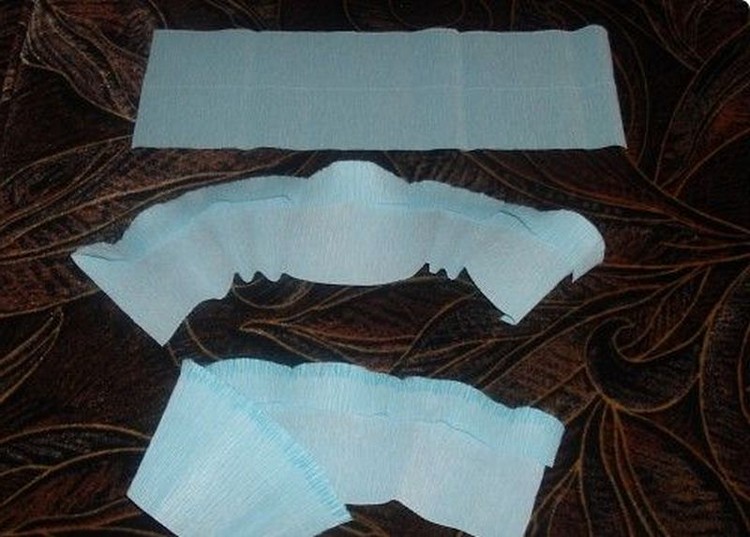 Fig. 1
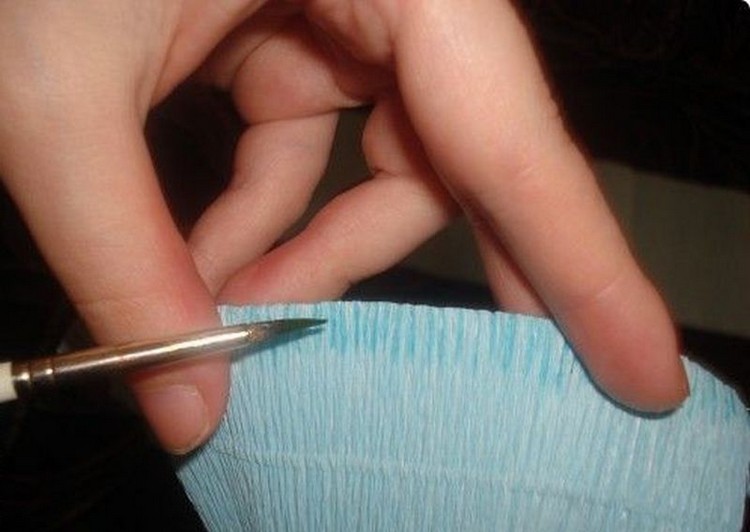 Fig.2
Fig.2
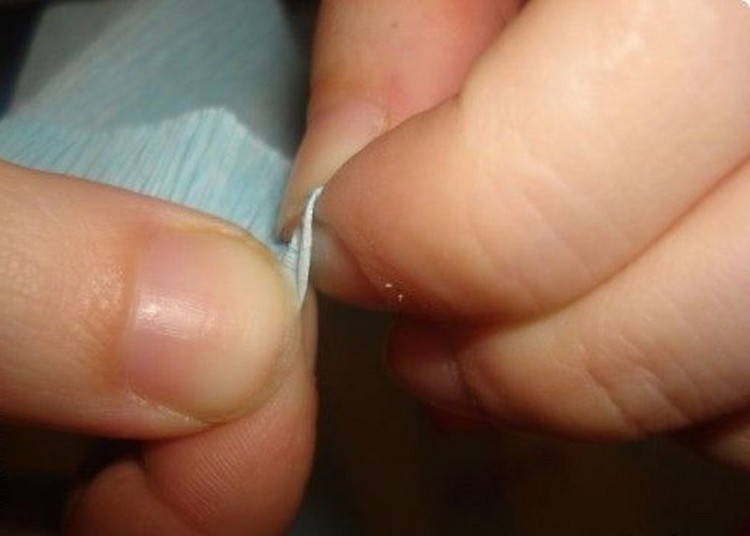 Figure 3
 Fig. 4
  Figure 5
 Fig.6
Fig.6
 Fig. 7
Many girls will like the idea of a basket with flowers, especially if they are chocolate. Instead of sweets, you can also use lollipops or other interesting sweets.  A basket of sweets as a gift for March 8 to a girl
DIY gift for a girl on March 8
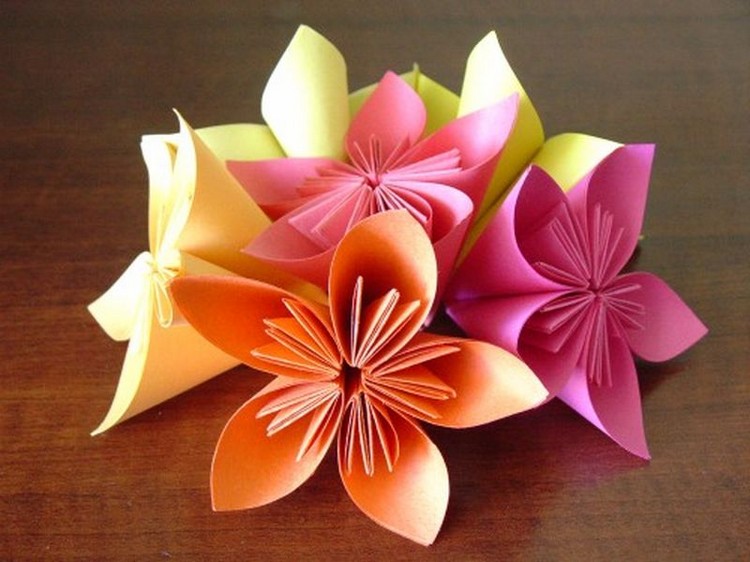
What do you think yours will feelgirl on this holiday, if you give her a million roses? I think she will simply be unhappy with happiness. Want to try to make such a dream come true? Go ahead then! Master class "Million roses" on March 8 with your own hands. It is recommended that you first try to work with napkins, and then use corrugated paper.  Craft "roses" - flowers for March 8 do it yourself
Of these roses, you can make a bouquet or stickthem to the postcard by March 8th. Quantity and size can be adjusted as desired. A gift for his wife on March 8 with his own hands. What will the wife say when she receives a bottle of delicious champagne, decorated on the theme of the holiday of March 8 with her own hands? Master class “Bottle decoration” for a gift for March 8. This example shows the decoration of a bottle of champagne, but in fact it can be another drink, like wine or martini. 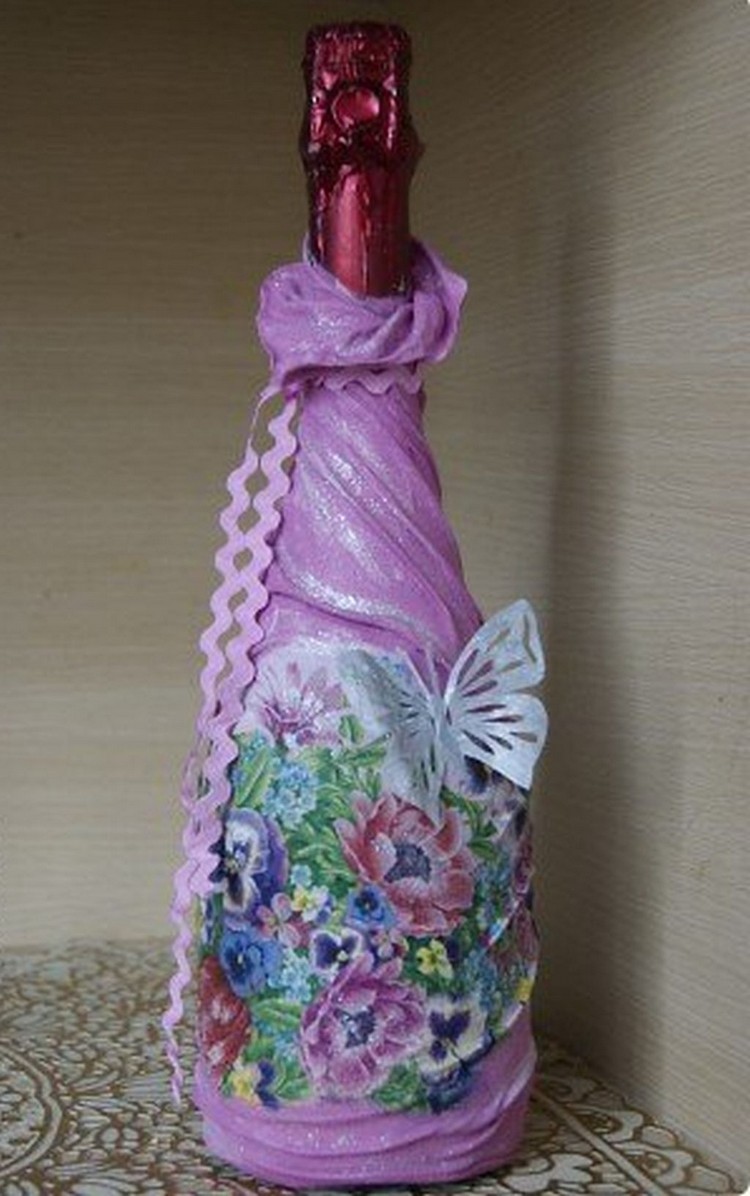 DIY bottle decoration as a gift on March 8. Work progress:
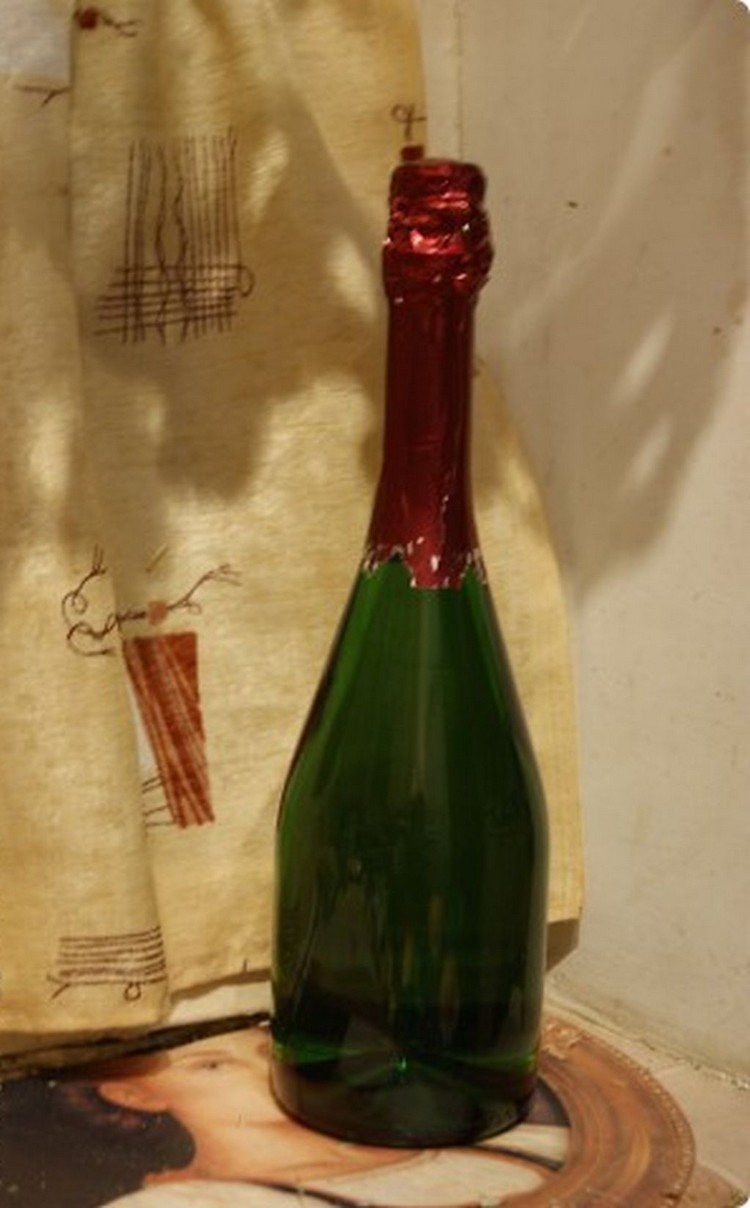 Fig. 1
 Fig.2
Fig.2
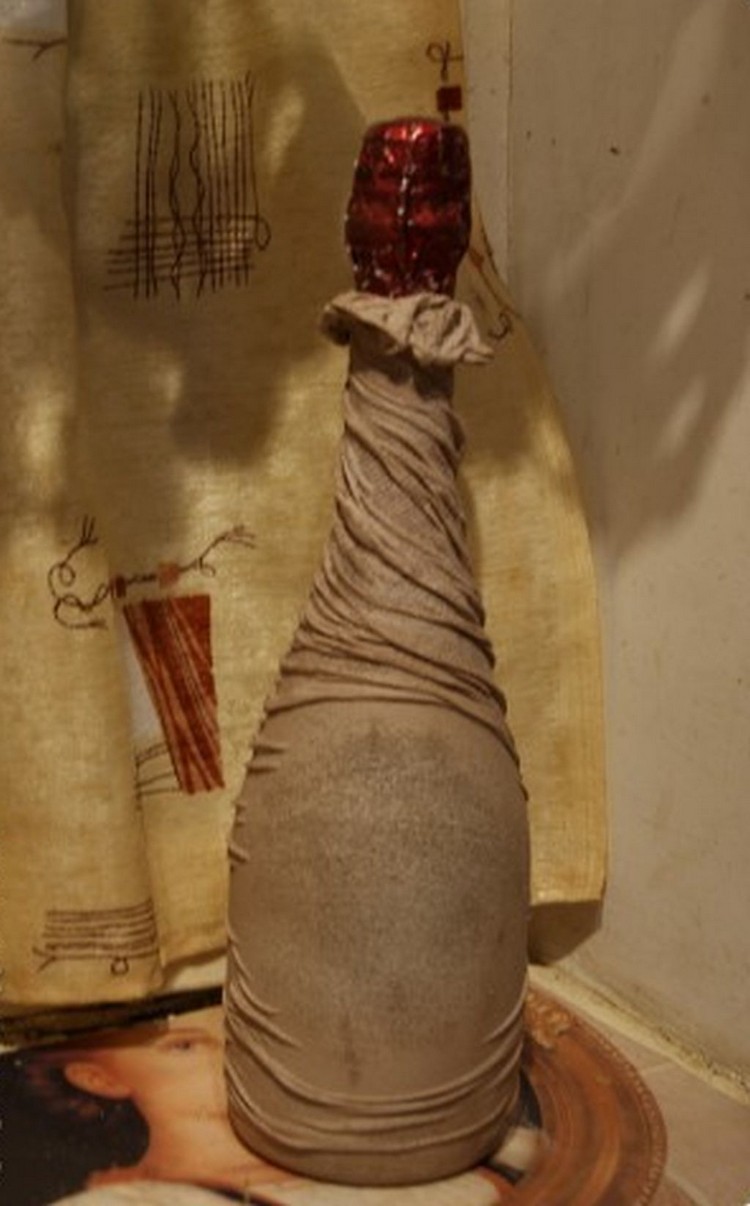 Figure 3
 Fig. 4
 Figure 5
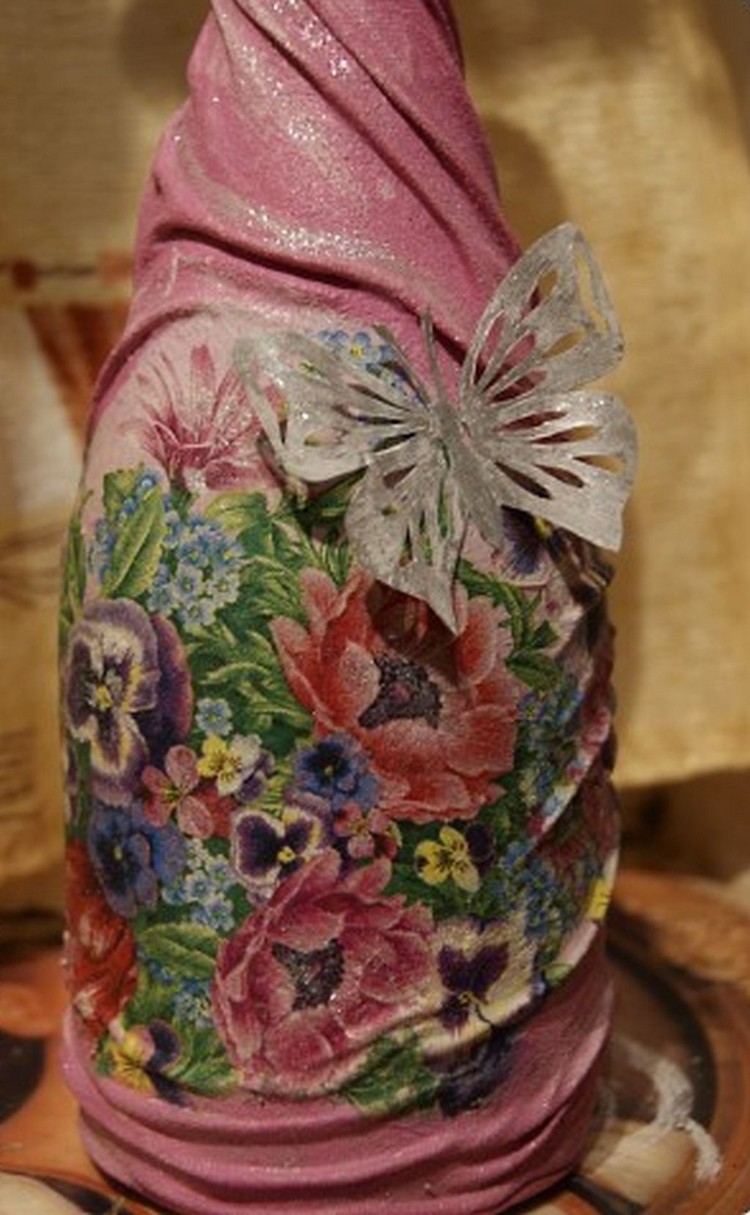 Fig.6 Our bottle is ready and is waiting for its time. In addition to it, there is an option to make another gift - a tree with sakura, which would symbolize the flourishing and coming of spring. Master class "Sakura" - we make a flower for March 8 A very beautiful craft that is quite thematically suitable for our holiday on March 8 and the beginning of spring.
 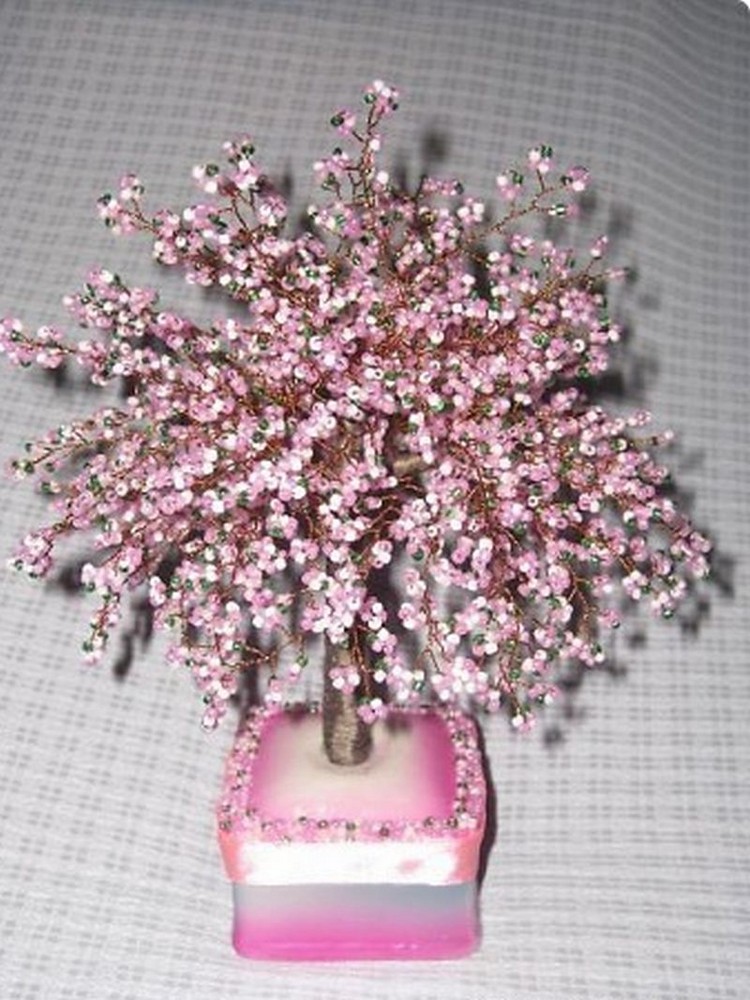 Sakura as a flower on March 8 with your own hands. Materials that will be needed in the work:
- Beads of several colors. In this work, we use light pink, dark pink and green colors. But in principle, we choose those shades that we like more.
- A wire with a diameter of 3 and 0.3 mm.
- Brown threads.
- Stand.
- Glue.
- Gypsum.
When all the necessary materials are ready, we proceed directly to the workflow. Working process:
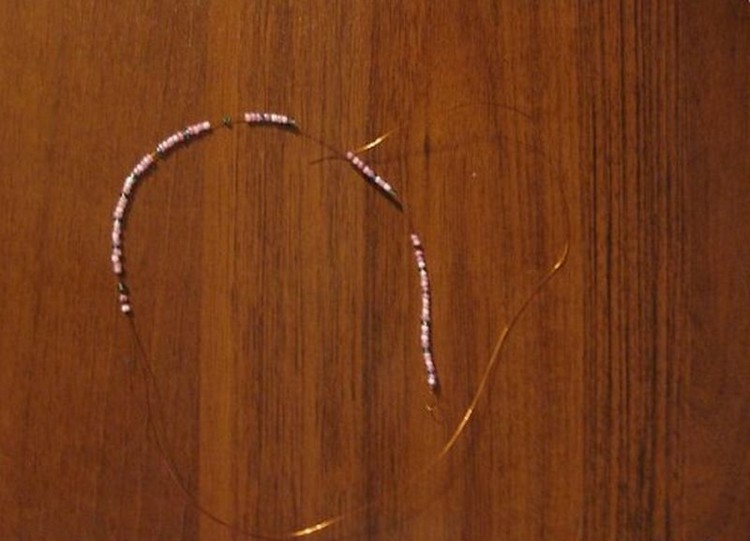 Fig. 1
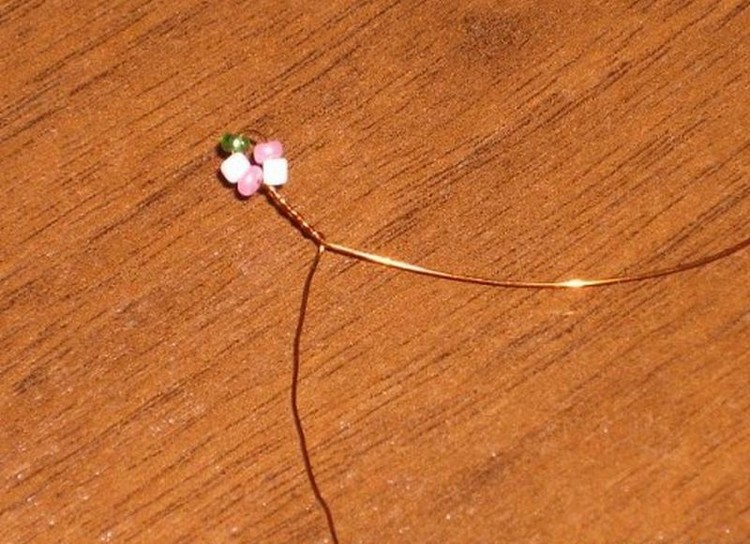 Fig.2
Fig.2
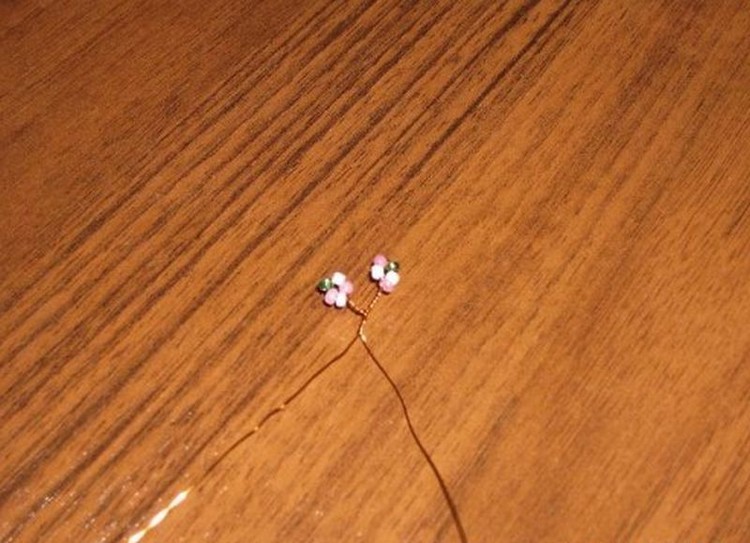 Figure 3
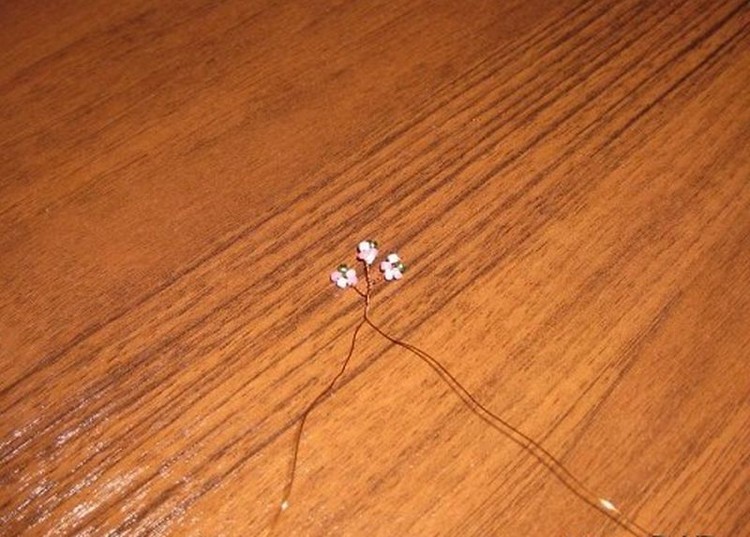 Fig. 4
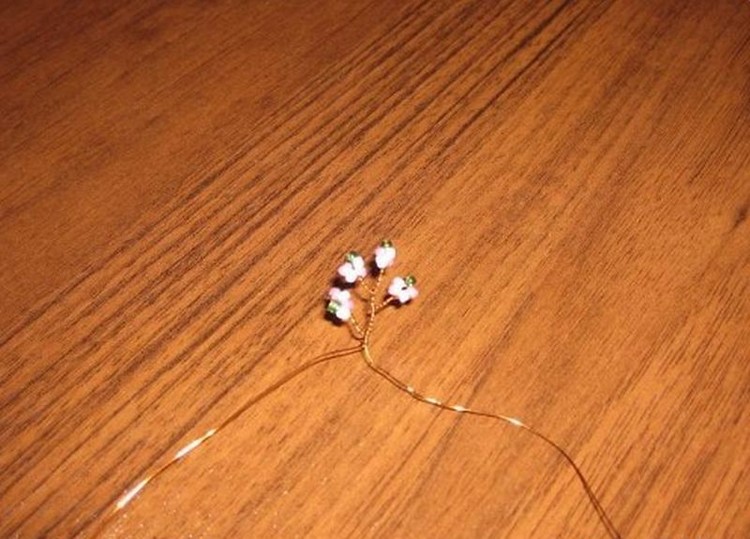 Figure 5
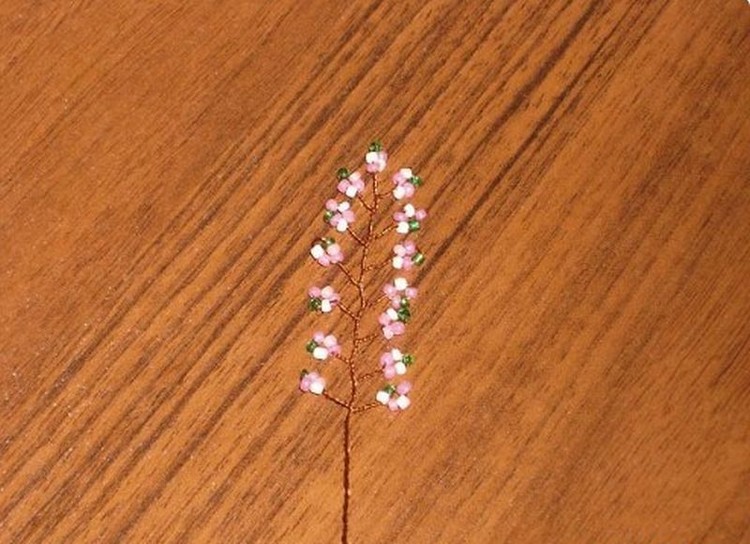 Fig.6
Fig.6
 Fig. 7
 Fig. 8
 Fig. 9
  Fig. 10
 Fig. 11 The gift for March 8 is ready. Congratulate your beloved women on the holiday, while giving a gift made by yourself with all your love. Happy holiday! We also recommend viewing:
Do you like the article? Share on social networks!
Comments
Related posts:
 Gift for March 8 from the child. Crafts for mom and grandmother own hands.
 A gift to the 8th of March with their own hands - a ladybug from a foam sponge with a photo and description.
 How to make an original gift by March 8, step-by-step photos and description of creating bouquets of flowers from sweets
 How to make a gift to March 8 with your own hands made of polymer clay, step-by-step photos of creating a set of bracelet, earrings and pendants
 Gifts for mom with their own hands, how to make a gift on March 8 with their own hands, advice and recommendations for making crafts with children.