
DIY hand-made coffee beans: dollar
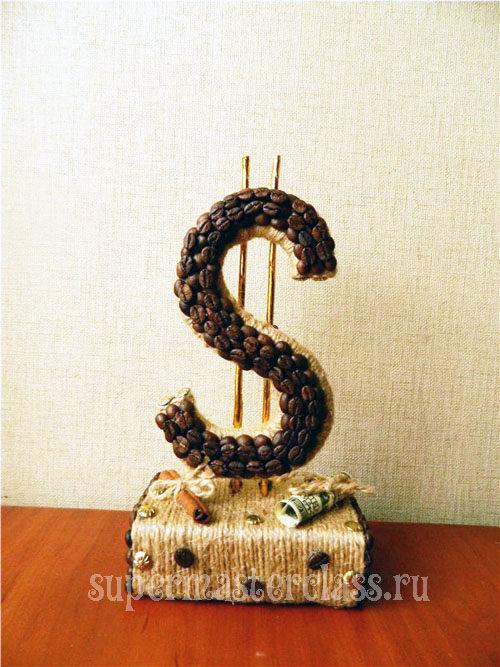 The use of coffee beans in the manufacture of handicraftsand souvenirs - a relatively young practice. An incomparable fragrance fills the room in which such a product is located, provides vigor and good mood to everyone in it. Another plus - helps to get rid of unpleasant odors in the room. Such products are expensive, but to make them yourself is not so difficult. Our hand-crafted coffee beans made in the form of a dollar badge will surely attract wealth to the house and become a pleasant and memorable gift to the person to whom you intend it.
To make such a craft, you will need:
paper or cardboard to create a pattern;thick cardboard; wire; golden ribbon; glue gun; Super glue; twine or twine; coffee beans; accessories for decoration; small cardboard box for stand; alabaster; cup and stick for breeding alabaster; small amount of water; foil.
Pattern for crafts from coffee beans
Let's make a template. The dollar icon in the size you need can be drawn by hand immediately on the cardboard for the base of the souvenir, or you can use the Internet, find a suitable image and print it, and only then transfer the image to the cardboard.
DIY hand-made coffee beans: job description
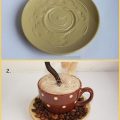
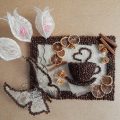
one. Dollar icon cut out of cardboard in two or three copies: we glue all the layers together. Between them we place a wire, curved along the contour or center of our pattern. We glue the layers between each other, placing the wire between the layers: this will provide the entire structure with maximum rigidity - and therefore durability. It is appropriate to use superglue here, although if you are more comfortable with a glue gun, feel free to use it. 2. Take the splits and tightly wrap the resulting base. The beginning and end of the rope is fixed with a glue gun. 3. We make two vertical sticks - mandatory components of the construction of the dollar icon. We made them from dense, folded wire, and then wrapped it with a golden ribbon, which florists usually use. The edges of the tape are also fastened with a glue gun; sticks put aside. 4. Now we decorate our craft with coffee beans. They need to be glued on the front side of the product in two layers. The first layer in width, in our case, takes three seeds - you determine the right number of rows depending on the size of your workpiece. The first layer of grain attached convex part out. The second layer is mounted on the first in two rows and flat side out. We glue each grain with a glue gun, while ensuring that there is no sloppy "cobweb". We work fast. 6. Making a stand. You can use any suitable box for it. In order to give it extra rigidity, we lay a wire around the perimeter, attaching it with hot glue. Note the place where the dollar sticks will be inserted, and we pierce these places in the box. We crumple the foil - we need two or four lumps that would fit in a box, filling it up to about a third. At the opposite end of the box immediately put one or two lumps. Dilute alabaster and quickly pour in (spoon out) it inside the box, over the foil, and immediately insert the sticks so that their ends fall into the liquid alabaster. Lay the remaining space in the box with crumpled foil; close the box and seal it. Stable stand for souvenir ready. 7. Decorate the stand. Wrap it with twine; the ends are spread with coffee beans as described above. 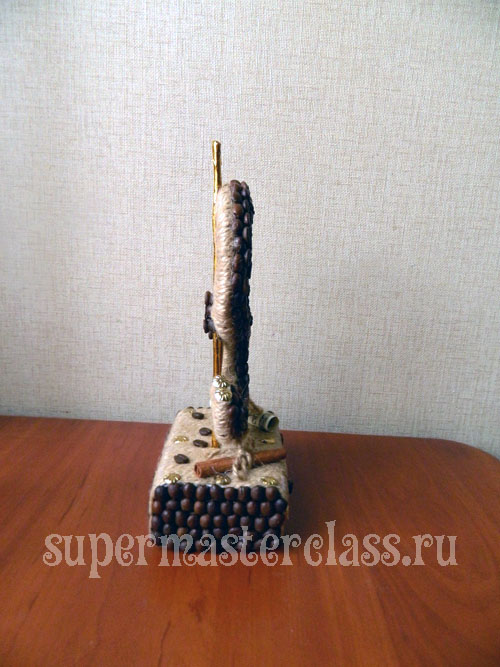 We decorate it by looking: add decorative coins, to enhance the aroma - cinnamon stick, attach a souvenir bill twisted into a tube (and if this is a gift, then stick a string, and attach a real bill and fix it with ties).
 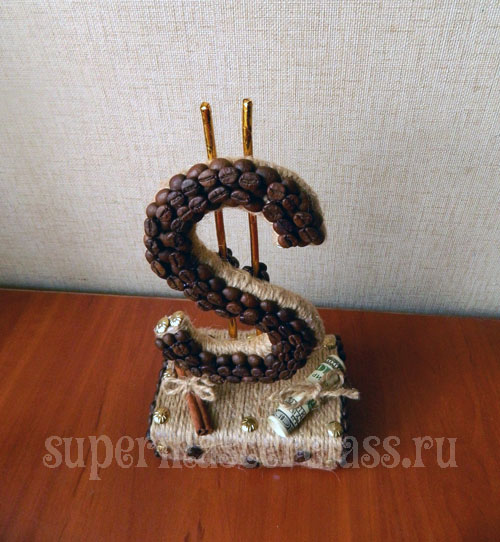 8. The last step - paste the dollar icon to the chopsticks; place the sticking also with coffee beans.
  Our souvenir dollar - a coffee craft made by yourself - ready! And in our master class, you can easily repeat this work.
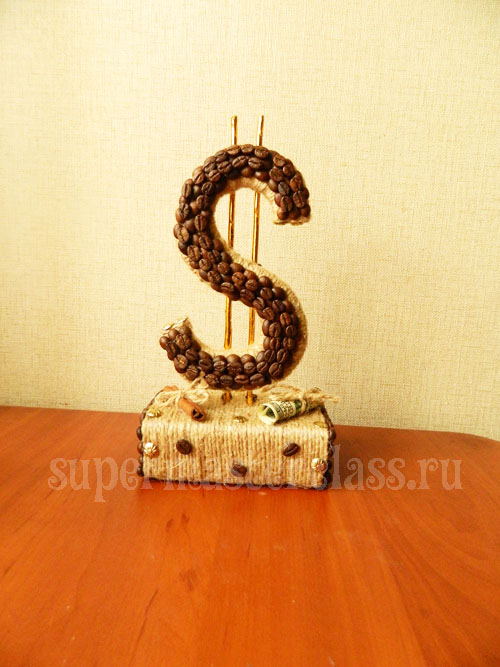
 Fans of invigorating fragrances are invited to see a master class on making. Irina Usovich specifically for the site Previous article: Next article:
Comments
Related posts:
 Master-class of manufacturing by own hands of an alternative New Year tree - crafts of Christmas trees from coffee beans.
Coffee topiary with own hands - an original sap from coffee beans, a detailed master-class with a phased photo.
Master-class of manufacturing by own hands of an alternative New Year tree - crafts of Christmas trees from coffee beans.
Coffee topiary with own hands - an original sap from coffee beans, a detailed master-class with a phased photo.
 How to make a topiary from coffee beans by your own hands, step-by-step photos, detailed instructions, tips and advice on creating coffee trees of various shapes
 Create fragrant crafts from coffee beans with your own hands / Toys with own hands, patterns, video, MK
 Panel of coffee beans - crafts and homemade articles with their own hands