
DIY wooden hanger (35 photos)
How to make a wooden hanger with your own hands? Very simple, we will tell you how. It would seem that such a hanger in the house? Almost no one notices her, although this is quite a weighty and functional subject. You will be surprised how you can improve it, and even do it yourself. No special skills are required there, so anyone can do it.  Do-it-yourself wooden hangera clothes hanger always looks solid in the interior of the house and is an essential element of it. Often, a hanger in the hallway is used when the room is small and there is no way to put a closet in it. There are a fairly large number of different options for hangers made of wood, in this review we have collected the most original of them.
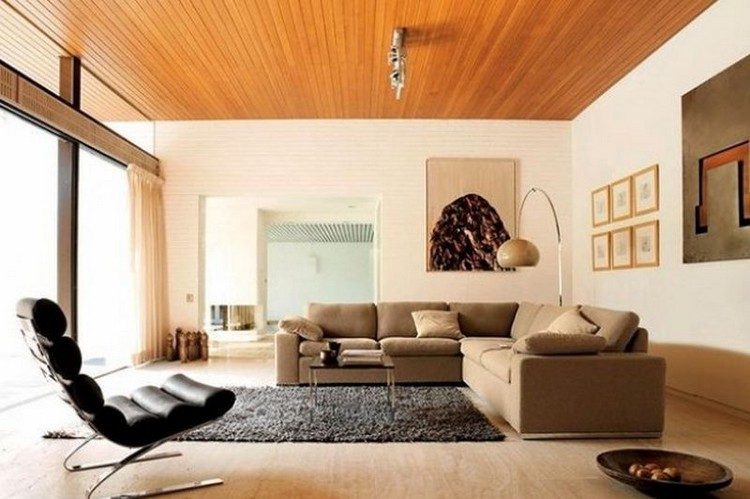

 Content
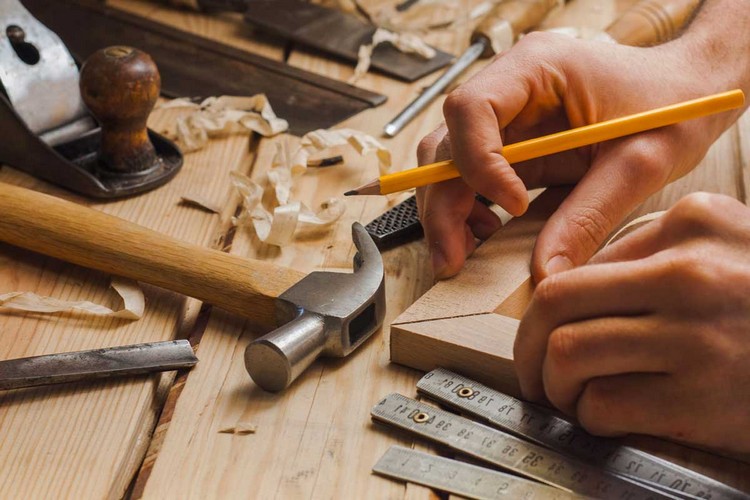
Materials for work: what tree to make a hanger from
Depending on the type of hangers, we mayneed different materials to work. There is a general improvised list that will be quite useful for any of the work in this category. The arsenal of tools looks something like this:
- The material from which the hanger is made.
- Self tapping.
- Screwdriver.
- Saw-grinder, with which you can cut the necessary parts of the hanger.
- The expansion bolt shield if the design is wall.
- Screwdriver or drill (best electric).
- Level, tape measure, pencil.
- Sandpaper to clean the surface.
- Hooks
 Materials for work - we make a hanger from a tree with our own hands
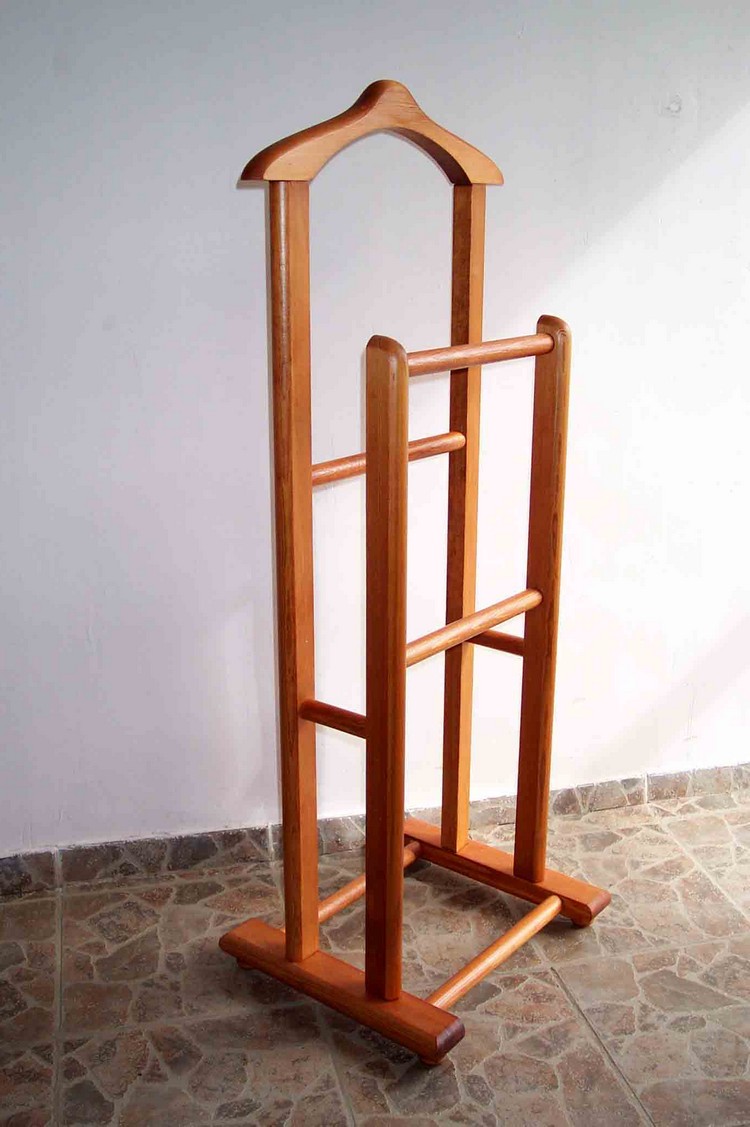
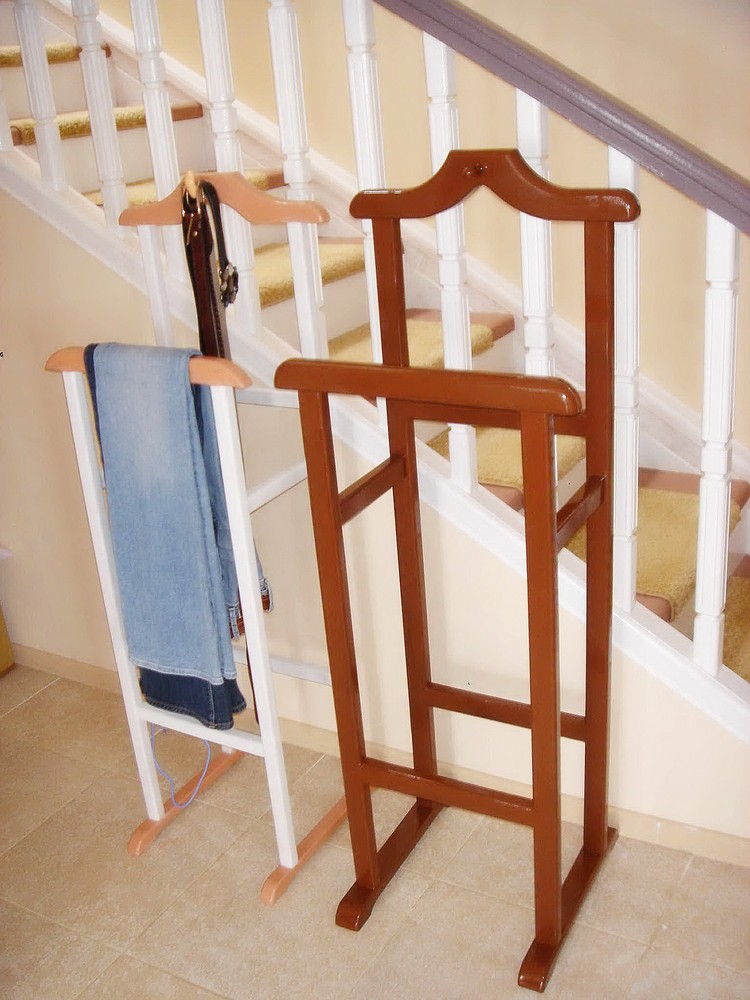
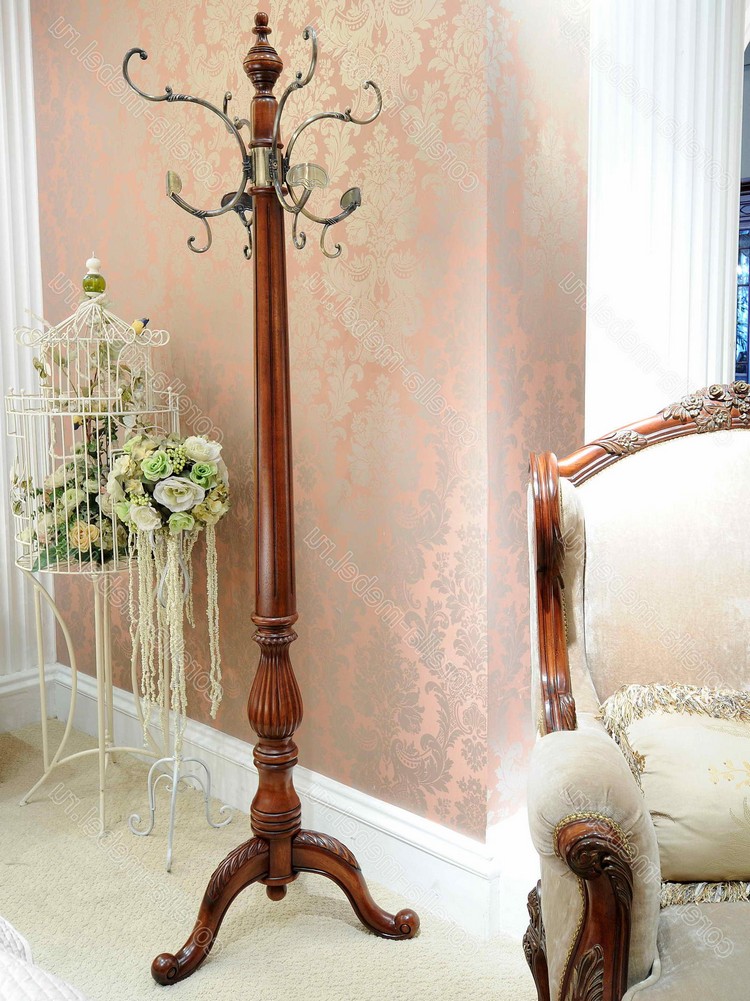
DIY wooden clothes rack
Wooden things have always been quality anddurable, as well as useful in everyday life. This also applies to hangers, so we will now try to build a wooden floor hanger with our own hands. This work will not take us much time. It will take about 20 free minutes, as well as all the necessary materials. 


 To create a floor hanger made of wood, we need:
- Six knees (copper).
- Four tees (copper).
- Four plugs (must have the same input diameter).
- A wooden round stick of the same diameter. The total length should be 5.3 meters, cut into pieces: 2 pieces of 125 cm, two more of 70 cm, 4 pieces of 20 cm, and the last 6 of 10 centimeters each.
The progress is very simple. Following the drawing plan, we must collect all the structural elements. To facilitate the task, they are marked in the figure with letters. 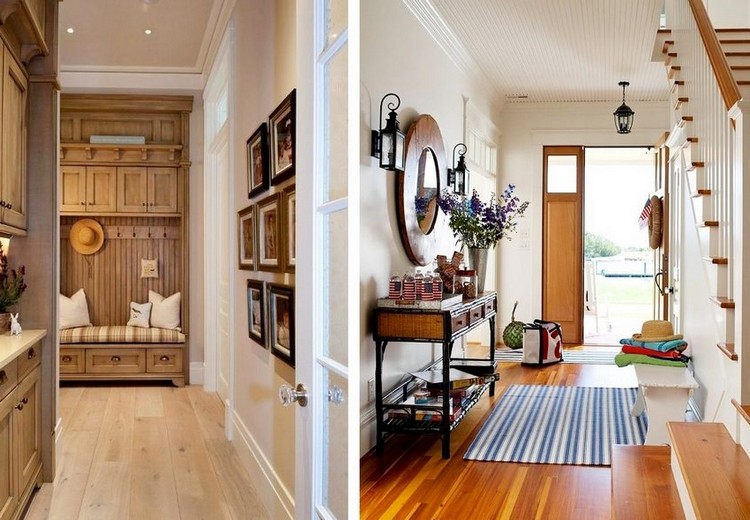 Drawing - scheme of a wooden hanger
- "A" - 125cm.
- "B" - 70cm.
- "C" - 20cm.
- "D" - 10 cm.
To further fix our floorhanger, use wood glue. Copper inserts will look interesting, which on the one hand will attract attention, and on the other, will be quite robust in operation.
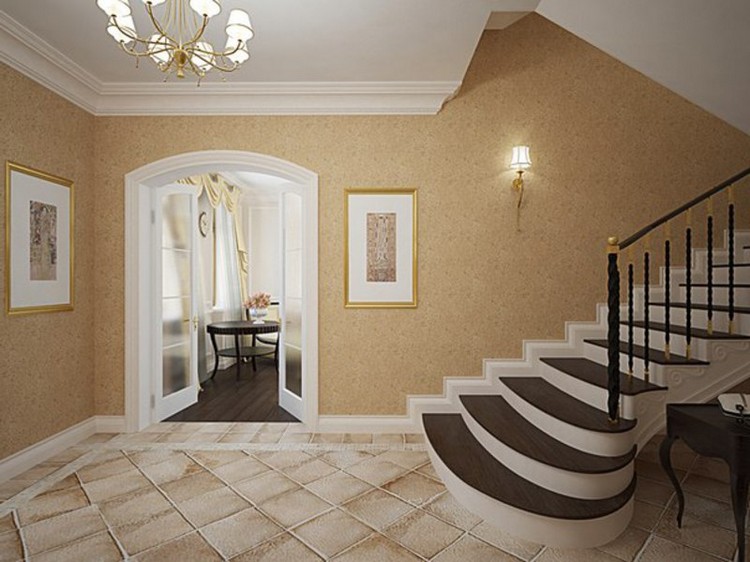
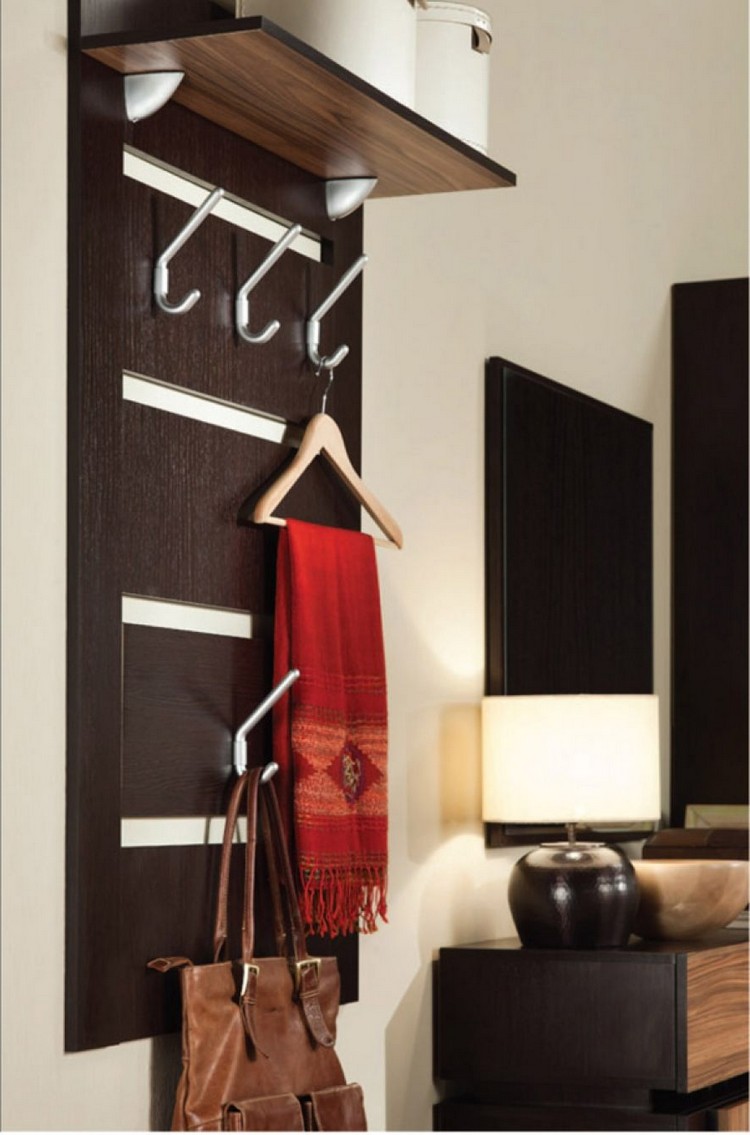
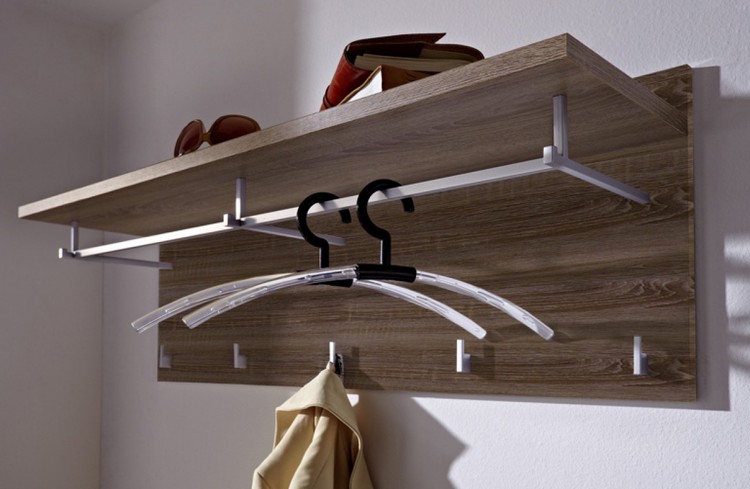
DIY wooden wall hanger
An integral part of any corridor, as well asa subject that is simply necessary in every apartment. You can build a wall hanger yourself using all the tools you need. The material can be different, of course, wood is best. In the cheaper version, you can use chipboard. 

 Of the tools that we will definitely need are:
- Screwdriver or screwdriver.
- Drill.
- The set has verified.
- Roulette with a pencil.
- Hooks
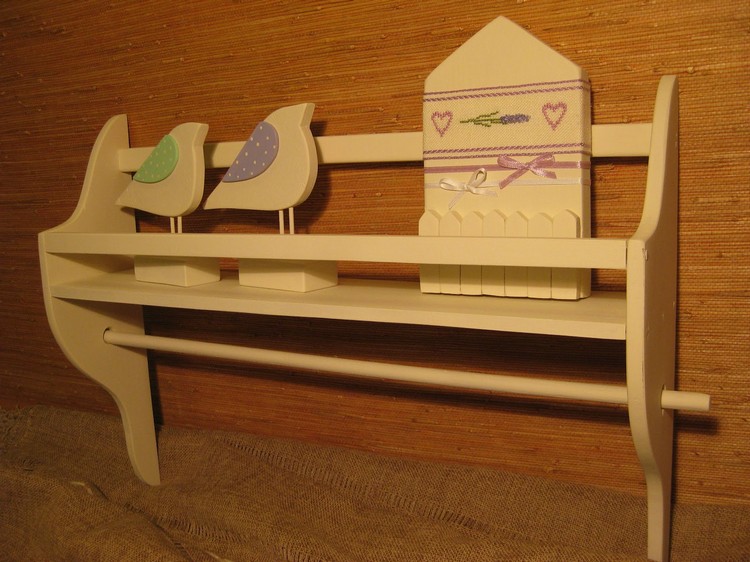
 The necessary materials for a wall hanger made of woodIt is done very simply - it is enough to measure the required distance and drill hooks to the board, and then hang the finished hanger on the wall. But there are more interesting options for such crafts.
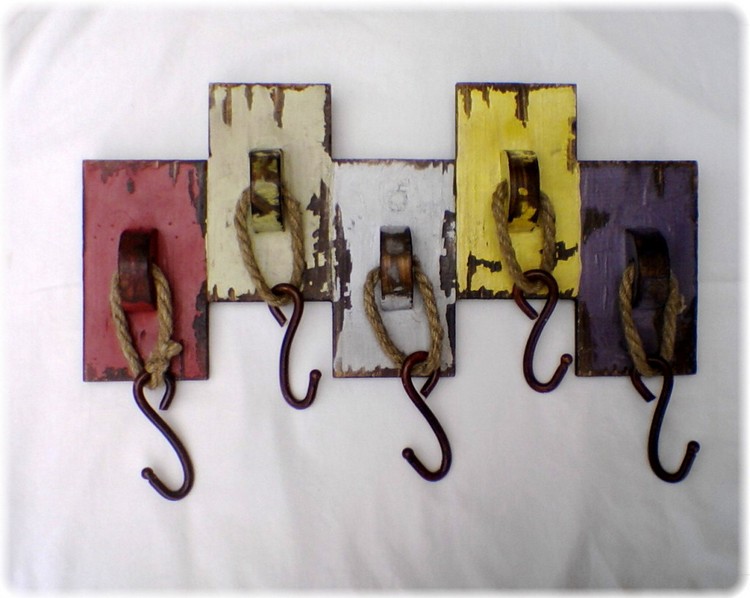
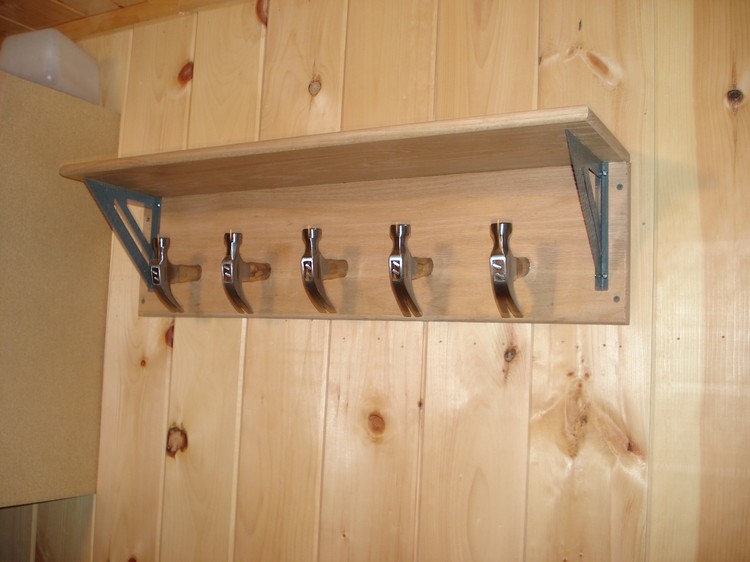
Hammer wall hanger
In this article we need everything the same as inthe previous version, only instead of hooks we will use old hammers, from which it will be necessary to cut the handle, leaving a short end, which we will attach to the board. Progress:
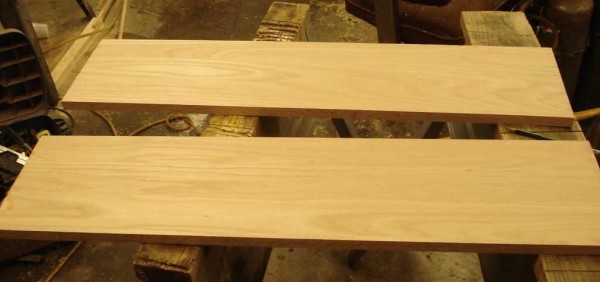 We prepare a board for a hanger
  We prepare materials for work
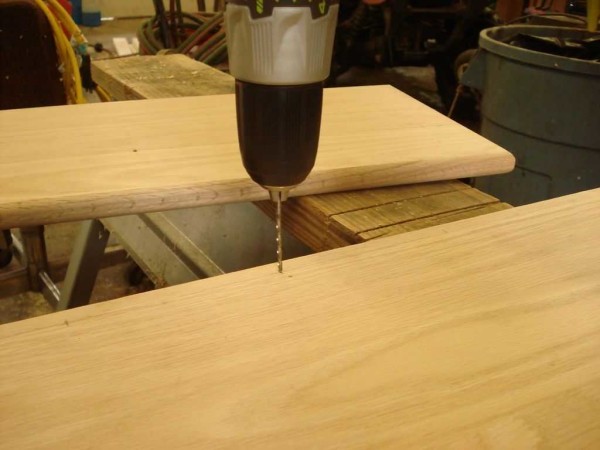 We drill holes in the board. It is important to note that the drillshould be approximately 1-2 millimeters less for the diameter of the self-tapping. Of course, it is possible not to make preliminary holes, but this threatens us with cracking the surface when screwed in, and then the work would go much longer and more complicated
  We drill holes in the hammer hook
-
- Measure the same distance on both sides, attach the bracket and mark the required holes for the fasteners.
 We measure and put the necessary marks
- Drill and install the bracket.
- The final part will be fixing the structure to the wall. Here the technique will be similar - mark the place and drill a hole. The drill must be the same size as the dowel.
 Ready hanger on the wall made of wood and hammers. The approximate time period for which it is really possible to make a wall hanger for about 2-3 hours (this together with the shelf). Read also:
Extraordinary ideas for a wooden hanger
Floor and wall hangers are considered a classic, but when you want something extraordinary or creative, you can consider the following design options.
-
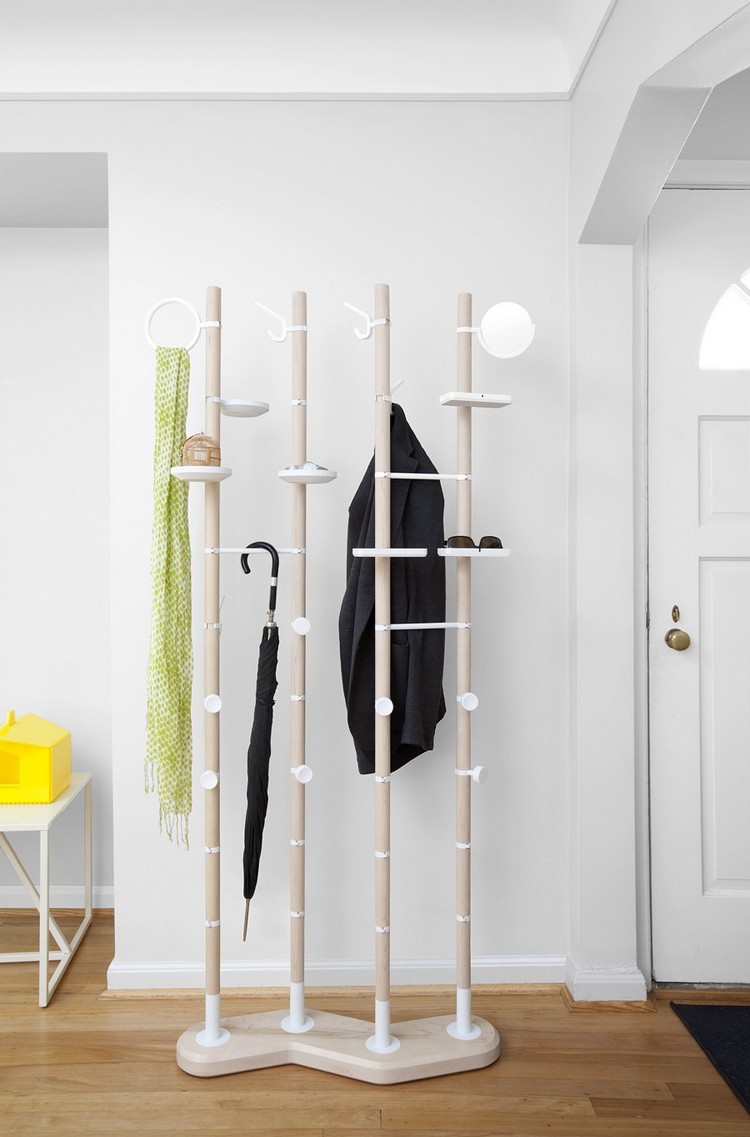
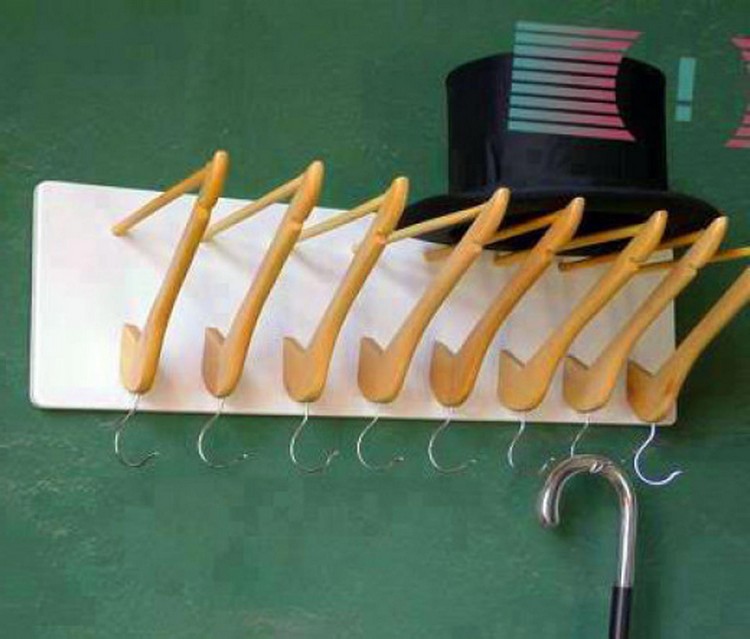
- A collection of things that is similar to an exhibition ofworld famous series with Kerry Bradshaw. The idea is that getting into the corridor, you do not rummage for a long time what hat or scarf to wear today, but simply choose from the hung things.
 A wall hanger made of wood and a bicycle handlebar andsaddles In order to translate the idea into reality, you need a free wall in the corridor and ordinary hooks. This will become not only a kind of interior design of the corridor, but also an extraordinary approach to solving the issue of hangers.
 - With the help of various types of hooks, you can focus on a particular style of interior, whether it be a classic or a modern option.
- A collection of things that is similar to an exhibition ofworld famous series with Kerry Bradshaw. The idea is that getting into the corridor, you do not rummage for a long time what hat or scarf to wear today, but simply choose from the hung things.
 Chess Hooks for Wooden Hanger
-
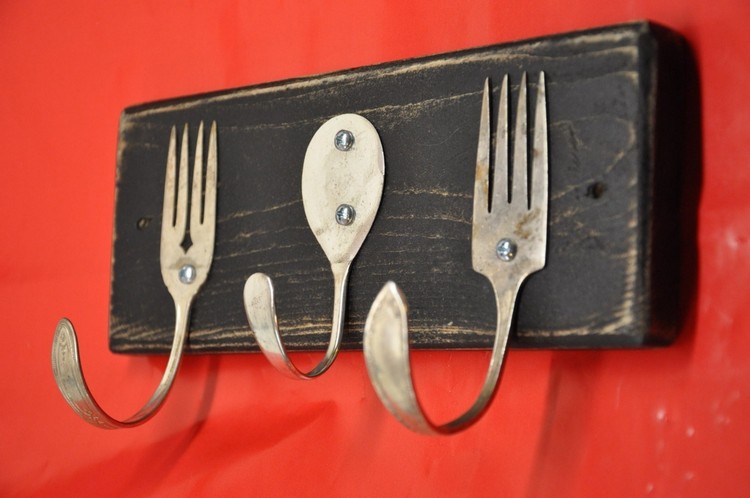
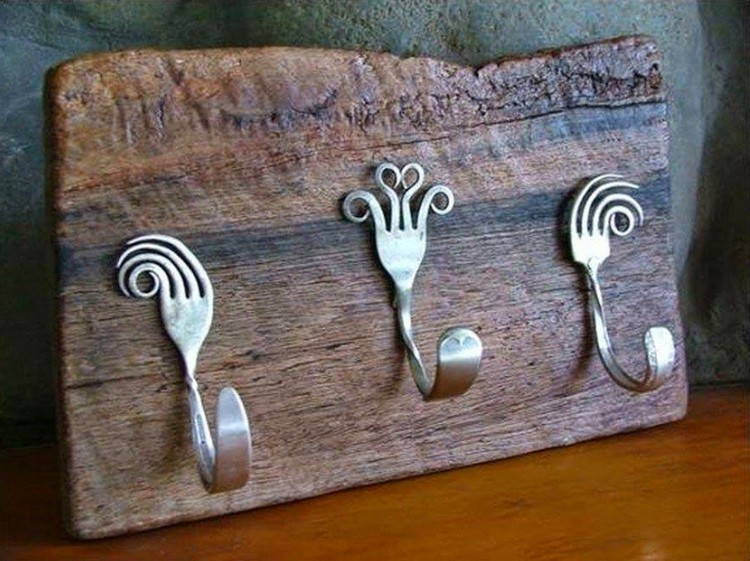
- Do not believe me, but the hangers can be the most,seemingly inappropriate items. A very unusual approach would be to use the old pitchfork or rake in this business, beating them to the desired topic. It is only worthwhile to close the sharp tips with them so that neither you nor your guests get hurt.
- Fans of hiking and traveling can use old skis or oars as hangers.
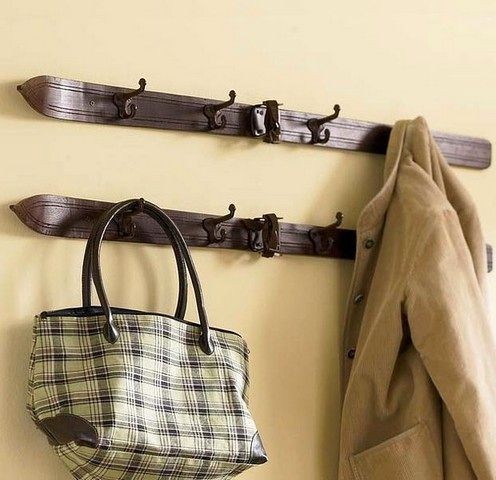 DIY ski hanger
-
- An original substitute for ordinary hooks will be the old chess pieces.
- In a vintage style to create a hanger you canuse old doors, possibly even with nails instead of hooks. Of course, you will first need to process the surface, but imagine the idea itself is already in progress. It’s quite shocking, especially if you work on small details.
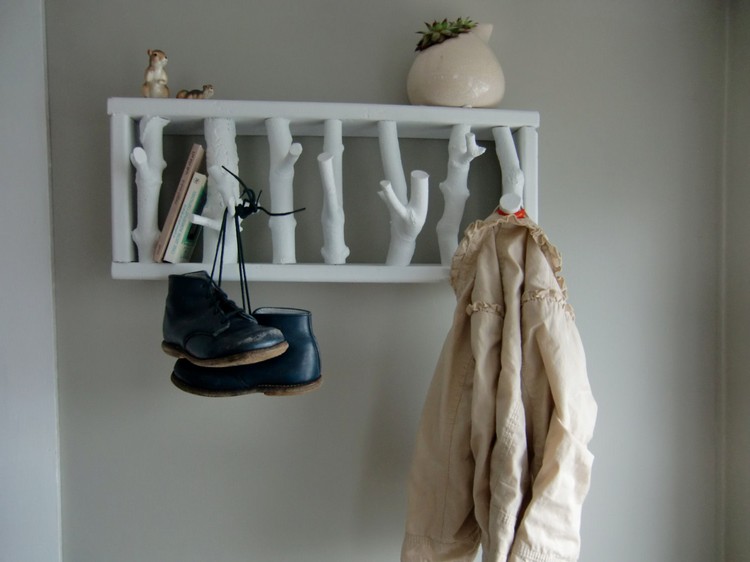
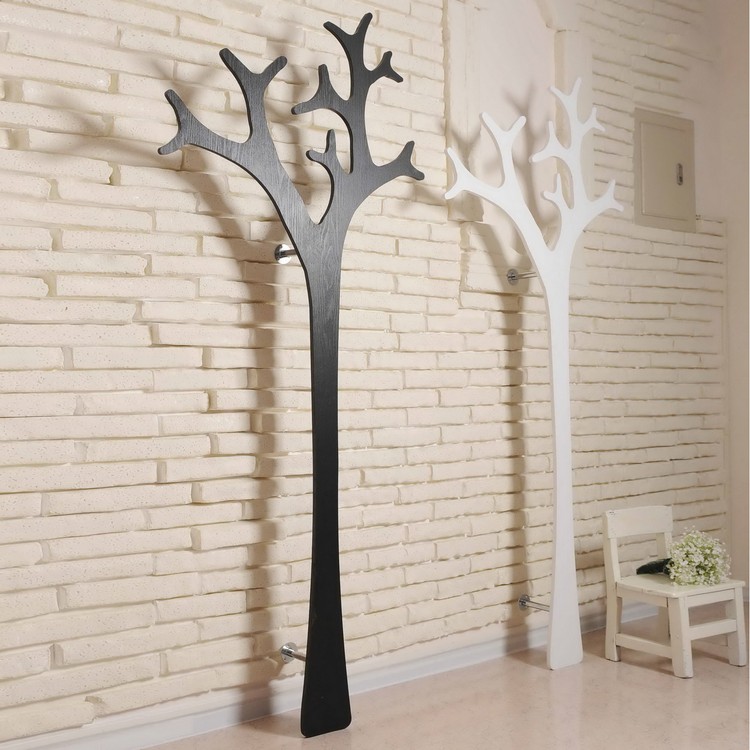
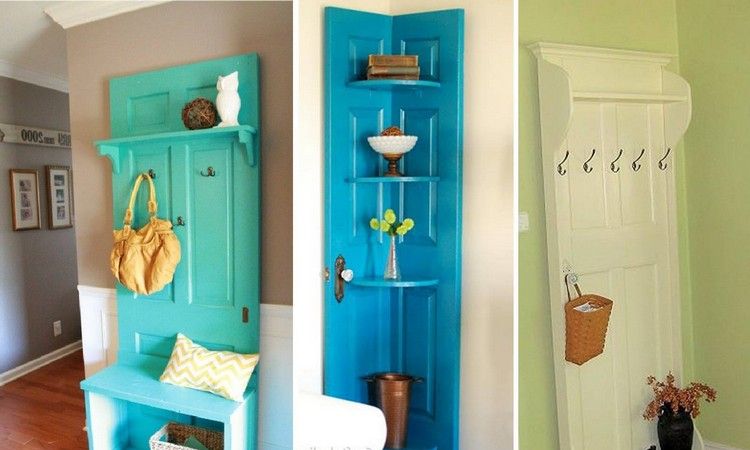 Wooden hanger from old doors. In this idea, instead of doors, you can also use an old fence.
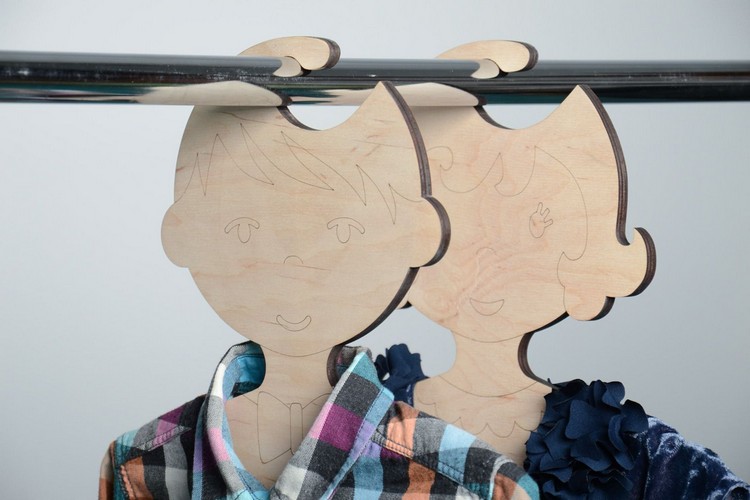
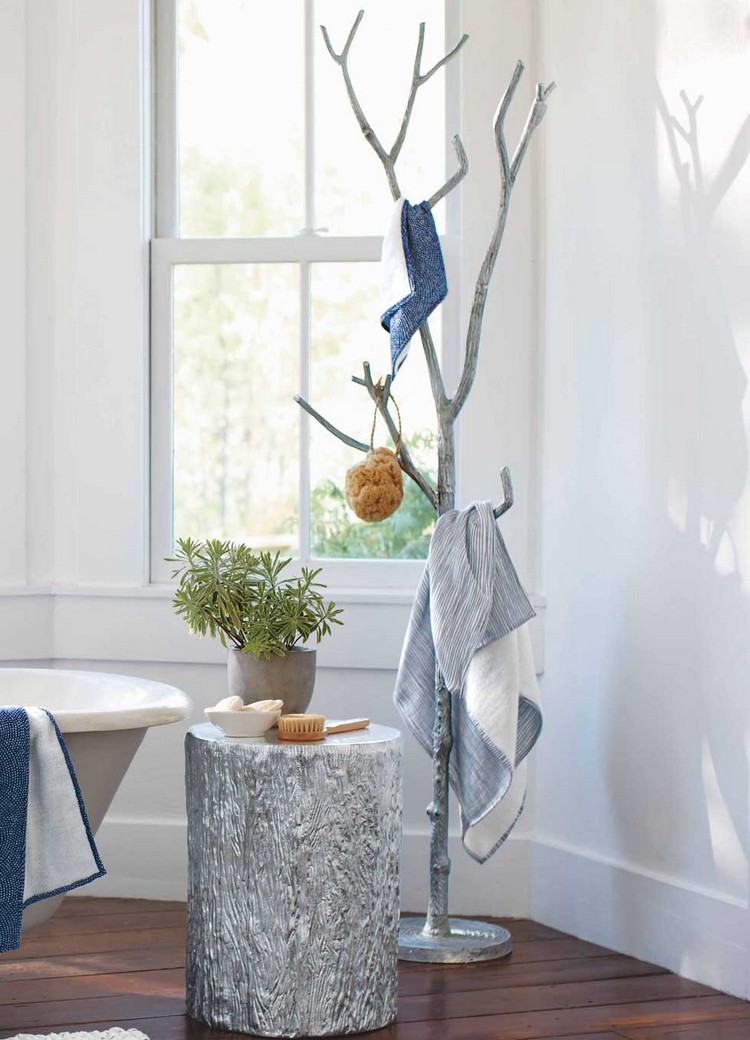
 - The tree motif on which hooks for things are located has become popular today. It can be sawn out of a piece of wood, or simply painted on the wall, placing hooks on the branches.
 Hanger - made of ordinary wood


Master class "Hanger made of real wood"
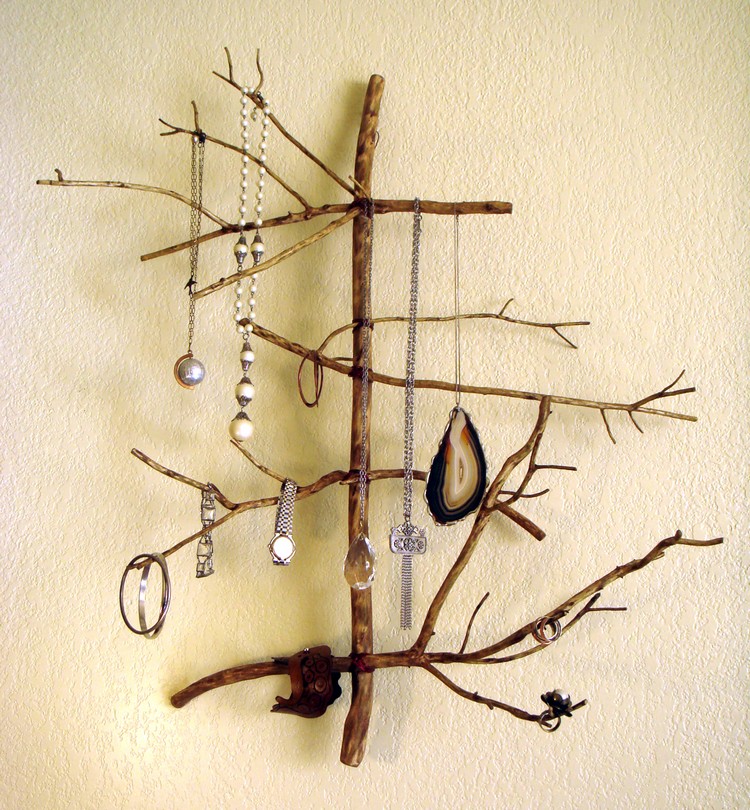
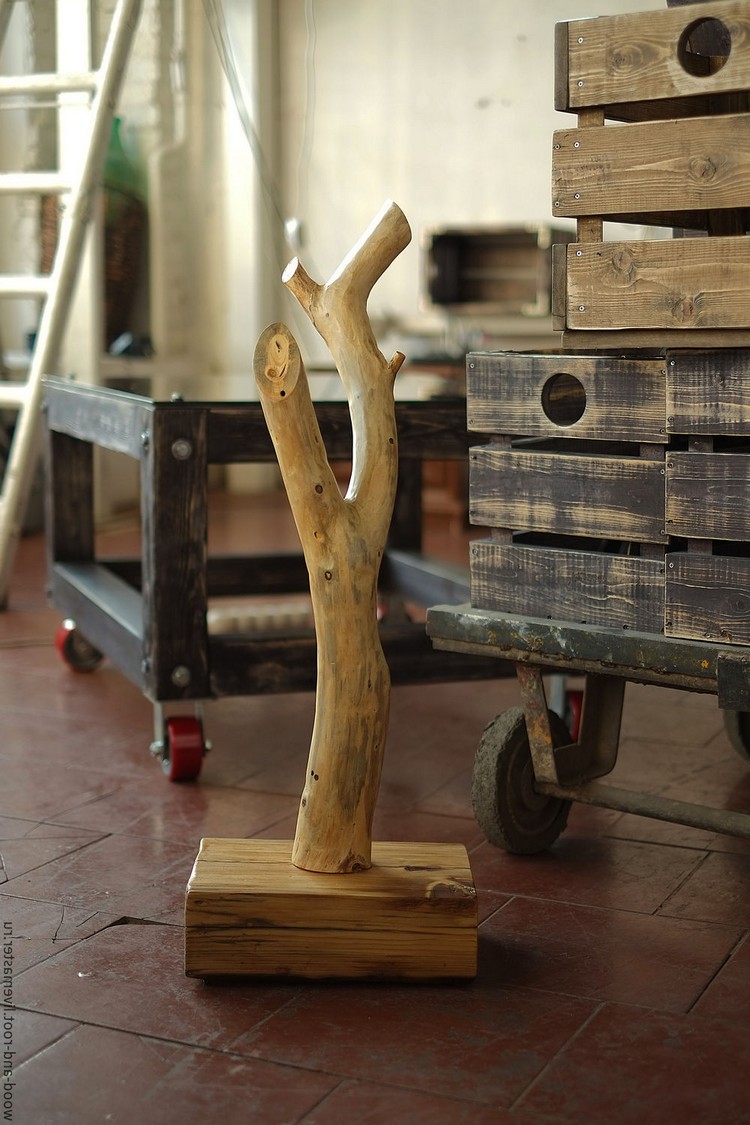
The word "tree" is not just meantwooden material (board), namely pieces of real natural wood. Oak chocks are best suited for this work, perhaps even with knots that will serve perfectly instead of banal hooks. Progress:

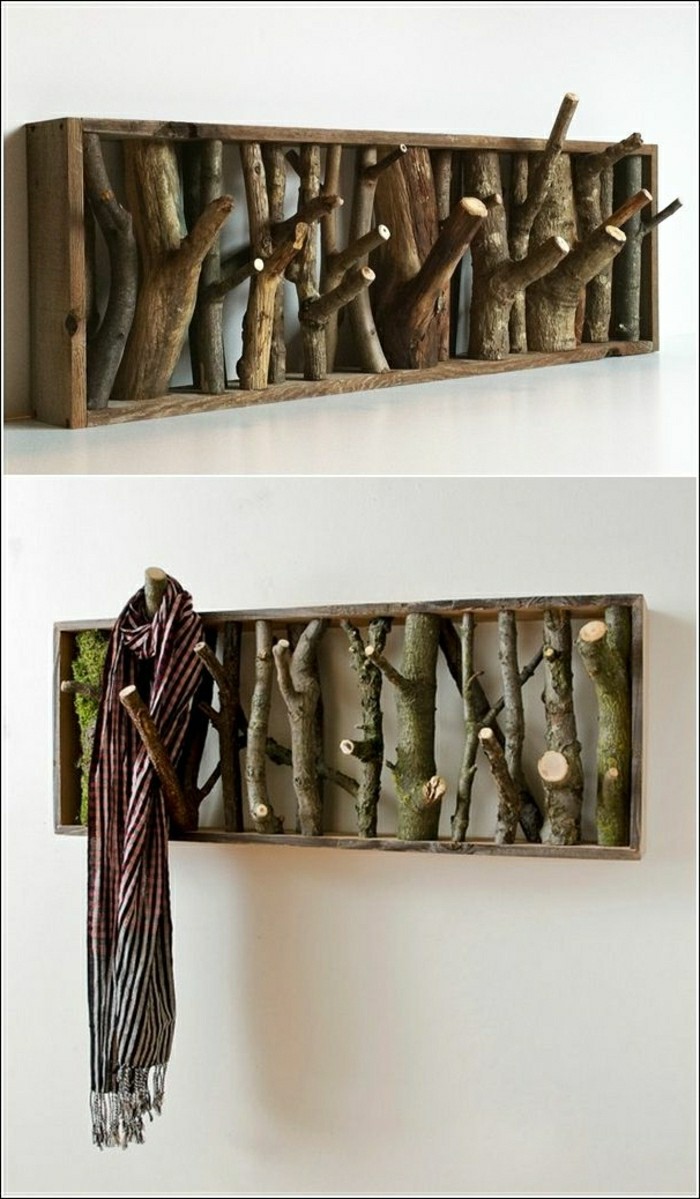


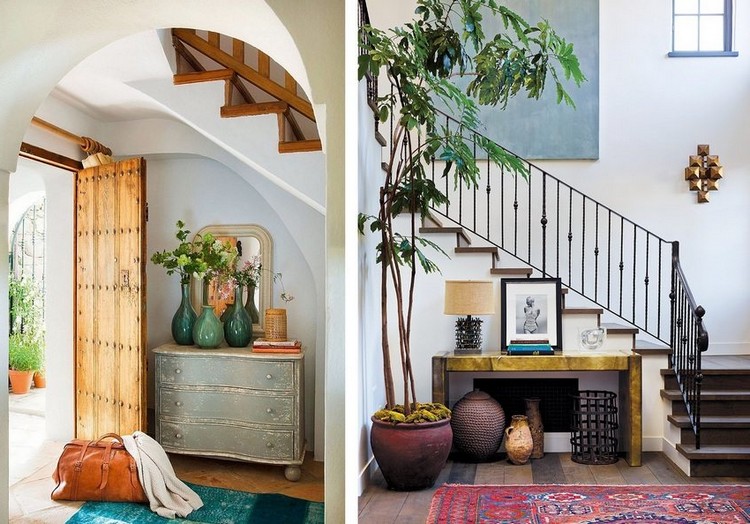
The hanger will certainly attract attention, as well as brighten up the boring atmosphere of the room. Most often, this option is placed in a country house or in the country, less often in apartments or mansions.
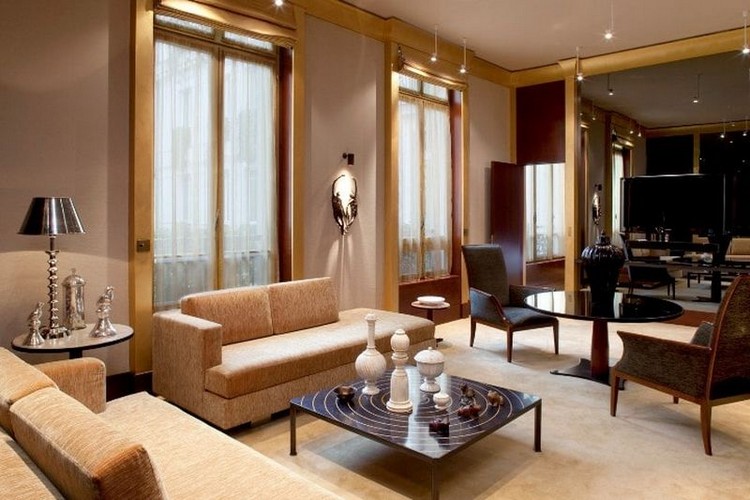
Photo of wooden hangers in the interior
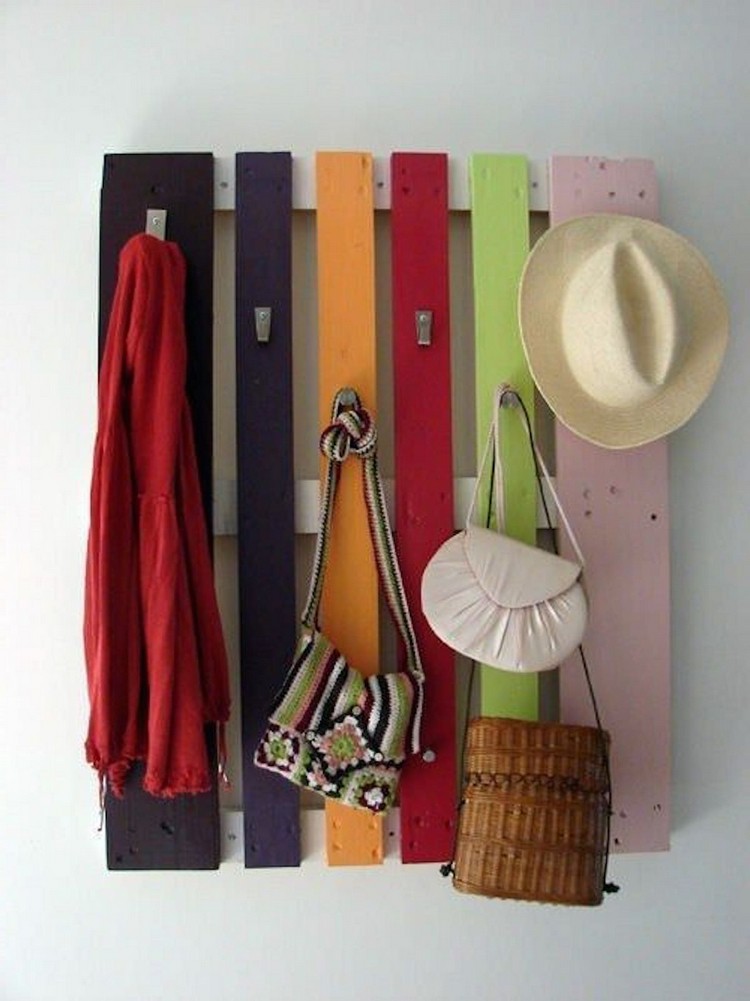
As you can see, you can make a wooden wallor a floor hanger - for clothes or jewelry, for children and adults, for a dressing room or hallway. It could be either a classic or some kind of unusual hanger made of wood - from skis, hammers, old things, a fence or doors, from pallets and so on. The main thing is to connect imagination, but for inspiration I suggest looking at the photos of various wooden hangers that you can do with your own hands. 


 It can be concluded that the options for hangers, andThere are also a lot of ideas for their implementation, and each of them is unique in its own way. Therefore, choose which of the ideas is best suited to your home and start making your own masterpiece. This will help you drawings and improvised materials. The main thing is to have an original idea and a mood to implement it. We also recommend viewing:
Do you like the article? Share on social networks!