Make the floor in the house with your own hands is very easy. It takes a little patience to carefully study the step-by-step instructions that you suggested with the photo
We make by our own hands the floor of a private house by one of the3 ways Life in its own home has a number of unconditional positive moments. However, many, frightened by the need for year-round care, not only behind the house, but behind the backyard, make a choice in favor of apartment buildings. Here, these problems must be solved by public utilities, who do not always do it qualitatively. In a private house on the contrary, all difficulties associated with the operation of the building are taken by the owner of the house. Realizing this, not many are ready to take up the construction of their future home. The lack of building education or special skills should not become a hindrance, but it is necessary to understand the seriousness and responsibility of this step. You must correctly design and execute each stage of construction. Below is told about how to make the most accurate in the house floor. It is important to understand that in this case it is not a decorative covering, but the basis of the floor, the features of its hydro and thermal insulation. Stage number 1. We choose the material of the foundation of the future floor. The undisputed leader here, of course, is wood. Influence on the given situation was rendered not only by centuries-old traditions, but also practicality of the wood itself. The positive aspects of this material can be briefly described as follows: the thermal conductivity, ecological compatibility, ease of processing and installation, maintainability, relative longevity are rather low. 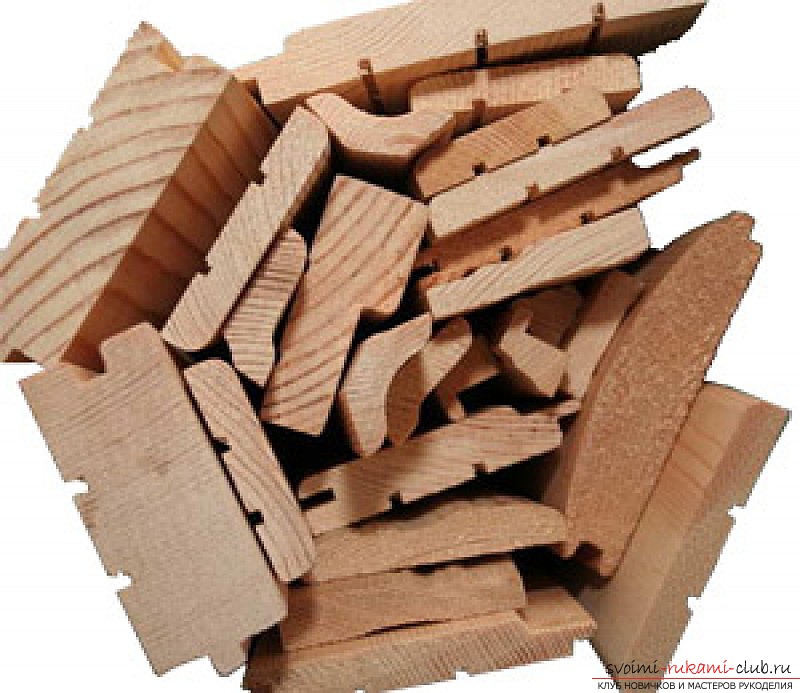 If your choice fell on this particular material,it is necessary to choose the type of tree. Otherwise, you risk getting a cold, short-lived and fragile sex. In the presence of prosperity, it is preferable to arrange an oak floor or an ash tree, because it is particularly strong breeds. Coniferous breeds proved to be well: fir, spruce, larch, cedar, pine. Logs, boards and floor boards must be chosen only dry, with a moisture content of no more than 10-12%. If this condition is not met, some time later some of the sex may be taken. Realizing all the positive qualities of the wooden floor, some builders still choose the concrete floor. The main criterion of this choice is its greater durability in comparison with the wooden floor. This option is also quite good, but when working with this material it is necessary to pay special attention to the quality of concrete and the technology of works associated with its pouring. Stage number 2. The choice of one of the options for the construction of the floor. At this stage, you need to determine the purpose for which you build a house. A full-fledged residential building requires a solid floor with good thermal insulation, while for a country house structure a single floor is suitable. 1. Single wooden floor. One of the simplest versions of a floor device, which does not require special qualifications and is quite user-friendly. Apply it preferably when your building is located in the warm climate zone, or in the summer houses.
 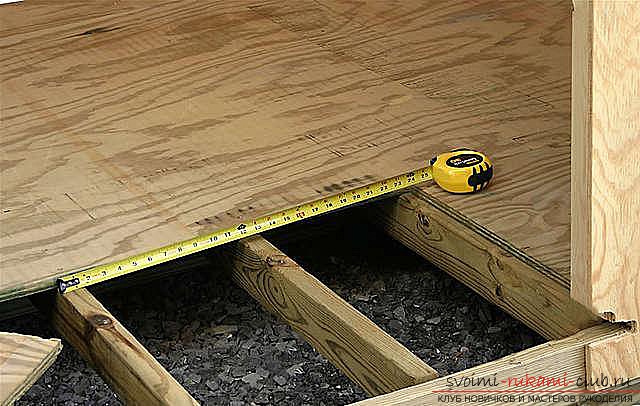 If you have plans to hide the beams of the floor inwalls, then do not forget to take into account that the width between the beams is usually extremely large for laying boards. In this case, you will have to resort to laying the log. To lay the floor on the supporting pillars, you can not use the logs, placing the beams on the desired width from each other. When calculating the distance between logs, account should be taken of the thickness of the boards. A space of 60-70 cm between the lags is permissible with a board thickness of 38 millimeters. If this figure is 28 millimeters, the logs are laid on a shorter distance. 2. Double wooden floor. This option is more expensive at the construction stage, but more economical when operating a house, allowing to reduce heat losses. The lower layer is best made of inexpensive coniferous species of wood, and unedged board and even slabs are suitable. It is recommended to place some heat insulator in the space between the upper and lower layers. To do this, use expanded clay or independently make a mixture of straw (or sawdust) and clay. Suitable and more modern insulation, for example, polystyrene. Finish (upper) layer of the floor is preferable to make of a pile of boards.
 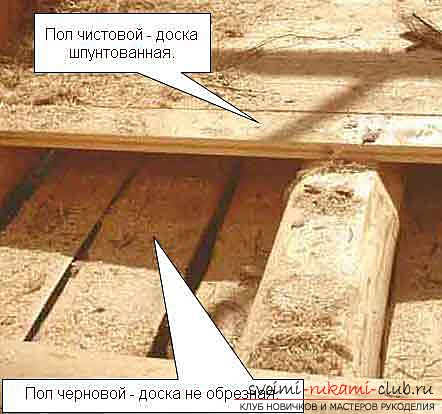 Stage number 3. The floor is made of concrete. Pouring concrete floor in the house can be conditionally divided into several stages. First, we do the markup. The easiest way to do this is to make a laser level. It is necessary to put it at the bottom of the door opening and make markings on the walls. This will become a level for our gender. In the markings made on the walls in the center of the room, we hammer nails and pull ropes to make the level markings. Then start preparing the gravel, which will be a good thermal insulation for our floor. It is necessary to level the soil and remove the debris from it. Then we kill the pins, which should be below the level of the planned screed of concrete by 10 centimeters. Start making a pile from the wall that is opposite the door. After the entire area of the room is covered, gravel should be leveled, flush with the pins, which then need to be pulled out. Next you need to fall asleep and tamp the sand layer, then - all to smooth. An important role is played by waterproofing, and in the house floor it is customary to protect it from moisture by a polyethylene film, the thickness of which is at least 250 microns. So, we came to the very fill.
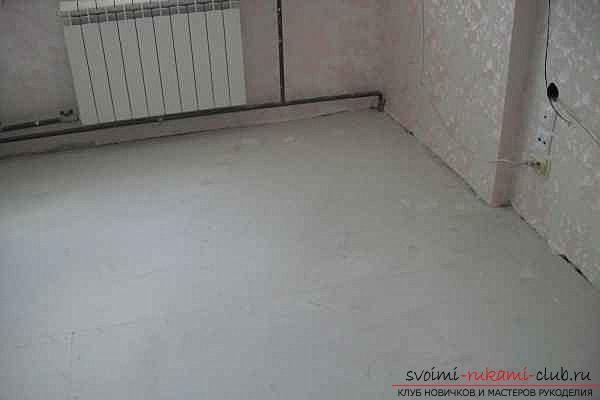
 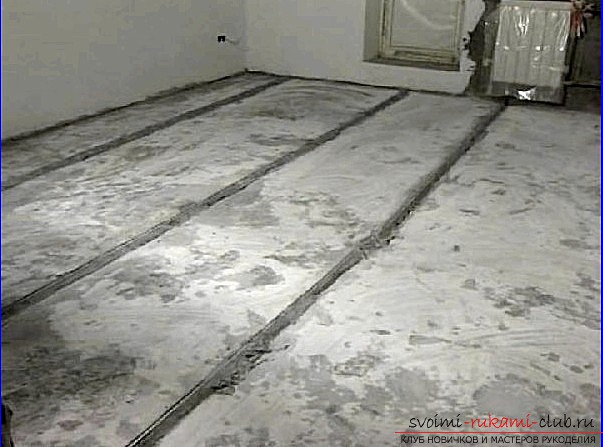 First you need to put the wooden levelReiki-beacons in meters and a half from each other. You need to install it so that the rake touches the top edge of the rope, which we stretched before that, and after that we can clean up. Starting from the far wall, the area between the two slats is poured with concrete, leveling it, removing excess. Please note that for high-quality waterproofing it is necessary that polyethylene for 10-15 centimeters go to the walls. If you use separate pieces of this material under the pouring of concrete, you must carefully join the joint line between them with adhesive tape. Fill the concrete floor with a base of expanded clay. Straight rake, which along the length - a little more than the indentation between the guides, we level our fill. Once the concrete has dried a little, you need to remove the slats and fill them with voids, leveling the irregularities. Cover the floor with a polyethylene film, leaving in this state for a month. We advise, several times a week, taking off the film, sprinkle the concrete with water. This will make the concrete extremely durable. Thus, our floor in the house with our own hands is ready. And remember that, regardless of the one you choosefloor equipment, you need to follow instructions and technology without sacrificing materials. If the work on the installation of the floor is poor, then even expensive flooring can soon deteriorate.
Comments
Related posts:
 To mold your own flowers from polymer clay is not difficult. To do this, it is enough to carefully study the recommendations given in our master class with a photo
 To give your mothers an original bouquet made by oneself, it's enough to carefully study our master class with a photo
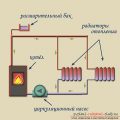 Make heating private homes with their own hands can anyone who carefully examine the recommendations posted in this article with photos.
 Make a simple dress pattern for a girl with her own hands, using a step-by-step instruction with a photo and description
 Make a pattern of the carnival costume of Jack Sparrow with your own hands, using a step-by-step instruction with photo and description.