
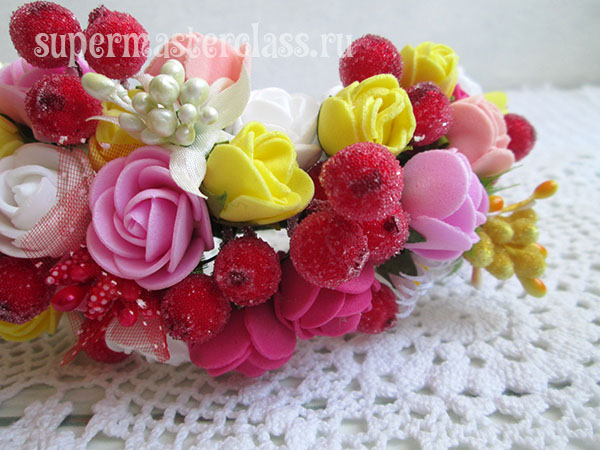
Do-it-yourself foamiran headband
 Such a bezel with flowers do it yourselfabsolutely easy. Lush, voluminous and modest "single-row" - you can make accessories for any occasion, be it a disco at school or a ruler on September 1. Any ready-made elements such as stamens, berries, flowers are suitable for rims of this kind.
To make such a bezel with flowers, you need
base - metal narrow bezel; tape tapegreen color; glue (PVA or any other); a piece of green fleece or felt and silicone glue (gun); flowers and berries on the wire leg; scissors. 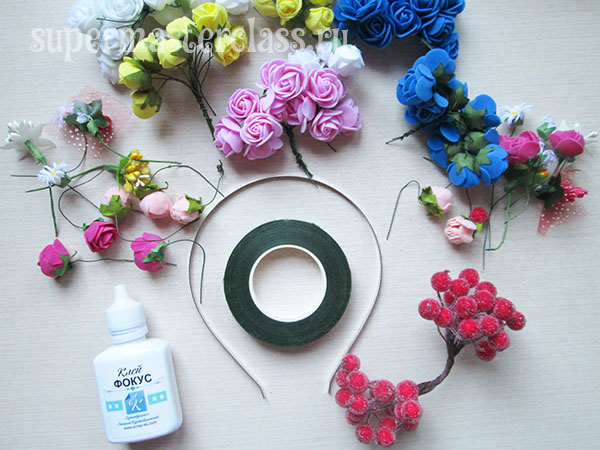
How to make a headband with flowers with your own hands
Parse our bunches of berries and flowers fromFoamiran, paper or fabric into components, straighten the wire legs. If the material you have butt, I advise you to immediately sort all the components and divide them into two parts, in order to decorate with them, respectively, one and the second part of the rim. Otherwise, it may happen that one part will be rich, and there will be no material left for the second. However, there is a way out here: make a bouquet on only one part of the rim, like a bow or flower, and leave the rest “naked.” So, the material is disassembled, and you can start creating a rim with flowers. We tear off a piece of teyp-tape 30-50 cm long (we tear it off, but not cut it off), place it at an inclination relative to the rim line and glue the tip, generously greasing the edge of the tape with glue. 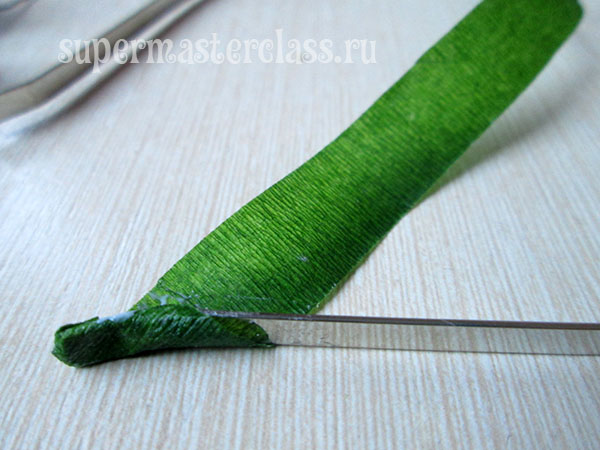 Thus we wrap the entire bezel: This is necessary so that the next layer - with flowers and berries - is securely fixed on the rim. It is desirable, though not necessary, to leave the bezel until the glue dries before the next stage of work.
 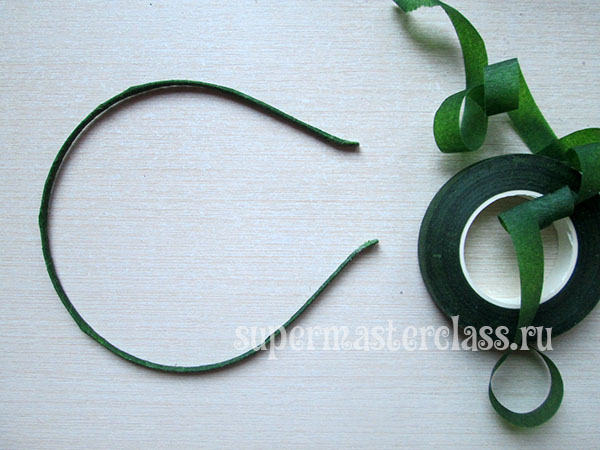 We begin to pick up the flowers, stepping back from the edge of the rim centimeters 5.
 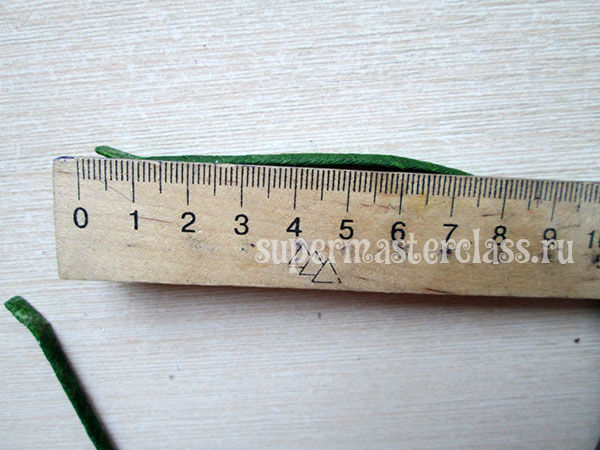 Just below the mark 5 cm glue the tiptap tapes (we also tear off the tape from the skein; it will be inconvenient to fix the flowers with the skein) and make 2-3 turns around the rim before we begin to wind the flowers.
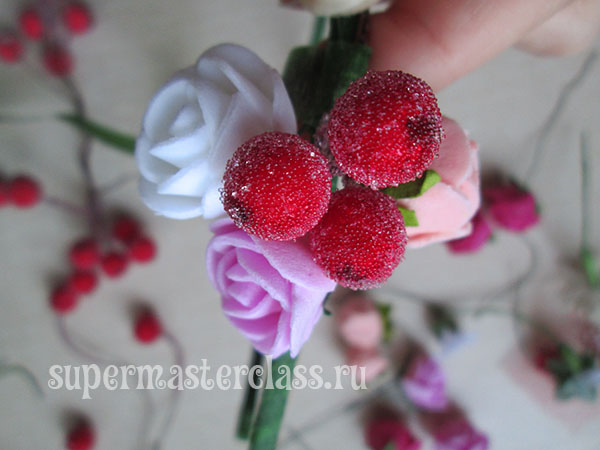
 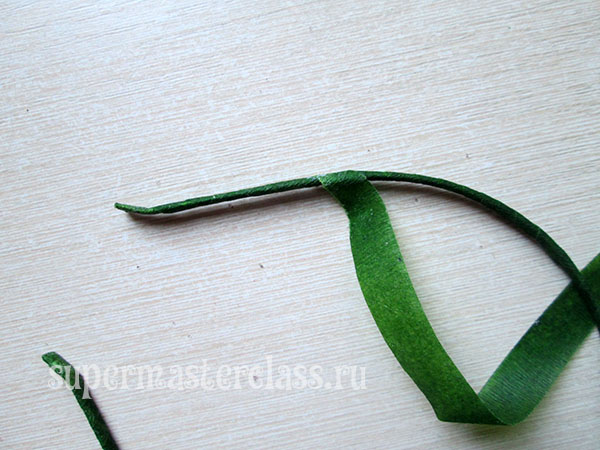 Next, follow the rule: one turn - one element, i.e. each round of ribbon fix only one rosette. Only some berries, which I wanted to see just a bunch, I primatyvala three at a time. The wire leg at the same time we have in the direction of travel.
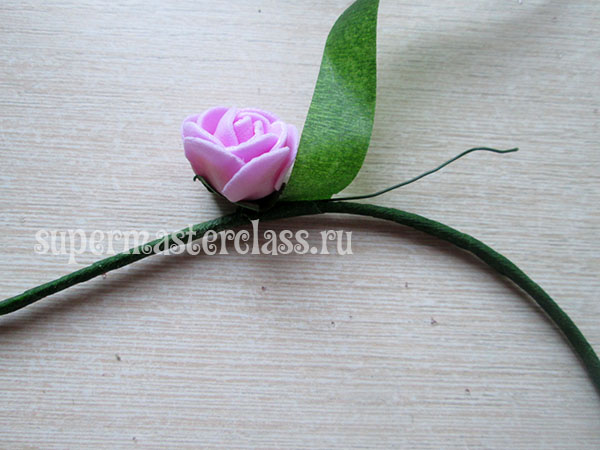
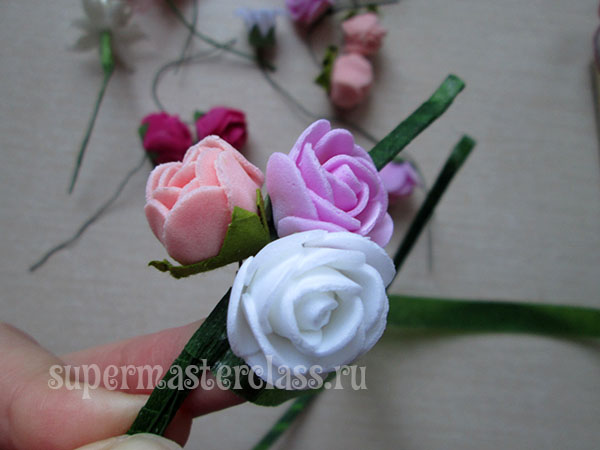
 In the course of forming the floral design of the rim, we slightly spread the flowers, and fill the voids with other elements.
  We continue to form a bezel, evenly distributing the prepared flowers.
  Going up to the edge of the rim (5 cm from the second edge), we begin to bend the wire legs so that they do not remain on the surface. Securely fix the ends of the tape-tape around the rim with glue.
 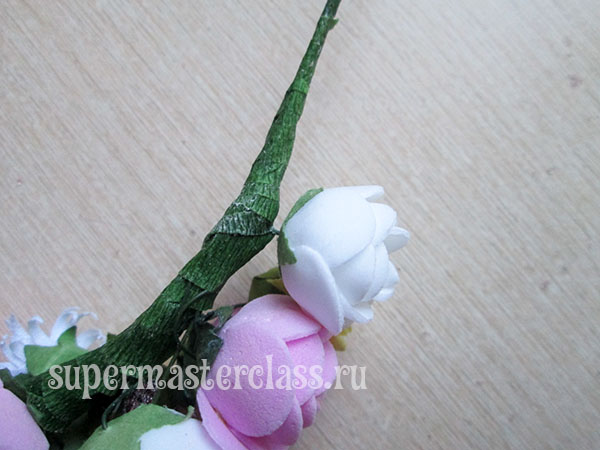 The bulk of the work is complete.
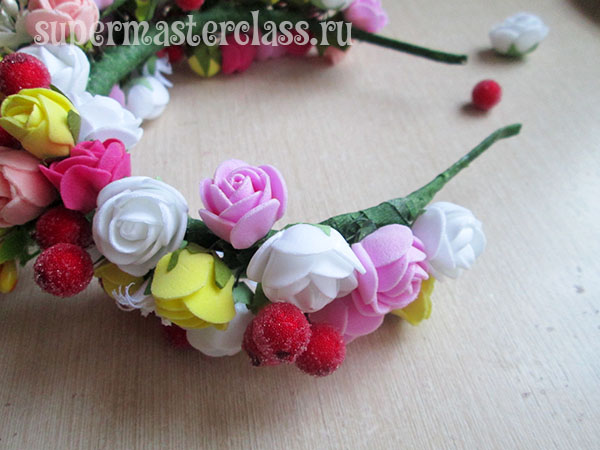
 Now you need to make the ear part of the rimsoft, not scratching. Cut two rectangles or trapezes from soft felt or fleece and paste them with hot silicone glue (from a pistol).
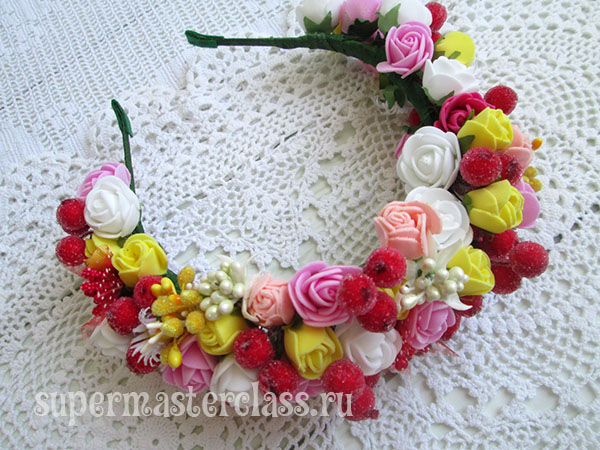
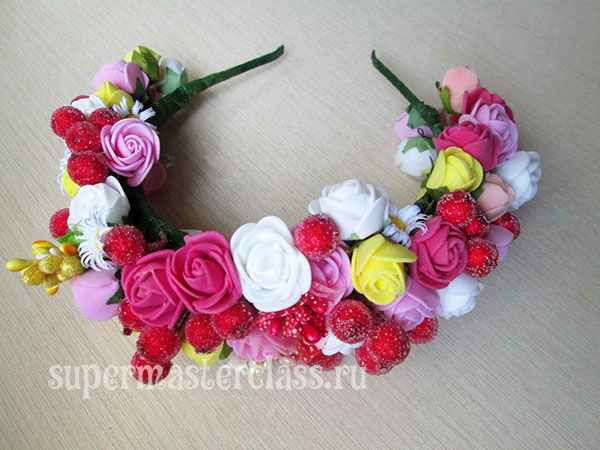
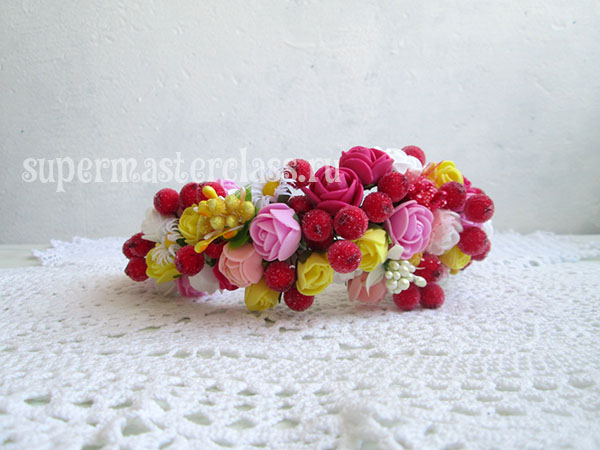
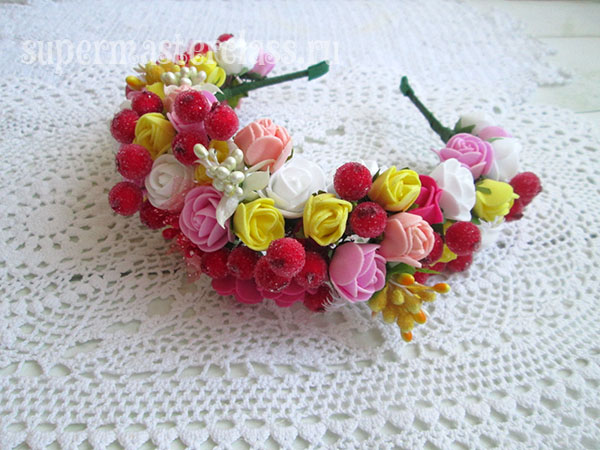
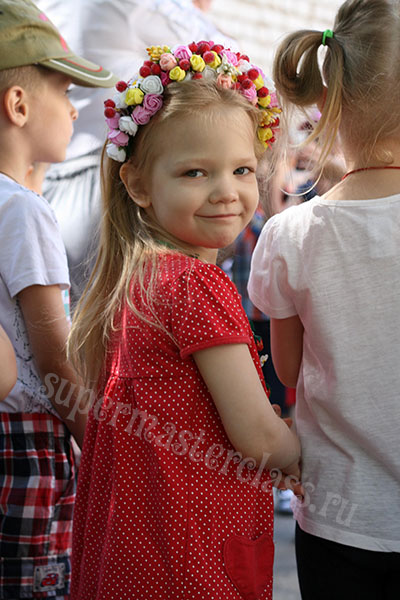
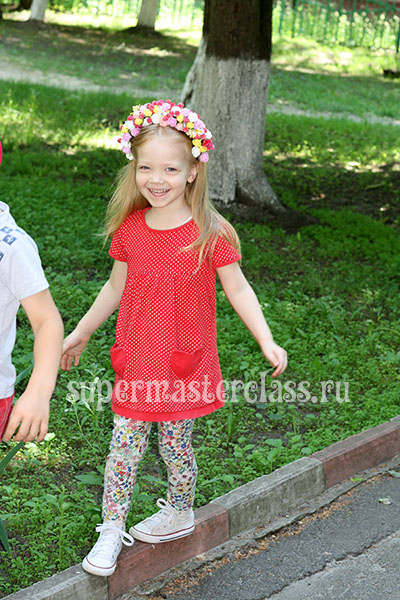
 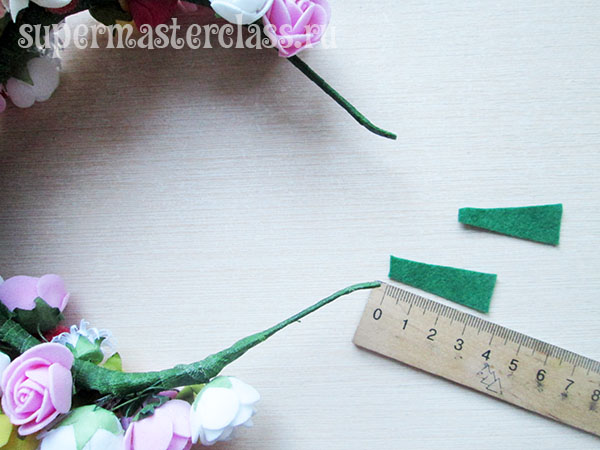 Beautiful bezel with flowers and berries for the girl is ready.
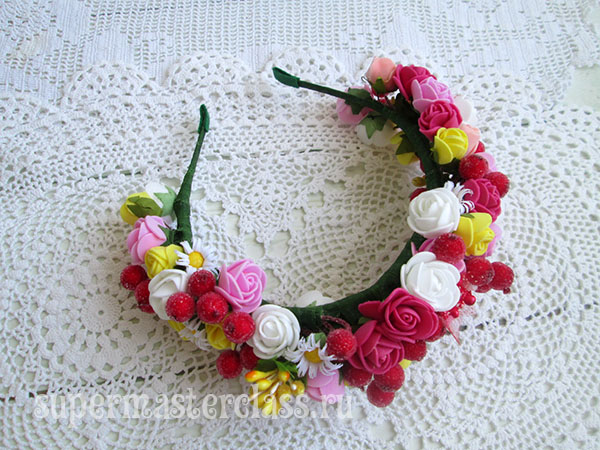

 Similarly, to the wreath, you can make a bracelet on ribbons. See also the master class on making simple.
 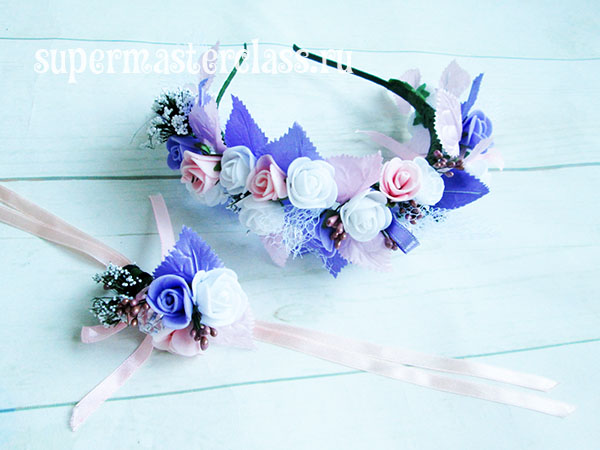 Eva Casio specifically for the site Workshops on needlework Previous article: Next article:
Comments
Related posts:
 Bezel, decorated with flowers freesia from fojmirana - crafts and homemade articles with their own hands
 A beautiful bezel of roses from Foamiran to the Spring 2016 contest, hand-made flower crafts
 Flowers from Foamiran with their own hands are a master class. MK from Foma.
 Master class on the creation of colors will teach you how to make your own hands a rose from fameirana or leather
 Bead with roses from Foamiran on the Spring 2016,