Do-it-yourself kitchen apron - Low cost: 12 ideas from improvised means
12 variants of the kitchen apron from the improvisedmaterials are very budget, easy and fast! All of them are simple, cheap, and they can be made (or removed) in just a few minutes, which makes them ideal for tenants or anyone who wants to change their kitchen apron. And so we will analyze from what to make an apron in the kitchen and what materials are used for installation. The content of the article:
Perforated panels
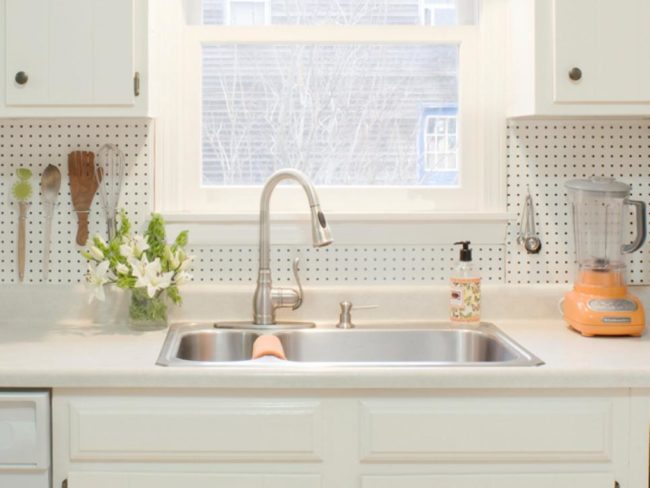 Such panels allow you to conveniently place the necessary kitchen utensils, hanging them in any place of your choice on the wall.
- need to attach the panels to the walls,
- and then insert hooks from the home appliance store into the holes, and their location can be constantly changed depending on your needs.
Apron from photo frames
To make an apron in the form of a photo gallery, you need:
- thin piece of plywood,
- covered with cloth on which small nails are nailed (or screws are screwed)
- and hang frames with photos.
And a small gallery in the kitchen is ready!
Paper or card apron
 See how wonderfully an apron made from a glued world map is combined with white kitchen furniture. Really easy way to make the kitchen original! How to do:
Maps were used here, but you could use wrapping paper, comics, magazine covers, anything like that.  Can be attached to the kitchen wall oftenused recipes, it will save you from having to look for them when needed, and will make an interesting touch in the design of the kitchen. You can also attach your favorite quotes or poems.
Vinyl Oilcloth
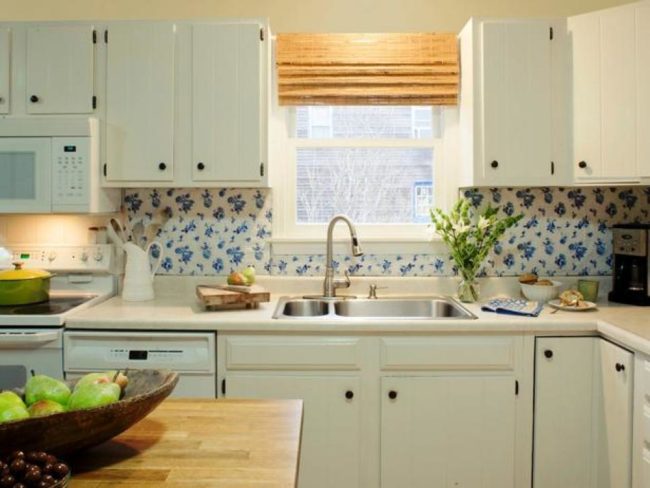 A vintage white tablecloth with a blue floral pattern will help create a charming kitchen apron. The kitchen immediately becomes more sweet and cozy.
Apron made of wood or MDF
 Wooden boards add a touch of rusticstyle. To make such an apron, you need a thin piece of plywood exactly the size of the wall. All boards are cut to the desired length and attached to the plywood, and then it is all screwed to the wall.
  How to do it yourself:
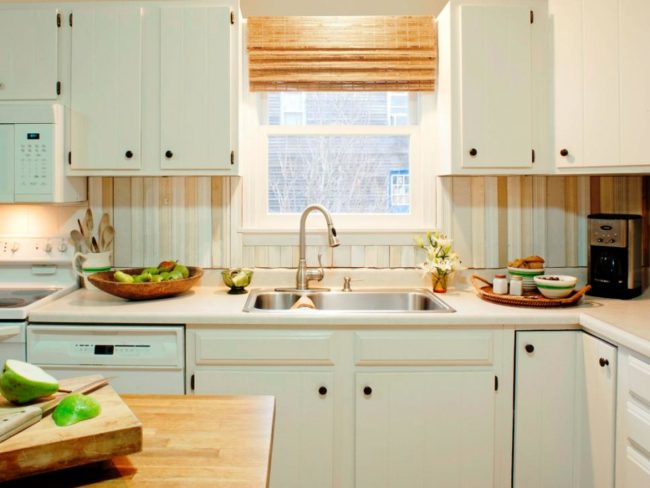
- detailed lesson Boards can be laid out,creating different geometric shapes. For example, such a zigzag from white painted boards. Of course, in this case, you need to clearly mark the wall so that all the particles fit well together. And another example of the use of boards. Here they took the usual raw wooden boards, attached them horizontally to the wall, and this is what came of it!
  - detailed master class
6. Apron-mosaic of old dishes
Battered dishes is a kind of home-made tile. Laying a kitchen apron and the result is similar, only the material does not need to buy, because they are dishes that you have not used for a long time and have finally found a new use.  And another version of the application of this method, and here the result is similar to the picture of modern art. Beautiful and impressive!
  How - see the master class
Stainless steel
In appearance, this option could beattributed to the tile, but the material is already very different from the standard tile. Here, each piece is made of stainless steel, which helps to create an industrial design in your kitchen. 
Stone apron
Kitchen apron made of stone will help to create a rustic style and will be a wonderful addition to the interior. 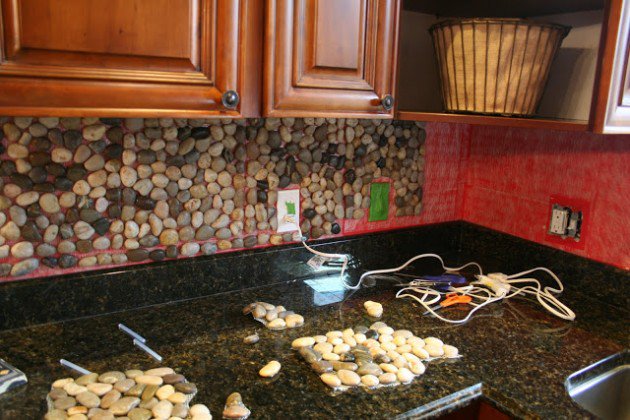 Constantly collecting pebbles on the beach? Or maybe a lot of them in your garden? Then look at one of the options for using them. It turns out like a mosaic laying, beautiful and original!
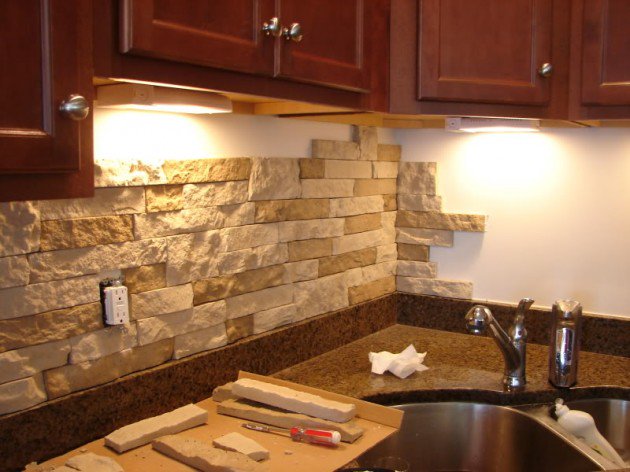
Traffic jams
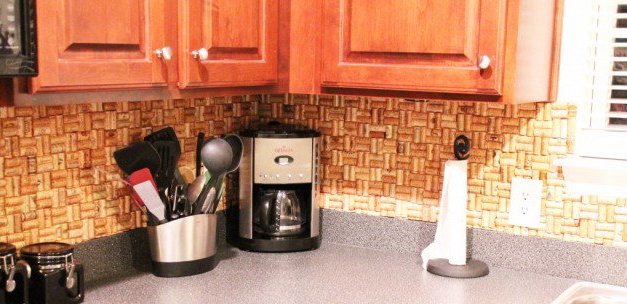 Gathered a collection of wine corks, and they lie idle? Then why not use them to create a kitchen apron? The result looks wonderful:
Stencil Painting
Painting is a quick and easy way to update.wall in the kitchen. You can paint in one or more colors. The latter option is convenient and easy to implement, using stencils. With their help, you can make a beautiful pattern whether the inscription, creating your own style. For example, here the wall was painted black, and then with the help of a stencil they put an inscription in white. 
 You can also create geometric patterns. And in this case, the stencil can be made independently using masking tape. And one more variant of screen painting:
 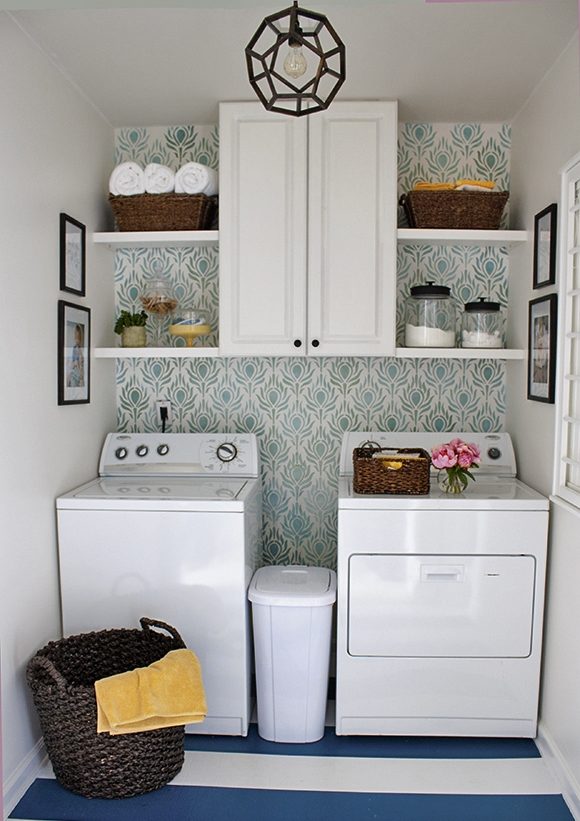 Also painted walls can be decoratedadditional elements of decor. For example, this kitchen apron was painted using stencils, and then hearts were pasted on top, which wonderfully combined with the selected pattern:
  Like a tiled pattern, but do not want to engagelaying tile? Then try its imitation options. For example, here is a wonderful example of painted white tile. All you need is paint and wall markings.
Tile
Create a mosaic apron with your own pattern, using small tiles of different colors. For example, in this case, it took a dark brown tile for the floor. 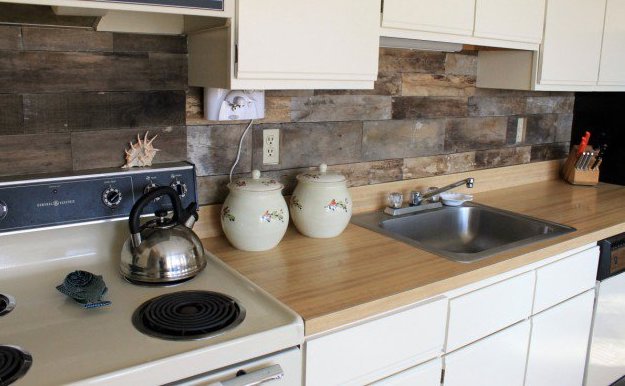 You can also create a mosaic pattern by breaking a large tile into smaller pieces before attaching it to the wall. The result is similar to the previous one, but more chaotic, without clear lines.
 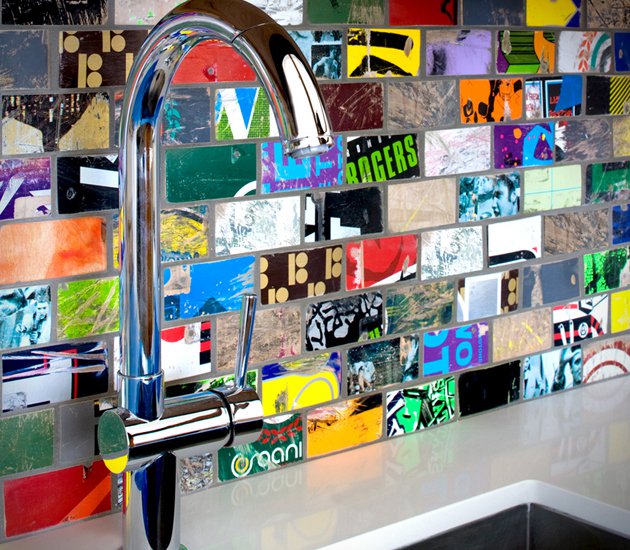 If you like more strict forms and colors, then pay attention to this combination of small tiles of white, brown and gray colors:
 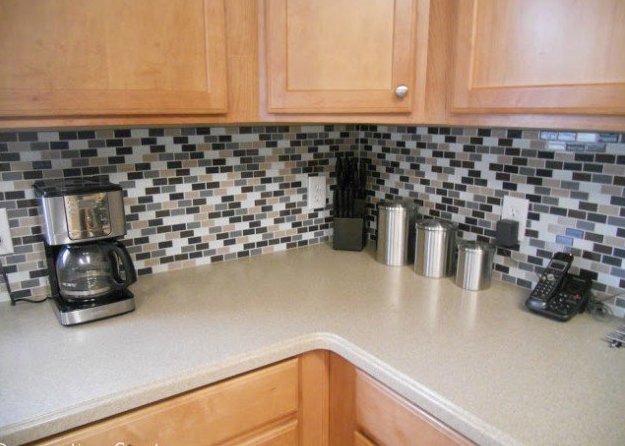 When using very small tiles createdthe impression that the colors go into each other, shimmer. In the example on the photo, a dark color spectrum is chosen, but with such a tile you can experiment with even the brightest colors. The shape of the tile has a great influence on the result, for example, by taking a hexagon tile instead of a square tile, an original effect is immediately achieved. It is especially good to take hexagonal tiles, which have some color transitions, as here from white to gray:
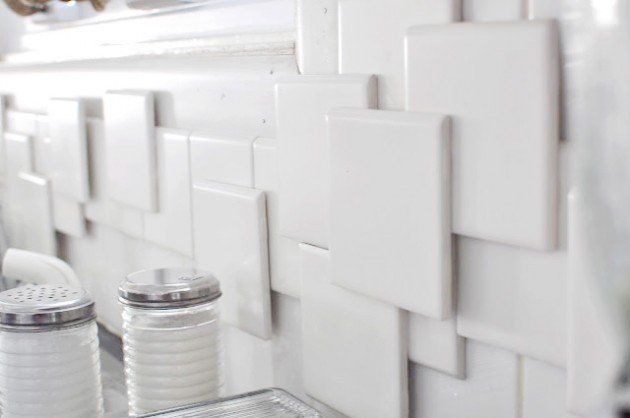
 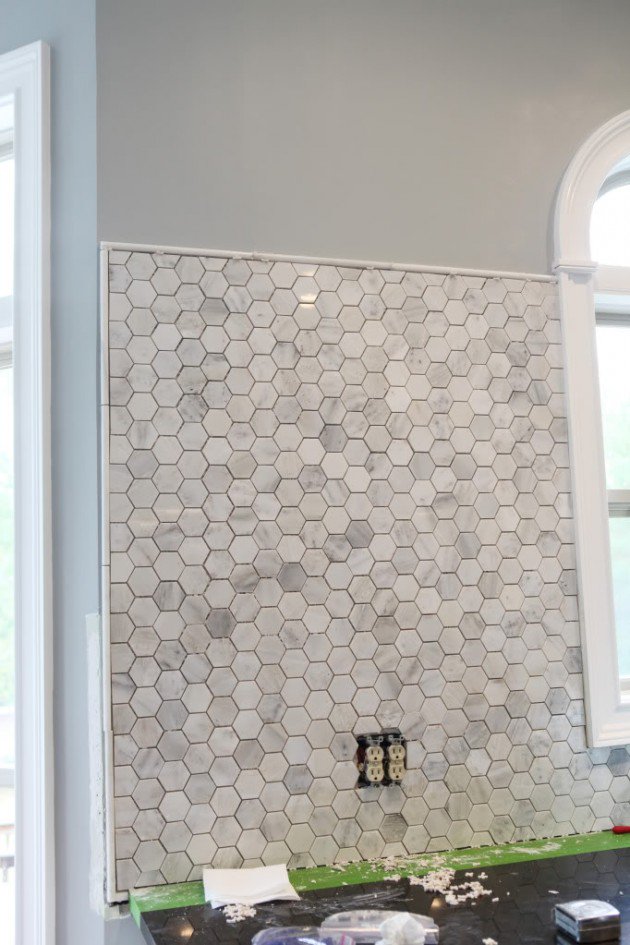 With the help of a tile you can achieve a 3D effect. To do this, lay the tile is not next to each other in the joint, and going at each other, creating volume. For example, as in this case:
Comments
Related posts:
 How to make a topiary from improvised funds with your own hands. A master class with a photo will help create a beautiful hand-made for the New Year.
 Suit the cockerel with your own hands from improvised means. Master Class. Video / Toys with own hands, patterns, video, MK
 Master-class on making a candlestick from improvised means by oneself, advice and recommendations.
 How to create a rocket from improvised means with your own hands, which will please your child
 How to make a doll house from improvised funds with your own hands? - Practical moments and tips for creating