Do-it-yourself updating of the old wall: tips + step-by-step master class (37 photos)
Furniture of the Soviet era, as a rule, hashigh enough quality, because it is not in vain that it continues to serve more than one generation. But when the soul wants something new in the familiar interior, you should not immediately throw away your grandmother’s old chest or mother’s beloved wall, it will be enough just to change their appearance and the interior will immediately sparkle with new colors. 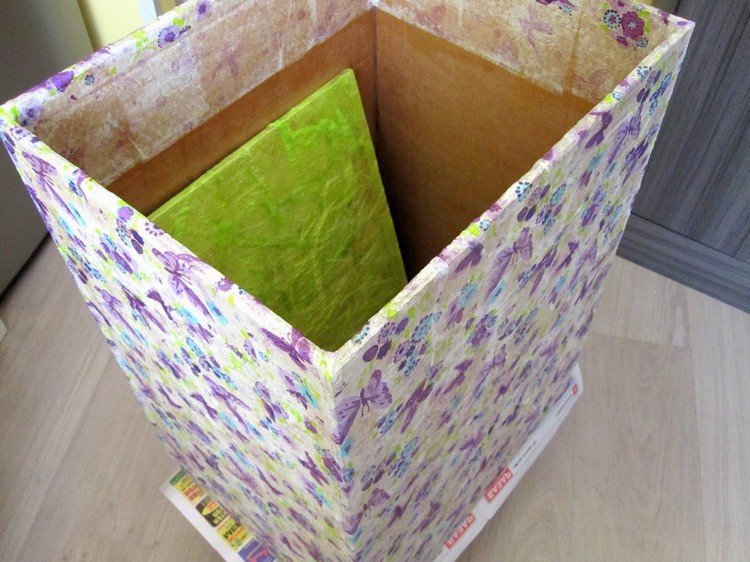

 Sure, many of us have such an oldfurniture that it’s time to write off. Of course, you can throw it in the trash, or try to reanimate a little and update it yourself. In the future, there is an opportunity to continue to use such furniture at home, or to take it to the country. In any case, it will already be beautiful, comfortable and cozy.
Tips for repainting the old wall
One of the easiest options to make old furniture newer is to paint. Thus, it will gain an attractive appearance, moreover, the work will not take you a lot of time.


How to varnish old furniture?
-
- The first and important point in this work will beproper selection of premises. It must necessarily be well ventilated and categorically not allowed so that there are places with open fire nearby. Before starting work, the old varnish is removed, all the shortcomings associated with cracks, troughs or other nuances are completely eliminated using putty and grinding.
- After the prepared surface we will definitelyapply a primer. Then a thin layer is applied with varnish, while using a brush or spray to speed up the process and reduce the cost of effort. If you have chosen the spray can option, it is recommended that you first practice on some old sheet of wood to understand the principle of its work and subtlety.


- Spraying the varnish is carried out at a distance of about 25-30 centimeters from the surface that is being processed. In this case, the movements should be in the horizontal direction.
- It is important to know that the drying time of the varnish is approximately 48 hours if no other time is indicated on the product packaging.
- Remember that the first coat of varnish is applied first.then carefully processed with fine sandpaper. All dust that occurs during operation is removed using a conventional wet towel. Next, apply a second layer and let the surface dry completely. Only if necessary can we apply the third layer, but such situations are extremely rare. Usually two layers of varnish are enough for a beautiful appearance and quality.
Read also:
Ideas for updating the old wall and other things
Since the principle of working with the surface of the oldthe furniture will be approximately the same - it is not necessary to dwell solely on it. Thus, you can return to life and other important household items. Here are some useful ideas you might find useful in your work.
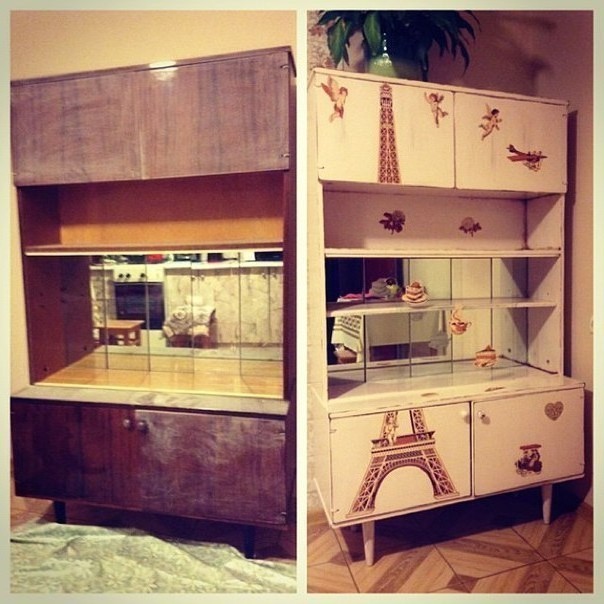
 Transforming an old cabinet into a beautiful new piece of furniture
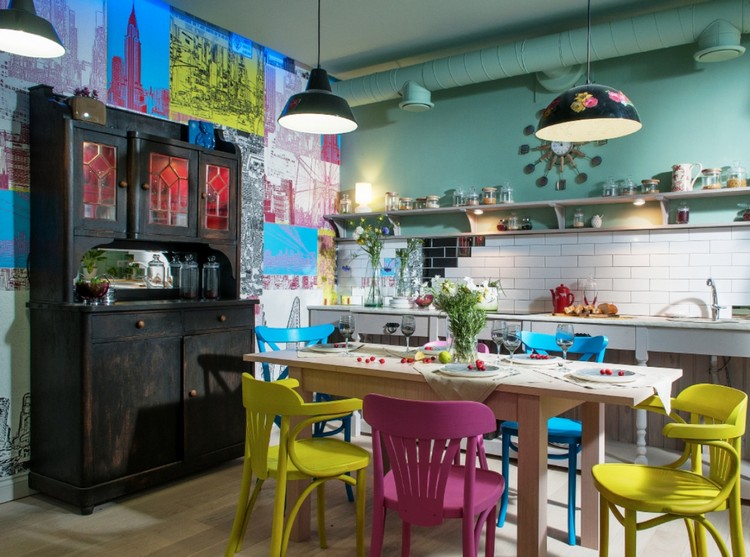
 Bright new chair made of old material
 Remaking an old desk with a drawer into a new workplace
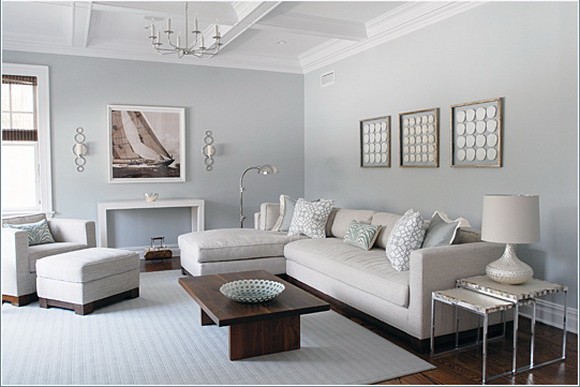
 Bulky sofa in a new role
 Design of an old table on wheels
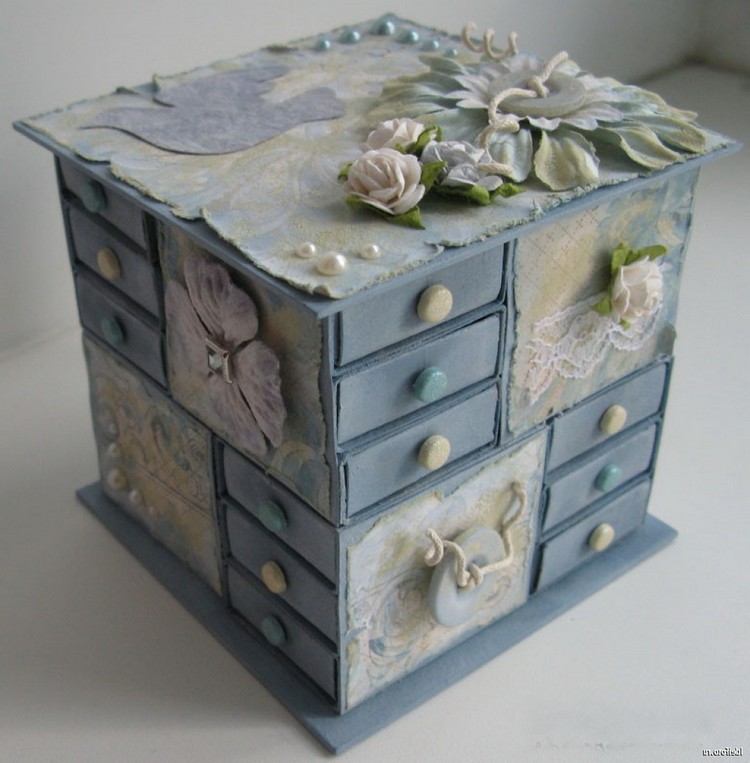
 Beautiful design of a chest of drawers with your own hands
 Making a bedside table in the interior
 Old dressing table in a new attractive form
 How to use an unnecessary sofa back in a room design
 DIY cabinet enhancements
 Design and decoration of the old table
 Upholstery chair to update the view
 Variant design of a pedestal for acquiring a new look
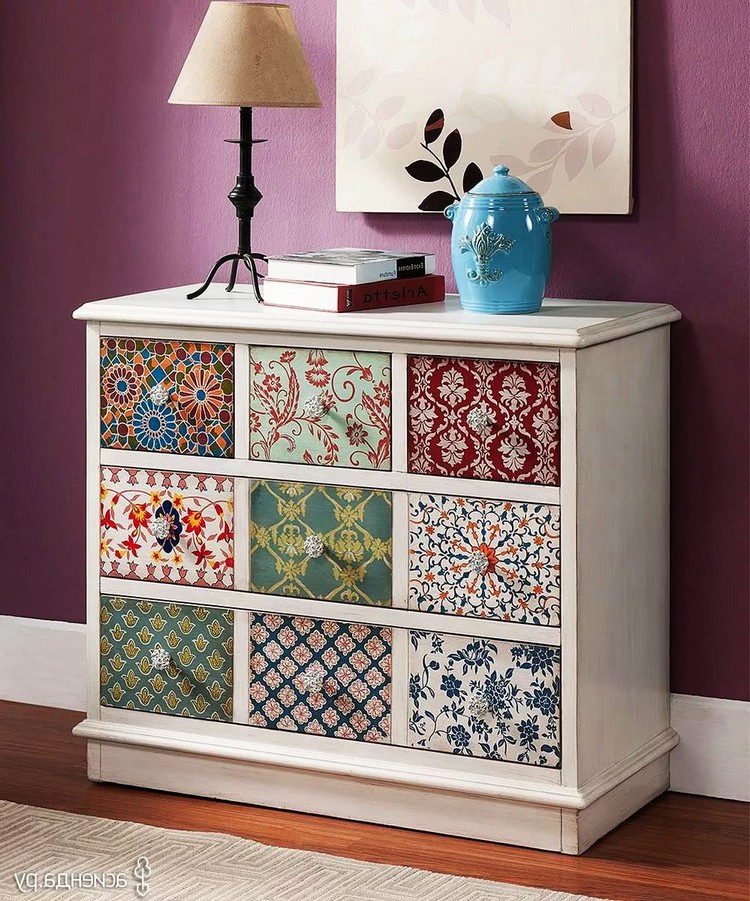
 Updating an old chest of drawers to modern design
 Old wardrobe in a modern way Read also:
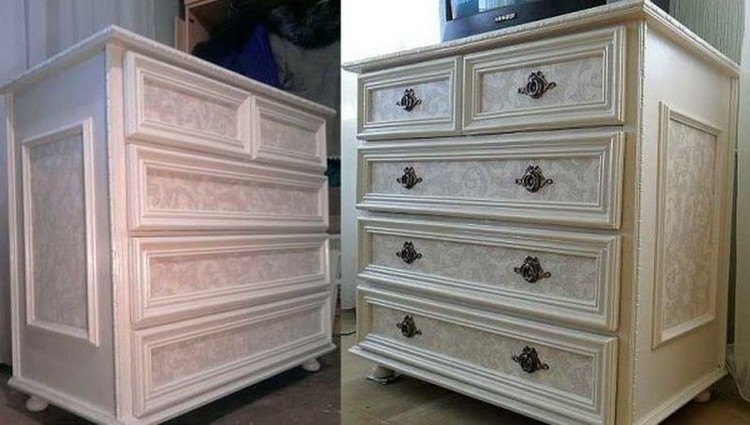
Workshop "Dresser Update"
One of the objects of the old wall is oftena chest of drawers that usually doesn't look the best way. Do not despair, but try to allocate a little of your free time so that he can transform into a new beautiful home item. Progress:
 The old thing that took a long dust in the attic
 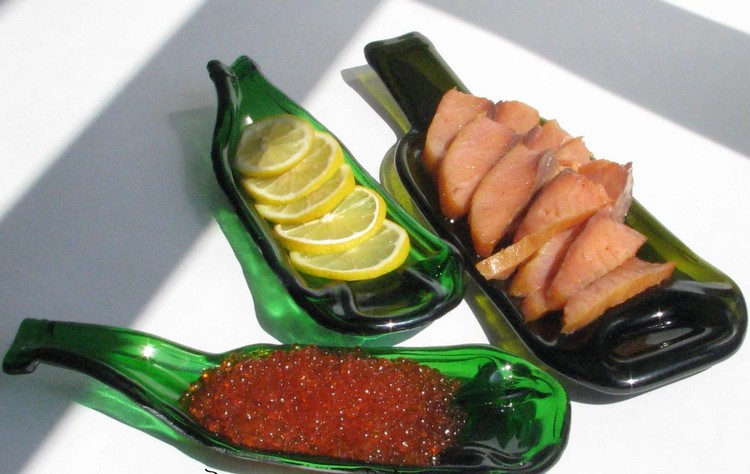 View after puttying and sanding
 Glued and put on self-tapping moldings You can glue them on PVA glue, additionally reinforced with self-tapping screws with a wide hat.
  View after the second application of paint
 A variant of a beautiful dresser dressing We needwill cut out even pieces whose sizes will coincide with the inside of the frame. Gently glue them on PVA glue and after complete drying, double-coat the chest with water-based varnish. We also recommend that you read about how else you can give
 Chest with mounted handles and legsWe see that the principle of processing the surface of the old wall to update it is quite simple, and the result is beautiful and design. The main thing is that we can do all these things with our own hands, without resorting to outside help. We also recommend viewing:
Do you like the article? Share on social networks!
Comments
Related posts:
 DIY sofas: masterclass + 49 photos
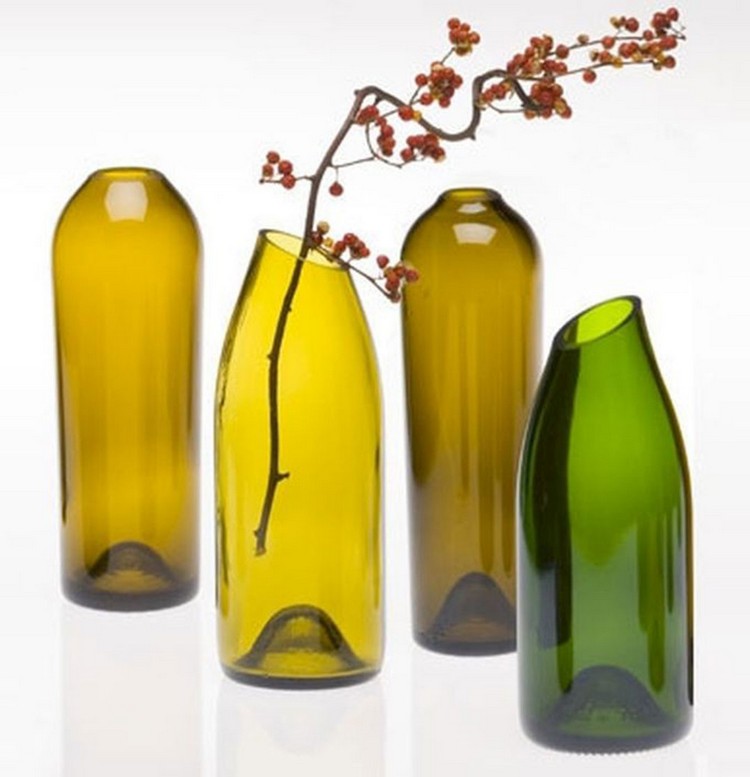
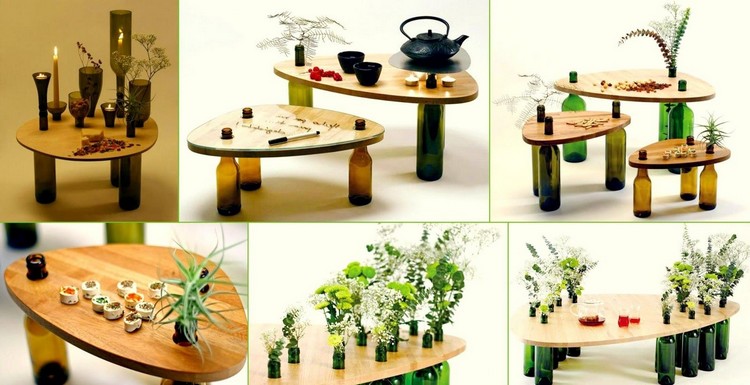
 Do-it-yourself vases from glass bottles: workshop + 24 photos
 Do-it-yourself vases from glass bottles: workshop + 24 photos
 Unusual interior items with their own hands, a table from an old tire, tips and advice on how to make it.
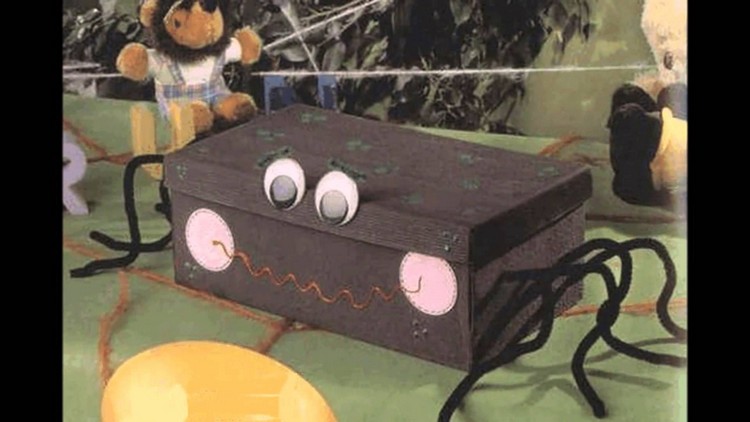
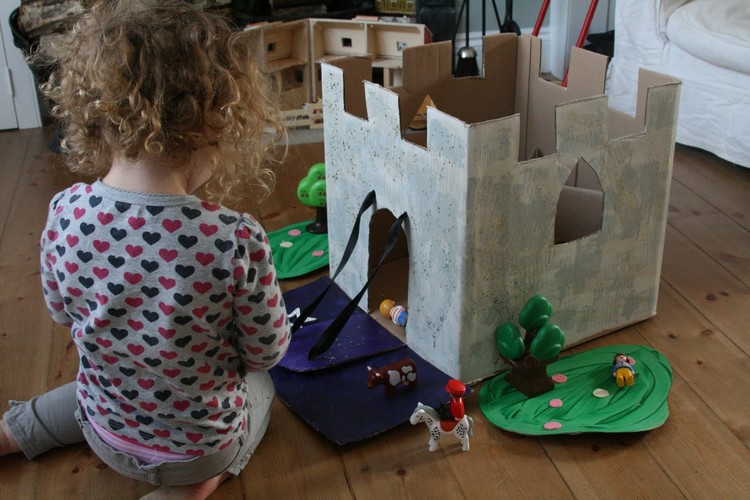
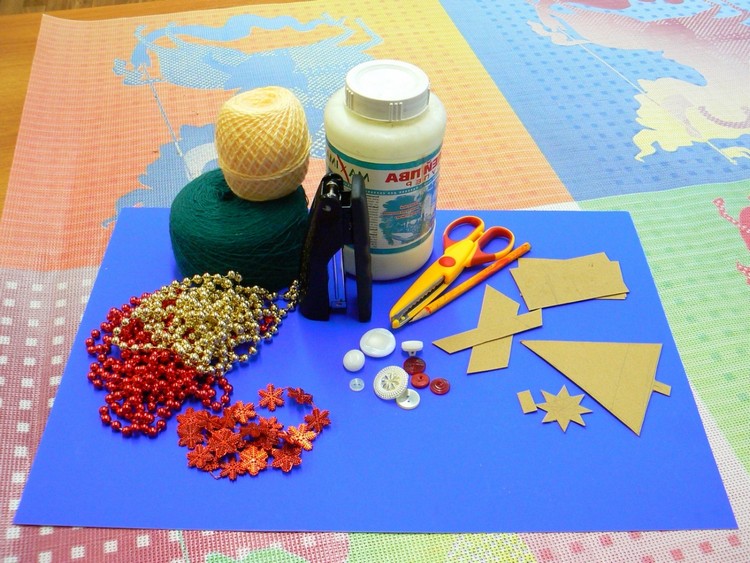
 New Year's house with their own hands, New Year's decorations with their own hands, ideas for various decorations for the New Year with their own hands, tips, instructions, and step-by-step photos with descriptions.