
Make a shelf for flowers with your own hands, to unload the surfaces of tables and chests, using the instruction and photo
Shelf for flowers: the best option - to make their own hands The main difficulty of fans of indoor plants when placing flowers is the consideration of the specifics of each of them. Arrange the shelf so that the flowers do not cover each other from the light, and will be the main task of someone who will deal with this problem. Today, the design team offers many different shelves for flowers on the floor and on the walls. But, unfortunately, it's hard to find the shelf that will fit perfectly into your interior. Therefore, the best way out of this situation is to produce it independently. And our master class will be able to help you in this. First you need to decide on the material from which you would like to make shelves for flowers. It can be wood, metal, plastic, drywall. It should be remembered that many flowers need regular sprinkling, so it is worth giving preference to moisture-resistant bases. One of the possible materials is plywood. Let's try to create from it a shelf of several shelves for flowers. For this we need: one piece of plywood; two fasteners for each shelf; two nickel-plated pipes; tool for fastening (tape measure, jig saw, sandpaper, drill); paint for wood. Manufacturing process: Determine the size of the shelves and the place where you plan to place them. 2. We draw the plywood on the plywood, whose shape, according to your desire, is either simplified (rectangular with rounded corners) or wavy, in which the appearance and the number of waves are determined only by you. 3. Then proceed to the very process of sawing. 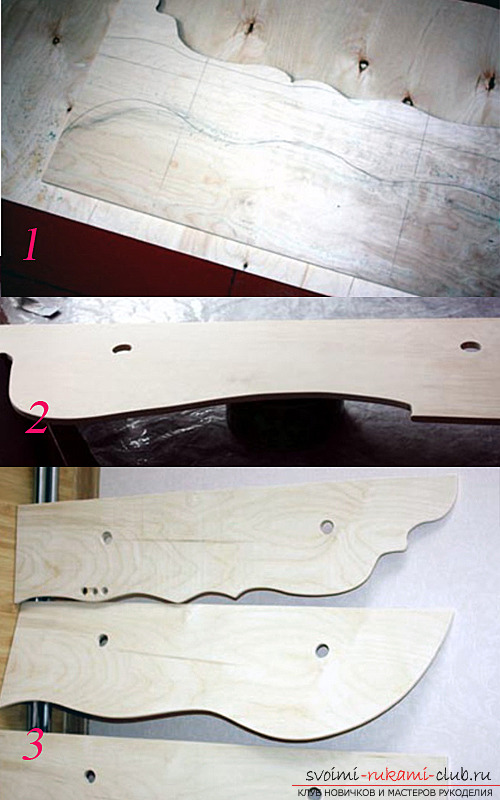 4. Blanks in one bundle, defining the point by the distance, on which the pipe holes will be located. Pay special attention to the fact that the point exactly coincides on all sheets. 5. In two places on each sheet obtained, holes are drilled under the nickel-plated pipes. 6. Sand the surface of each sheet with sandpaper, in particular - the ends. 7. The surface of the shelves is completely opened with furniture paint, it is better - a couple of times, giving it a little dry. 8. Push through the holes made a hole, fixing it at each shelf. Be sure to make sure that the location of the shelves is parallel to each other and perpendicular - to the pipes. 9. The final stage will be the installation of shelves to the walls. In this you will help the staples attached to the top and bottom of the shelves and to the wall surface. Before this, you need to properly size and drill holes in the wall, where after that screw in the screws. The strength of the shelves you make will directly depend on the size and quality of the fastening tool that you work with.
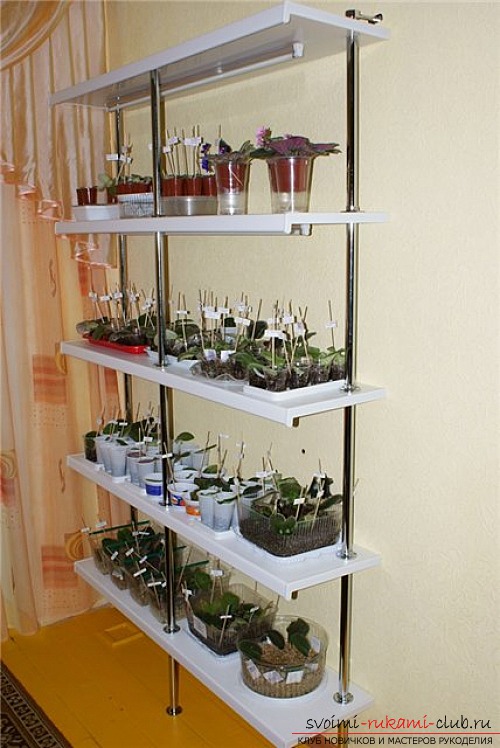
 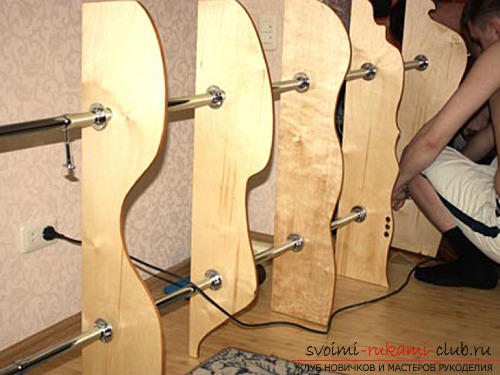 Another material from which you can makeshelf, - plastic standard window sill. You will need: about 4 meters of this kind of window sill, 3 fasteners to the shelf, 2 brackets, 3 pipes. The manufacturing process: 1. Plastic sill saw pieces of approximately 1.3 meters. 2. In each piece obtained, three holes are made: two - at the edges of the back wall and one - in the center near the front wall.
 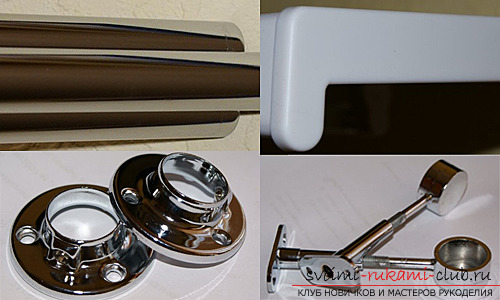 3. Cut pipes of the required height. The rack is fastened with screws and flanges. 4. With the bottom base the pipe is fixed to the floor, and the brackets are attached to the upper edges of the pipes that are placed near the wall and are also fixed to the wall.
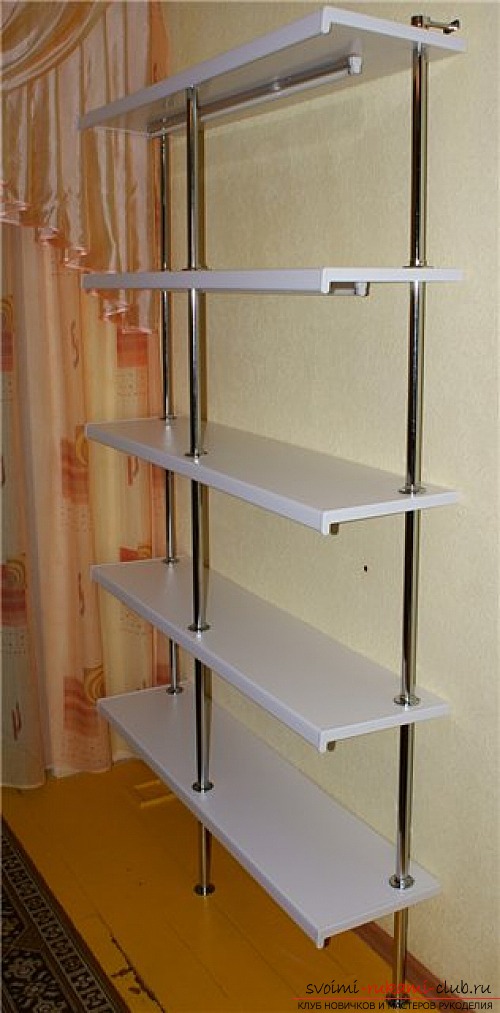
Comments
Related posts:
 Make a simple dress pattern for a girl with her own hands, using a step-by-step instruction with a photo and description
 Make a pattern of the carnival costume of Jack Sparrow with your own hands, using a step-by-step instruction with photo and description.
 How to mesh a red cat with your own hands quickly and easily, using photos and step by step instructions.
 How to build a pattern of a long dress for a woman with your own hands, using step by step instructions with a photo and description.
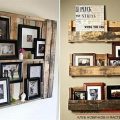 Unusual interior items with their own hands, pallets in the interior, how to make a shelf from the pallet with your own hands.