A dog from salted dough, step by step, master class, video / Toys by own hands, patterns, video, MK
Salted dough - it's just a godsend for creativepersonalities! This material is suitable for a wide range of works, from applications and to volume modeling. These master classes are devoted to how to make a dog from a salty dough. The article will consider different versions of crafts, so that anyone can choose what he likes more - and do it yourself. 


Salted dough recipe
The basis of a strong and durable craft is a properly prepared dough. Ingredients:
- 2 cups of Extra salt;
- 2 cups of wheat flour;
- 10 tbsp. spoons of sunflower oil;
- 0.5 cups of water.
This is a classic recipe, but it can be varied. Oil will replace hand cream or pharmacy glycerin. In the mixture for viscosity, you can add 2-4 tbsp. spoons of wallpaper glue. 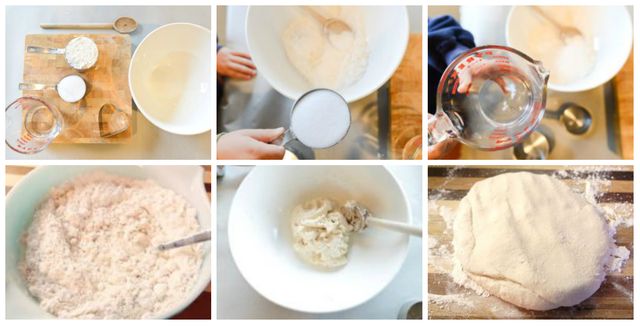 After kneading the dough should be wrapped inpolyethylene (bag, food film) and put in the refrigerator for an hour or two. Please note: the dough prepared in this way is not intended for use! It is completely inedible and can harm the human body. If you master with the child, he should explain this rule before starting work. The resulting dough should:
In order for the dough to acquire the desired color, instead of the usual water, you can use vegetable juice (carrots - orange, beets - pink). Soluble coffee gives the material a soft brown tint. 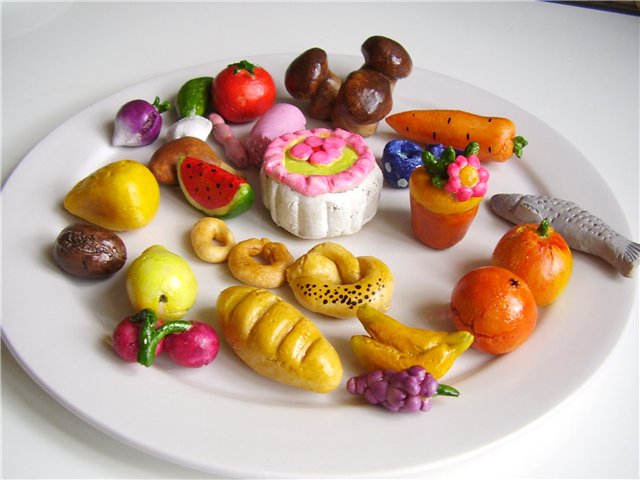 Note: with such coloring, the colors will not be bright, and after drying and completely pale. Any violation of the recipe or storage conditions of the finished material can lead to such unpleasant consequences:
Dog-panel
The master class for creating a panel does not represent anything complicated: First we make a sketch of the future picture in full size. We draw in detail what we want to bring to life. 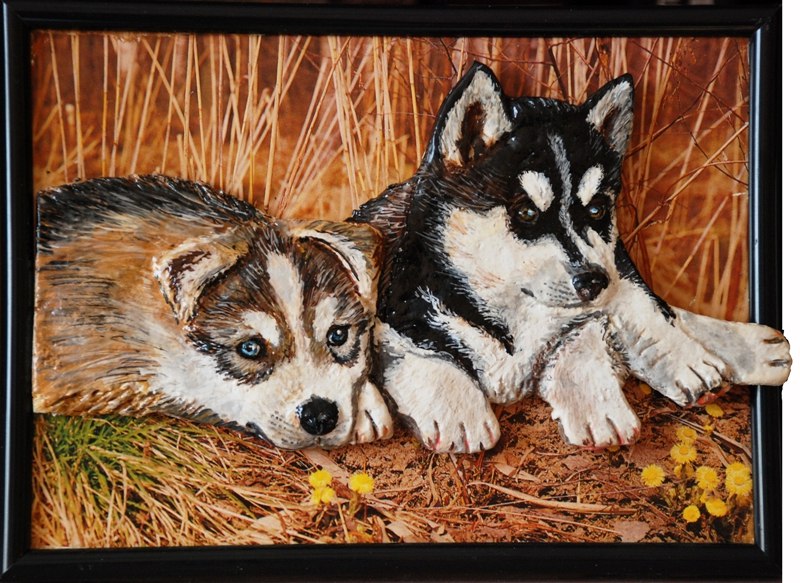 Please note: do not make a panel larger than A3, because salted dough is a heavy material. After drying, it can simply break under its own weight.
Tip: how to make the dog more realistic? To do this, smooth the transitions between different parts of her body. But for a dog in a cartoon style, you can perform all the details of the same thickness, as in a voluminous applique.  The following algorithm of actions is as follows:
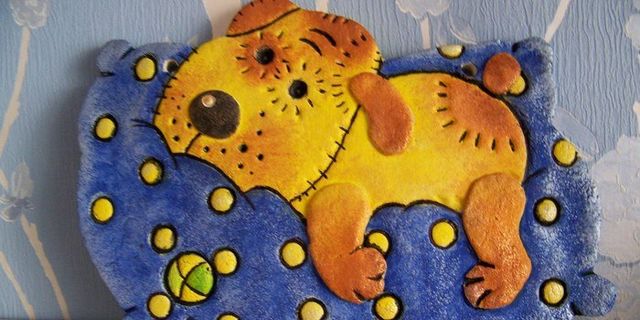
Flat Dog
A flat dog made from salted dough can serve as a key fob, ornaments, pendants in a nursery, decor for a wall, etc. 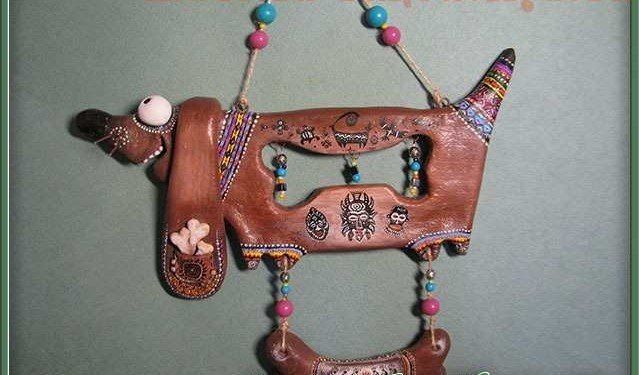 This master class will explain how to step by step make a flat doggie:
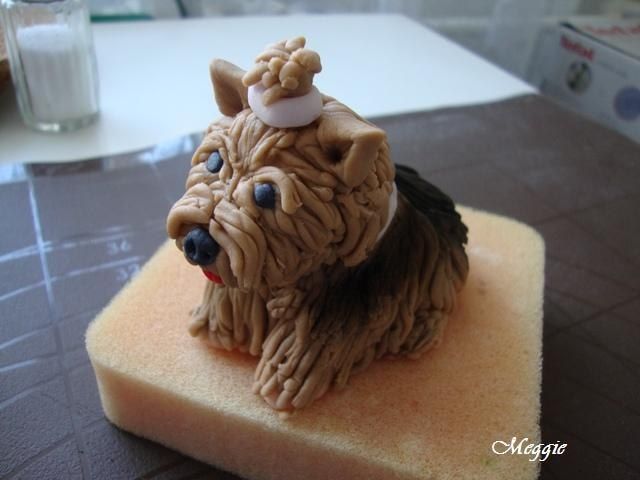
Volumetric Pesic
Master class, which gradually stages the creation of a three-dimensional dog figure:
Any master class given in the article is easy to perform, so everyone, guided by these tips, can make a funny doggie with their own hands.
Comments
Related posts:
 Modeling of salt dough for beginners, master class, sculpting a panel, paintings / Toys with their own hands, patterns, video, MK
 Master classes: Angels from salted dough. Video / Toys with own hands, patterns, video, MK
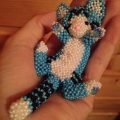
 How to weave a kitten from the beads step by step, diagrams, master class / Toys yourself, patterns, video, MK
 How to weave a kitten from the beads step by step, diagrams, master class / Toys yourself, patterns, video, MK
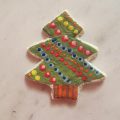 Step-by-step master class will teach you how to make a herringbone of salty dough with your own hands