Draw a nice and kind cartoon character Cheburashka you will help our master class
Master class drawing Cheburashki in stageswill allow parents along with the child to reproduce on paper the beloved cartoon hero. Dear and kind Cheburashka in a short time will smile at you cheerfully. The work process is absolutely uncomplicated and consists of only a few stages. There is not a single person who does not like cartoons and there is not a single child who does not try to reproduce the favorite hero from the cartoon on paper with pencils, markers or paints. Unfortunately, not all of us have natural abilities, talent. Therefore, not always a child or an adult can display on paper in full what he would like. Do not be upset. The art of drawing can always be learned. And in this you will help the technique of step-by-step drawing. Today we will try to draw everyone loved from childhood, dear and kind fairy-tale character - Cheburashka. Master class drawing Cheburashki stage-by-stage will make the whole process of work simple, fast, fun and entertaining, accessible even to the child. Drawing this character consists of six simple steps. Stage One At this stage, we draw the contours of the main parts of the Cheburashka figure, which consists of the head, ears, trunk, arms and legs. Almost all of them are circles and ovals of different diameters. The biggest circle is the head. Two smaller circles - the ears of the character. A small oval is the trunk. And four small figures - Cheburashka's hands and feet. The figure shows which shapes we will be drawing. 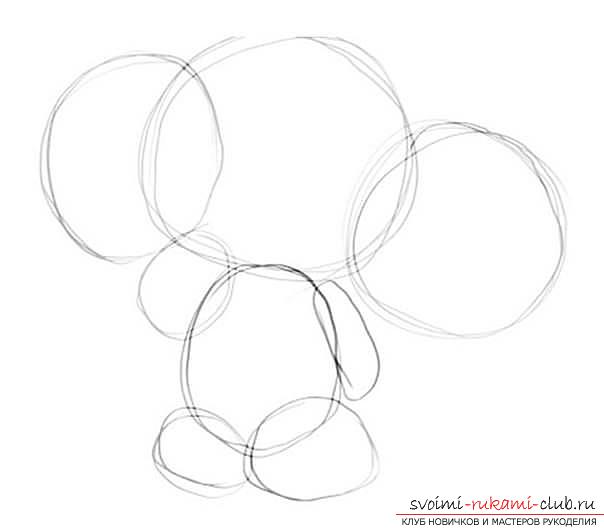 Stage two We point the contours of Cheburashka's body and his T-shirts with a pencil. Superfluous lines need to be erased with an eraser. Even if they are visible, it does not matter. When you paint the picture, they will not be noticeable.
 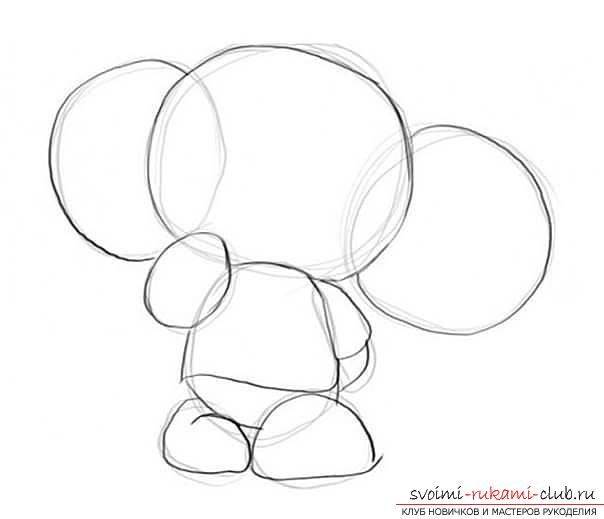 Stage Three Inside the largest circle (head)draw a circle a little smaller, which will later be the face of our hero. In it draw small circles for eyes, small ovalchiki, performing the role of eyebrows, a small triangle for the spout and mouth. Another triangle of a small size will become the finger of Cheburashka.
 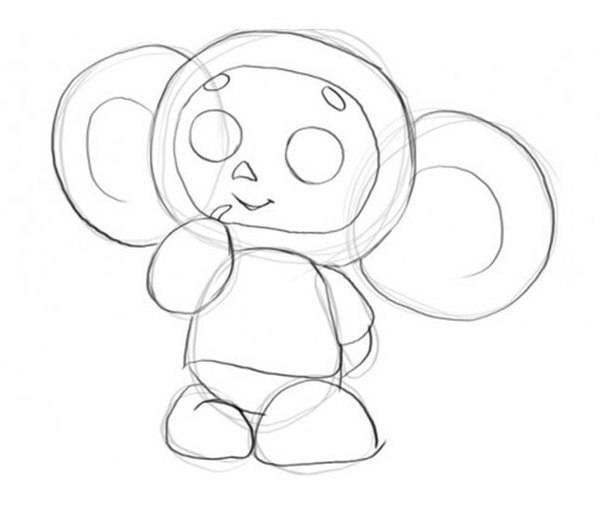 Stage four We paint the eyes and make our hero fluffy, as shown in the picture.
 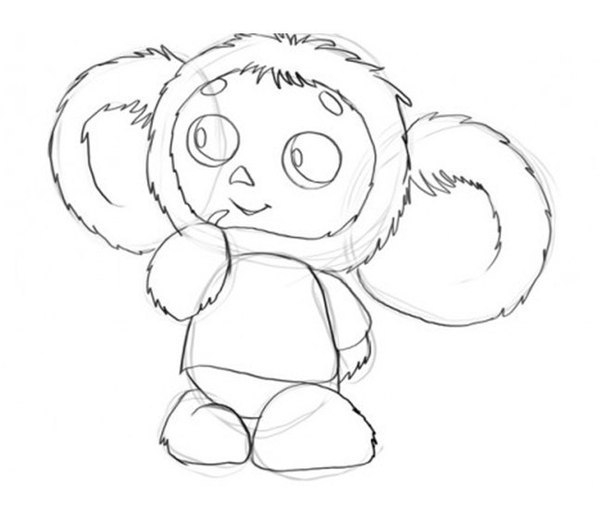 Stage Five At this stage we will paintclothes Cheburashki. It is necessary to draw a picture on a T-shirt. If for you or your child the pattern suggested by us seems difficult or trite does not like, you can change it at your discretion. Invite the child to choose a pattern or ornament for the hero's clothes. This approach is sure to interest the young artist. He will gladly accept your offer and begin the assignment.
 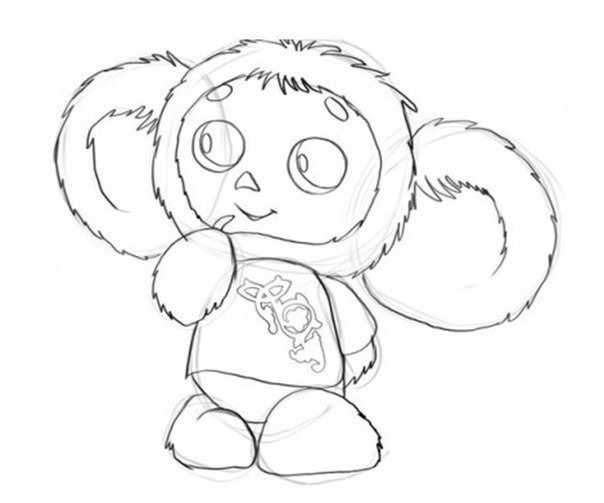 Stage Six We are now close to the finalthe stage of our drawing. At this stage, it remains only to decorate Cheburash and the picture is ready. For this you can take any instrument - gouache, watercolor, pencils or markers. The one with which you and your child are most comfortable to work. If you want to make the drawing more colorfulor arrange it in a picture, then pick a suitable background and paste the picture into a frame. It will become a real decoration of the children's room, performed by the child on their own.
Comments
Related posts:
 A master class with a description of crochet cute teddy bear mint color will help create a toy with your own hands.
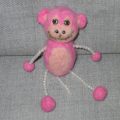 This master class felting of wool will help make a toy monkey with your own hands
 Step-by-step master-class with a photo will help you to make a beautiful decoration on a Christmas tree in a ball made of natural material - sackcloth.
 As your hands tie a sweater, the master class will help you
 Draw a beautiful flower yourself you will help step by step drawing the tulip in pencil