Drawings and patterns on the walls in the apartment with their own hands: 10 workshops
When repairing an apartment or a separate room is veryimportant is the issue of wall covering, because it will serve as the basis for the design of the entire room. In this article we will focus on painting the walls yourself. But here we will consider a more interesting way - drawing patterns on the wall of the apartment with your own hands. 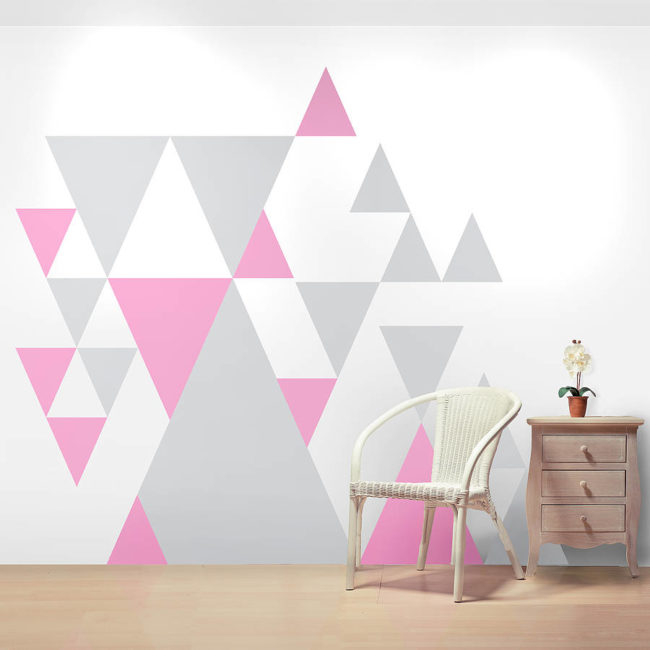
 On the walls of an apartment or a room, using paint, you can create drawings or abstract patterns that will reflect your style and create home comfort. The content of the article:
Technology to create drawings on the wall
When painting walls there are several main questions that need to be answered: 
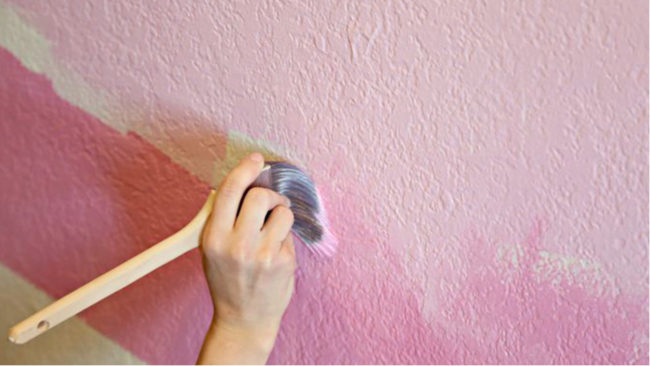
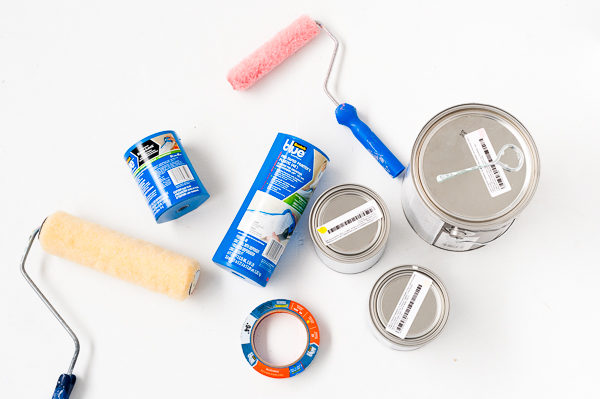
 What paint will do? Of course, you can choose the color of your choice, this is your design decision personally. But on the type of paint will depend on its resistance to water, heat, and in general, how long it will last. We recommend using water-based paints, they are well tolerated by heat and humidity, do not exfoliate, the surface covered with them can be washed, suitable for all rooms in the apartment.
 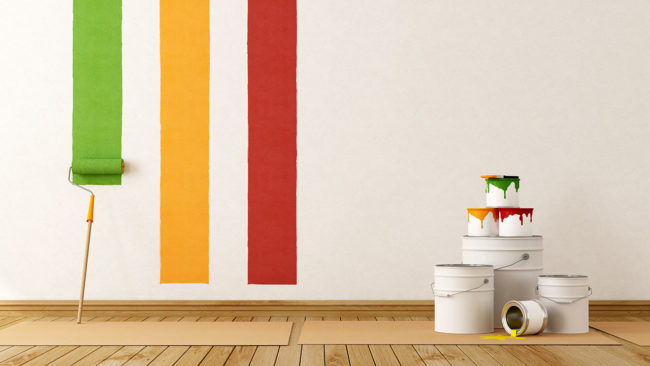 What we paint: brush or roller? Before applying you need to make a monophonic background.
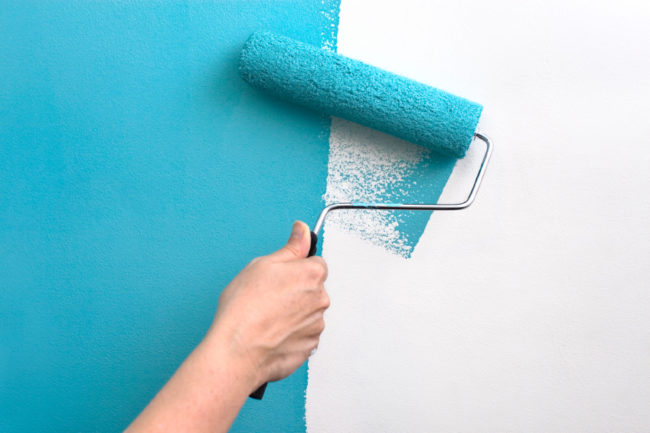
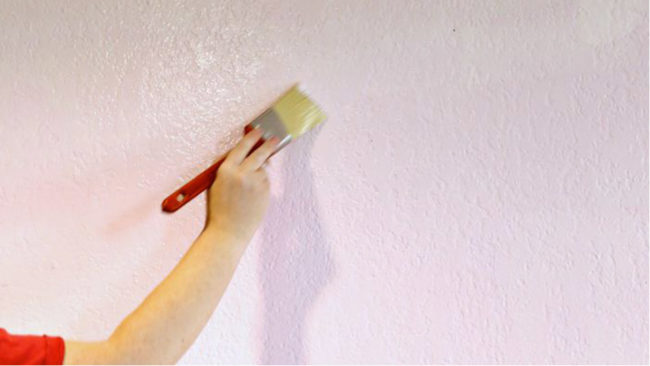
- Roller: for this it is better to use a roller, it is much faster to cover large smooth surfaces, the paint falls evenly, without leaving stains.
- Brush you spend much more time and effort. It is suitable for smaller objects, reliefs, where the roller will not reach hard-to-reach places (furniture: high chair, closet, etc.).
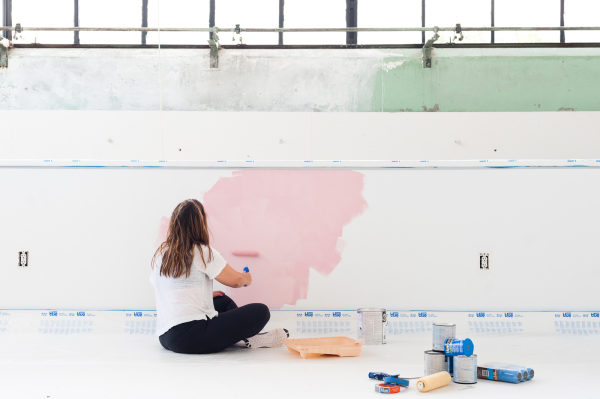
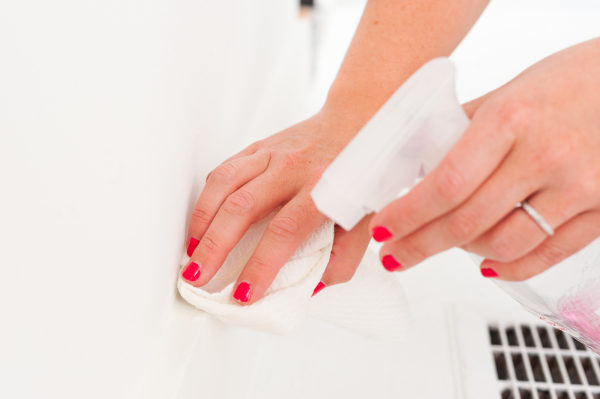
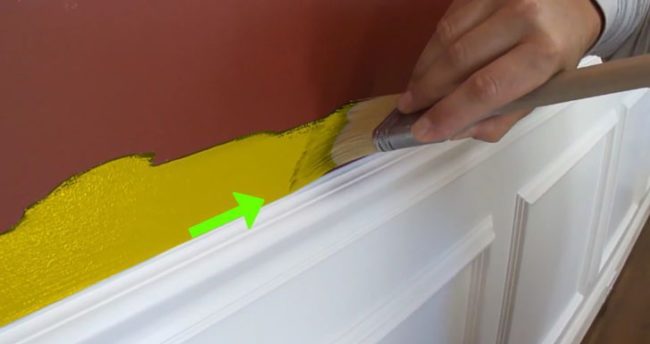 TIP: When painting the walls it is convenient to use the brush in the corners, as an addition to the roller, it is also useful when working with stencils. How to prepare the wall? What surface can you paint on? If you have bare walls and you decided to paint them, then initially you need to level the surface, since all the irregularities are very visible on the painted walls.
- Emery paper is suitable for this (with a grinding machine, of course, it will be much faster than manually).
- If the wall has cracks or scratches in that area, you need to putty, and then level it again.
- Then wipe the dust and apply a primer, preferably two layers.
It is not desirable to paint on putty, old paint and ordinary old wallpaper, the paint can fall bad and fall behind.
- In order not to throw money away and make really high-quality and durable repair, remove the old coating before painting (using special solutions),
- and then do everything described initially.
ATTENTION: Exceptions are special wallpaper for painting, the paint falls on them easily and smoothly, as they are intended for this.
The main 3 methods of drawing patterns:
Let's take a closer look at each of them. 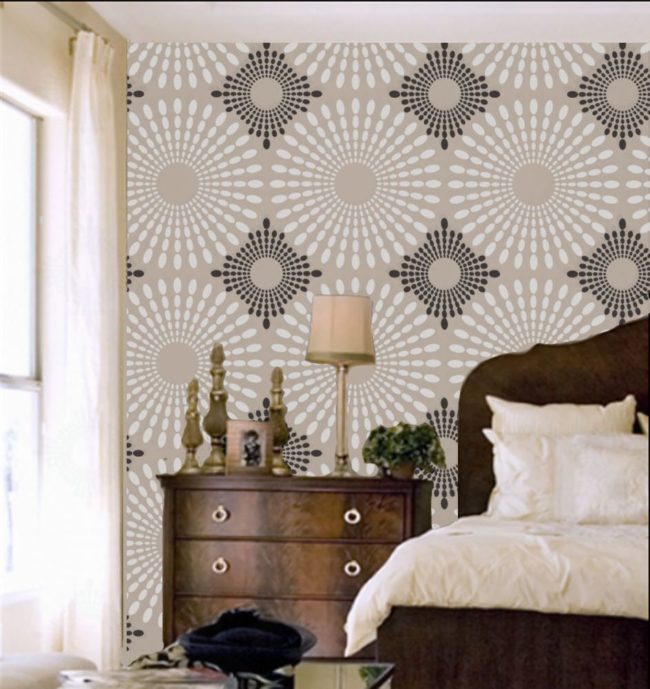
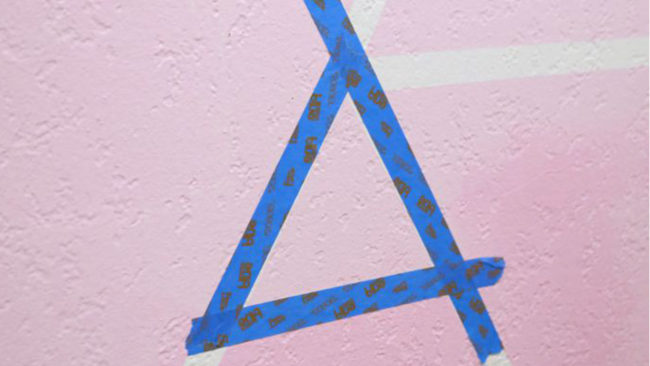
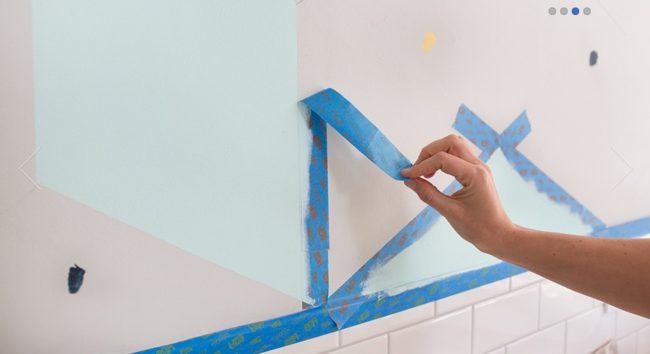
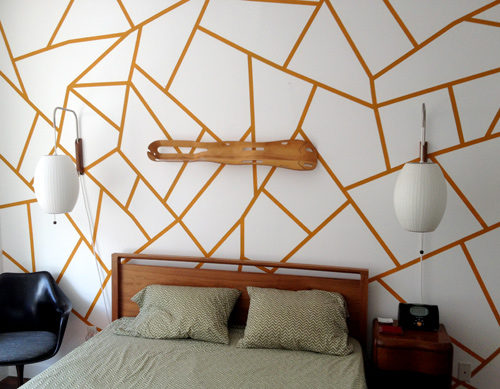
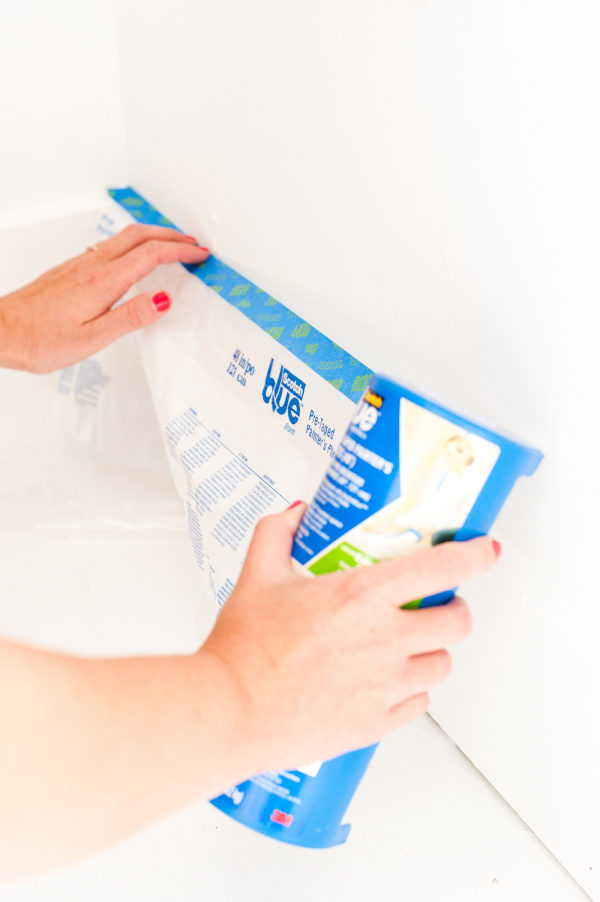
With masking tape
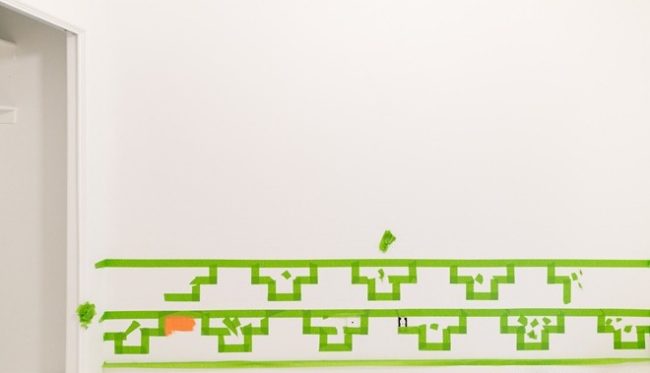
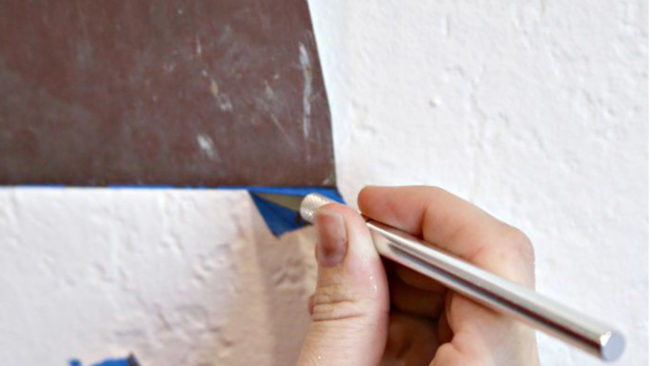
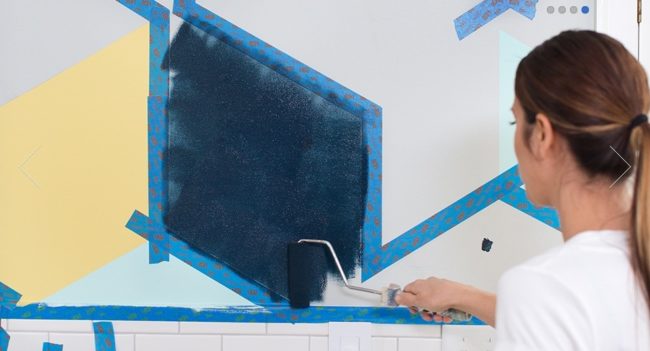
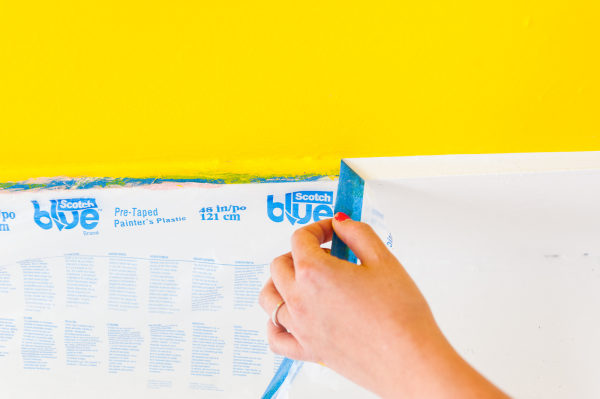
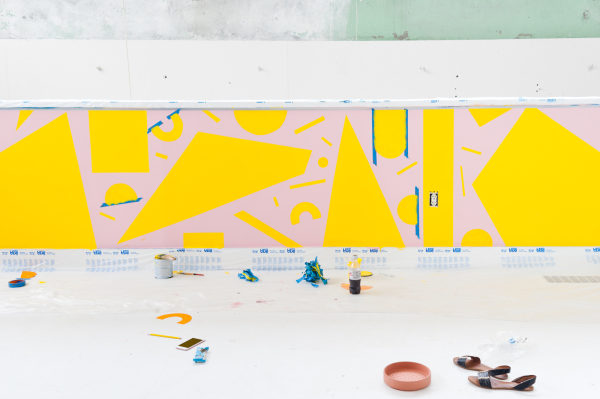
The essence of the method is that the wall is glueda special masking tape (just lines or their combination), then paint is applied, and when the tape is removed (without leaving traces on the wall), a geometric pattern is formed. 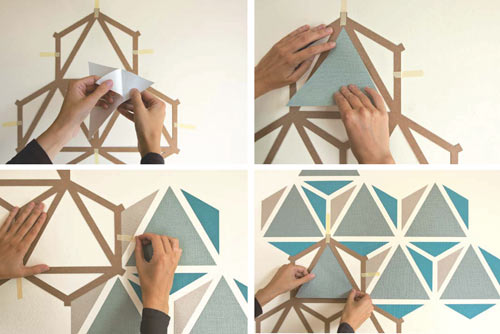 ATTENTION: When painting it is important that the paint does not fall under the tape. Here we will work with a roller, each time picking up paint, make sure that it does not have too much
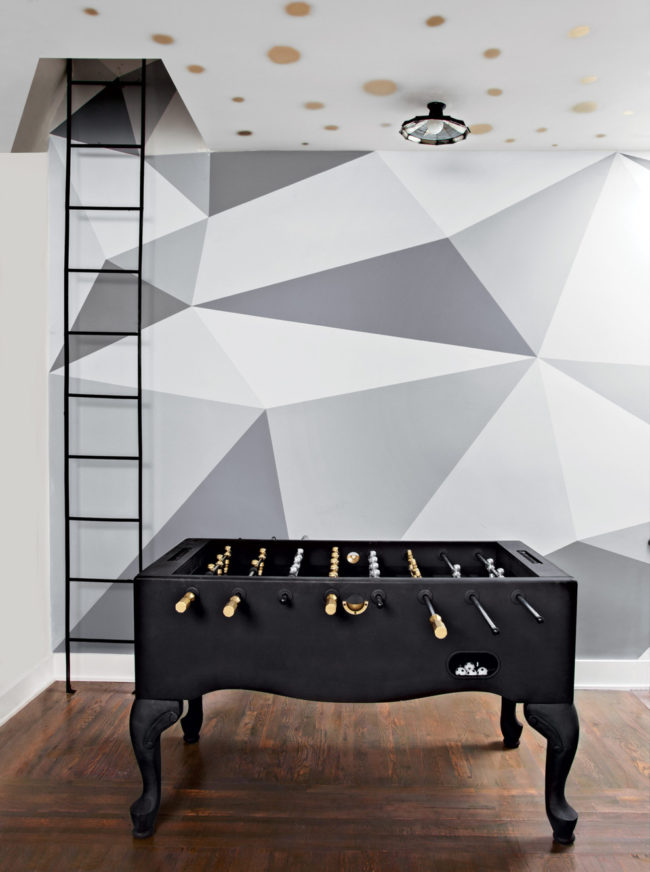
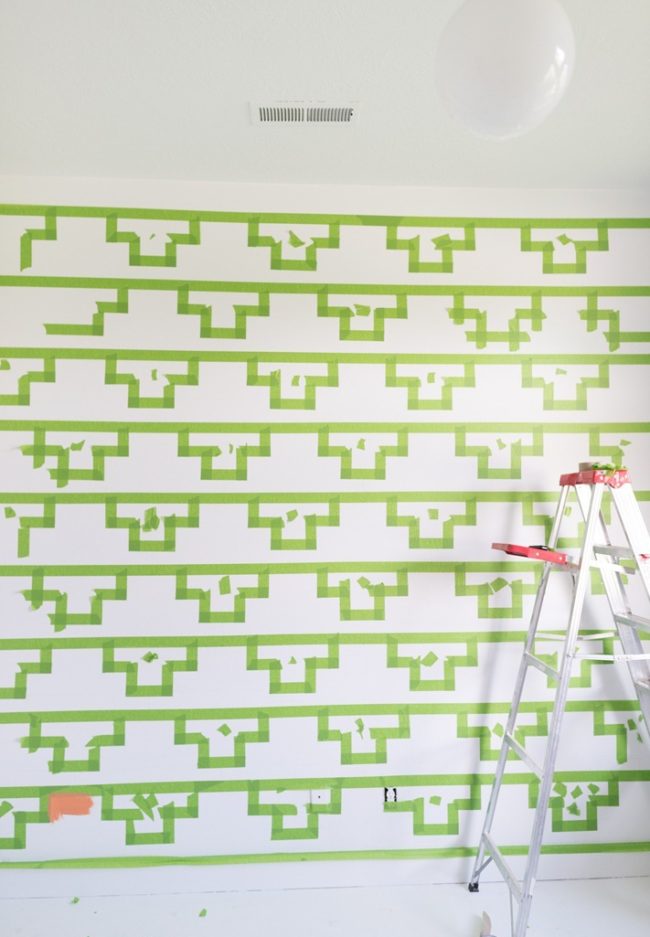
 Master class: Step forms We will create patterns on the walls here - steps. To glue the tape equally and smoothly using a cardboard stencil.
 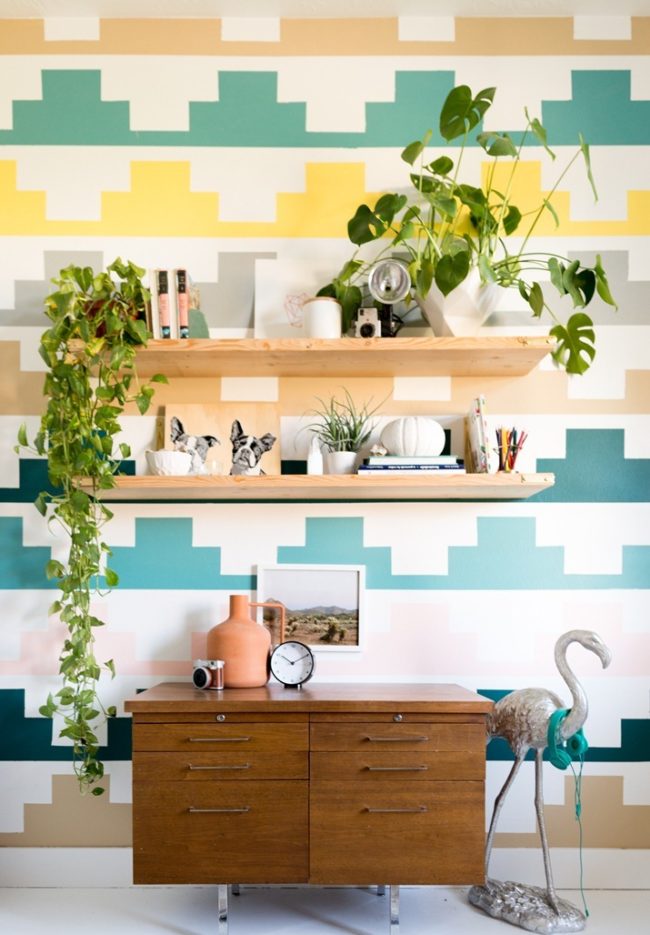 Instruments:
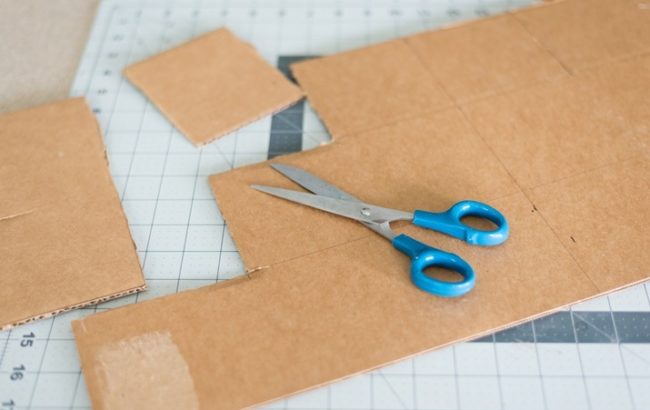
- scotch, thick cardboard (you can cut the box),
- paint, small roller.
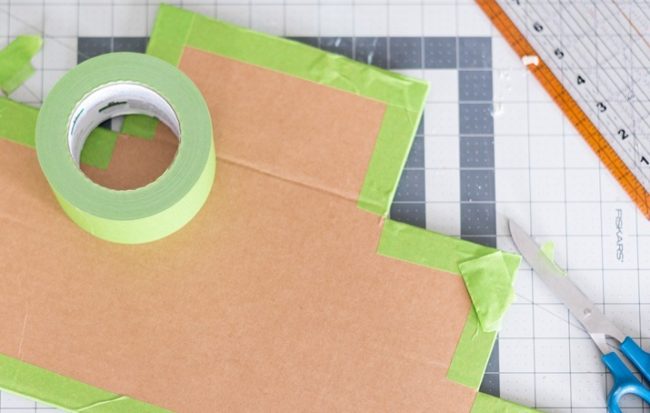
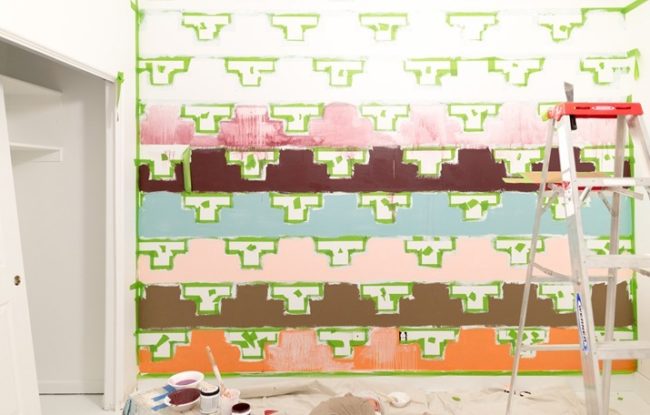
Drawing technique: 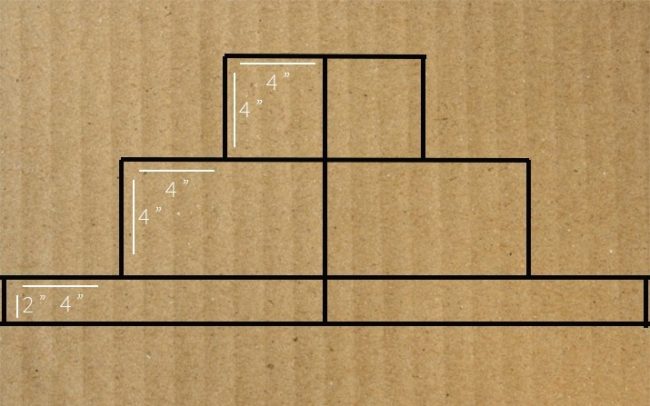
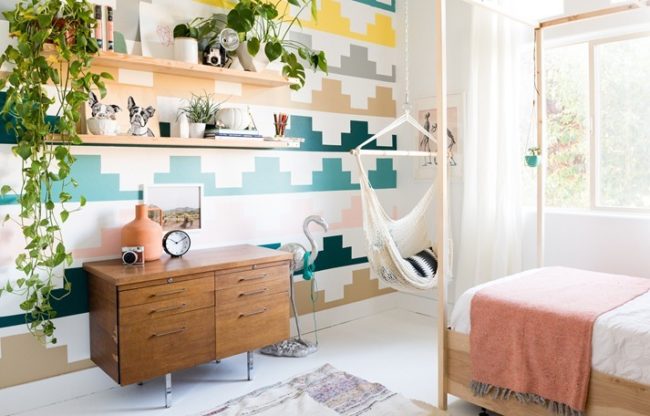
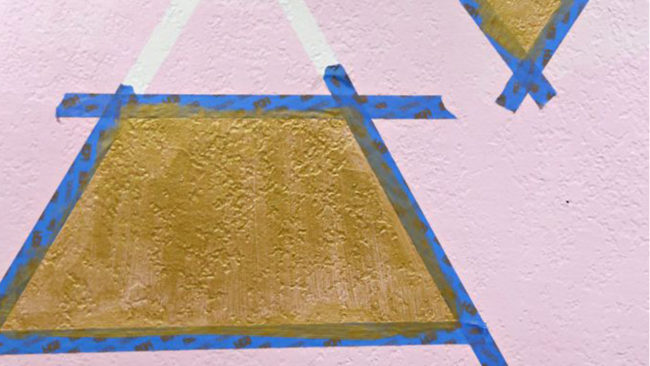
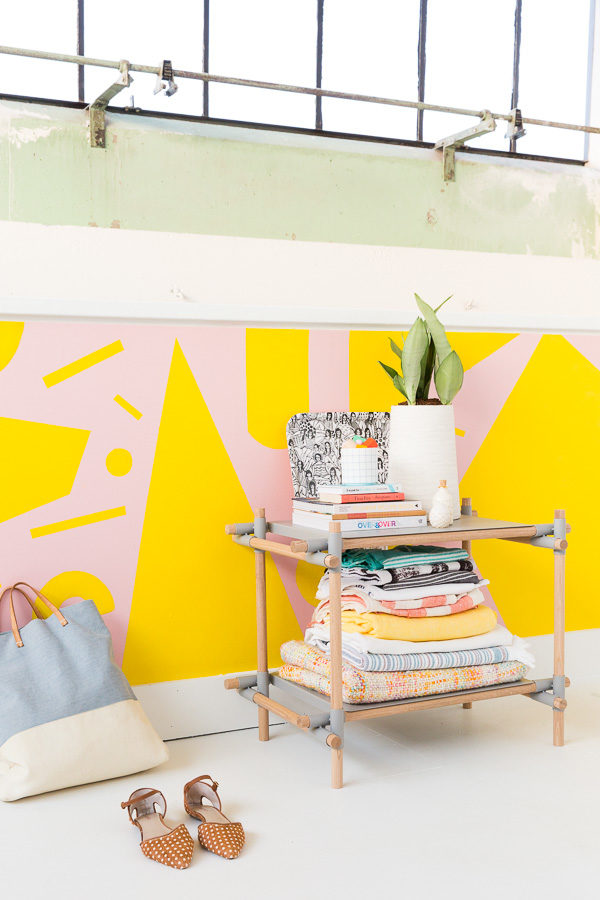
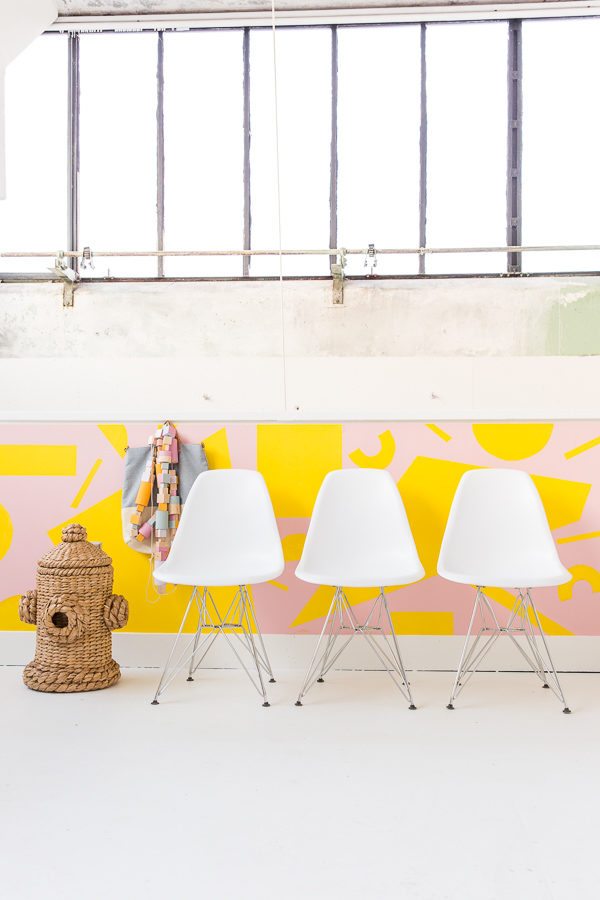
 The result should be like in the picture:
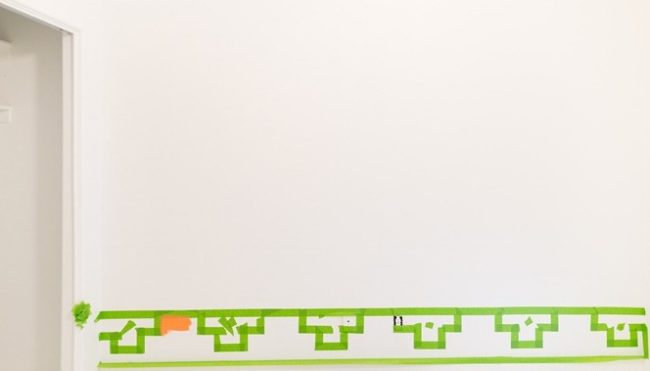

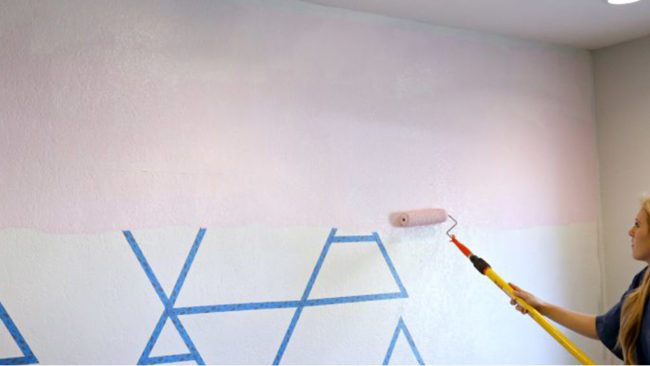
 Master class: Triangles on the walls in the style of ombre Triangles, the color of which varies from base to top from pronounced to more and more light shades, will make the room elegant and modernist.
 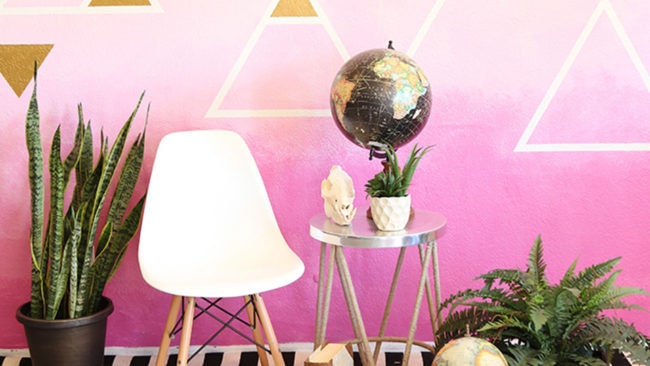 You will need the following materials:
- Ruler
- Stationery knife
- Rollers and brushes
- Paint tray
- 4-5 shades of one color of paint (on each can)
- 1 can of paint in a contrasting color
- Painting Scotch
Execution Instructions:


 Master class: Optical patterns This method of painting will require a bit more calculations and preparatory actions than the previous ones. But the resulting picture with the 3D effect is worth it.
 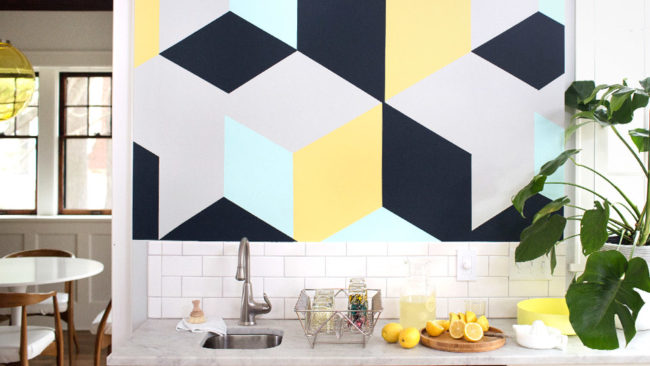 You will need the following materials:
- Painting Scotch
- Paint of different colors (3-5 will be enough)
- Paint tray
- Roller
Stages of creating a picture: 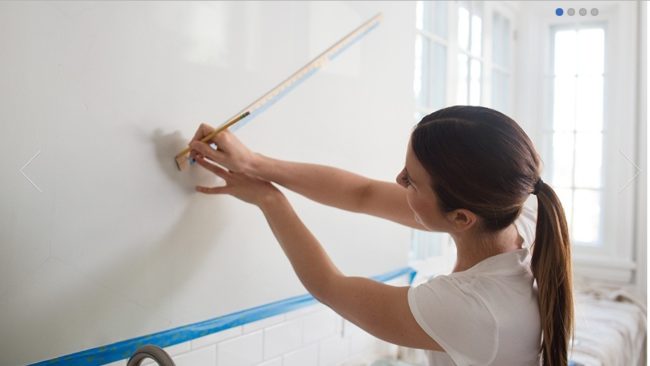
Thus you can paint both the whole wall and its part, then there will be a 3D effect of the picture. 
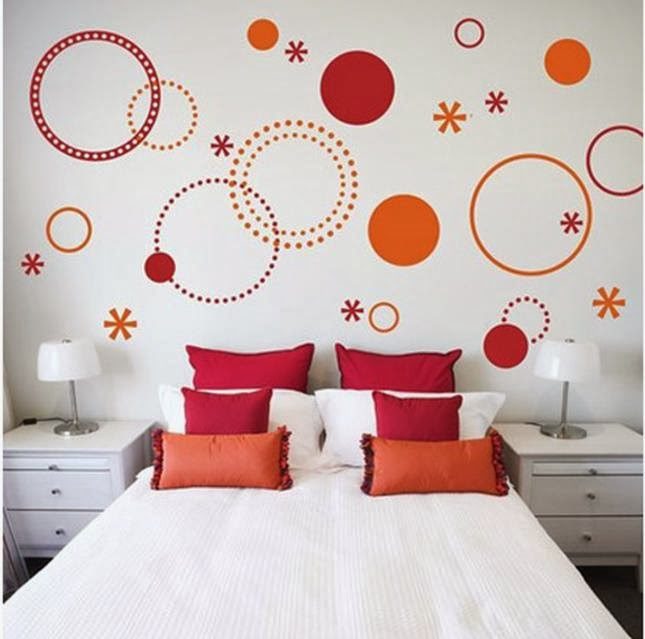
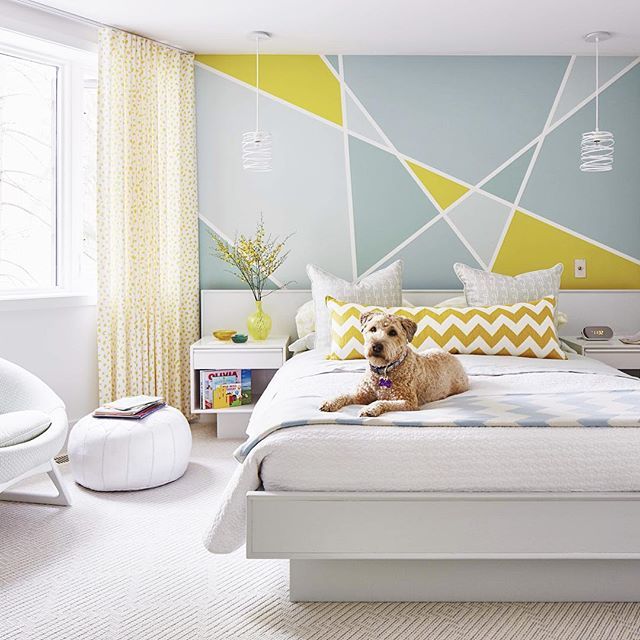
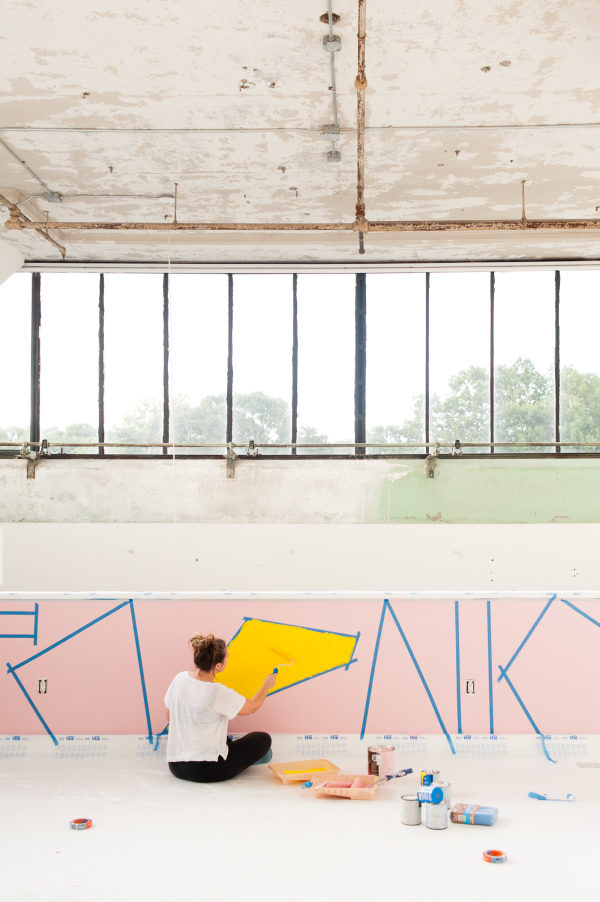
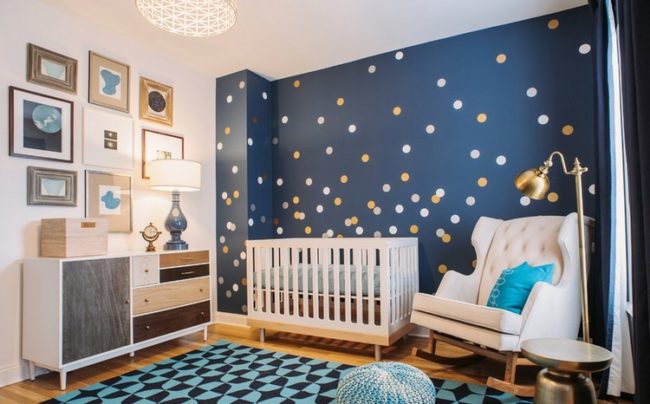
 Master class: Geometric shapes on the wall Triangles, squares, circles and other geometric shapes scattered across the wall will create an original composition.
 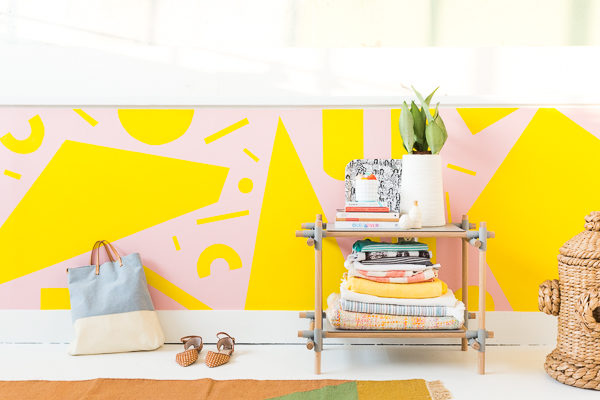 Materials:
- Painting Scotch
- Paint two colors (for backgrounds and patterns, the first need more)
- Paint tray
- Roller
- Stencils for figures with uneven lines (for example, circles and ovals)
 Progress:

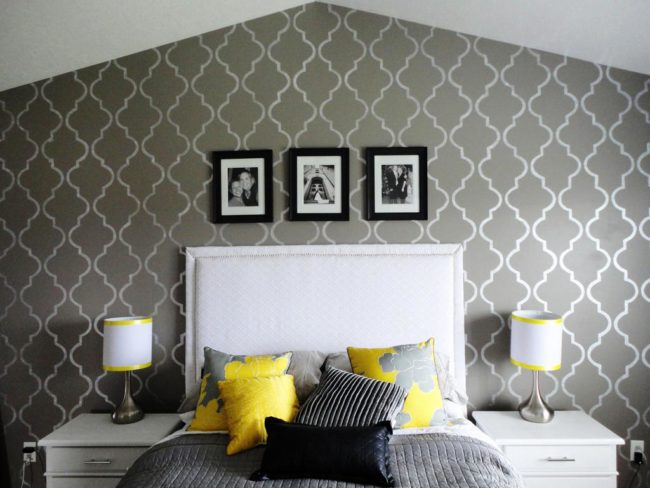
Using stencils
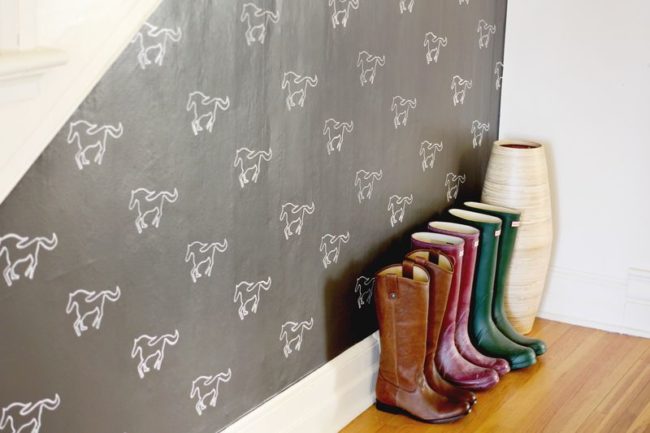
Stencil process allows drawings of varying complexity, regardless of artistic ability. You can even create a very complex ornament, just buying the appropriate stencil. 
 Yes, and time to create a pattern on the stencilwill leave much less than with hand-painted. The range of drawings obtained by this method is very wide: flowers, trees, animals, insects, abstraction, and the list goes on.
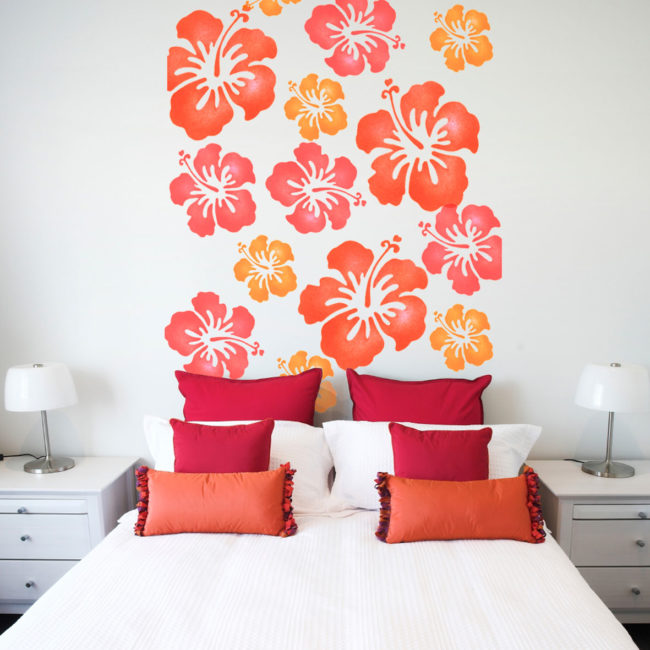
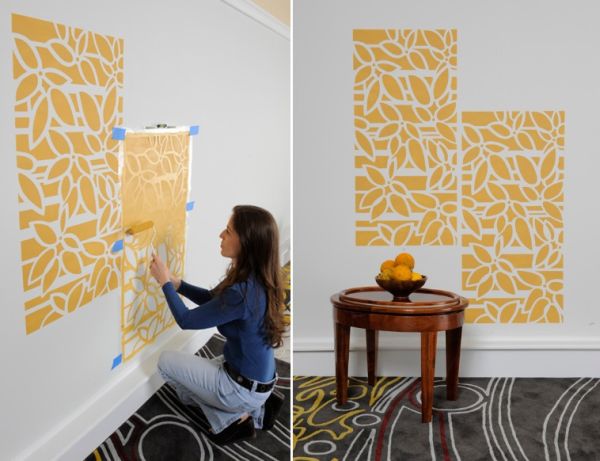
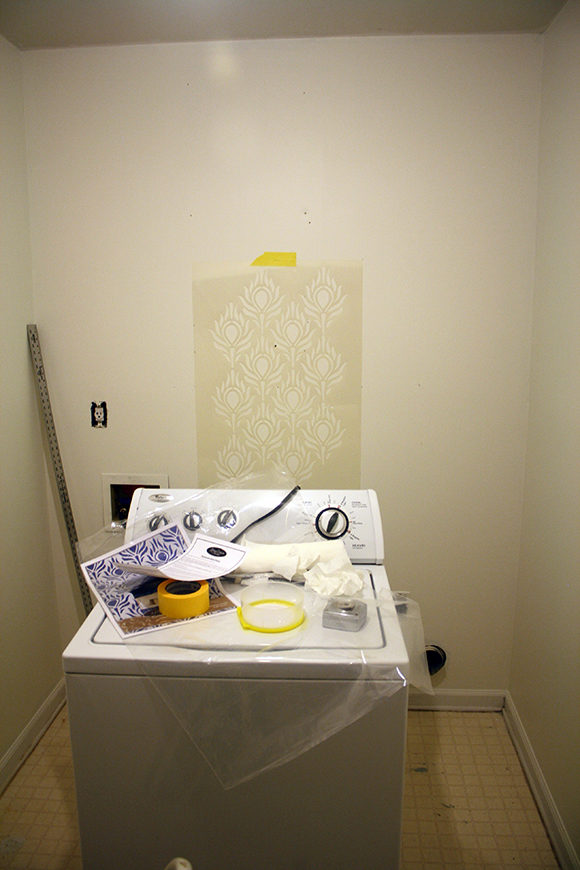
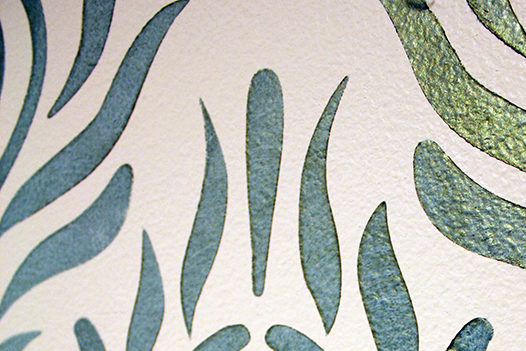
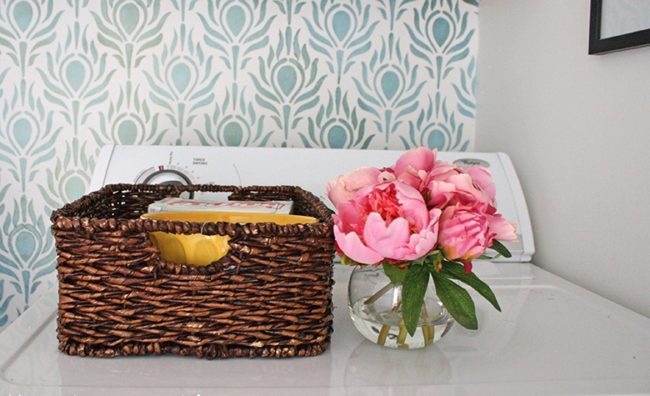
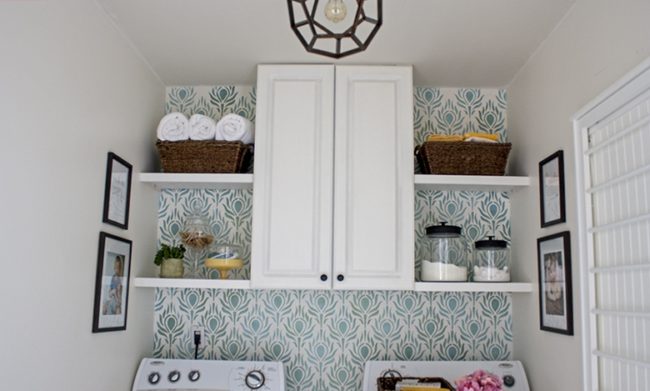
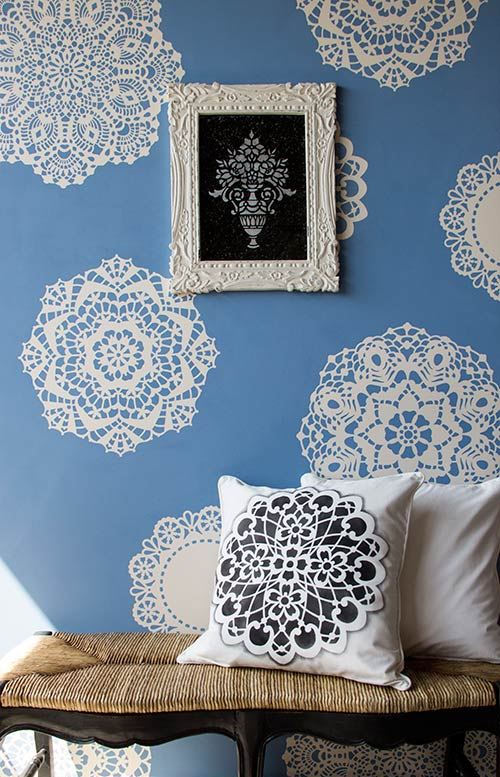
 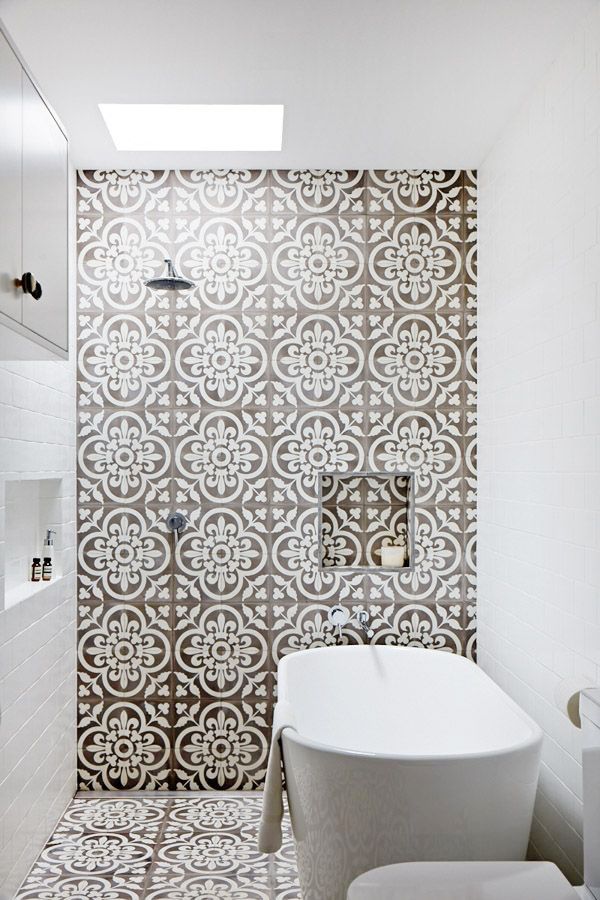 For inspiration with this painting method, we offermaster class on the creation of floral ornament. Master Class: Floral Print To somehow diversify the walls and not leave them just white, decorate them with a contrasting floral pattern created with stencils.
 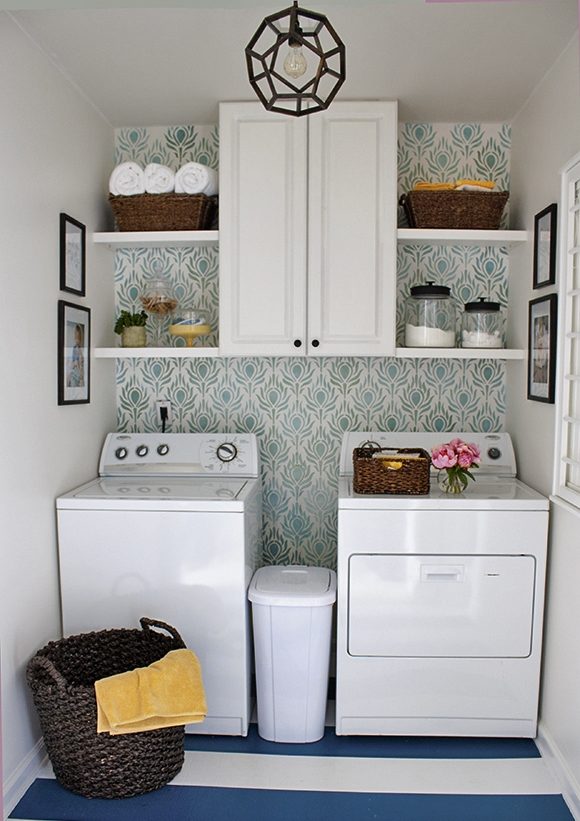 For this you will need the following materials:
- Stencil
- Paint (white for the background and contrasting, in this case bluish with a tint, for a picture)
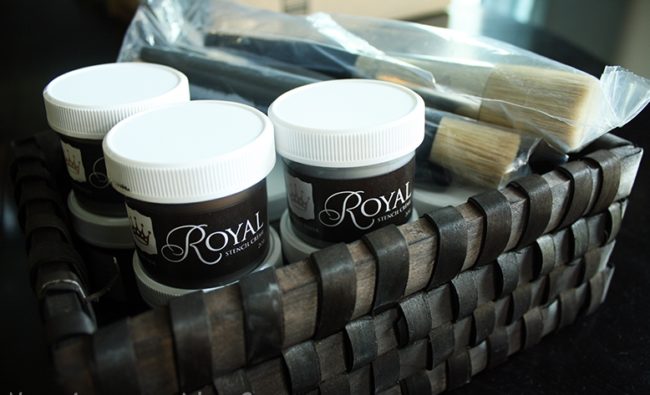
- A brush (a small, short and stiff bristle is best suited)
- Masking tape (only to attach the stencil to the wall for the duration of the work, and not to ask someone to hold it)
 Progress:
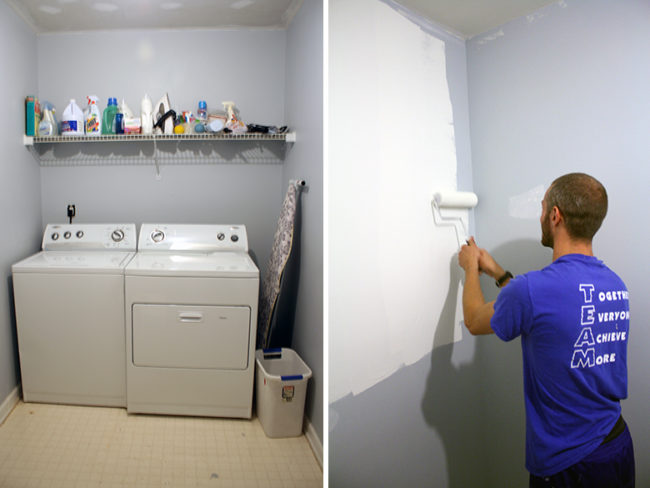

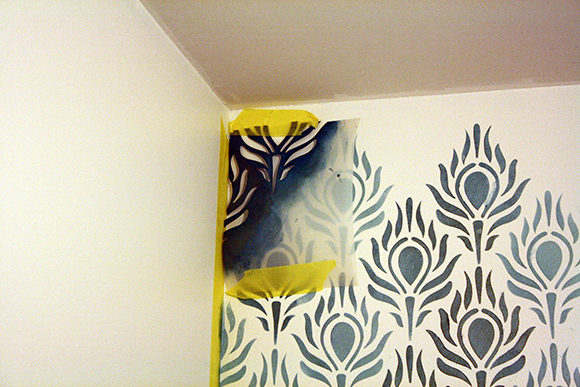 Important: when painting, carefully watch your free hand, so as not to leave finger marks on the white wall.
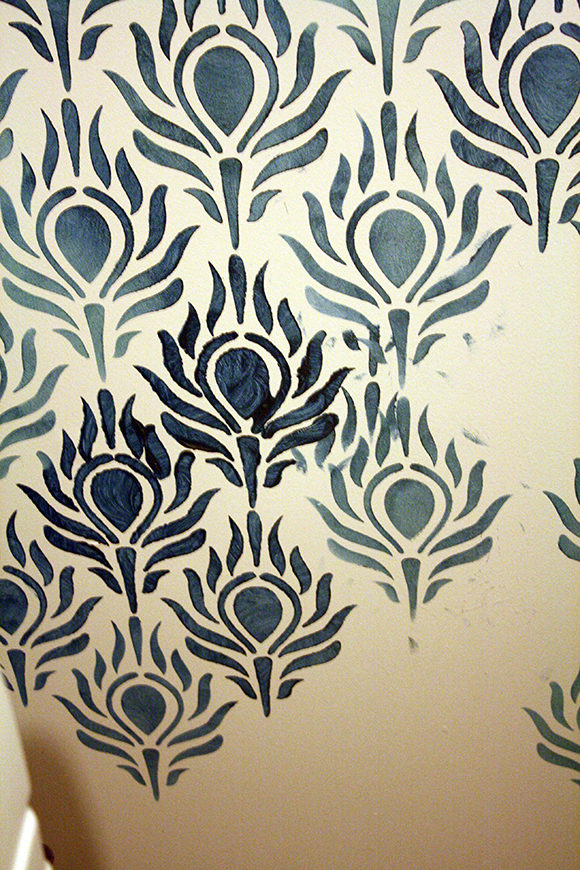
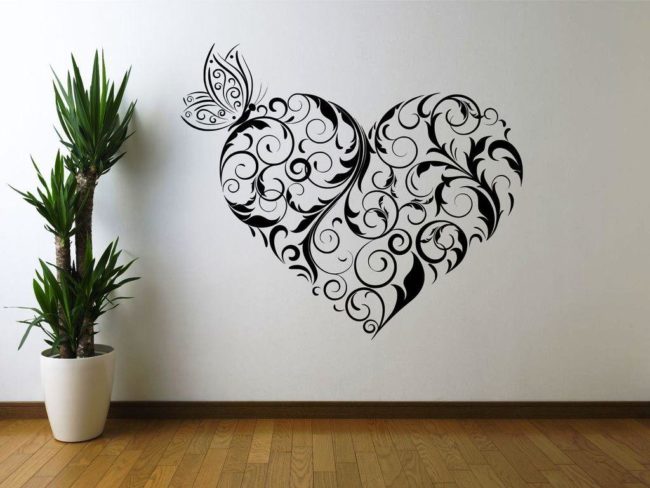
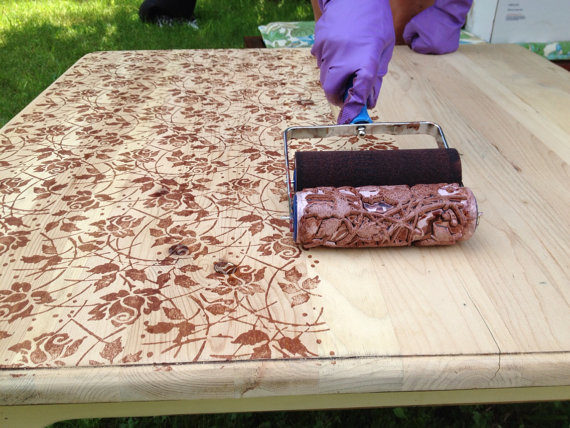
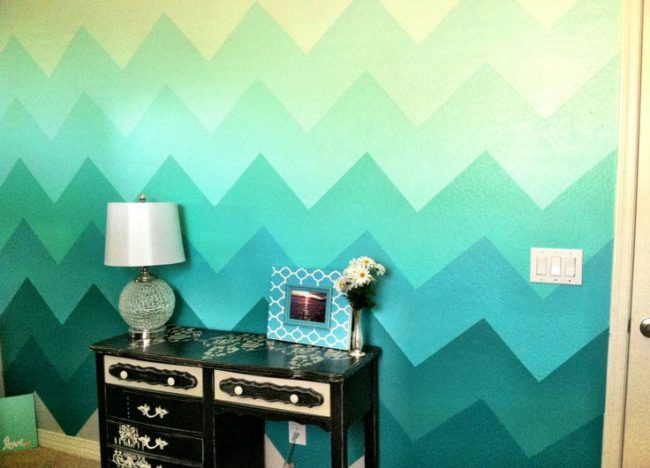
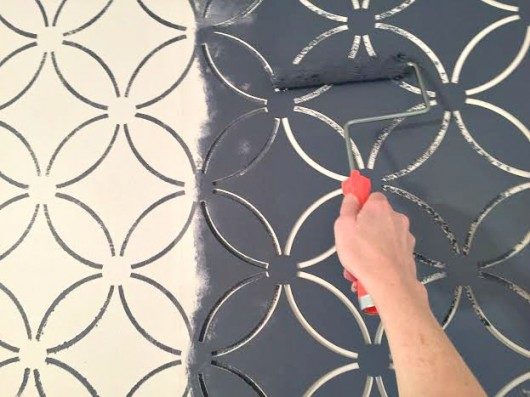
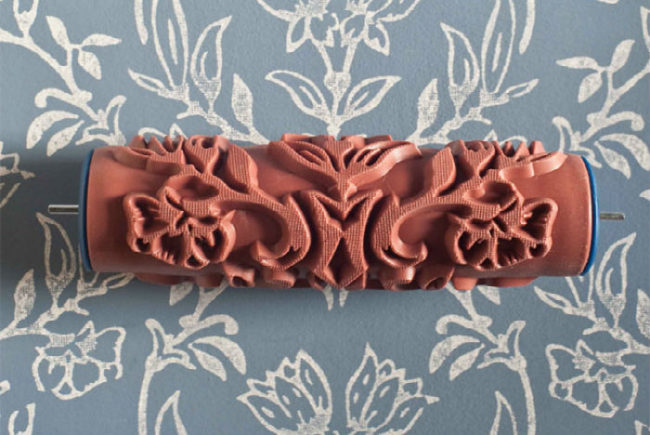
Roller with patterns
This painting method allows you to quickly createpatterns on the wall, requiring a minimum of effort. Its essence lies in the fact that initially you put a background paint on the wall with an ordinary roller, and then paint the wall with a different color with a special roller with patterns. 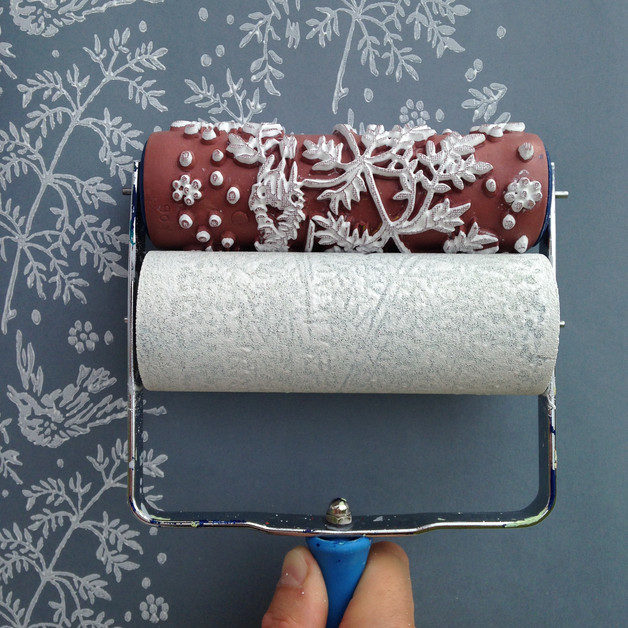 Of course, the colors should be chosen so that everything looks stylish and harmonious together. Work with such a special roller is the same as with the usual:
If you do not want to bother much, but you also want something more original than the usual solid color of the walls, this method is exactly what you need. 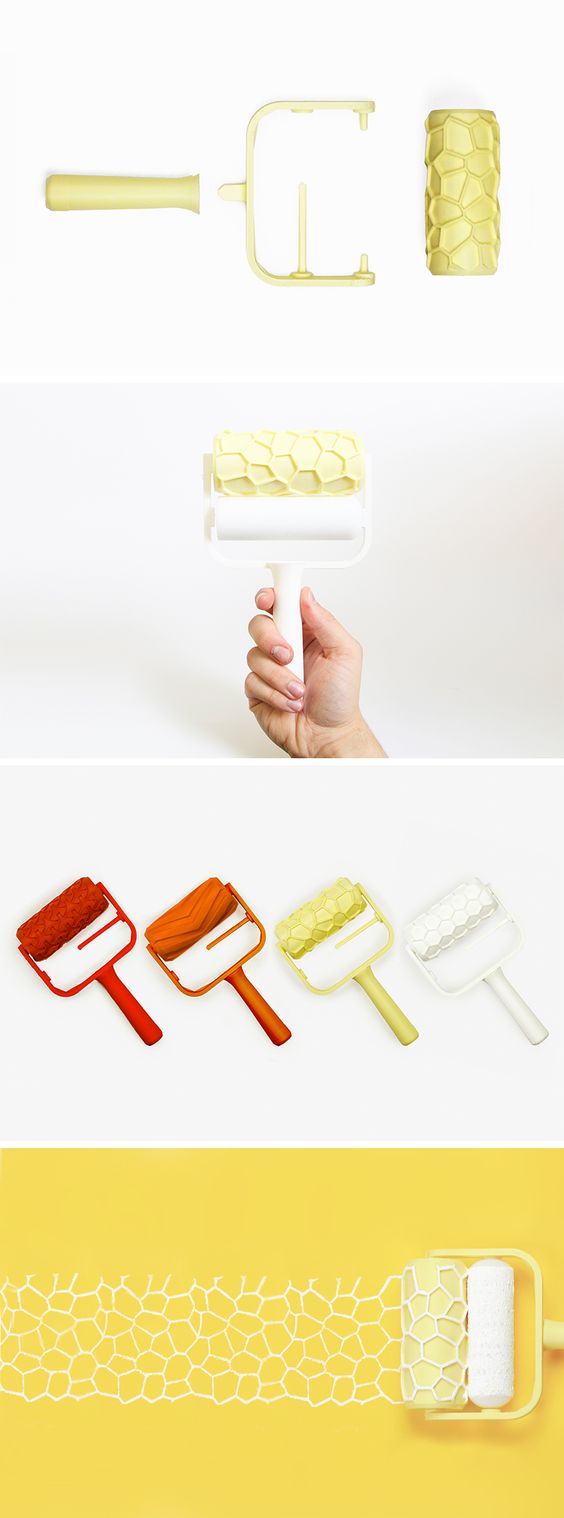
Comments
Related posts:
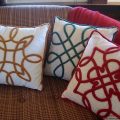 Celtic pillow with your own hands, Celtic pillow patterns - master class
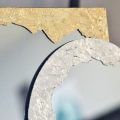 DIY mirror decor: 10 master classes and 50 photos
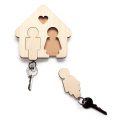 Keyboard with your own hands Budget: 7 workshops and 25 ideas
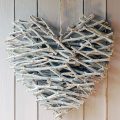 Crafts from the branches with their own hands: 10 workshops and photos
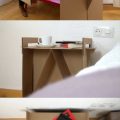 Do-it-yourself cardboard furniture: 7 master classes of tables, chairs and shelves