Easter eggs from beads: ideas of decoration with their own hands
Content
- Meaning of the Easter symbol
- Materials and tools
- Ways of decorating eggs
- Master Class on design of eggs with beads
- Video: We decorate the Easter egg with beads
- Techniques of braiding eggs with beads
- Video: Lesson of braiding Easter eggs with beads
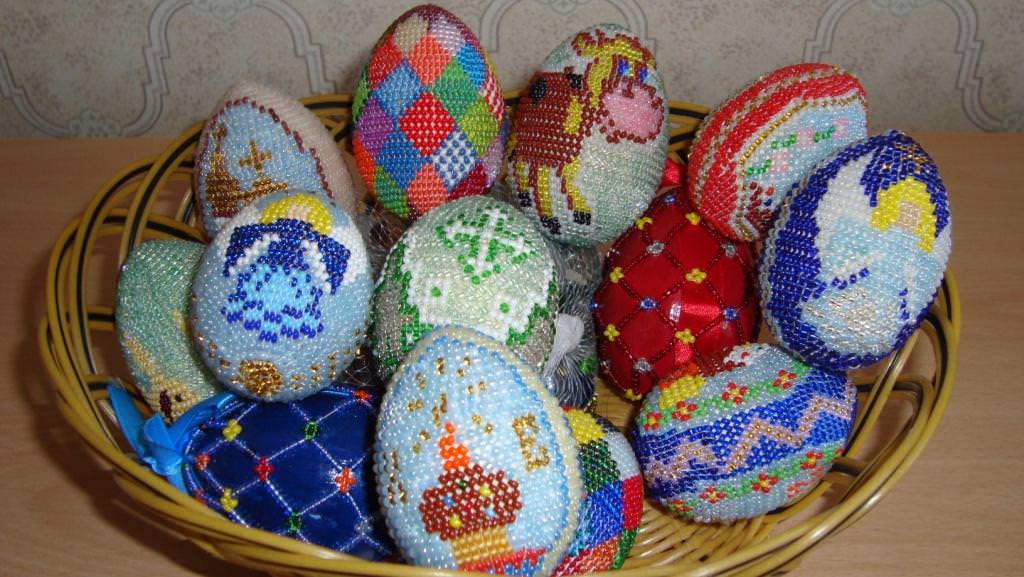
Long ago, people celebrated the holiday of bright EasterDelicious Easter cakes and Easter eggs. The painting and painting of the latter were given special attention. With the passage of time, the evolution of the design of Easter eggs in its development has moved far ahead: from dyeing onion husks to weaving with beads. Today there are so many decorations, and they are so diverse and individual that they allow everyone to show their creative abilities in the technique that is closer to him.
Our master class will reveal some secrets and demonstrate with the help of a photo how it is possible to make Easter eggs from beads with their own hands.
Meaning of the Easter symbol
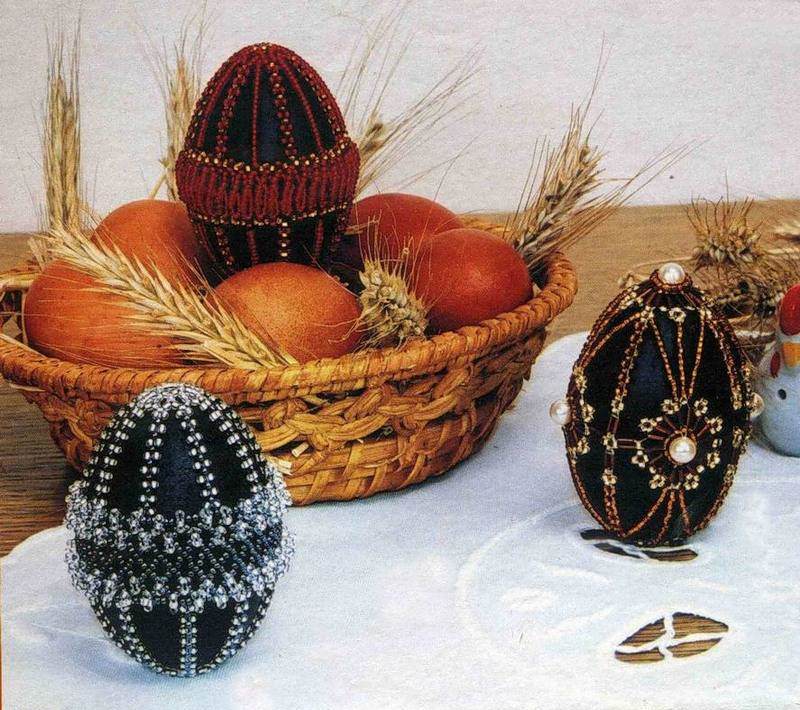
Easter is one of the greatest ChristianHolidays, revered throughout the world. His arrival is eagerly awaited, preparing in advance with special trepidation and respect. The celebration of Easter faithfully preserves the traditions and customs of the ancestors: a cake oven, decorate the Easter basket and, of course, deal with the painting of eggs.
Egg is the amulet and symbol of prosperity. The tradition, traditionally known in Russia, to give Easter eggs to each other is not accidental, since the donor, symbolically bestows somebody with good, prosperity and prosperity, saving the house of people close to him from corruption and filth.
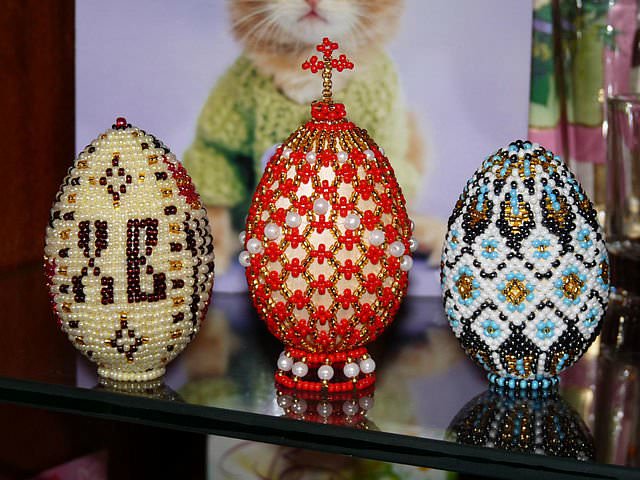
Beading with its many bright andColorful techniques of weaving allows you to create your own hands a beautiful, and sometimes exclusive decor of eggs. Today we will look at several interesting and accessible ways of weaving even for beginners: from simple to more complex.
Materials and tools
If we are talking about creativity, then the skilled workers know,That materials and tools need a lot. Since we decided to combine several lesson-presentations into our master class, we will need more materials than for one traditional weaving. Having become acquainted with the lesson and demo photos, you will understand what you want to do and on the basis of this, choose those elements that will be needed.
Egg preparation 
The subject of our today's creativity isEaster egg from beads, and therefore, without its imitated form, we can not do without. In your work, you can use any convenient egg preparation for you: wooden, plastic, foam, foam, or make it from a regular fresh egg, removing all the contents beforehand. It will be important here that the form should be extremely durable and relatively light.
We will perform braiding on blanks from different materials, so that you can visually demonstrate the available opportunities.
Thread In order to make an egg, we need a thread, which will be sewn beads for weaving. It can be monofilament, nylon, ordinary waxed or thread for beads.
Beads Usually, for decorating Easter eggsUse beads of different colors and sizes, as well as large beads. At the same time you do not need to buy it specially, because you can create unique patterns from the remnants of the existing one.
Additional tools Also useful are: a pencil, glue, pins with colored beads on the end, sequins, a candle, a fresh egg, a paper clip, a needle for beads.
Ways of decorating eggs
Before we begin our main master class, we want to dwell on the simplest ways of decorating eggs from beads with our own hands.
Sealing with beads, rhinestones This method is very simple, since it does not require the use of a scheme and even the children can do it. All you need is your imagination and tool.

We take the workpiece, we draw a sketch on it with a pencilOur future drawing. Further, those places which will be made out accordingly, spread with glue and begin to paste beads, following our pattern.
The advantage of this option is simplicity,Accessibility and the ability to reproduce any ornament or composition. In this case, the beads can fill the entire shape, covering the surface with a monolithic layer, as well as its individual parts, focusing on individual elements.
The implementation of such design is a very laborious and laborious process, requiring perseverance, patience and attentiveness.
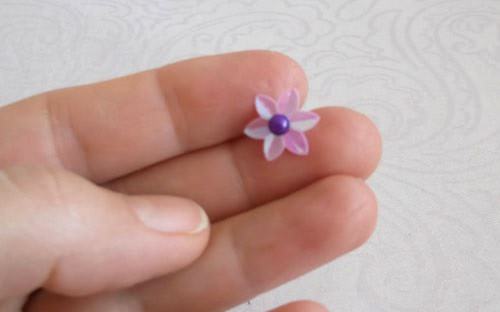
Paillettes Sequins can also becomeA wonderful material for decorating Easter eggs. Using sequins of pastel colors, you can cover them with shells, creating a very delicate and airy pattern. And the use of sequins in the form of flowers, will create a magnificent decoration for our souvenir, which marks the spring awakening of nature.
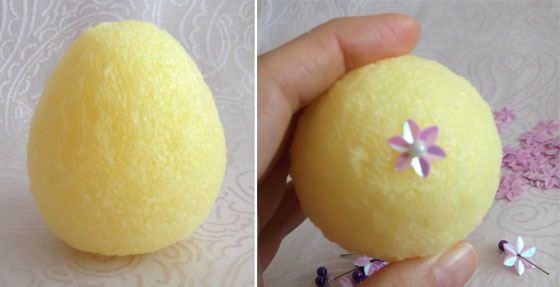
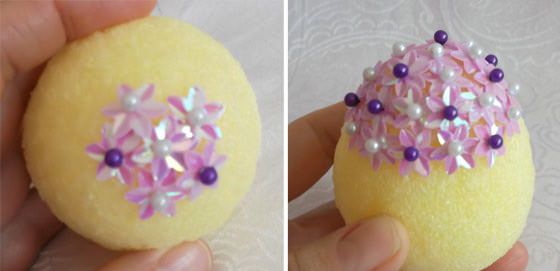
Let us consider in detail what we should do. We take the foam blank. Paillet pierced with a pin with a colored bead on the end and we work into the base. Alternating color of pins, we place our flowers on the basis, trying not to leave empty places, to the maximum filling of the surface. During operation, the iron rod of each pin is smeared with glue, for better fixation in foam rubber.
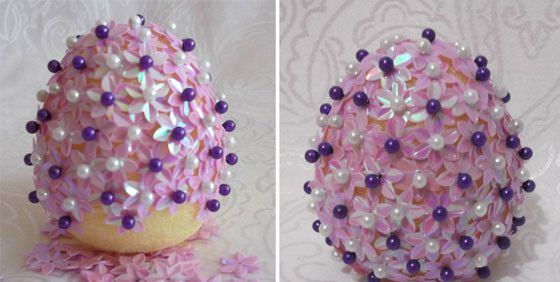
To give the product of completeness,We suggest you make a stand under the egg. For this purpose, we will apply a pinch form (true masters will find use for everything). The edge of the stand is pasted with green paillettes in a circle, and when everything is ready we attach the ready-made creation to the center. Our wonderful souvenir is ready! Easy, simple and fast you get a spring mood and joy from the work done.
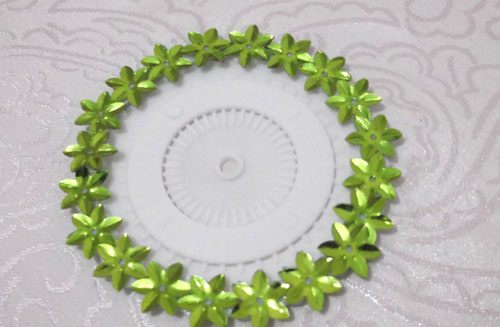
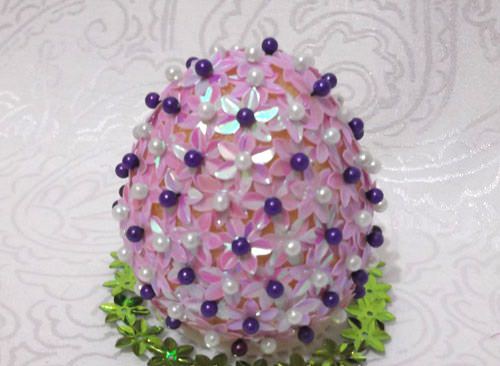
The braiding of eggs with a net of beads This wayAssumes the use of the scheme in work. The technology of weaving is based on the fact that the braiding takes place in three stages, due to the specific oval shape.
So, a mini-master class and accompanying photos.
We divide the base into three parts: the upper, lower and wide central belt.
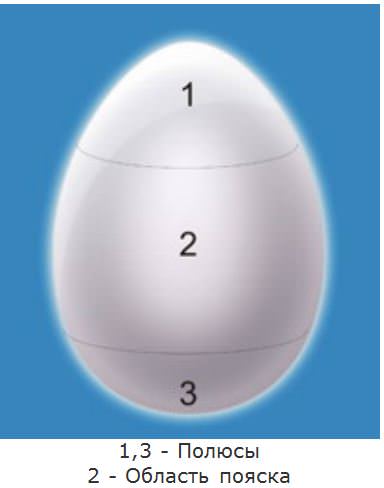
We begin the work with the central fragment, for which we sew the net from the beads using the given scheme.
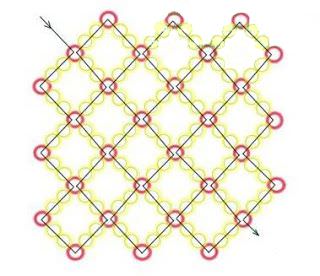
The size of the net should be sufficient to cover the egg in width. Next, we put the net on the workpiece and perform the joining of its edges. It is very important: the belt should fit tightly.
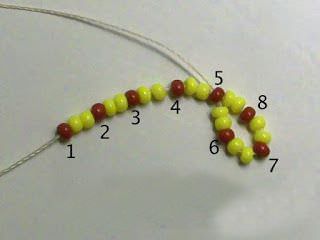

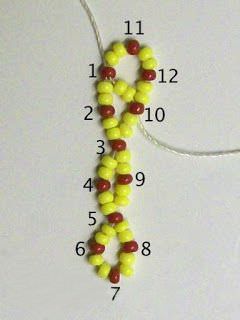
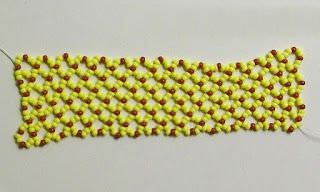
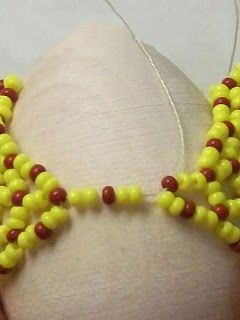

Now we have to pollinize the poles. An excellent assistant in this for us will be a visual diagram, shown in the photo below:

Braiding the crown requires special attention, youBe sure to monitor the uniform reduction in the number of beads of each successive series. Setochka should fit as tightly as possible, weak, dangling rows are not for us. We expect an excellent result, do not we?
To fix the final bead, we passThrough it thread, passing through the nearby, tighten the knots. The thread is well fixed, otherwise weaving can "blossom". The circumcised tip is masked.
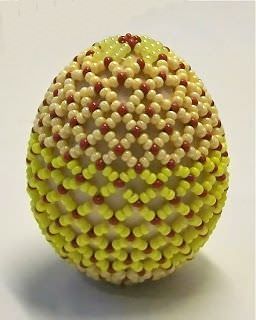
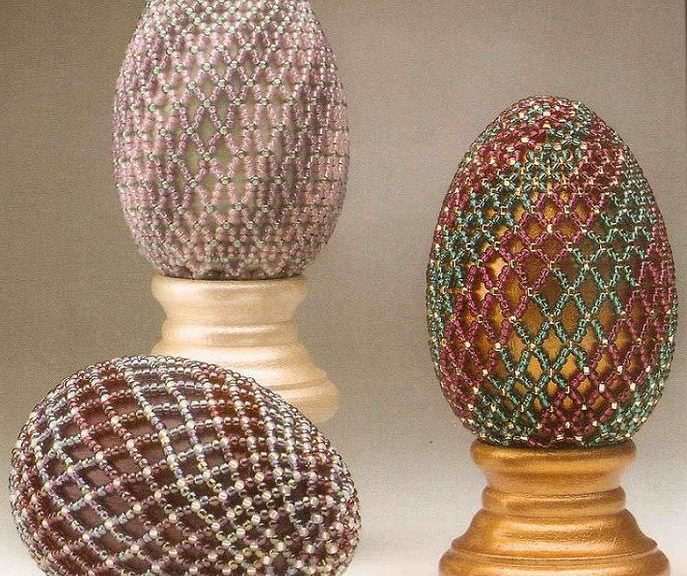
As a result, a very original festiveDecor element. And using beads of different colors, to create all sorts of motives, you can achieve absolutely amazing results. In the photo below you can see an example of such a weaving.
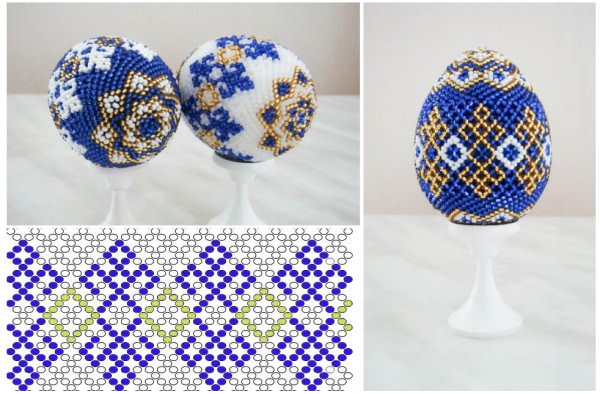
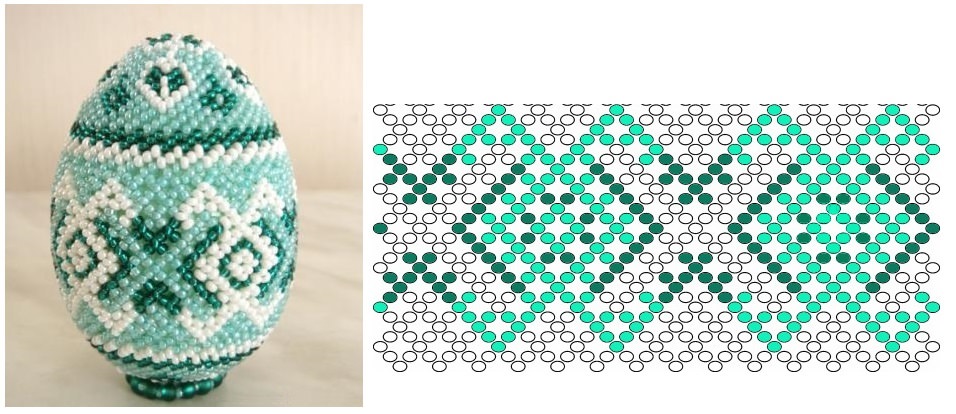
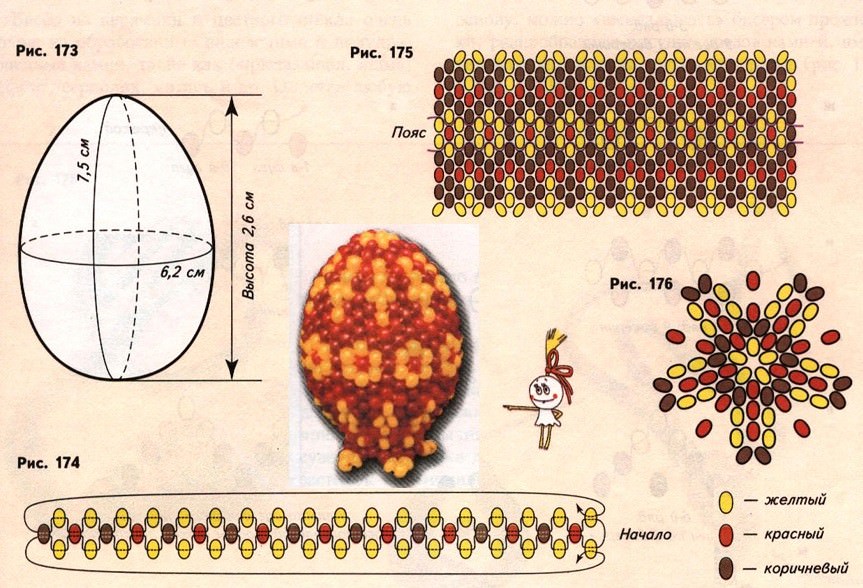
After some practice of weaving, the use of any scheme will become very easy and usual for you, but what masterpieces in the form of eggs you can create with your own hands.
Master Class on design of eggs with beads
Now we are waiting for a step-by-step master class, where we will go through all the stages of our work in detail, carrying out the braiding of our future Easter egg.
We will begin by preparing our foundation. We will take the usual egg, having made two holes in it (small below and slightly larger in the upper part), we delete all the contents, blowing it out. When the shell is free, glue a small hole with a piece of newspaper, greased with PVA glue. We put the finished element aside, letting it dry.
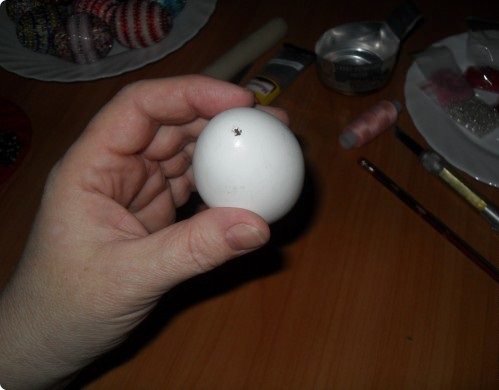
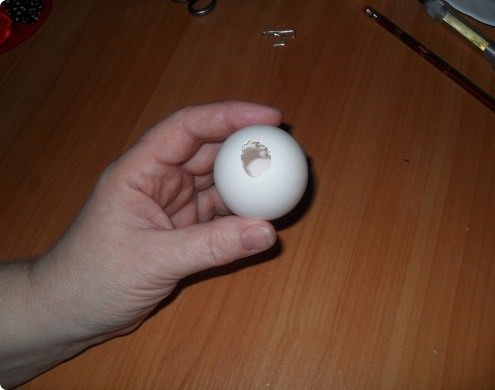
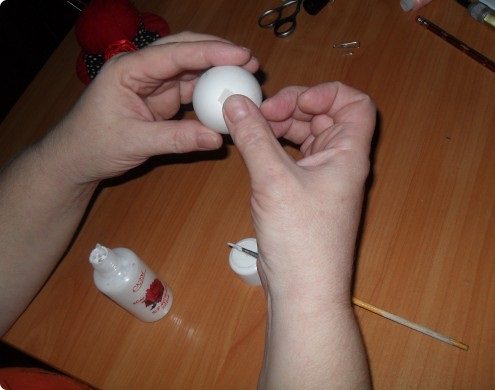
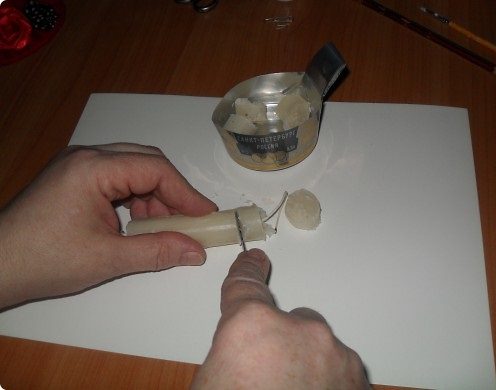
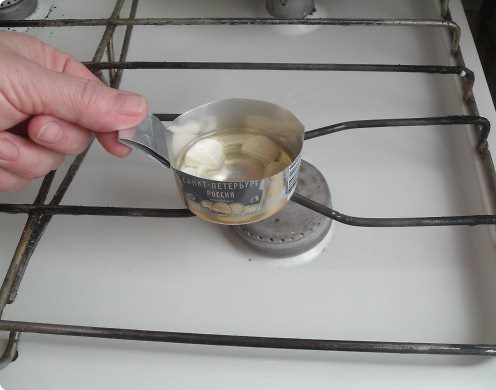
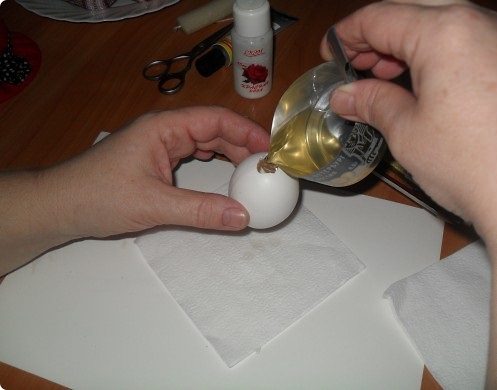
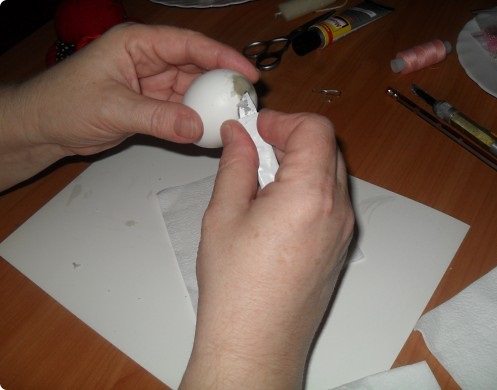
Meanwhile, we take a candle, cut into smallParts, we put in a container (at us it is the cut off tin can from an energy drink) and we heat up on a plate, until paraffin is not melted. Having achieved a liquid state, we pour paraffin into our billet, through a large hole. Do not rush to get rid of the remaining wax, because it is still useful, because as it solidifies, the wax in the form will decrease and we will need to fill, the emptiness formed. When the paraffin stiffens, gently, but very carefully scraping off the surface of the egg surplus paraffin, because it will interfere with our work, not giving, glue to lie on the entire surface evenly. Then we seal the hole with paper.

Now take the needle with the thread, tie a knot at the end.
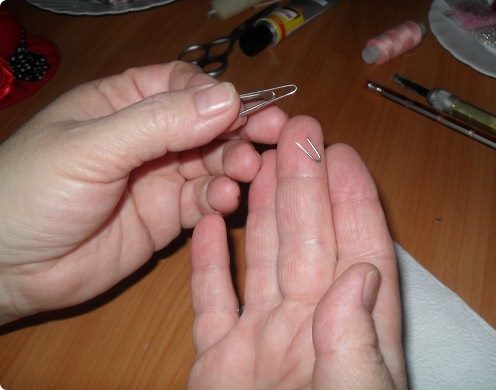
Take a paper clip and "bite off"Curved tip. With a simple pencil, on the surface of our shape in the upper part with a large hole, draw 2 vertical lines, at the intersection of which we lay the thread with the knot and press the paper clip, pushing it into the middle of the waxed hole.
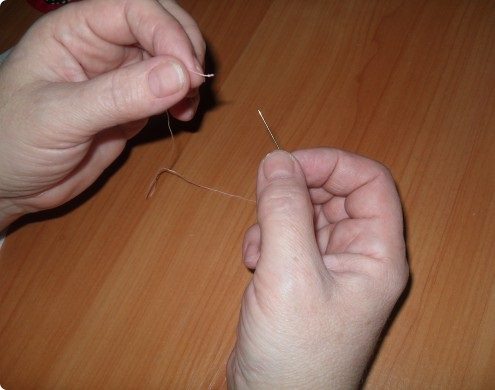

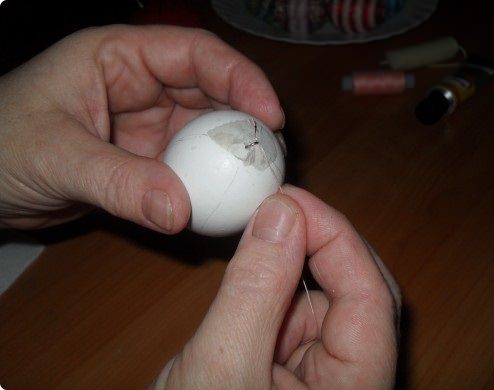
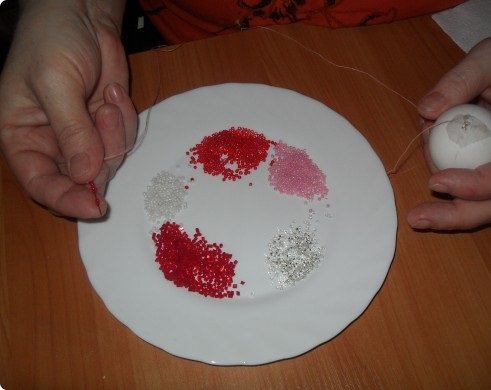
On the needle string the beads about 10-15 cm long. Here, color decisions can be different, depending on what kind of result you want to get. You can make an ornament with stripes, shading, rhombuses or make an image in the center, it all depends on your imagination. We will have the simplest option - with strips. Therefore, we will randomly type on the thread beads of related colors.
That the beads do not "run away" during work, we use a tissue cut of light color. You can adapt for this ordinary flat plate, which is also very convenient to type beads.
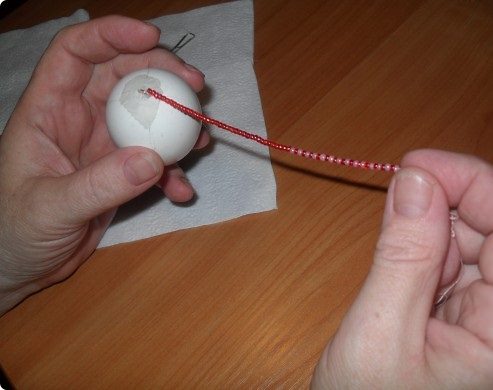
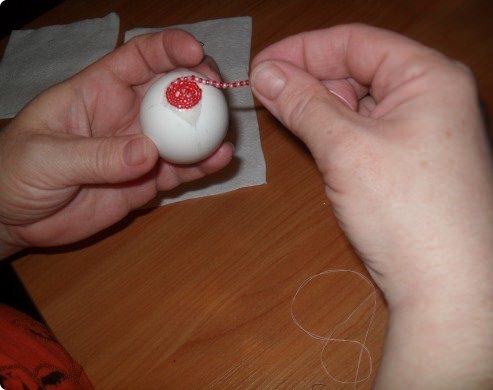
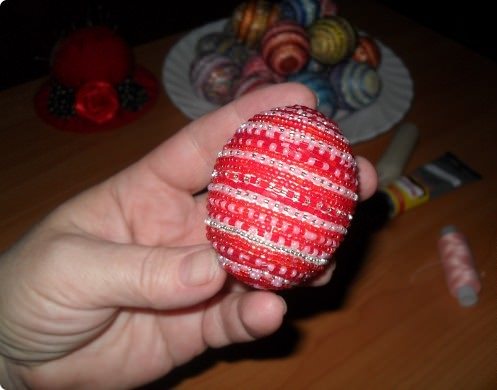
So, typing the low of the desired length, we put onThe surface of our form is glue and we lay the thread starting from the center and moving along a spiral. Thus, we perform braiding until we reach the bottom. We finish the work, fixing the glue thread, after removing it from the needle, and cut off.



Video: We decorate the Easter egg with beads
Techniques of braiding eggs with beads
For professionals who have already mastered the elementary schemes of weaving, we can advise you to try your hand at other techniques that widely use traditional beadwork:
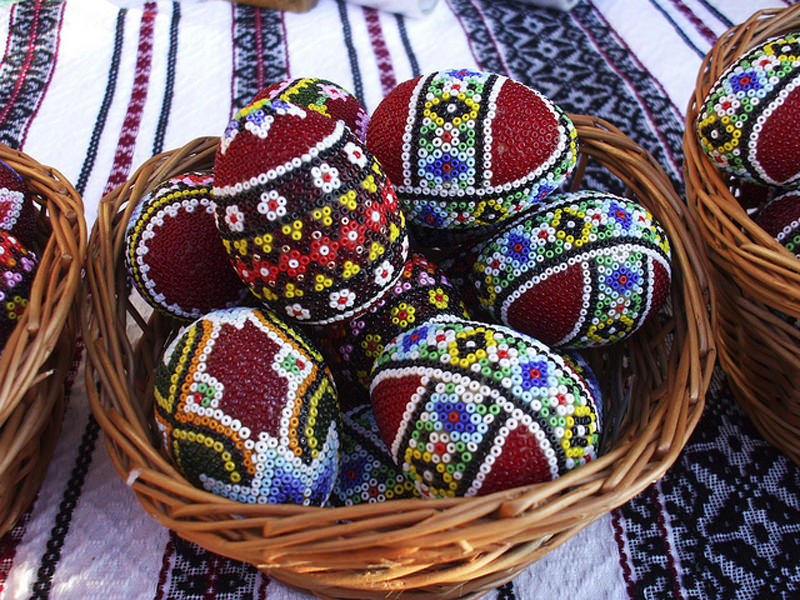
- Braiding mosaic, when the weave beads are laid as tight as possible, creating the effect of a monolithic coating. This makes possible the embodiment of various ornaments and complex paintings;
- Technique of hand weaving, characterized by a parallel arrangement of beads, which resembles work on the machine;
- Openwork mesh, the fastest way to fray an egg, because the presence of space between the elements of the weave, greatly speeds up the process and increases the canvas.
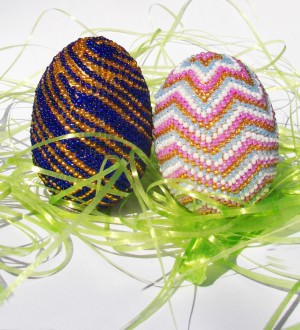
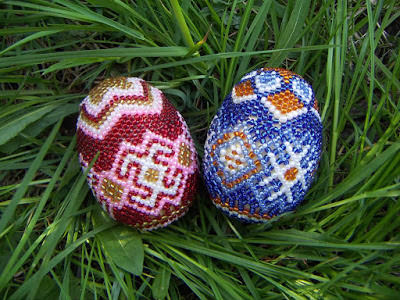
Easter eggs made of beads braided with "mosaic" technique 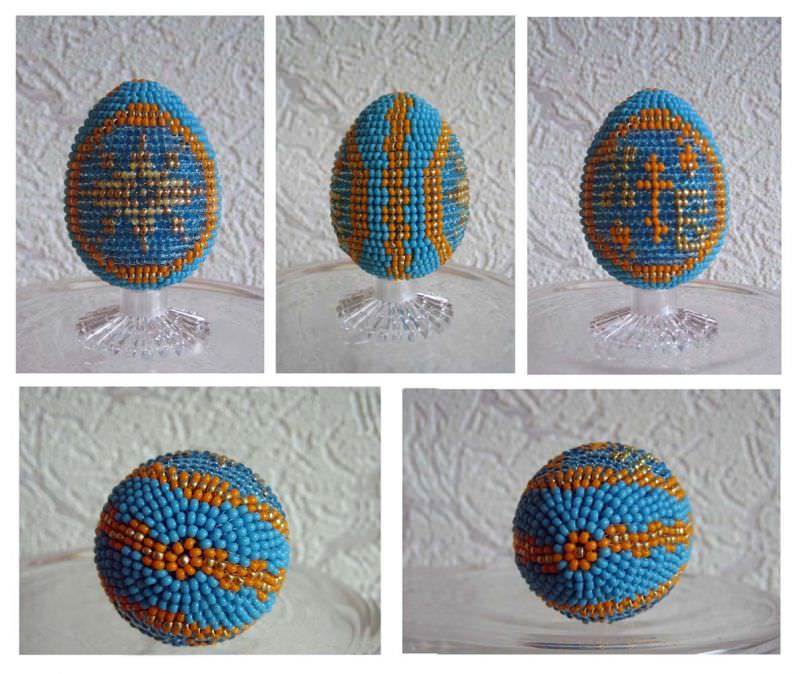
Easter egg from beads in the technique of "hand weaving" 
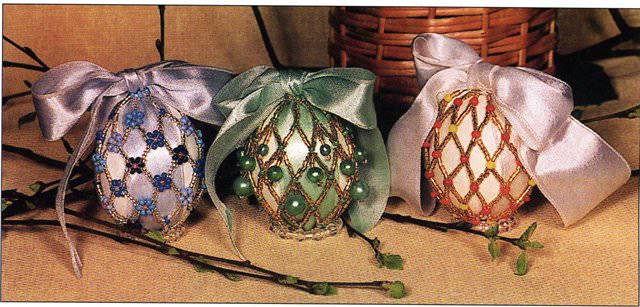
Easter eggs, braided with an openwork mesh All of the above techniques make it possible to make real masterpieces, provided a sufficiently high return in terms of time and effort.
Eggs from beads - a very symbolic souvenir,Which should be executed with love and warmth, with sincere wishes of good and prosperity. Be patient and diligent, then your gift will be a real gift for your loved ones! Well, you can rejoice in another deserved creative victory. We hope that our master class on making eggs from beads will show you beadwork from another very interesting side.
Video: Lesson of braiding Easter eggs with beads


