Embroidered bags with ribbons: master class (diagram and photo)
Content
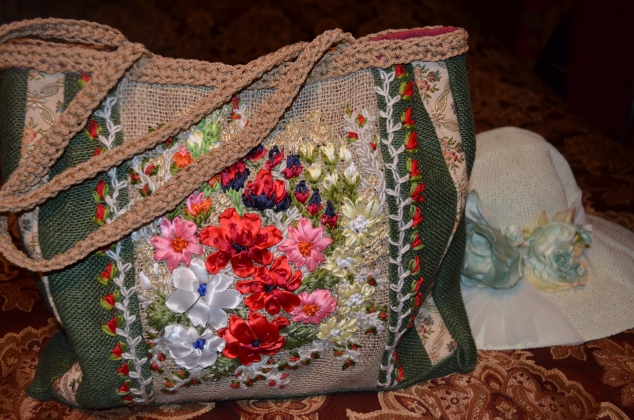
A famous proverb for women - bags is not muchit happens. And this is true, since the bag is an integral part of the female everyday image. In addition to classic leather bags designed primarily for work, there are also other types of these accessories. For example, summer linen or fabric
From the tapes. They are designed for summer holidays, theater visits and other recreational activities. Let's look at an interesting master class and learn how to make embroidered bags with ribbons.
We embroider a bag with satin ribbons
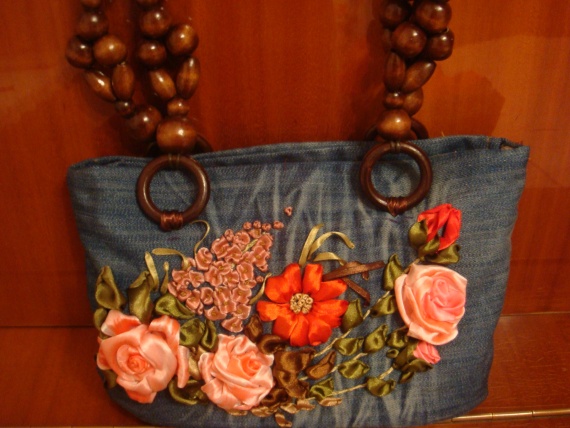
The master class is designed for a bag, which is made of a rough canvas, since it is very convenient on such a canvas
. Moreover, such accessories are very comfortable and roomy, and this season are considered fashionable.

For work, you need to prepare the entire list of materials, which is described in the article:
- Satin ribbons in several colors: pink, green, red and yellow;
- Suitable fabric for the bag;
- Detached non-woven fabric;
- lining fabric;
- Needles, embroidery frames, threads and scissors.
First of all, you need to make patterns forBag, which will be subsequently embroidered. Cut from the fabric two rectangles measuring 80 by 35 cm. In exactly the same way, create lining details of the product. When all the blanks are made, proceed to embroider the front of the bag.

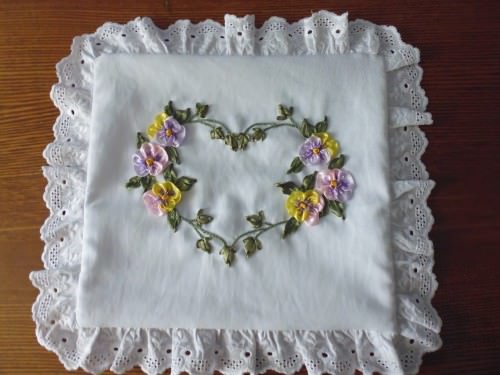
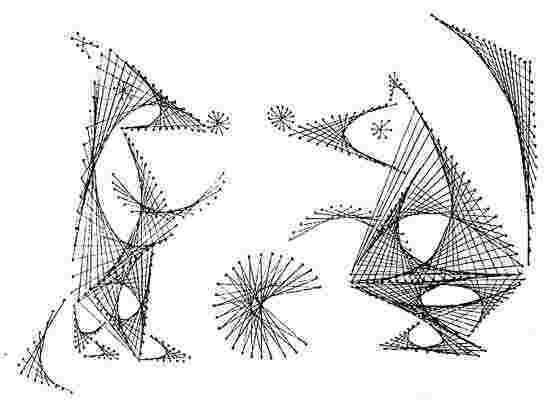
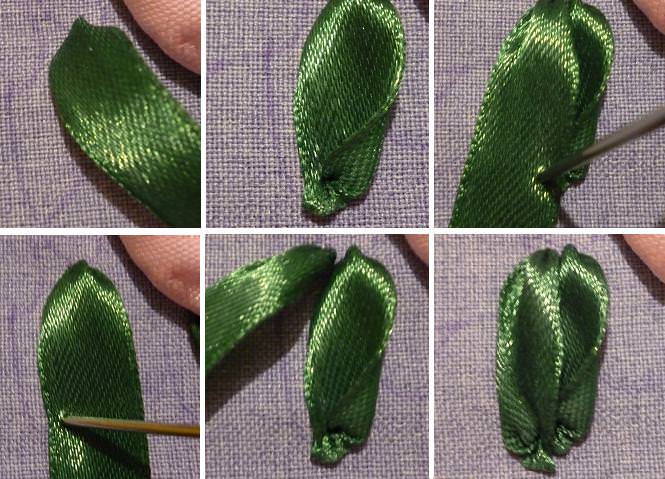
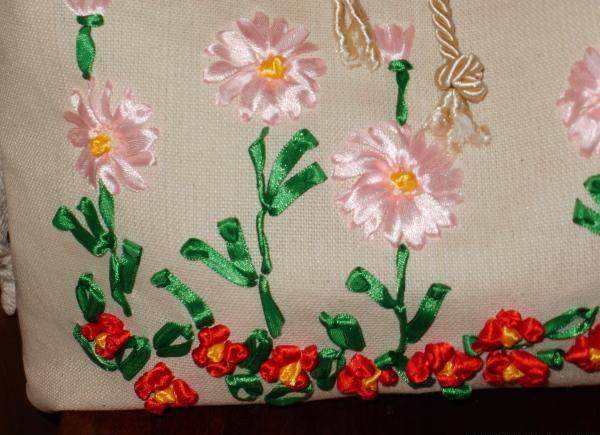
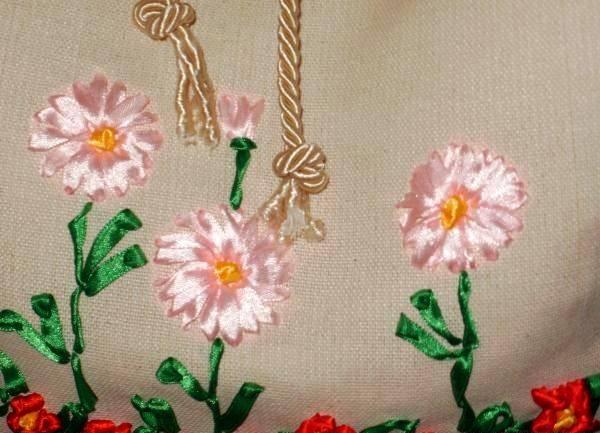
Embroidery will begin with the creation of protozoaSeams for the flower stem and its petals. Draw a green ribbon in the needle and perform alternating turns along the entire length of the plant. Do not rush, do your work carefully and carefully, so that the main material does not twist. Having finished this stage of embroidery, go to the design of the inflorescence. The pink ribbon is embroidered with the petals of a gentle field flower, and its middle will be yellow. Small red petals make it even easier. To do this, use the seam of the eyelet in a circle. It is necessary to make loops in the form of petals in a circular and fix them with small pins so that the ribbon does not move. When you do you need the number of such stitches, just fix the ribbon on the back of the canvas. For the core of the plant, you can use the method of the French nodule. Such a process is better done by the scheme, which will be demonstrated in the article.
After you finish embroidering the bag,You need iron iron formed wrinkles from the hoop. The bag is not stitched together manually, but with a sewing machine. It is necessary to put the front and back of the bag together face-to-face, and then just stitch it up. Then unscrew the product. It remains only to sew the handles and the bag is ready.
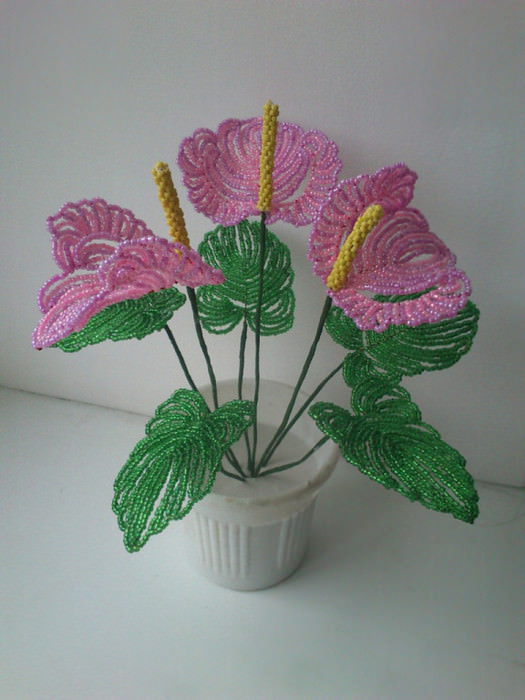
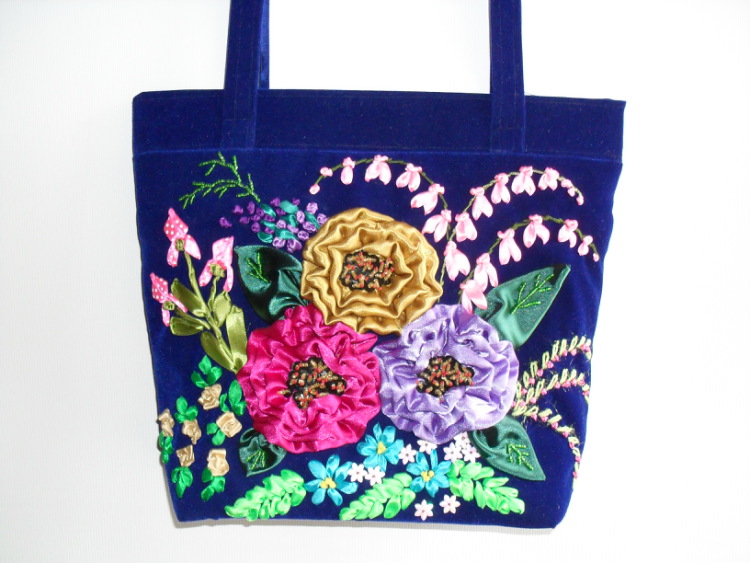
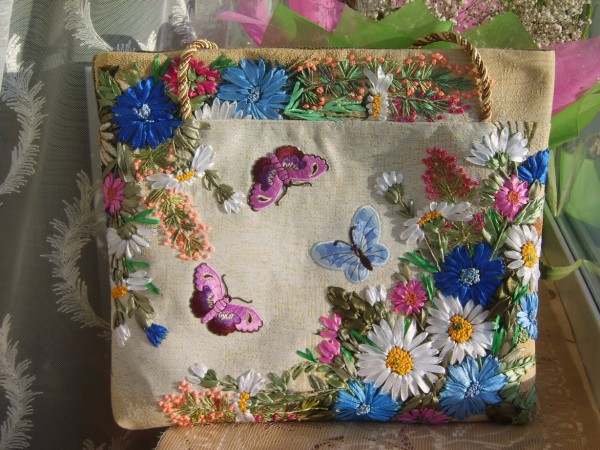
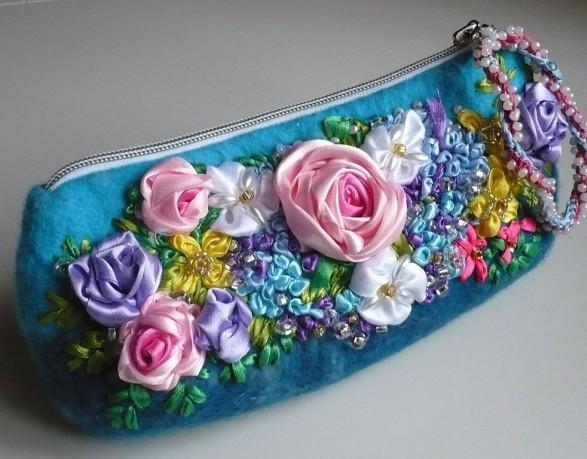
For those who are only beginning to engage in suchSkill, we advise you to use in work not only silk and satin ribbons, but also nylon, as well as corrugated. Thanks to these materials, the bag will have an incredible look. Often use satin material only because it can clearly view the front and the underside. Before embroidery, the fabric should be ironed. It's very easy to work with these tapes. They are perfectly embroidered with various field and exotic flowers, as well as complex abstract figures.
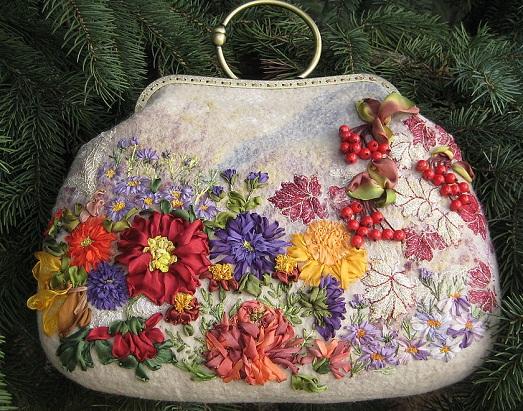
Embroidered bags with ribbons are much more economical to make,Than embroidery with beads. Although the beads look much better due to color overflow. Tape bags are used for walking and traveling. Such an accessory will be a great addition to clothing in the ethno style. You can independently give the product a rectangular or square shape, which are the most common. The main thing is for you to be comfortable and comfortable with it.
Video: Embroidery with ribbons for beginners