Embroidery of beads by beads with different seams (photo and video)
Content
- How to bead a picture
- Types of seams
- How to embroider sequins
- Design of paintings in the style of a triptych
- Video: Learning to embroider beads
- a painstaking, time-consuming and at the same time very exciting and interesting activity.
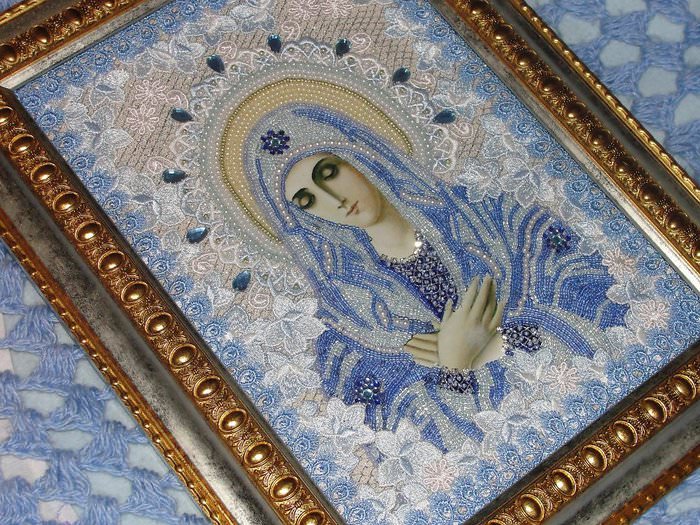
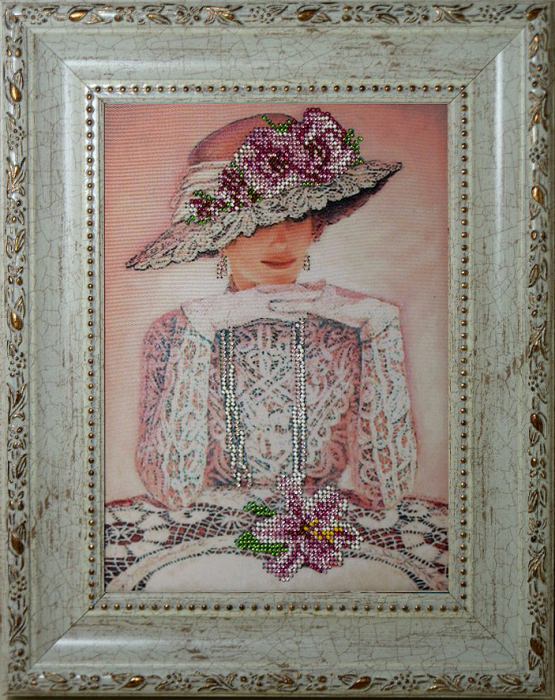
Become an original element of the interior orAn exclusive gift for a loved one. Regarding the choice of the scheme for choosing the pattern scheme, there are no restrictions, beads are embroidered with still lifes, portraits, landscapes, patterns of children's or religious subjects, etc.
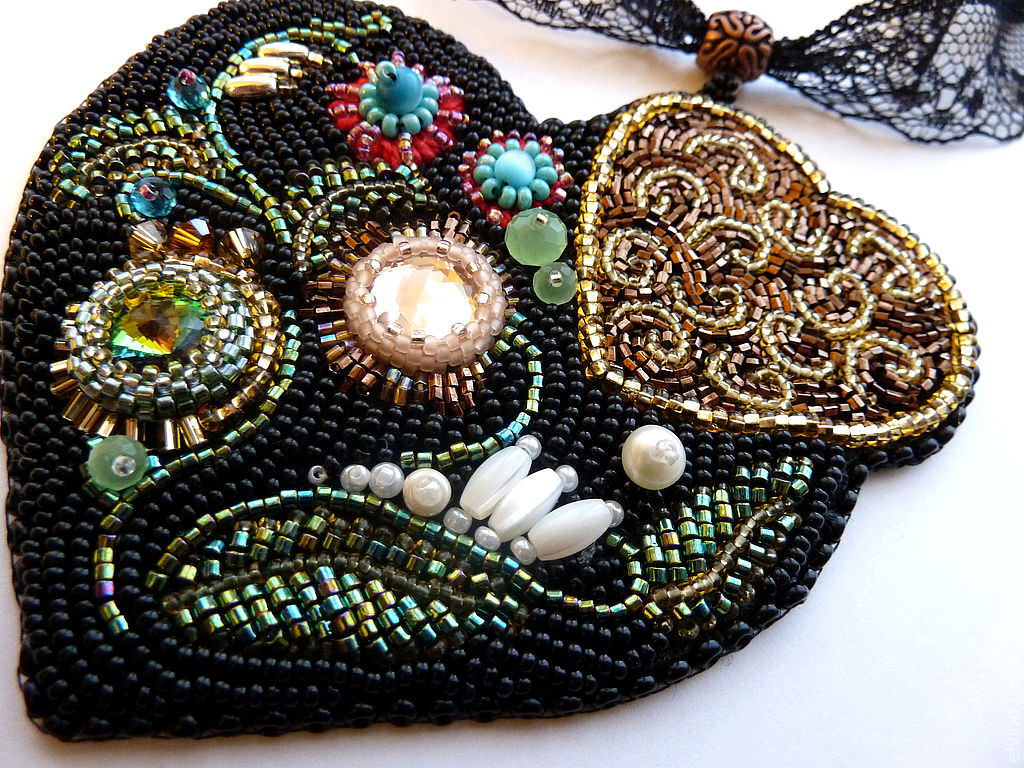
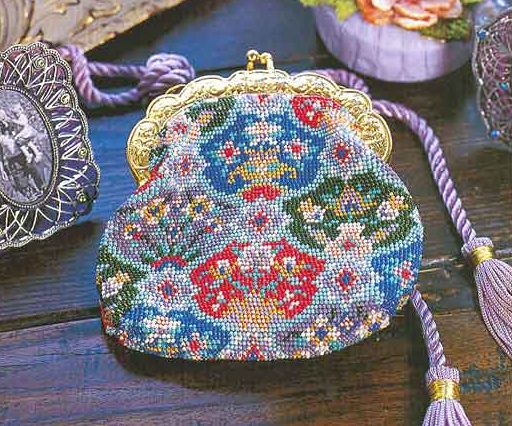
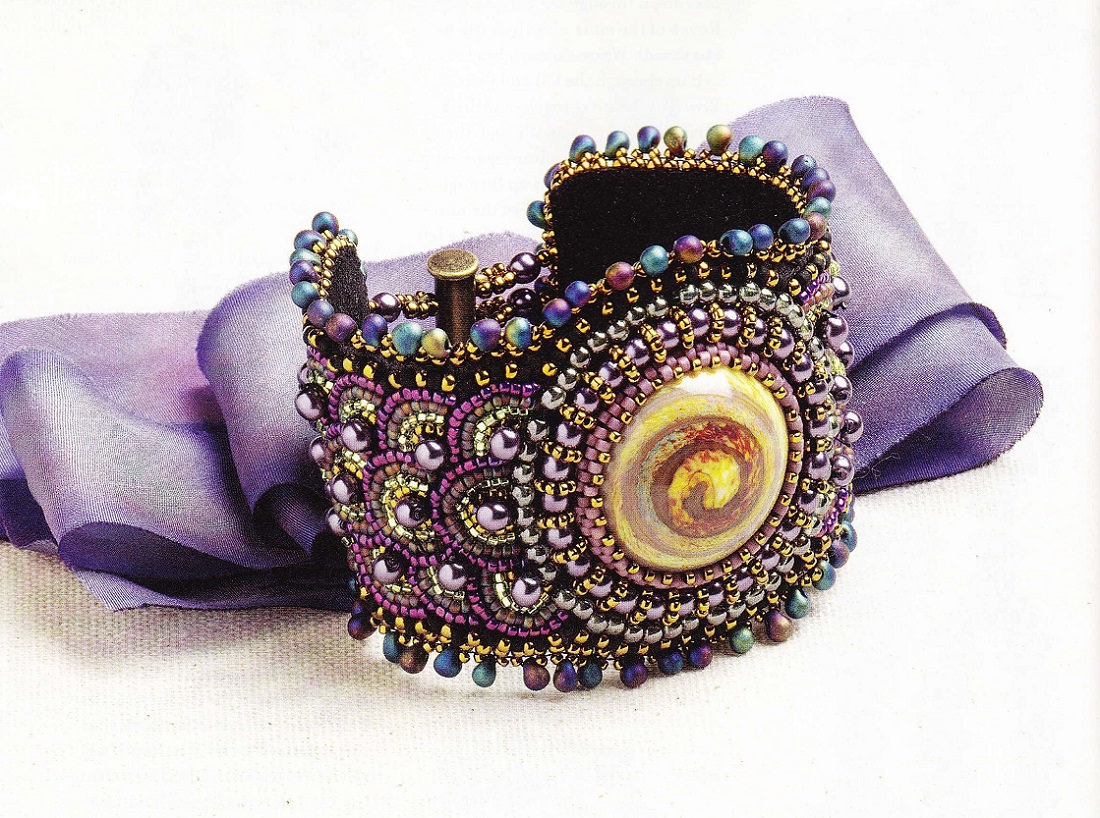
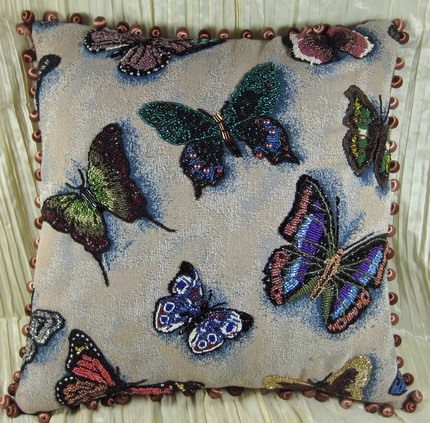
From beads you can create not only pictures orPanels, but also decorate with colorful beads, rhinestones elements of clothing, decorate wallets, cosmetic bags, pillowcases, accessories (bracelets, pendants, key chains).
How to bead a picture
Before you start creating a picture forEmbroidery with beads, the master must decide on the choice of fabric and the design itself. This can be a clean cloth (without a pattern) or a canvas with a pattern of the arrangement of each bead in color.
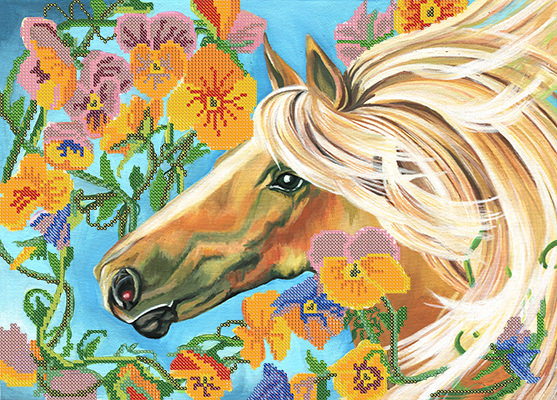
Fabric with pattern for embroideryBeads If the needlewoman is more inclined to the first option, then in order to not get off and do not confuse the ranks during embroidery, experienced masters recommend using a ruler. Purchased fabric with a finished pattern is more suitable
. Such a trick will help them to perform work qualitatively and quickly. On a clean fabric embroider exclusively in rows, and on the canvas with the finished pattern stitches are laid in any arbitrary order.
Embroidery with beads begins with the fact that thinThe needle with the thread is removed to the front side. Fiber the cell of the canvas with a double stitch to tightly fix the thread. A small tip of the fiber is left on the surface of the canvas, and then it is hidden under the first beads of the row. The attached thread from the wrong side is taken to the lower left corner of the cage and threaded on it with one bead. Thread the thread to the right upper corner of the fabric and again draw the fiber to the wrong side. With one vertical stitch, the thread is stuck on the front side, the bead is put on and carried to the right corner of the cage, and the bead is continued to be filled in this way until the end of the row. You can get acquainted with the video process of embroidery with beads on our website.
One of the most important rules when creating a drawingBeads - do not change the direction of the beads in the rows, otherwise the pattern will turn out to be sloppy and uneven. There are no restrictions in beadwork, you can fill the future picture with rows of beads from right to left or left to right, bottom to top or top to bottom.
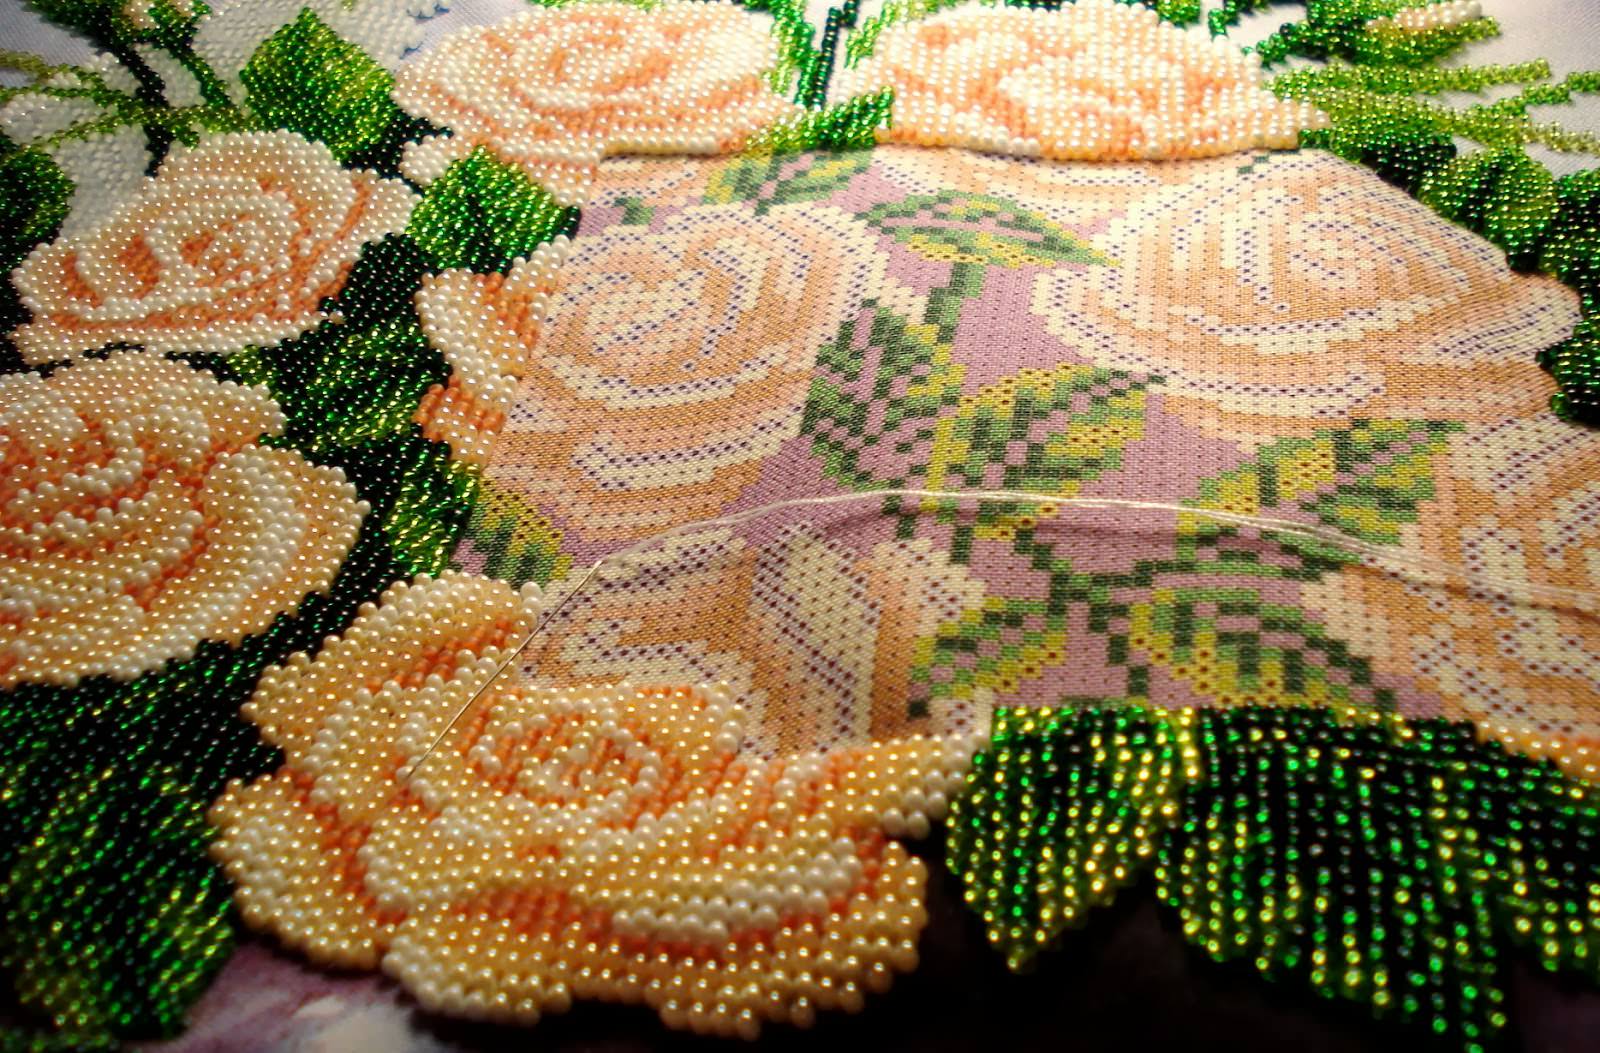
Beads are embroidered not only in rows, but also in chaotic order. This is done so that the canvas, embroidered with beads, eventually turned out to be full, voluminous with accentuated details and contours.
If, for example, the flowers are in random orderEmbroider beads, then start to cover the beads with petals from the center of the bud to the edges. Next, they begin filling the flower core with beads, finish the work on embroidering the stem and leaves, and at the very end are engaged in the background of the picture.
The first and last bead of the series is stitched with a thread intwice. This will allow the complete drawing not to separate and not bloom. The main pattern is usually stitched with one elastic thread, but if desired, you can also sew the whole pattern with a double loop.
Practical and correct during embroidery conditionallyDivide the tissue sections into squares and gradually fill the patterns with beads to the end. The thread is not stretched so that the fabric is not deformed, but also during sewing the stitch is not left freely, otherwise the knot will hang. If you use beads of different sizes for the picture, but start filling the picture with small beads, and then attach larger beads to the fabric. If you start with larger glassware, they will obscure the place where small beads are sewn, and empty non-woven places can appear on the fabric.

Another interesting way to embroider - partialbeadwork. Type of needlework, which is a combination in the picture of both beads and threads. This method of embroidering gives the drawings volume and completeness.
In the process of work, first embroider the tissueCross, and then proceed to fill the canvas with beads. Embroidery with a cross and beads allows you to highlight the accents of the picture, emphasize the flowers, the contours of their petals, the core, distant objects or vice versa, the main bright details of the foreground.
Types of seams

Seam "forward needle" Before embroidering with beads, you should determine the choice of seams for a particular part of the pattern. When creating petals in flowers, it is best to give preference to
, And the sheets are made with a patterned stitch. And the design of the backgrounds is ideally suited to the monastic or line seam.
The stitch principle "Forward the needle" is exactly the same,As in embroidering with a cross. On the video, the needle is removed to the front side, one bead is threaded onto the fiber and pierced through the fabric inside out. Again, the thread is removed and the next bead is sewn tightly in the same way. A dotted line is obtained with the same distance between each bead.
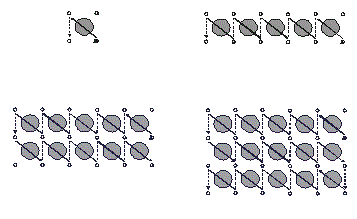
Monastic SutureMonastyrsky suture for executionResembles the technique of semicircle. Stitches pass diagonally in one direction and are removed to the upper corner of the cell. In this case, the back side must consist of short vertical strips. For a new row, the thread from the wrong side is pulled to the main side and continues to be embroidered in the opposite direction. For convenience, you can flip the fabric during operation.
The "line seam" is used to makeEmbroidery more rigid. The first bead string on the thread, the fiber is turned inside out, and its tail is pulled through one cage of tissue. Put a second bead on the needle and fix it in the next empty cage. This way of embroidering allows the beads to not deviate on the fabric in different directions, but fit snugly into one even row. The end of the thread is not cut off at the end of work, but is hidden under the fixed beads.

Stitch Seam To obtain a "Stem Seam" onThe thread with their own hands dials just two beads, insert a needle into the hole on the wrong side. At the junction of the two beads in the middle make a short fastening stitch, which is taken out through the opening of the second bead. String a third bead and again spend a seam with a needle between the second and last bead, continue to embroider this way correctly until the end of the row. Flowers from beads with a crocheted suture will turn out neat and beautiful if the needlewoman puts the beads to each other tight stitches, filling them with open tissue areas.

Stem Seam For embroidery with an "Arched Seam" onThread from the front side is worn immediately several beads, but only the one that is located at the intersection of the stitches (2,4,6, etc.) is attached to the canvas. This type of seam allows you to fix the beads on the canvas more freely.

Arched stitchTo place beads on the canvasStitch "Vpriprek", it is necessary to thread a few beads (up to ten pieces) on the string, and then sew them to the fabric with short stitches through each one or two subsequent beads. Embroidery with beads in this way is made with the help of two threads: one is laid with lines, and the other is fixed on the canvas. "Vpriprek" is considered one of the easiest types of seams. It is very convenient to use it to create a background, contour lines or distant objects of a picture.
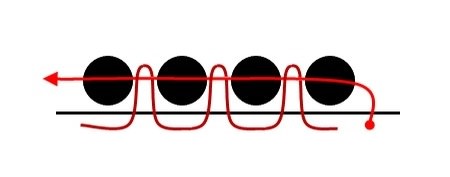
Seam "vprprekrep" You can embroider beads "Vpristre" in loose order or strictly parallel (horizontal or vertical) lines.
How to embroider sequins
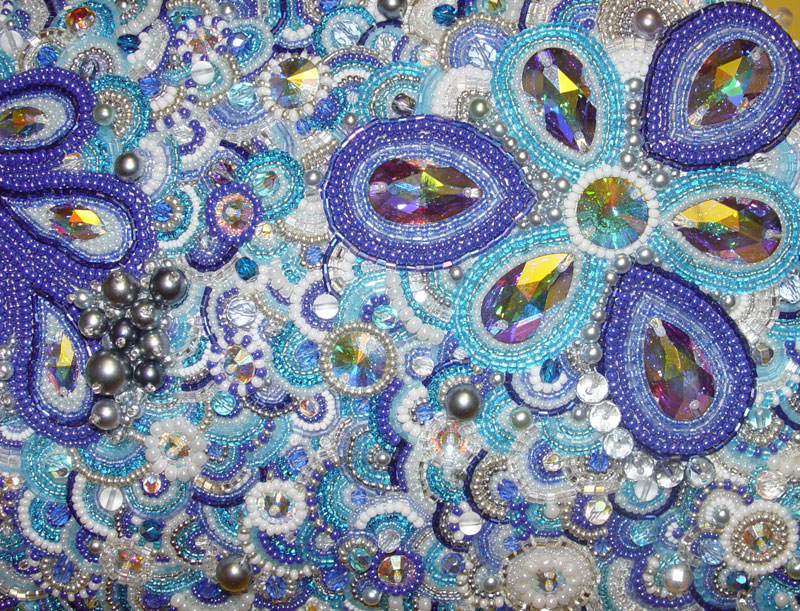
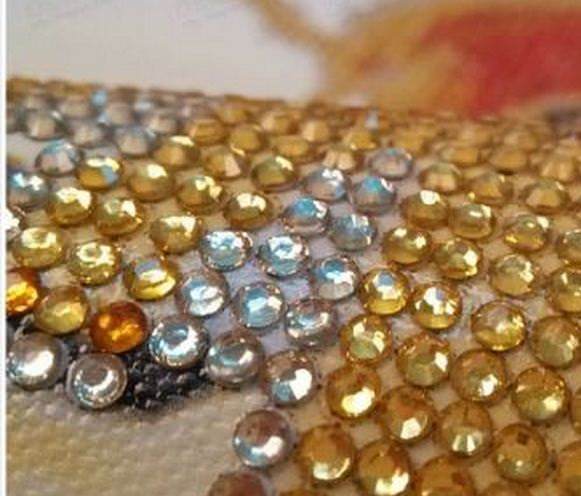
Extraordinary additional elements of the decor toEmbroidery beads can be sequins, bugles (thin tubes of cylindrical shape), colorful ribbons, rhinestones. With the help of these ornaments, you get a beautiful and voluminous embroidery with beads.
For suturing paillettes use copperWire or thin line. Using straight stitches, the needle is passed to the front side through the center of the sequin, and then the fiber is taken out into the fabric through the outer edge of the sequin. Embroidery with paillettes requires matching the color of the thread to the shade of the sequin itself, the same goes for embroidery with rhinestones.
You can attach the sequin to the fabric if youSurface to place one bead, and then with a needle with a thread to pass through the center of a bead and to deduce fiber on the wrong side. To create the next stitch, the fiber is removed through a new tissue cage to the front side and continues to thread a sequin and beads onto the string. At the end of the embroidery, the fiber is hidden under the stitches at the end of the row.
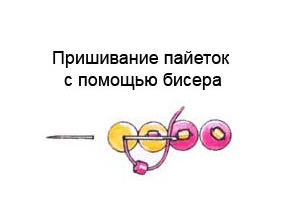
Another option is to put on a pailletteWith your hands on the needle, draw the thread with a double stitch to the center, and then pull the spangle from the other side and onto the front side. Close to the previous one place the next sequin, so continue to take out the sequins to the desired place of fabric sewing. As a result, embroidery with paillettes resembles a fish scales. To the flowers of beads or other elements of the picture acquired additional convexity, during work, several pajetoks are put one on one, and then sew them in the manner studied.
Design of paintings in the style of a triptych
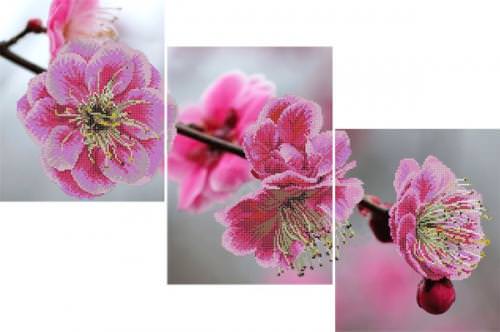
Triptych is a scheme of embroidery, which includes threeOr more individual elements of the picture, united by one plot. At the same time, all parts of the drawing should have the same color scale and technique of embroidery with beads. Each part of the picture is embroidered separately from each other. Before embroidering, for convenience, the canvas or other fabric is cut into the required number of parts.

All the finished elements of the triptych pattern areOne or more frames and hang on the wall. Effectively look three pictures in one large frame, separated by thin lines of partitions or canvasses, hung at a distance from each other in one centimeter. No less original, you can draw a complete picture, if you make the central part of the image in size more than two side pictures.
Volume and rich looks finished drawings,Located on the wall in a diagonal, horizontal or vertical order. For example, in the kitchen you can hang in the style of a triptych a still-life, floral or coffee compositions, and a picture of Egyptian or Japanese motifs, abstract patterns, landscapes will fit into the living room.

