
Embroidery stitch types and performance technique (photo and video)
Content
- Appliances and tools for embroidery
- How to prepare for embroidery
- Embroidery white embroidery
- Video: white satin-stitch embroidery on fabrics and organza
- Volume satin stitch
- Variety embroidery embroidery
- How to embroider the leaves and flowers embroidery (workshop)
- Vladimir seam
- Video: Learning to embroider embroidery
even today is in great demand andpopularity. This is the most demanded kind of crafts among young people and the older generation. Mastering the technique of embroidery embroidery allow needle women get the original patterns. They will help to decorate clothing or parts of it. Embroidery has always helped to bring a touch of elegance to the house, furnishings, toys for young children, clothing, underwear and many other things.
Appliances and tools for embroidery
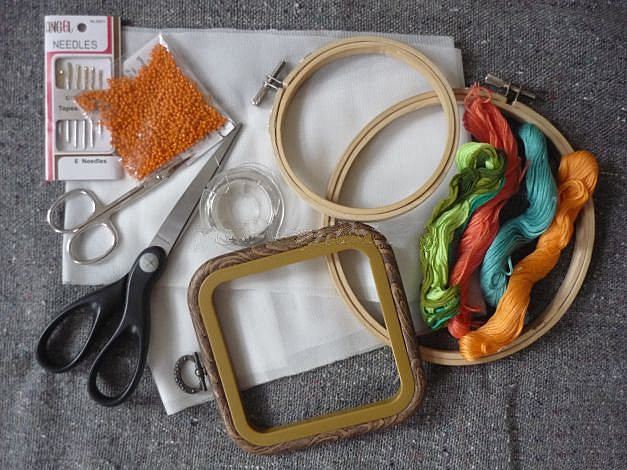
To get started you need to prepare well. To do this, pay attention to the following tools:
How to prepare for embroidery
Putting figure
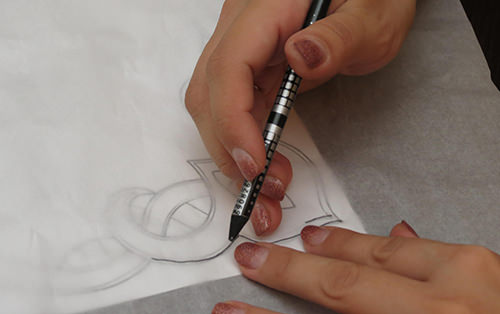
Getting needlework must be selectedappropriate drawings. They are often printed in books and magazines. Future designs can be easily and quickly make a copy using a transparent paper, tracing paper or carbon paper.
If, during the preparatory process is used vellum, it is necessary to put on top of selected images. Figures and patterns encircled pencil strictly on the circuit.
If the home is no tracing paper, but there are non-transparent andenough thick paper, the more experienced handy advised to use carbon paper. To transfer all the pictures taken a blank sheet of paper, followed by putting on top of blueprint and drawing. All listed structure must be secured by means of clips, pins and buttons. All necessary drawings and patterns necessarily encircled strictly on the lines. embroidery process is carried out as carefully as possible to prevent the sheet shifts dense or copy paper.
Preparatory work

The history of embroidery embroidery has its roots inearly 17th century. Even then needlewoman used below technique to decorate not only household items but also their own clothes. Today, to begin embroidery need to prepare all the tools and materials correctly and carefully.
Best of all, when the history of embroidery will be read to understand the depth and the meaning of this type of needlework. Key Secrets of the preparatory work:
Embroidery white embroidery
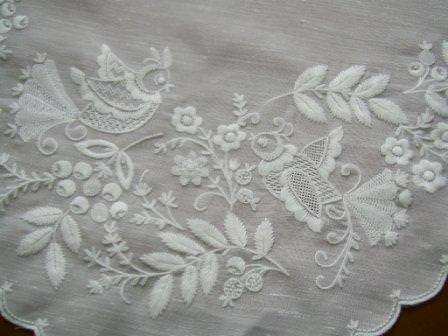
The white expanse is in great demand amonghandy people. We must remember that before starting work, you must first apply pattern on the work cloth. The white expanse is a special technique, which uses exclusively white thread. In this case only thin tissue types.
View technology, which uses a white surface, canclosely interwoven with knots, holes, hemstitches, podstilnoy embroidery and other various types of sewing. That Vladimir region has become the main place where the white expanse began to be used.
To create paintings most often used floral motifs, bouquets and garlands.
Video: white satin-stitch embroidery on fabrics and organza
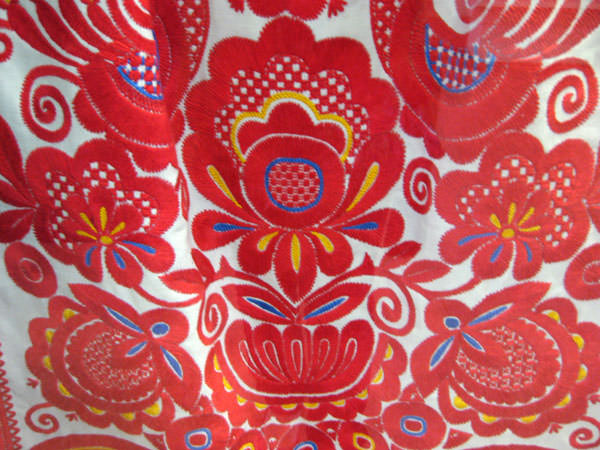
Volume satin stitch
Volume gladyuObemnaya embroidery satin stitchIt is a kind of ancient crafts. It was quite common in Western Europe. These figures, as vegetable and flower arrangements, animals, people look as a finished product more attractive. We can say that they are alive.
embroidery includes a unique effect that is achieved through the use of a special joint.
Today, the bulk embroidery is classified as follows:
Variety embroidery embroidery

Satin smooth surface 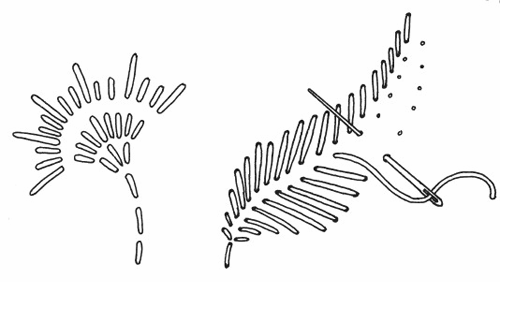
The broken surface of 
Counting expanse 
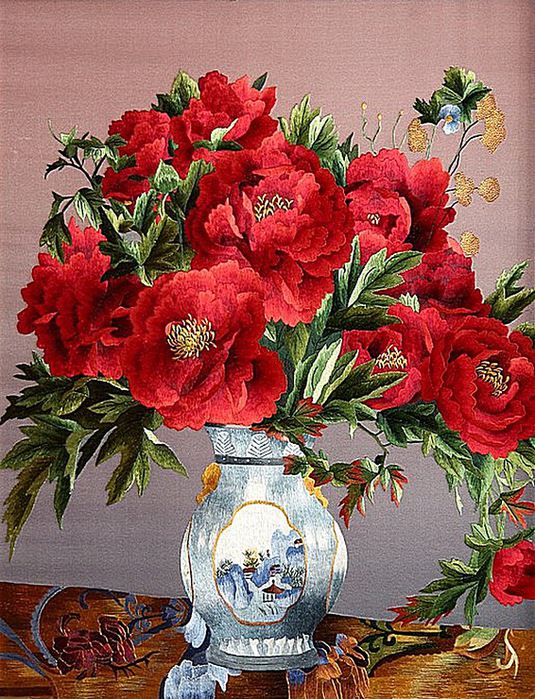
Chinese Embroidery Today many needlewoman prefer
Because the patterns in the finished product look beautiful and attractive. You can select the following types of embroidery embroidery:
"Forward needle" seam technique 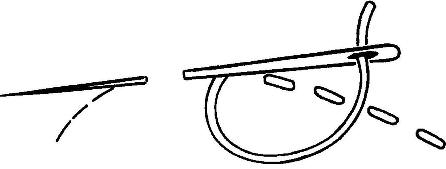
The presented technique involvesa certain sequence of stitches that are arranged strictly according to the contour lines. It can be of any shape that is straight or curved. The volumetric expanse may be formed using such a seam.
Presented seam can be some fun, if a skip stitch thread or another solid color. When the work is completed, we can see a kind of wave.
The loop stitch 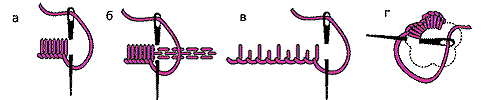
Volume expanse with
is performed in the direction from left to right whena needle downward motion. In early work necessary to schedule multiple parallel lines of stitches on which limit its height. If taken for a thick fabric, which includes a well-defined line of yarn, you do not need to do baster.
- strand derived strictly on the front side in the lower parts of the seam;
- Next, you need to perform stitch, with the needle should be in the direction from top to bottom, and the thread will remain under the needle;
- working thread should be tightened so that there was a loop.
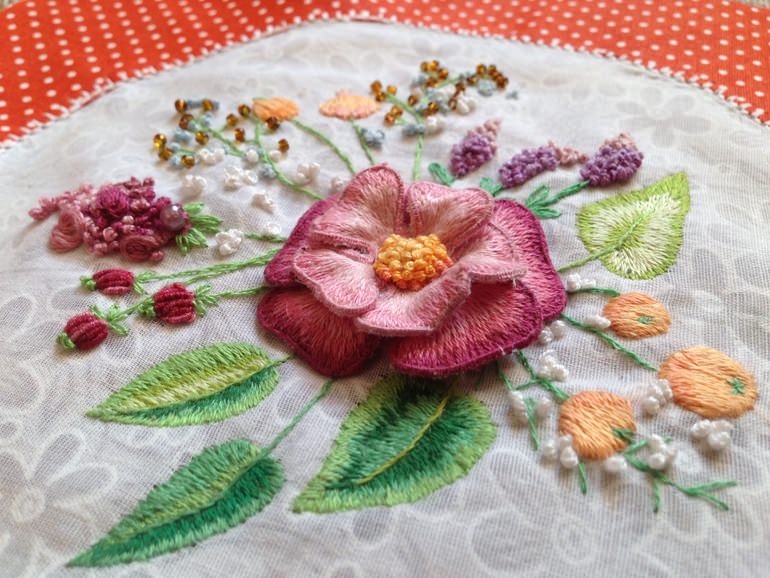
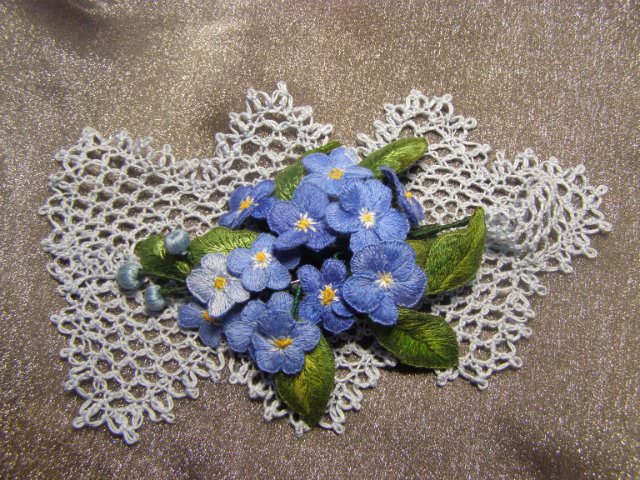
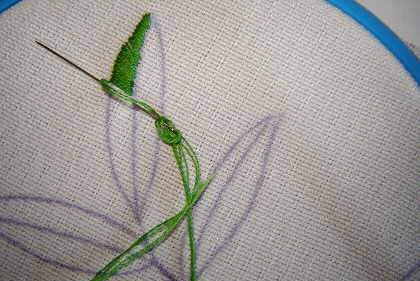
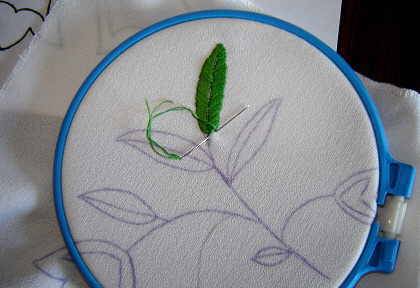
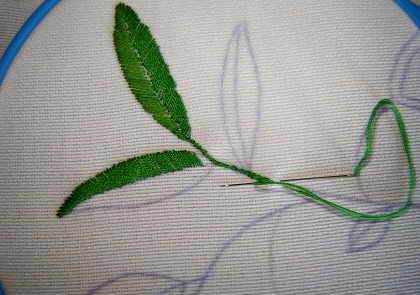
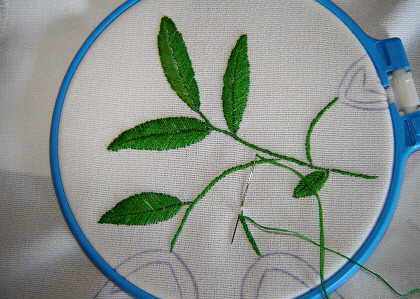
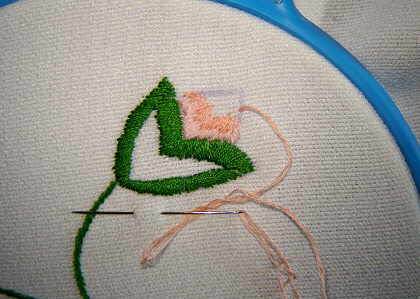
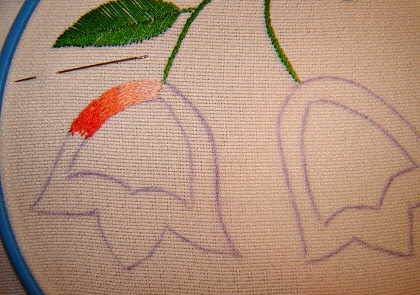
How to embroider the leaves and flowers embroidery (workshop)
You can find a variety of schemes and patterns of flowers, petals and other ornaments In the vastness of our site. The following will detail the master - a class that will tell you how to embroider embroidery patterns and designs.


Vladimir seam

Vladimir vyshivkaVladimirsky sewn seamOnly large stitches on the canvas, which should go strictly from the edges toward the center of the pattern, and in the opposite direction. It should be noted that the sequence of this seam is to mount the strings on the front side only. It should be located only in the lower parts of the circuit, which is sheathed.
Vladimir shovV end result should bewoo stitches at a small distance from each other on the front side of the work. Wrong side should look a little different, that is, embroidery should look like rows of fine stitches, which are dotted along the contour of the pattern.
Video: Learning to embroider embroidery
Comments
Related posts:
 Gobelin stitch and embroidery looped in photos and video tutorial
 Cross Stitch for Beginners in the photo and video lessons
 Buti elegant embroidery volume in the master class (photo and video)