Embroidery ribbons poppies and wild flowers (photo and video)
Content
- Materials for embroidery
- Embroider flowers ribbons
- Video: how to embroider poppies ribbons
- Video: embroidery workshop lilac ribbons
- Video: Learning to embroider with ribbons and a flower bud of peony
- Video: cornflowers embroider belts
- Butterflies
- Video: convert satin ribbon into a butterfly
- Video: embroidery tulip flower lesson tapes
- Let us turn to history
- Video: Master Class basket of tapes
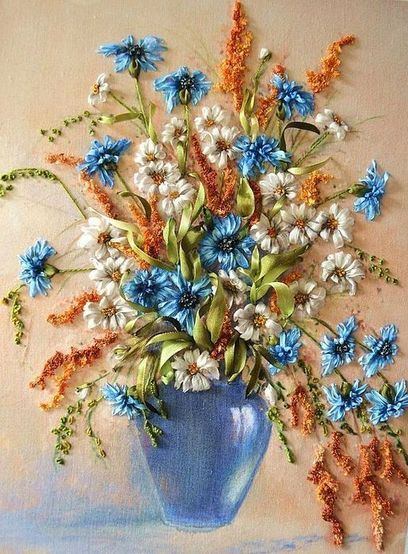
ribbon embroidery - very interesting to do. With each new stitch you can see how your eyes is born a true masterpiece: a magical and unique.
To learn
and flowers, you need to stock up on materials,which require us to work. All of them are sold in stores for needlewomen and are inexpensive. Of course, for each flower you pick the right color and tape width. Now let us consider only those materials that are needed for any embroidery.

Materials for embroidery

Basis for embroidery. This can be a special canvas, if you do embroidery picture, or just cloth when embroidering on clothes or purse, or bag;
When all the materials are ready, we can begin to embroider flowers.
Embroider flowers ribbons
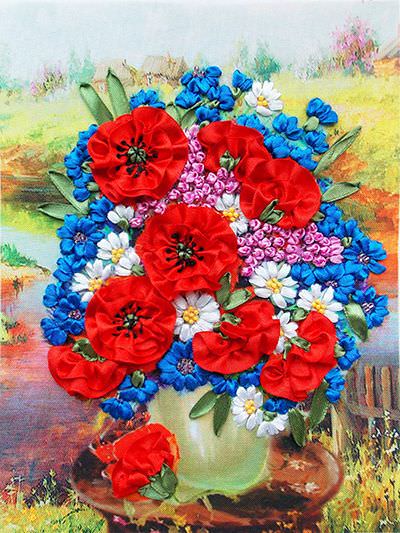
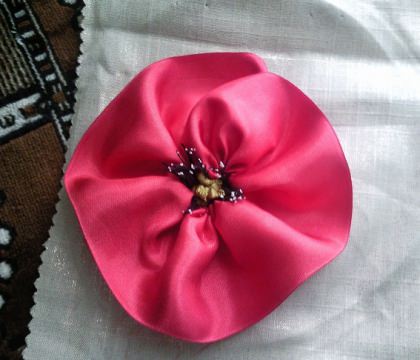
Maki Maki - very bright wildflowers. They are associated with many of the maiden beauty and youth.
In order to
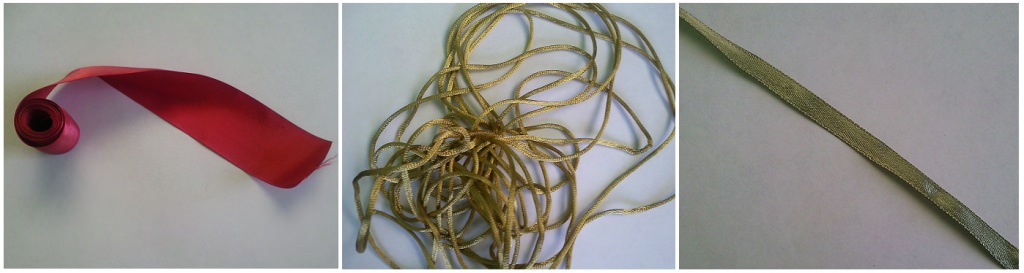
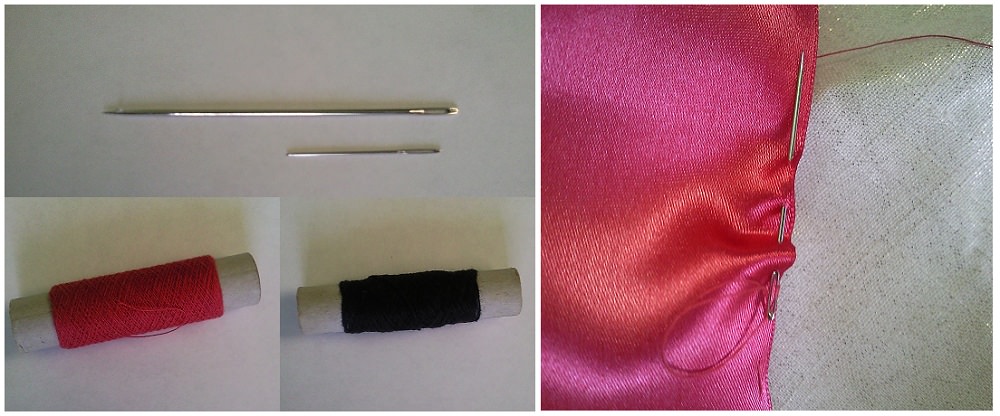
We need a broad red ribbon (about5 cm. Wide) ribbon embroidery of leaves, dark green 1 cm wide, dark green cord for decoration serdtsevinki, red thread for sewing a wide band and a black thread to sew cord.
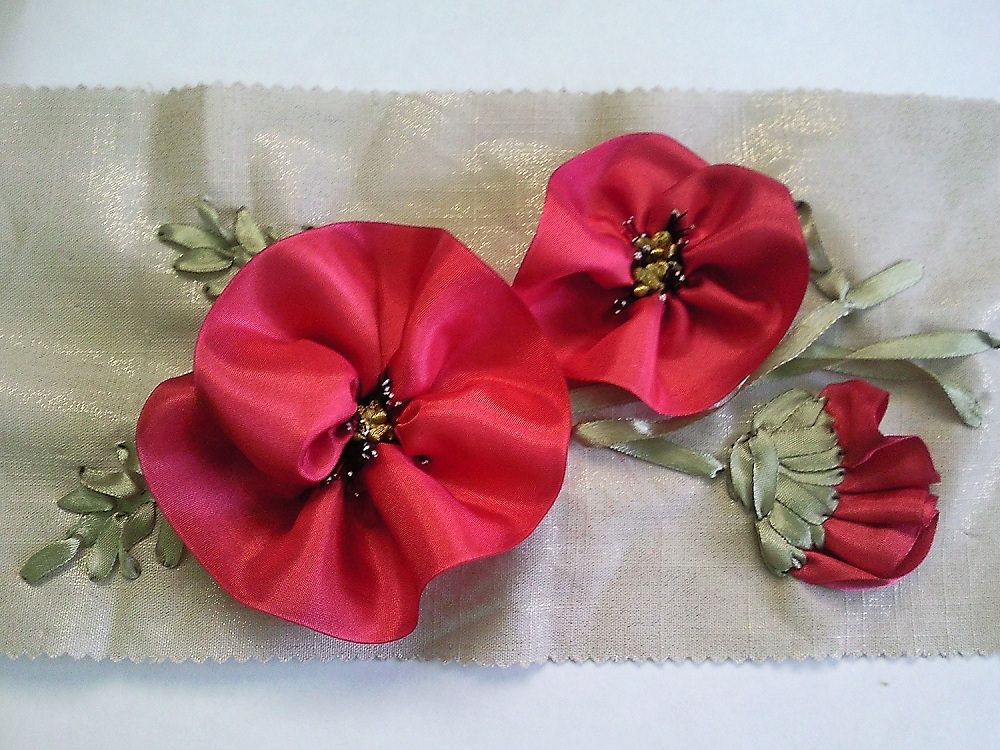
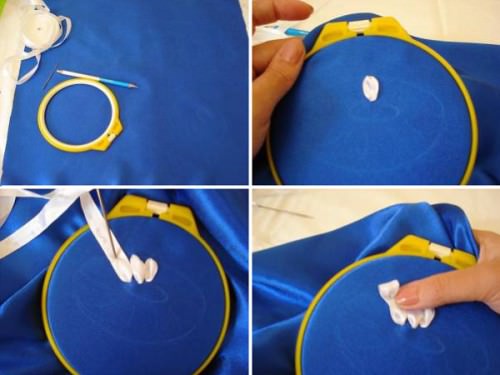
To start the main draw on the fabric pencil poppies that will embroider. It is necessary to know exactly where they will be placed flowers, buds and leaves;

Lightly moisten the tips of tendrils with white glue and dip them into the semolina. The flower is ready. Also embroider the remaining colors, if there are several in the film;
Video: how to embroider poppies ribbons
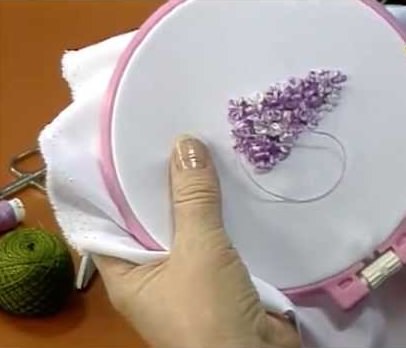
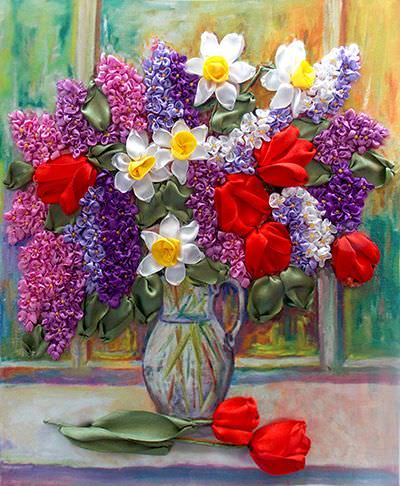
Lilac dissolve the lilac branch for many of us it symbolizes the arrival of spring. Its flowers are tender, and the flavor is unforgettable.

To embroider a sprig of lilac ribbons prepare a thin strip of purple or white and brown thread floss or marsh color embroidery stem.
Video: embroidery workshop lilac ribbons
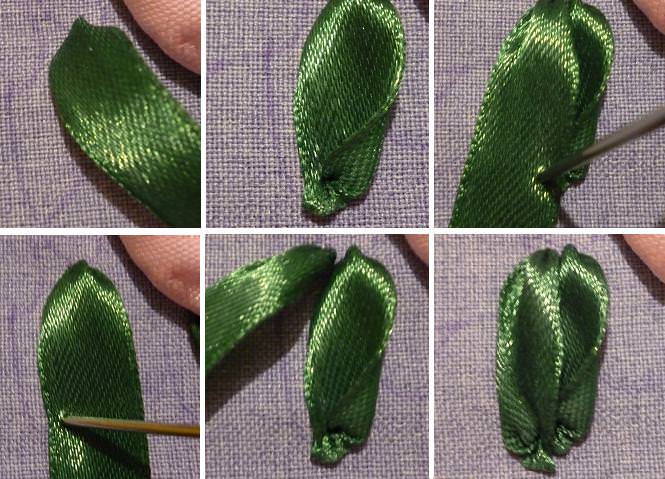
Pansies Pansies - flowers, surprisinga variety of colors. They come in yellow, red, white, pink, purple, burgundy. Therefore, in the selection of tapes, you can not limit yourself. Tape width can also be different. It depends on the desired size of the flower.
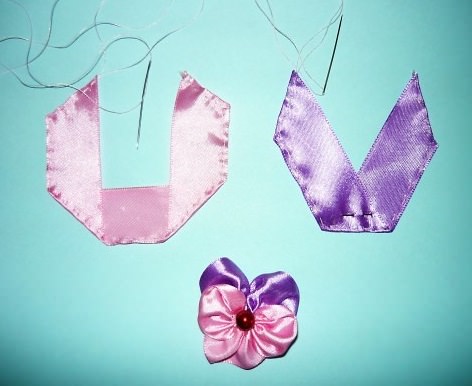
Gather the petals should be before we sewthem to the fabric. To make the upper lobes, take a 7 cm long piece of tape and fold it in Latin V. Secure the place of bending pin. Basting stitches walk around the outer contour of the tape. Pull the thread and pull the tape. Secure the tape a few stitches;
Peonies 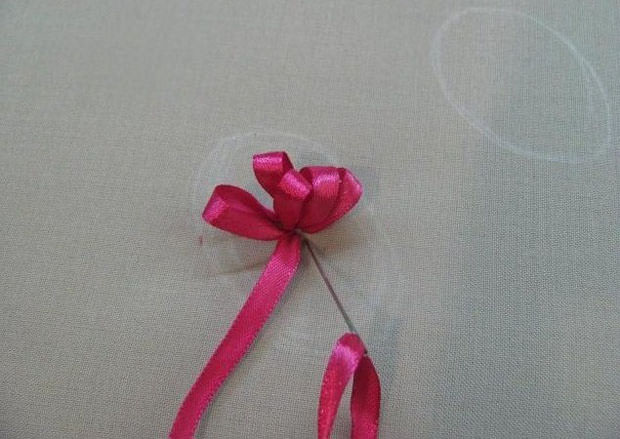


Peonies - lush and precious flowers. They are pleasing to the eye with bright, contrasting colors and delicate aroma. In order to
we need the tape width of 2.5 - 3 cm.
Video: Learning to embroider with ribbons and a flower bud of peony
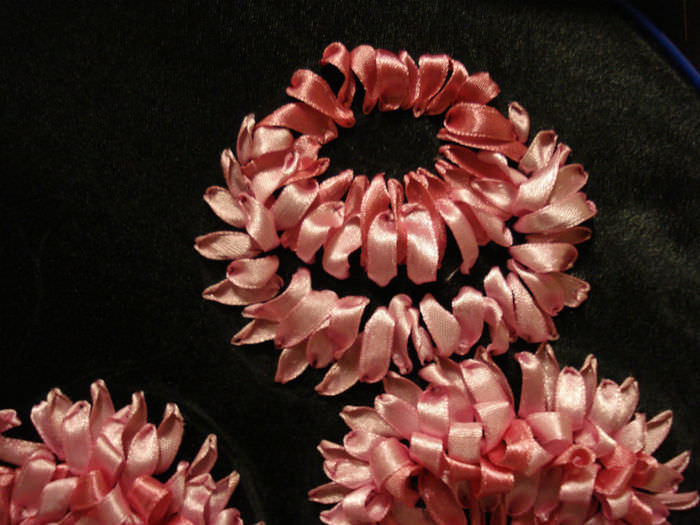
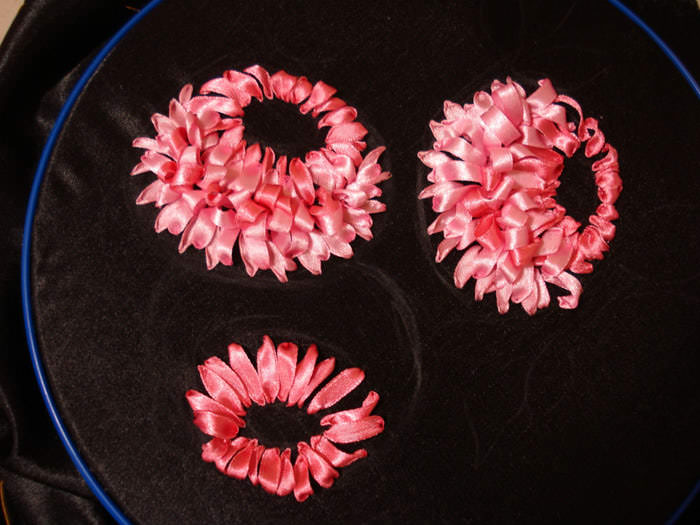
Chrysanthemums When autumn yard and everything is painted in gray and brown tones, chrysanthemums can only please us with bright colors. For embroidery chrysanthemums need tape width of 0.5 cm.


Cornflowers 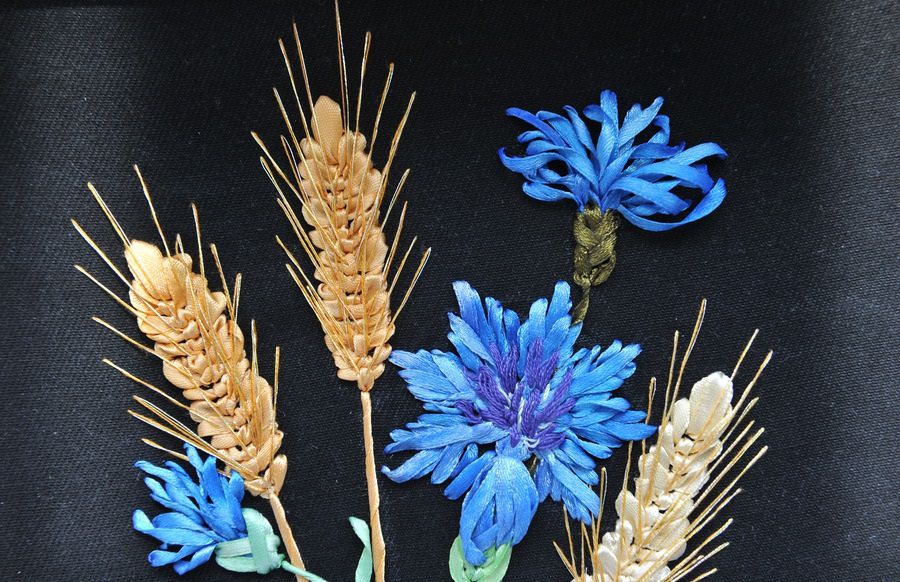
Summer, delicate flowers - cornflowers. They fascinate deep blue. No wonder they are called the eyes of the sky. For embroidery cornflowers we need the tape width 0.5 -0.6 cm Shades can take different:. From the intense blue to light blue.
Video: cornflowers embroider belts
Butterflies

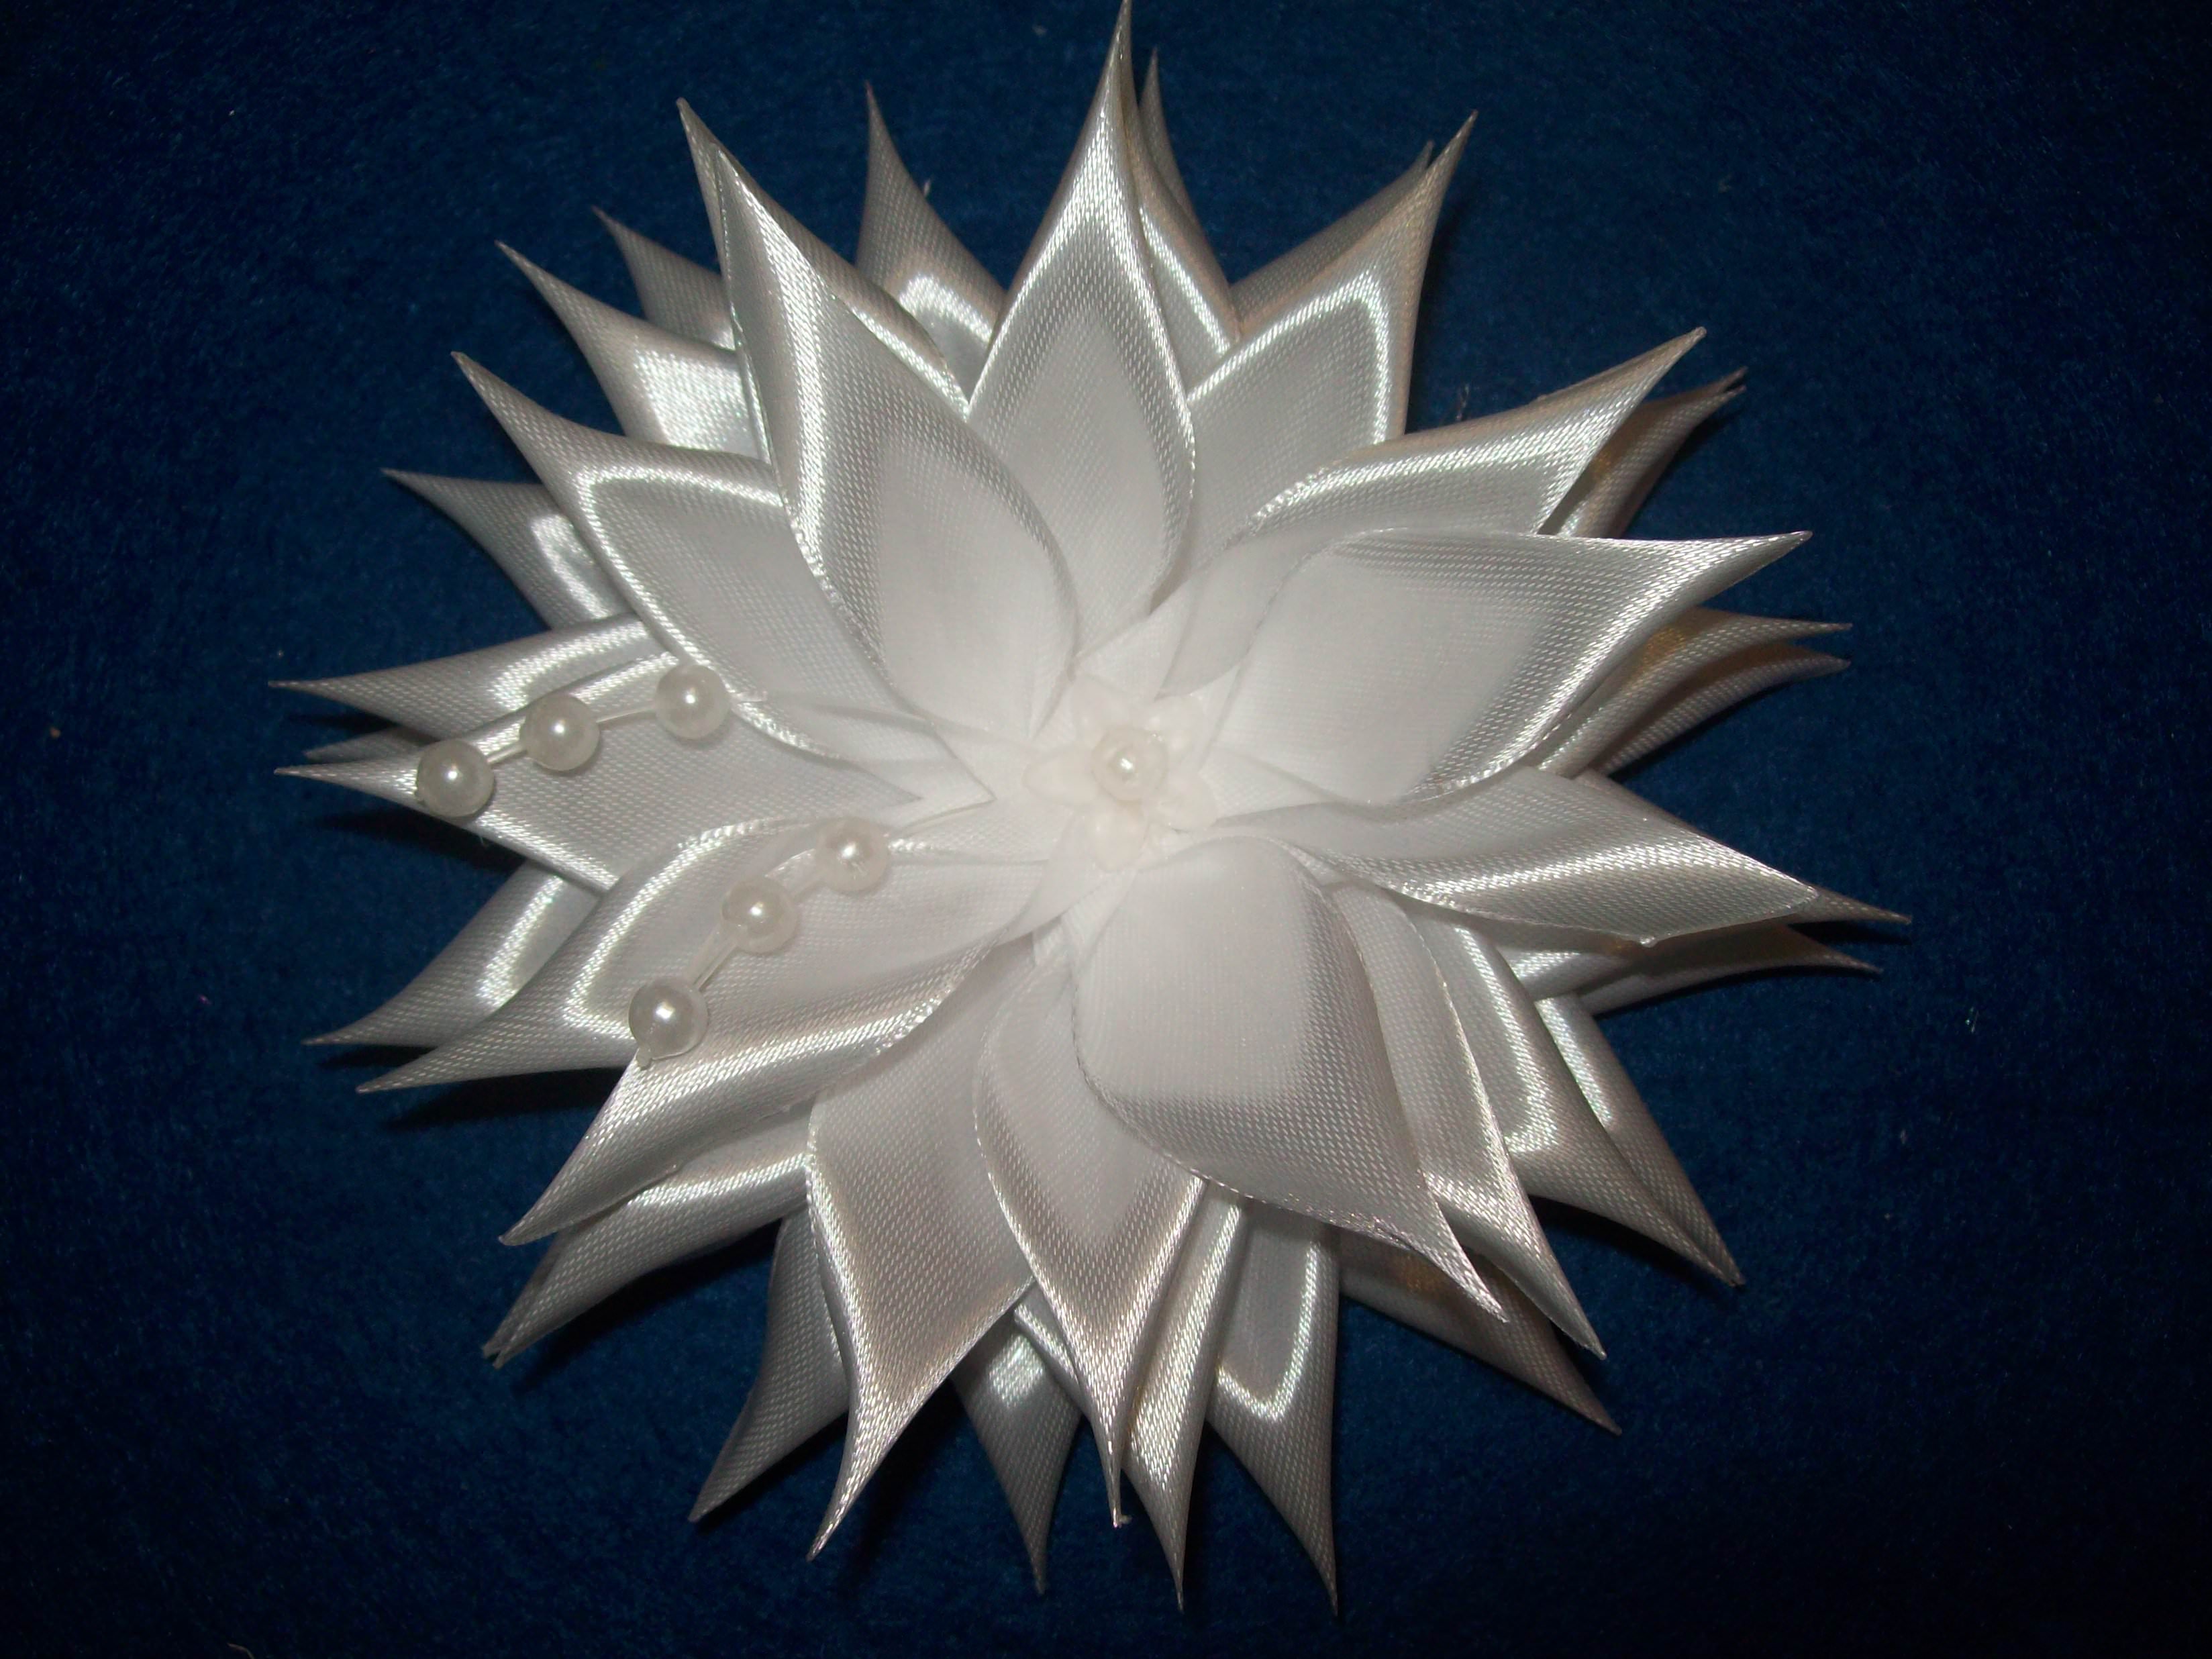
Embroidering ribbons certain patterns, processingembroidered baskets, sometimes want to decorate them with something else. An excellent solution for these embroidery panels become butterflies. There are different schemes and descriptions to create these lovely insects. We will consider the most simple, suitable for beginners embroiderers.
For embroidery butterfly we need a thin black ribbon embroidery butterfly body and color ribbon width of 2 - 3 cm.
Video: convert satin ribbon into a butterfly
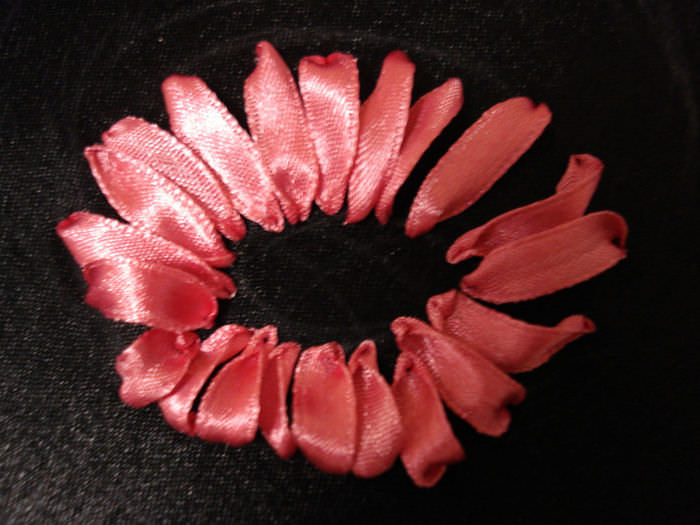
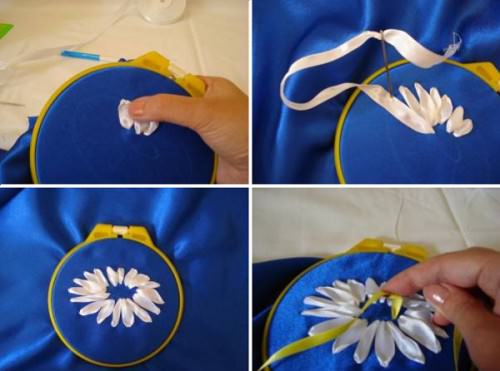
Embroidery ribbons Daisies daisies - loved by allwildflowers. They were the subject of many poems and songs. Daisy embroidered ribbons have no difficulty. Just be embroidered in a circle petals ribbon stitches and should be completed midway knots.
The same principle is based embroidery scheme ribbons sunflower. Only the petals, choose a wider tape.


Embroidery ribbons tulips 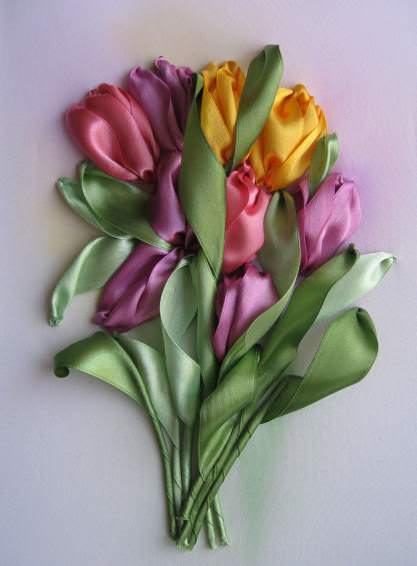
Very simple and easy, with just a couple of stitches, you can sew beautiful tulips - symbol of spring and the awakening of all life.
To create them, we need tape width of 2 - 3 cm.
Withdraw the needle from the tape on the front side and do stezhek up.
Next to that stitch again derive the needle on the front side and do stezhek down. Fix the tape to the wrong side.
Tulip is ready.
We have considered just a few ways of embroiderycolor ribbons. On our site you can find photos, descriptions, lessons for beginners, schemes and patterns. With their help, you will learn embroidery ribbons irises, paintings, baskets, leaves, butterflies and other beauty.
Video: embroidery tulip flower lesson tapes
Let us turn to history
Interestingly, embroidery of ribbons is verylong historical roots. Even in ancient times women tried to decorate your image multicolored silk strips. Their plaited hair, decorated their clothes. It should be noted that it was a pleasure not cheap, since silk was brought from China itself and was very expensive.
In the Middle Ages, when the silk thread steelmanufactured in Europe, almost all the aristocracy sought to decorate their clothing with silk ribbons with a gold border. Moreover, each estate was supposed to use a tape of a certain color.
But the real dawn of art embroidery ribbonsIt came in the Renaissance. Sam French King Louis XV loved to please the ladies cute trinkets embroidered with his own hand. At this time, every self-respecting lady sought to decorate the corset of her dress or a small sprig of lilac roses embroidered in satin ribbons. Then came the turn of laundry. He was also decorated by a different color satin ribbons, turning the most mundane things into works of art. Today, the royal court wardrobe items go under the hammer for crazy money.
The tradition of embroidering flowers ribbons on their clothes in speed migrated from France to the UK the island, and from there spread throughout Europe.
After World War II the interest in embroideryribbons, as, indeed, and other types of needlework little sleep. It caused by it was that people had to recover damages caused by military actions. But in the past few decades, fashion products, created by hand, gradually returning. Returns and interest in embroidery ribbons.
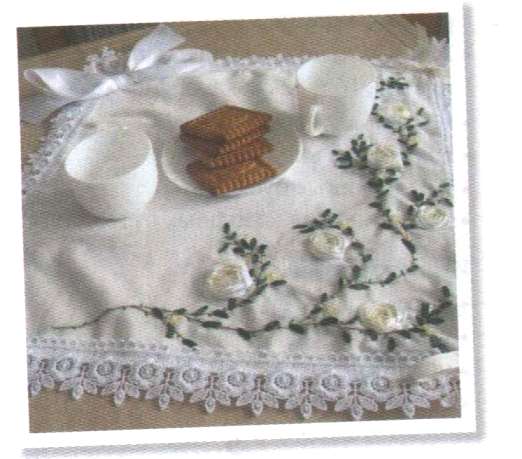
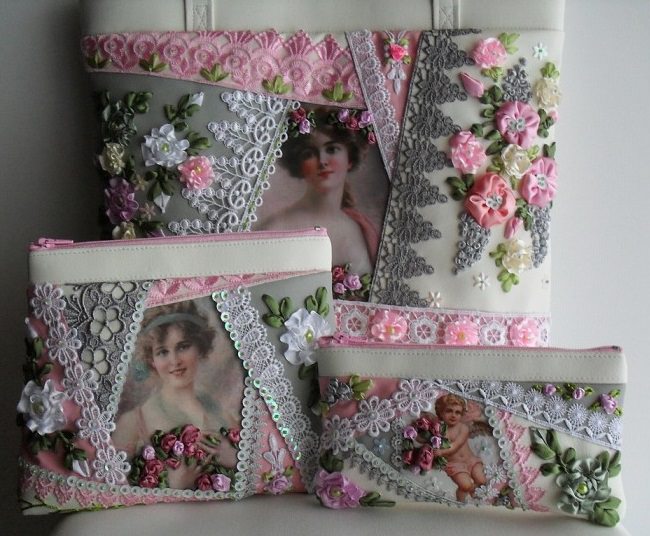
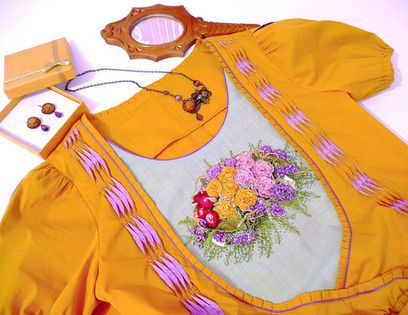
Popular bags, cosmetic bags, paintings, decorated with ribbons. You can also create unique garments using embroidery.
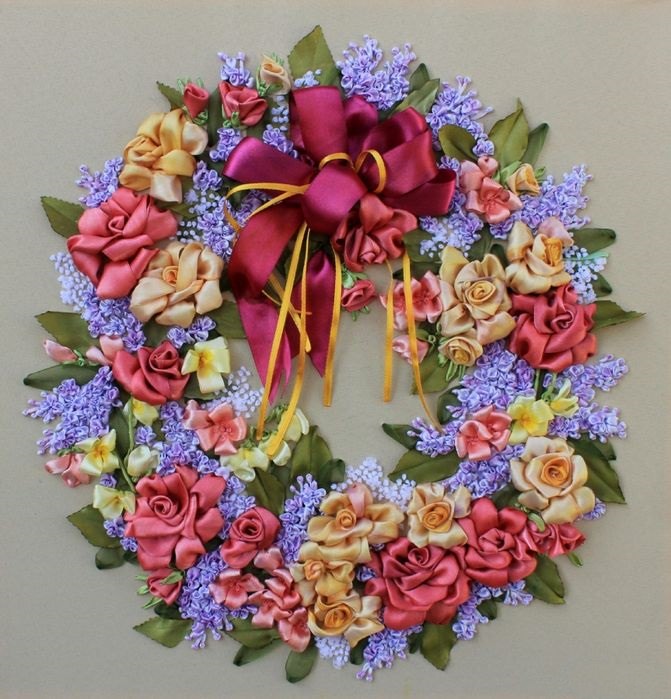
This article describes the lessons of embroidery tapescolors. Having mastered all of them, you can make the composition, to unite them in the basket, embroidery and painting to create amazing pictures. In addition, on our site you can find many descriptions with step by step photos, which describes in detail how to create patterns, leaves and butterflies.