Embroidery with silk and satin ribbons of flowers on the example of a lily for beginners, a master class and lessons with diagrams and photos
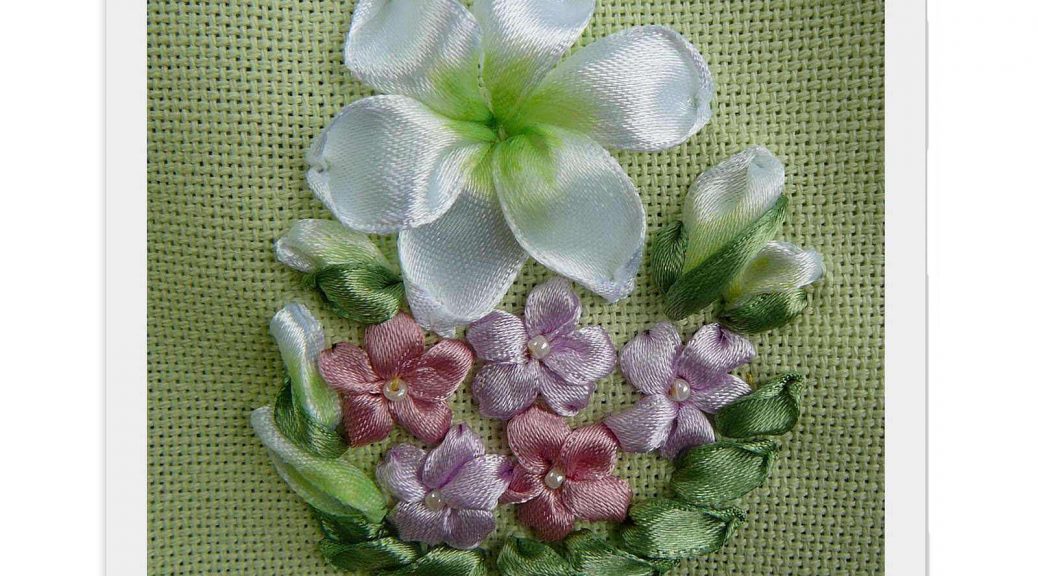
Embroidery with ribbons of flowers: your first lesson. Embroider white lilies Embroidery with ribbons is an interesting and fascinating kind of needlework, available to many. However, some skilled workers are afraid to take it. Not knowing where to start. We offer a small lesson, which will tell you how to make ribbons embroidery flowers. First, draw the flowers: roses, twigs of lilac, lily and other buds.  We select satin ribbons of four colors: pink, green and lilac in width from 6 millimeters, white - 13 millimeters. Ribbons cut length of 40 - 50 centimeters, and those that are made of silk, - 60 - 70 centimeters. On the first lesson we will take a smaller picture, but this is no less attractive. Choose fabrics for your choice: linen or cotton. We used the uniform, because it was quite a shade, you do not have to choose it. Tapes also choose, guided by your taste. Needles need to use a syringe. Also, you will need ordinary needles and cotton threads, corresponding to the tone of the base, and scissors. In the finished form, our product should be about 6 * 8 centimeters. Draw the bottom of the ellipse and begin embroidering a simple flower with a standard stitch.
  It is recommended to cut the tape at an angle, sinceit will thus become less weary. The end is fixed to the original side with 2-3 stitches. Next, try on how long the petals will be, and sew on the stitch, while we help ourselves with a second needle to form a ribbon. The next stitches we make from the middle, not cutting off the ribbon, although, as a rule, it is necessary to cut it off at the end of each stitch and fix it with a thread. Stitches do not from one point, but from the next.
 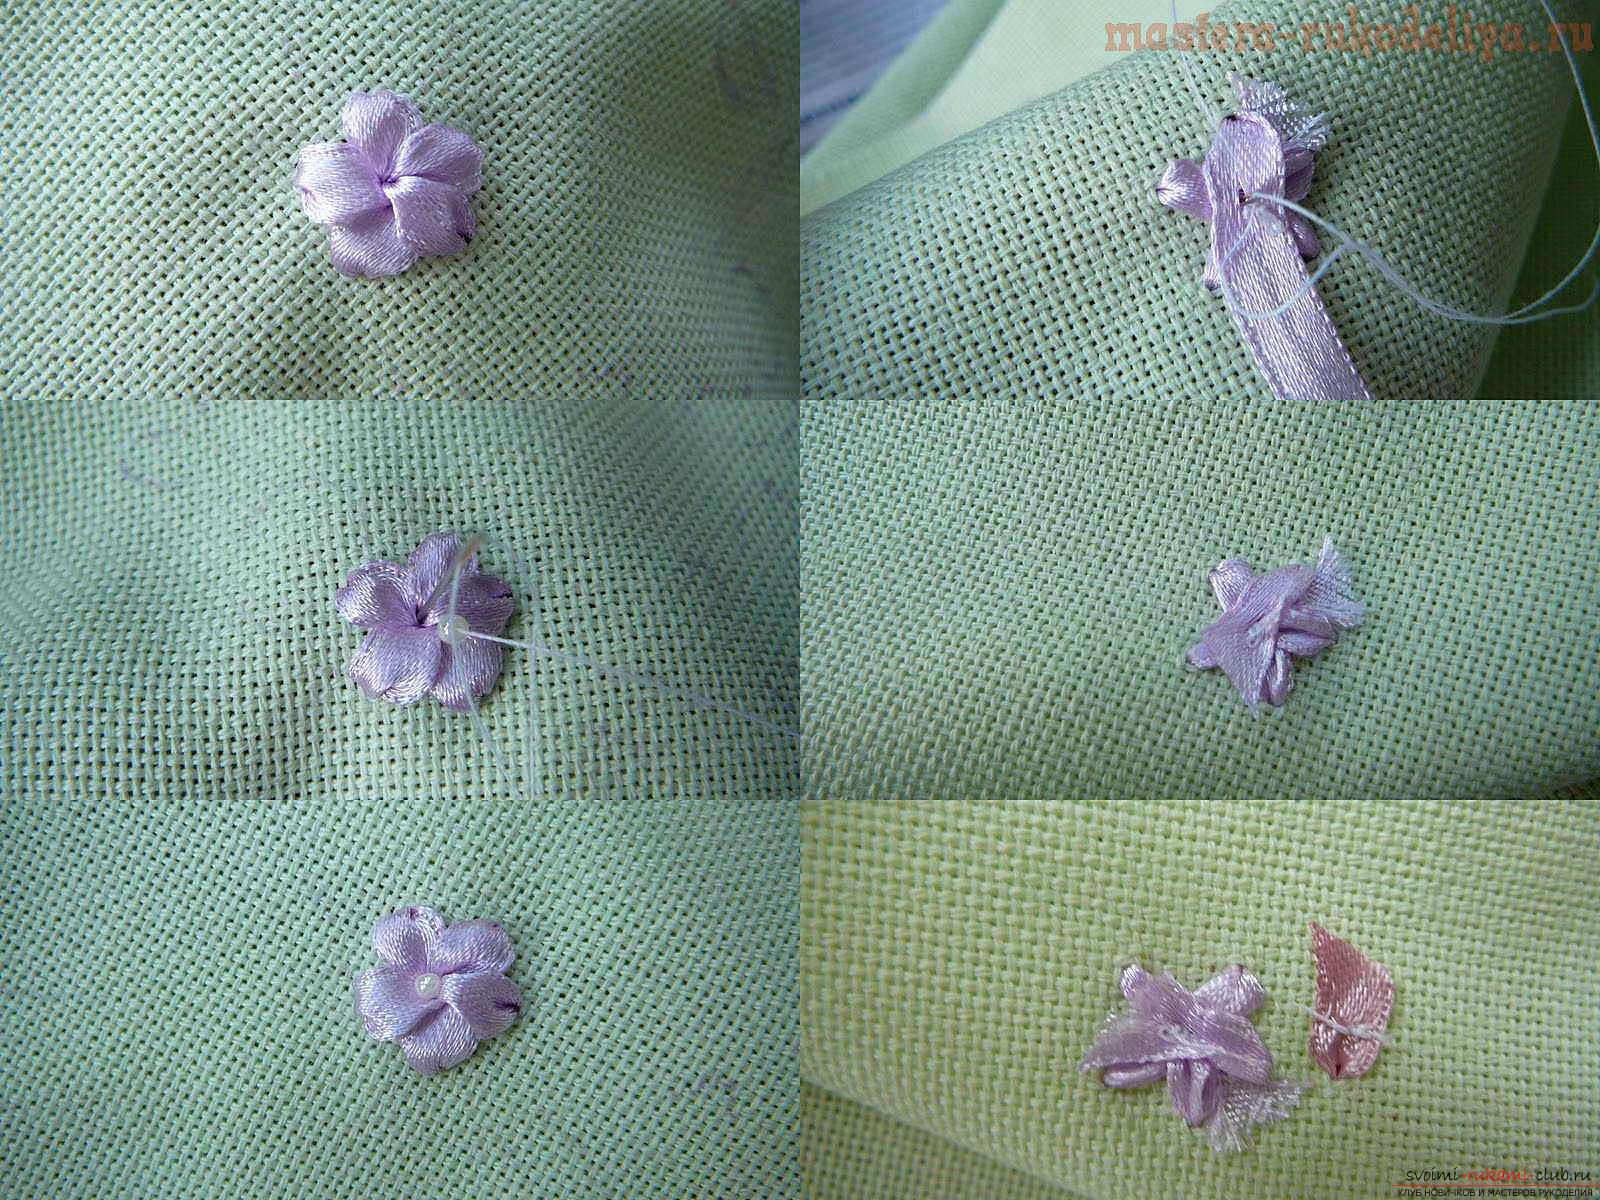 Now you can slightly decorate the flower. To do this, sew a bead or a French knot in the socket. Look in advance on the wrong side, so that you do not worry about it again. After that, fix the tape for the next flower. Their number and size can be very diverse, according to your flight of fantasy. Naturally, flowers should have leaves. To do this, over the ribbon will have to perform more complex actions, namely - to form the central ribbon stitch.
  We do this: we deduce a ribbon and measure, where it is necessary to pierce it. Then we heat the needle and gently pull on the wrong side, forming, at the same time, the necessary texture. Next, we made a series of stitches around the flowers, which resemble buttercups. If you suddenly something went wrong, the ribbon can easily be adjusted, gently pruning the needle or needle with a fingernail.
  We proceed to sewing buds and, directly,lilies. For this purpose we take a white ribbon 13 mm wide (although you can choose the color of the lily and the other). Buds are sewn with a left ribbon stitch. The ribbon is punctured on the left, and a bud is formed. Similarly, sepals are made, but they begin to form slightly lower than the base of the bud.
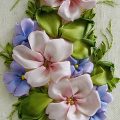
 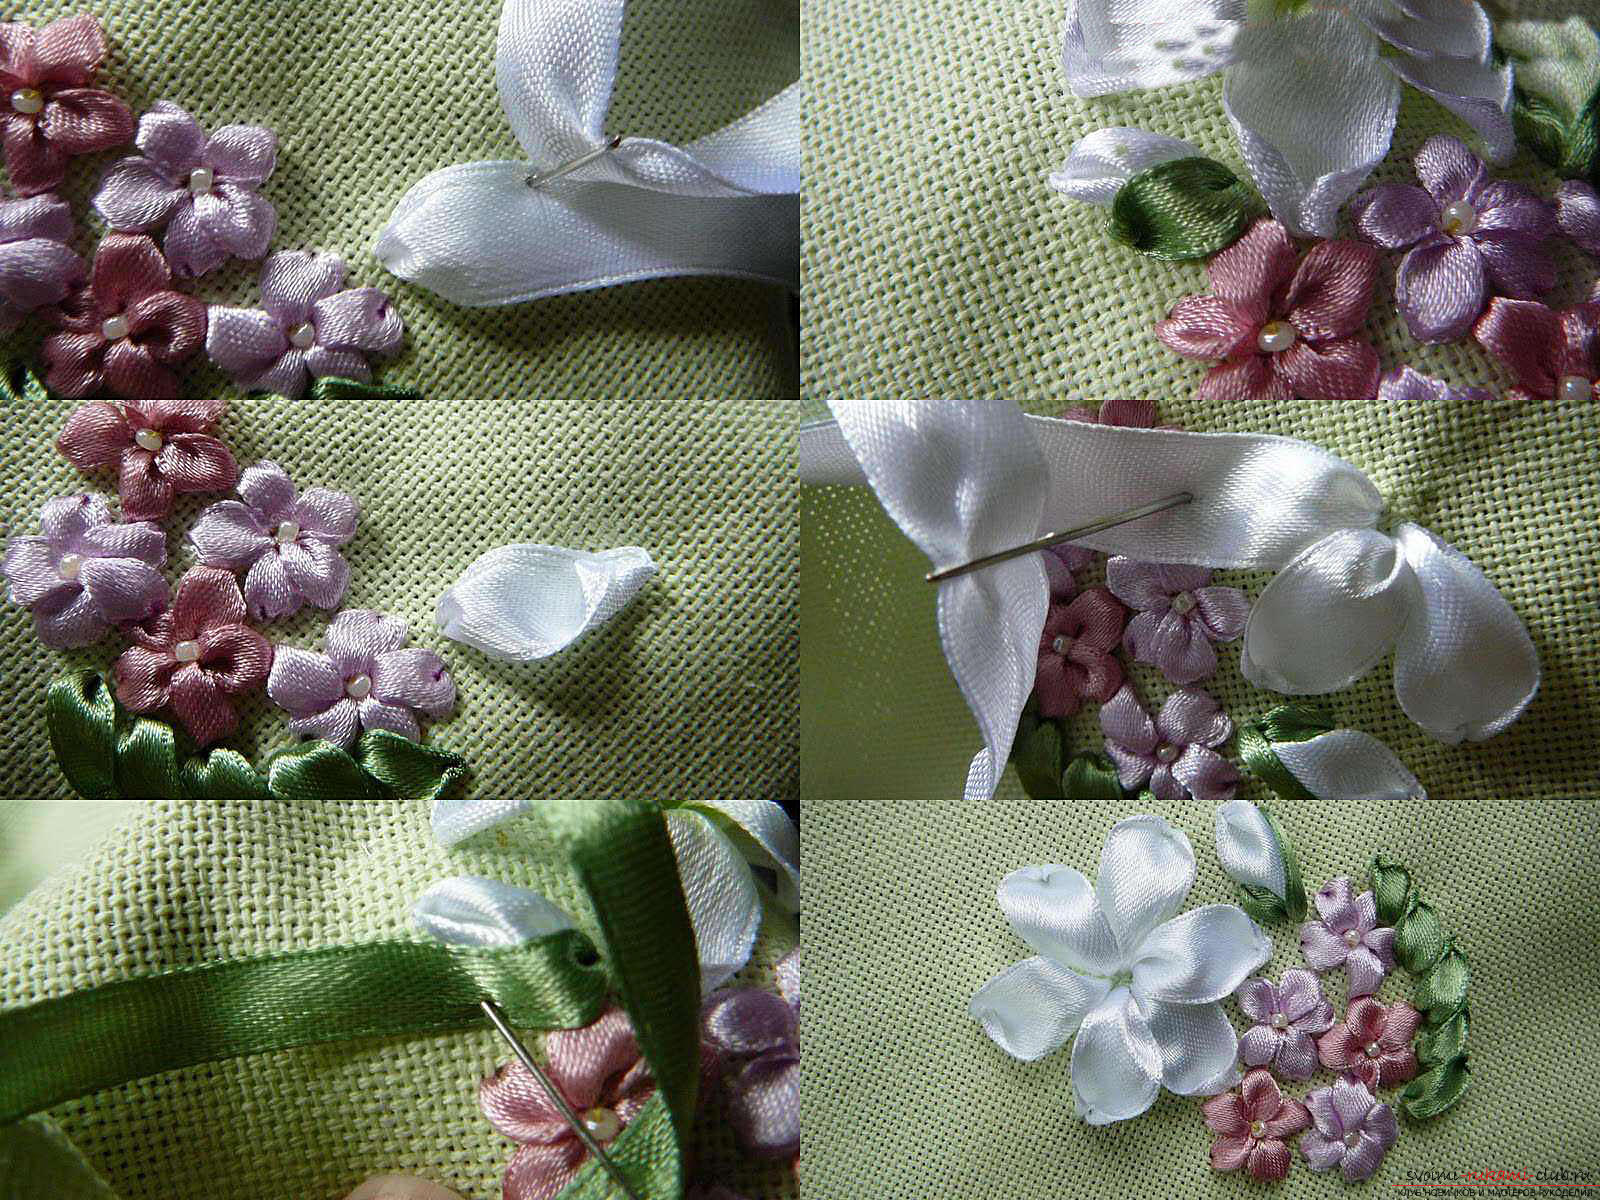 Sewing lilies is done using a centralstitch, while you can help the second needle to make petals. To make the flowers more voluminous, avoid unnecessary stretching. If you followed our instructions correctly, then you should get this kind of embroidery with ribbons:
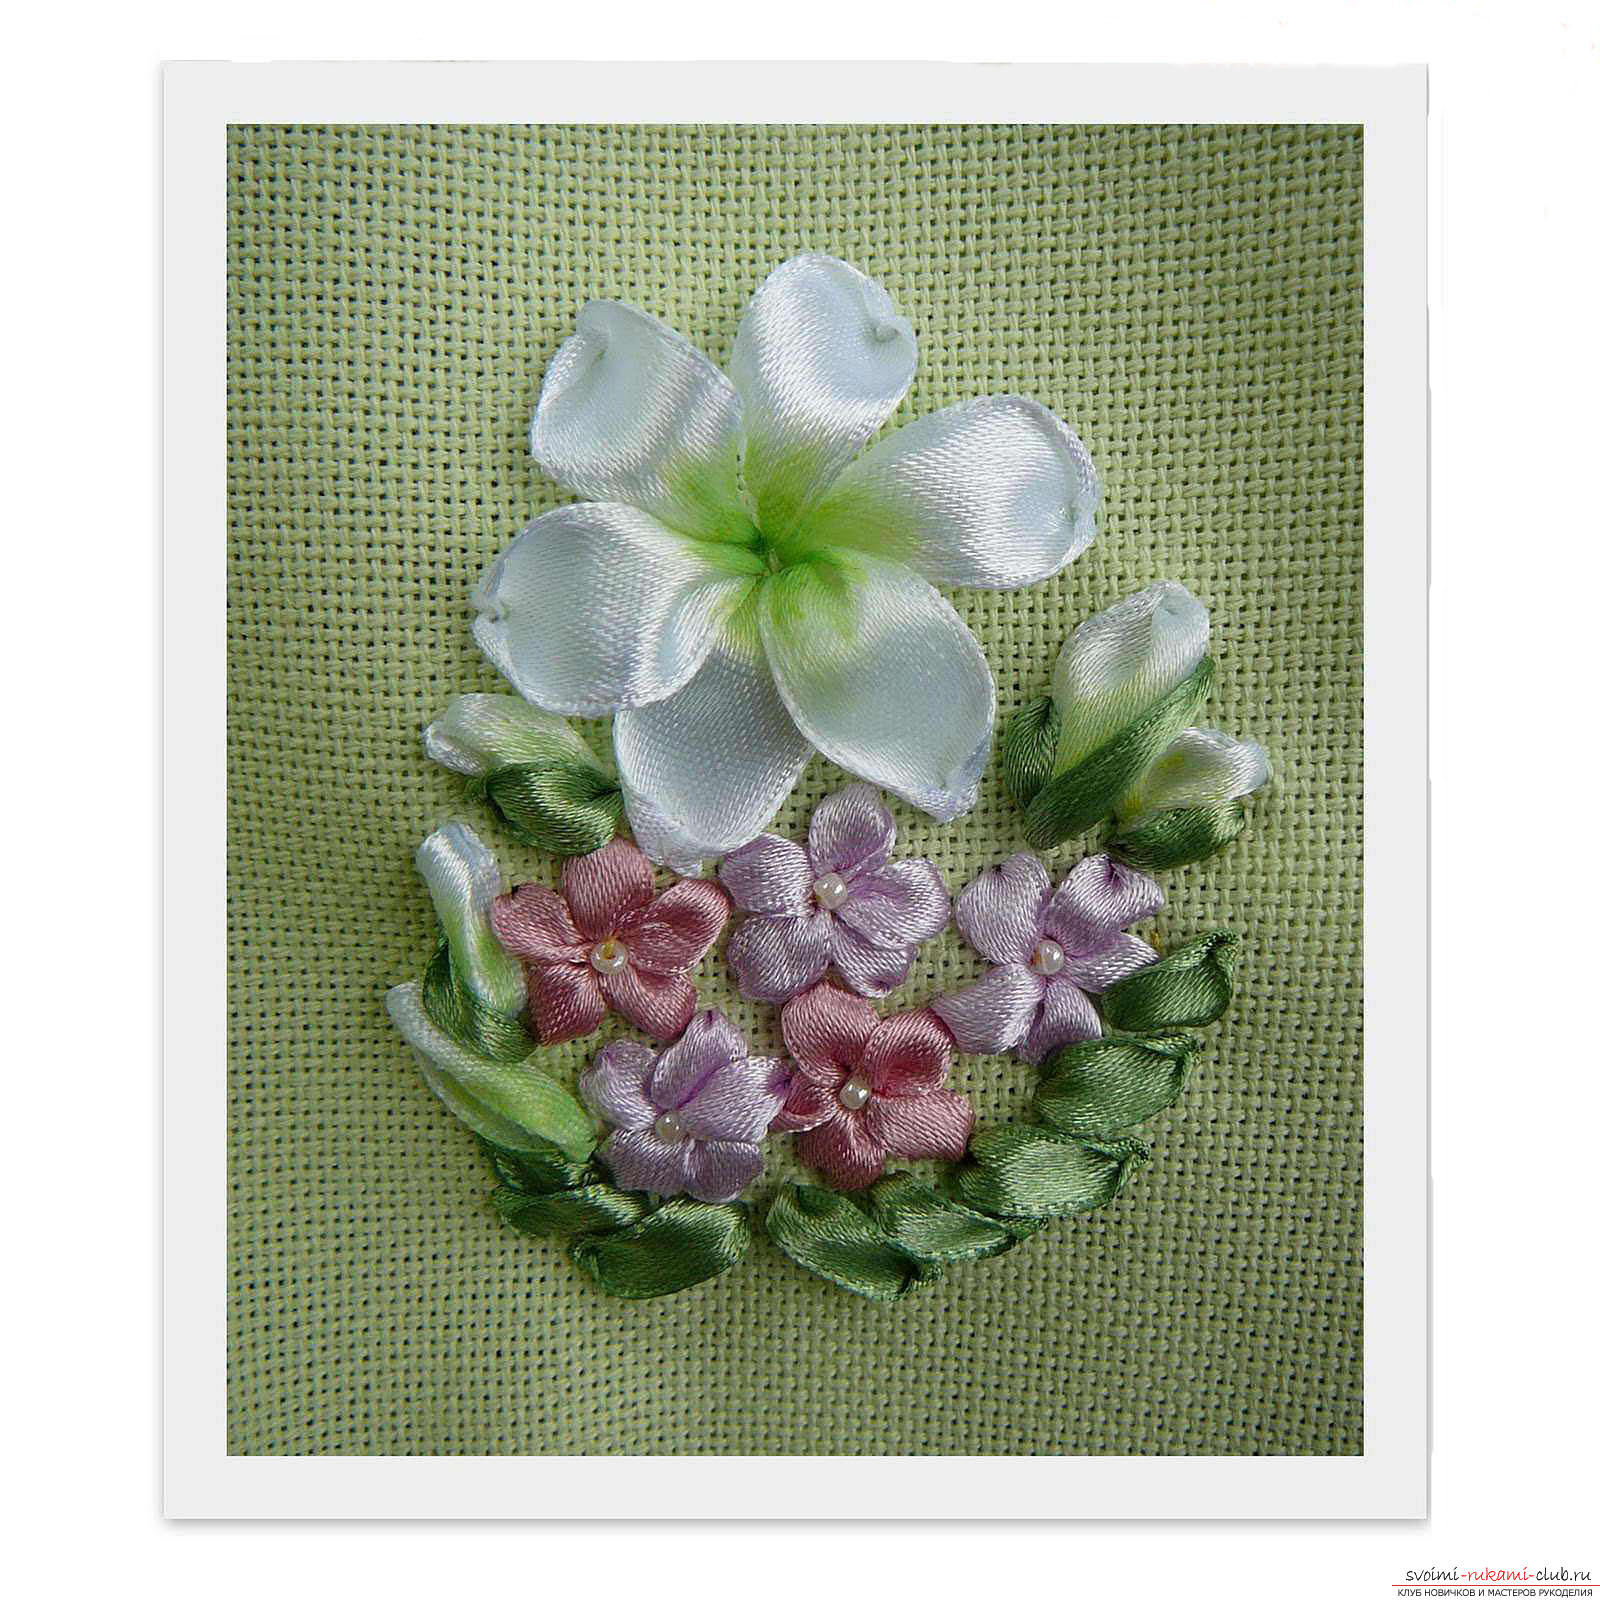
Comments
Related posts:
 Embroidery with silk and satin ribbons for beginners, master classes and lessons with diagrams and photos
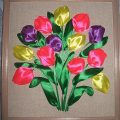 Embroidery with silk and satin ribbons of tulips, for beginners, master class and lesson with diagrams and photos
 Embroidery with silk and satin ribbons of buttercups, lilacs and roses for beginners, master class and lesson with diagrams and photos
Embroidery with silk and satin ribbons for beginners, x master classes and lessons with diagrams and photos
Embroidery with silk and satin ribbons of buttercups, lilacs and roses for beginners, master class and lesson with diagrams and photos
Embroidery with silk and satin ribbons for beginners, x master classes and lessons with diagrams and photos
 Embroidery ribbons for beginners video lessons and master class