
Technology embroidery with beads and major joints (video)
Content
- Materials and tools for embroidery with beads
- Securing beads with embroidery
- Video: beaded embroidery process
- Unilateral types of stitches
- Bilateral types of stitches
- Videos: Circular technique beadwork
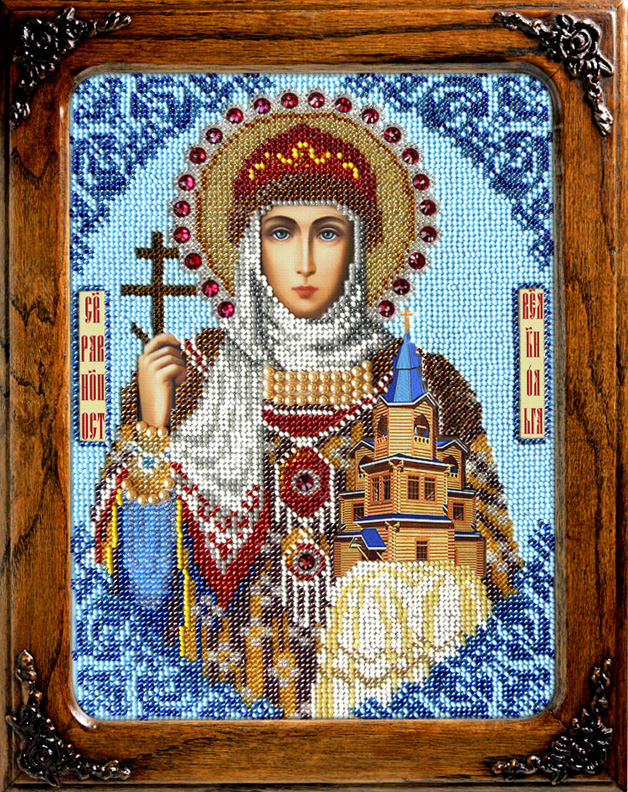
products have always been highly valued because of their beauty and effectiveness, regardless of the method of embroidery. Equipment
in most cases, it is not complicated. But if you decide to do this kind of needlework, you first need to carefully examine the basic
, View the video lessons on our website. No matter what technology you choose embroidery, classic or in a circle, it must be remembered - that the product, beaded, get a nice, smooth beads should go to or at the same angle.


Materials and tools for embroidery with beads
Beaded needle
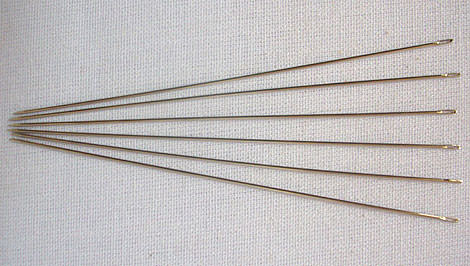
They are numbered according to the thickness. The thickness is selected in accordance with the caliber of the beads, which is selected for operation. There are situations when used as a base fabric is so dense that a thin bead broken needle when passing through it. In this case, additionally require a thicker needle, through which a puncture is made in the tissue, and then is passed the main bead. Sometimes it happens: the beads are so small caliber that it is impossible to pass a even a very thin needles. Then the equipment is complicated embroidery. Initially, the thread is fixed on the base, and its end is smeared with glue. After drying the thread being removed from the needle, and put on the beads directly at her. Next, thread a needle is passed back and done the seam.
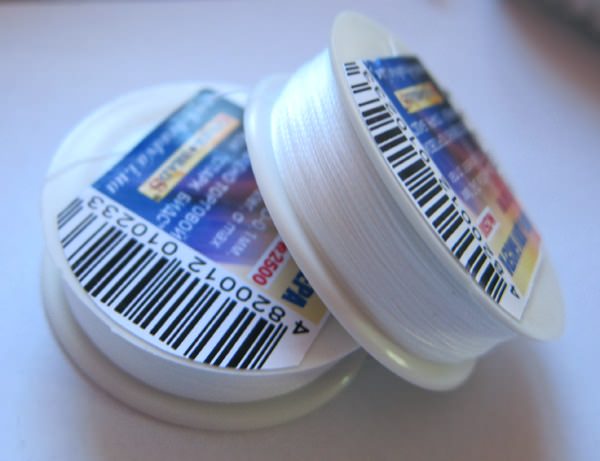
Threads
For beadwork used mosta variety of threads. The main requirement for it - good strength and durability. The color is typically chosen to match basis. With nylon thread will be easier to work, pre-waxed it. This gives extra rigidity to facilitate threading through the needle eye.
Beads
Beads, beads, glass beads, sequins and other materials that can go into operation. Before you get started, you need to make sure in good quality material.
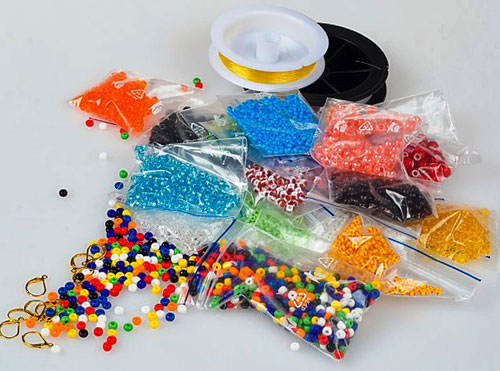
Take some beads, wet it and rubbetween your hands - it should not at the same time lose its color. Mother of pearl beads coating should also have a good quality, otherwise it will quickly peel off during operation. In addition, small beads, the quality leaves much to be desired, may simply melt when washing, ironing or steaming the fabric.
Hoops, Tapestry frames or machines. The choice depends on the product size. For beginners bead embroider likely fit the hoop.
Matter Embroidery
It should be chosen on the basis of practicalconsiderations. The substrate should not wrinkle much and getting dirty. It should also be taken into account and how the material you embroider. If it is, for example, hard glass beads, they inevitably distort too thin fabric.
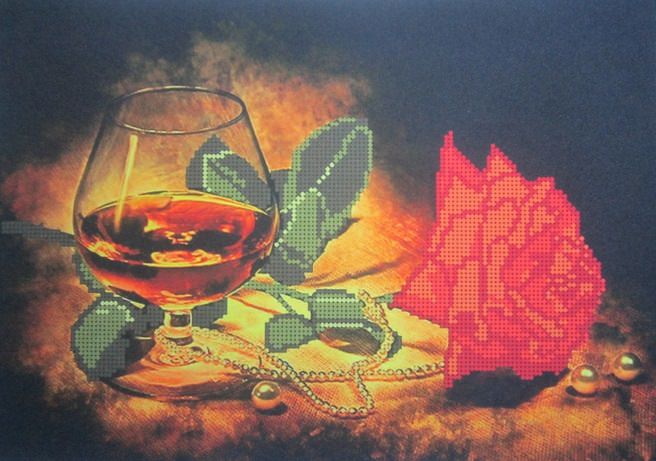
Canvas printed pattern for embroiderybiseromPered begin, you need to copy the picture that you will embroider on cloth. This is done with the help of carbon paper, chalk or soap. If the circuit is required to move the knitted fabric, which is known to be strongly stretched, causing additional inconvenience, it is necessary to attach a sheet of tracing paper material coated with a flash pattern and it. After that, carefully tracing off and thread that stitch pattern remain.
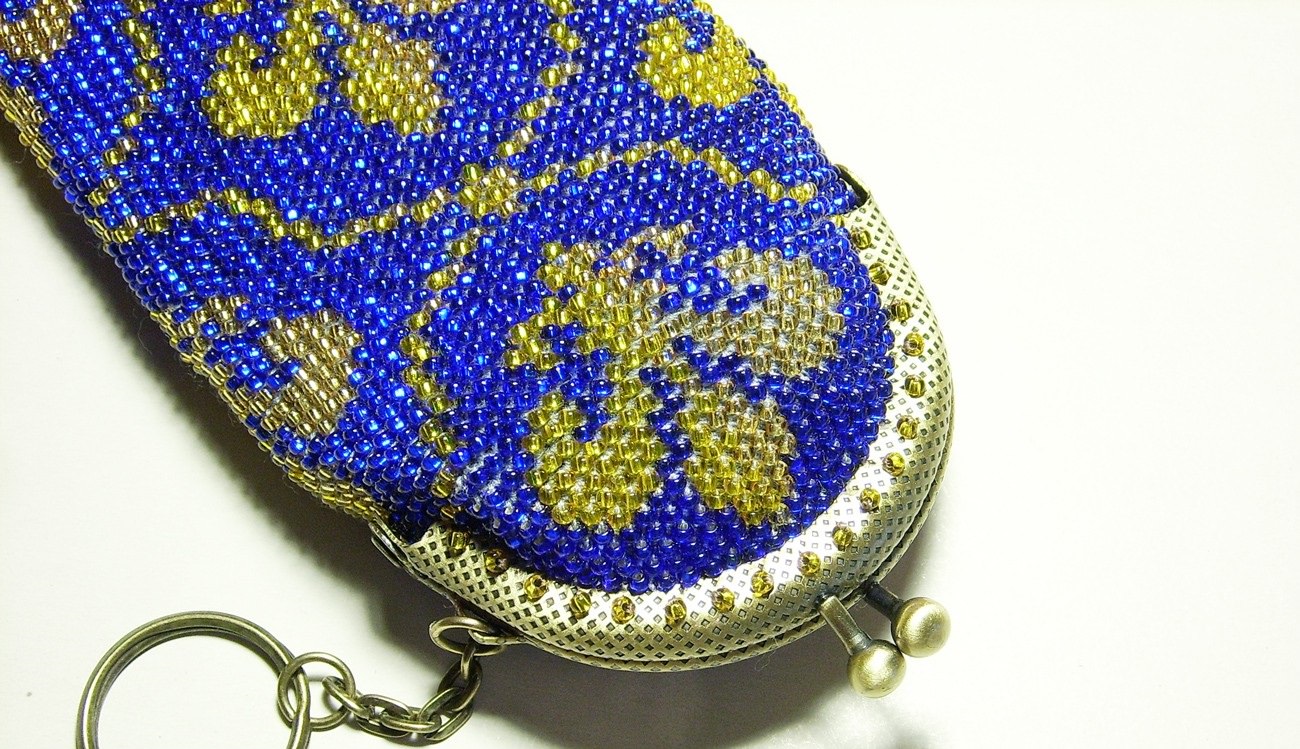
Also beadwork widely usedcanvas coated directly with a pattern, which greatly simplifies the process of embroidery. Such technology requires proper matching bead size to the cells - too much will lead to the fact that the product will puff up, and too little will not look good, opening the view diagram below.
Widely used now
Wherein as auxiliary materialsoutache used - cotton braid, consisting of two twisted wire harnesses, which are connected to each other along. However, for beginners to embroider it hardly seems easy.
Before using a particular type of technology is helpful to view the video, which shows a master class on this topic.
Securing beads with embroidery
To fix one small beads can besew as a button. The needle need to display on the front side, thread the bead and again come out on the wrong needle. The stitch length is equal to the diameter of the bead. If the bead is large, it is best to use an additional small beads. On the needle with a thread strung first main bead and then a little, which will serve as a "lock". Next, the needle again passes through the large bead only in the opposite direction, leaving the underside surface of the fabric. This bead should not be so small to leave a large hole in the beads, otherwise nothing happens.
Sew sequins similar to this method, but instead of beads taken sequins and beads again fixes it.
It has the same principle, but there is not a column made of two and more elements.
To sew a bead series, there are several types of seams, which are divided into single and double sided.
Video: beaded embroidery process
Unilateral types of stitches
- "Forward needle". On the stitch from the front whenever worn beads. This stitch, respectively, will be equal to the length of the bead. On the reverse side is performed stitch smaller needle and re-emerges. embroidery technique here is the same as in the consolidation of the single beads on the principle of the buttons described above;

The suture needle forward
- "Stalked". On the matter fixed on a thread strung beads. Then iglavvoditsya the fabric and again displayed behind it (of beads). Next, the needle again goes through the same hole beads strung and immediately the second. The needle is again introduced in the foundation and have displayed between the two beads of passing through the strung vtoruyu.Srazu third, and so on. Some should be placed tightly. This embroidery comes hard;
stalked seam
- "Lowercase". On the needle strung beads. Next, the needle is inserted into the tissue just behind her and once again displayed on the distance from the first beads equal to its length to accommodate the next. String, this is the next, and the needle is inserted into the tissue between it and the first bead. To the solid line was obtained, it is necessary to sew beads is very tight, but see to it that the inline-bristled. More dense and smooth lines make the thread, stretched her way forward through the beaded number;
lowercase seam
- "Couched stitch technique." The beads are strung on a thread and fit into the designated pattern. Then this thread need to sheathe across each beads (but it is possible and within two or three) small cross stitches;

Seam "couched stitch technique"
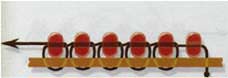
- "arched". It applies when dense tissue biserak diligence is not necessary at all or it is undesirable. For each stitch with the front face there are several beads, and only the latter is fastened by means of
;

Arched seam
- "Monastery". Used equipment vyshivkipolukrestom. In this method, the needle comes out on the front side, it is strung a bead, and then made a stitch diagonally up or down. On the reverse side is already a vertical stitch (or up or down), and the needle goes out again.
Monastic seam
Bilateral types of stitches
The principle of embroidery does not change, the seams are the same. Just like beads strung on the front side and the reverse side.
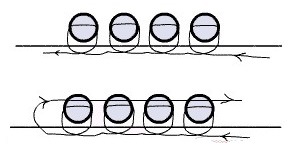
- "Forward needle". During each pass strung on beads, and from the front, and on the reverse side. The stitch will now be the same on both sides and match the size of the beads;
- "Stalk-row." The needle is threaded beads, then it appears on the reverse. On the inside of the seam is also attached beads. Then the needle is again discharged to the outside before the first, and is passed through it. Immediately third strung beads and a needle is inserted into the tissue. On the wrong side again put on another bead and the needle comes out between the first two, and so on. At the end of the series string is drawn into the unit and carried through the entire range of backing in order to align it;
- "Couched stitch technique." In figure fit beads strung on a thread. If the firmware of the filament cross-stitches from the inside out and put on the beads. For extra durability, finished binding, thread through the bead slide number seamy side.

Bilateral seam forward needle 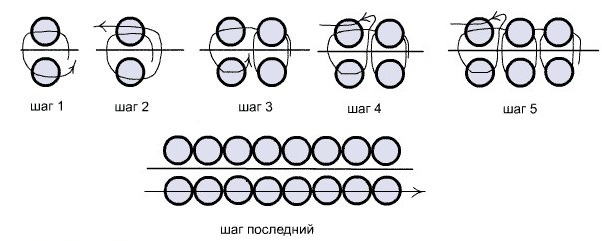
Stalked-sided horizontal seam
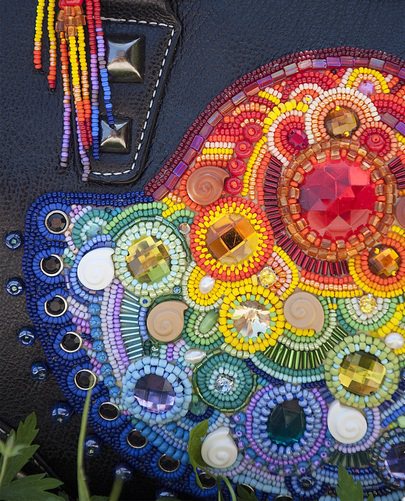
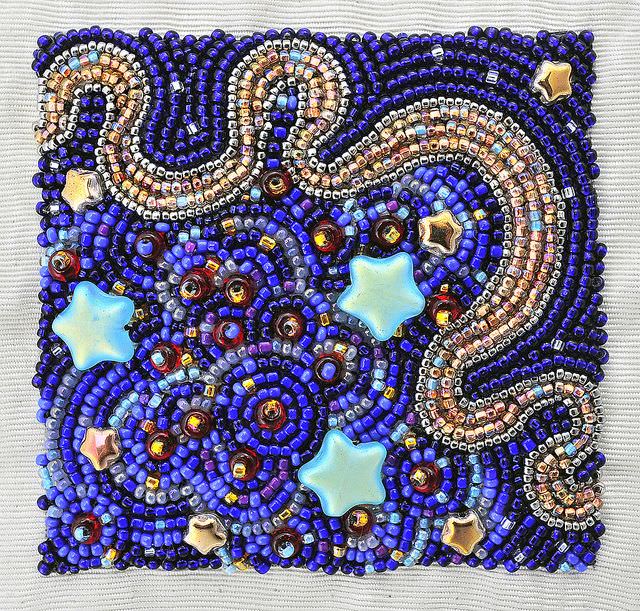
Bilateral couched stitch technique seam quite popularcircular beaded embroidery technology. The principle of this type of embroidery is sewn on beads that range. The circular embroidery is very effective, but when using it you need a lot of consumables. In addition, for beginners to embroider this technique again may seem daunting. However, even with a little skill, you should not retreat before difficulties. Be patient, watch the video lessons, learn how to do the true masters - and you will succeed.
Videos: Circular technique beadwork
Comments
Related posts:
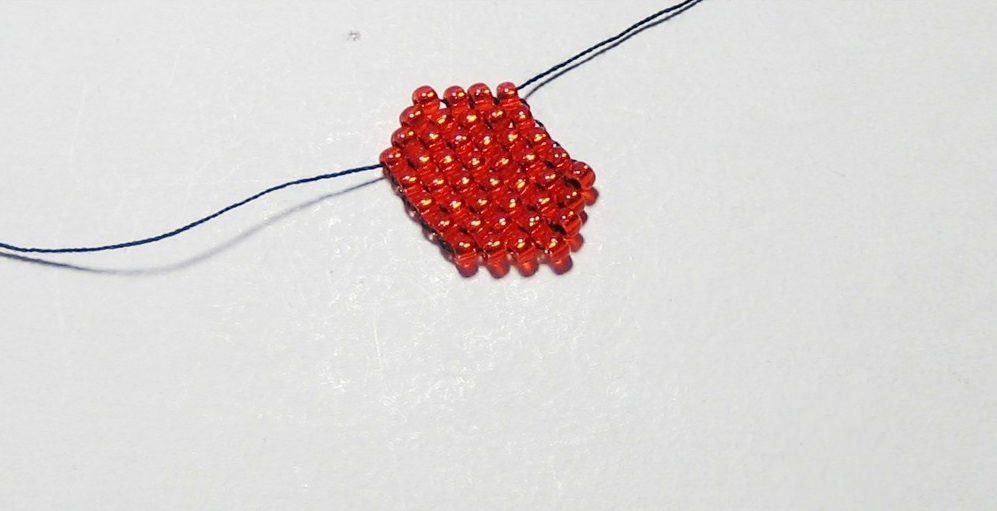 Brick weave beads for beginners to master-class (video)
 Beadwork Rooms' complete sets of machinery and circular
 As the bead embroider correctly: video tutorials for beginners
 Knitting with beads in training lessons (photo and video)