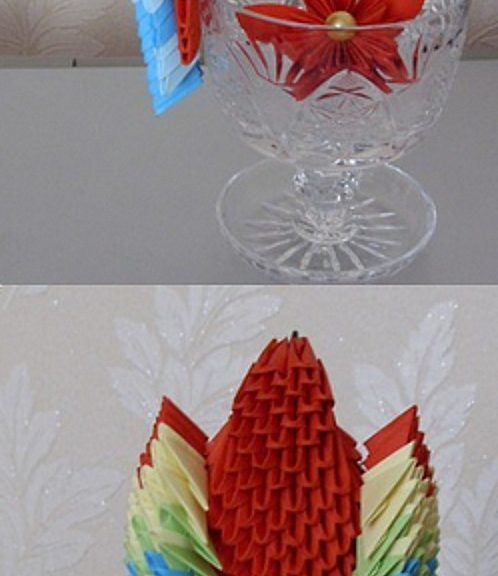
We perform a bird-parrot according to the origami scheme, origami animals from paper with their own hands
In order to make a beautiful origami parrot,we will need to do much. First of all - blanks, on the basis of which we will develop modules and work with our future crafts. This instruction will help you to master all the necessary subtleties of work in the style of origami. Scheme with step-by-step assembly instructions: In order to create a parrot from the modules we need: 160 red, 125 pink, 96 blue, 78 blue, 54 yellow, 20 green modules (1/16 A4). In addition, there are 18 red modules with a size of 1/32 A4. The first modules must be connected in this way:  In the first and second rows we make 6 pink and 5 blue modules.
  We gather the next third, fourth, fifth series.
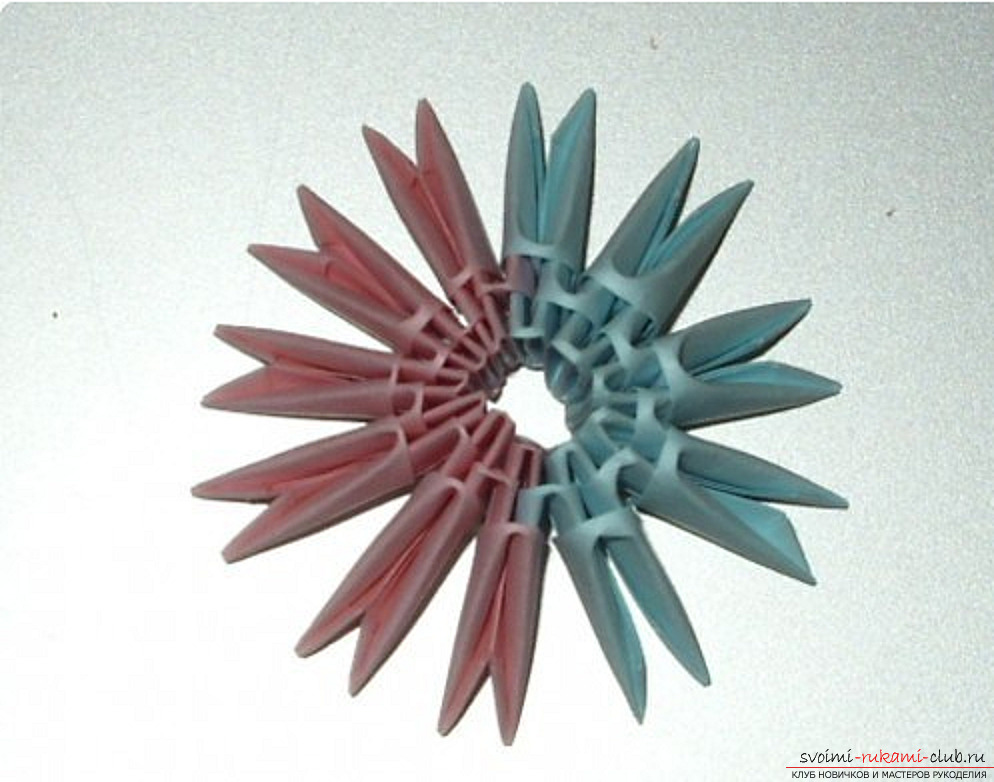

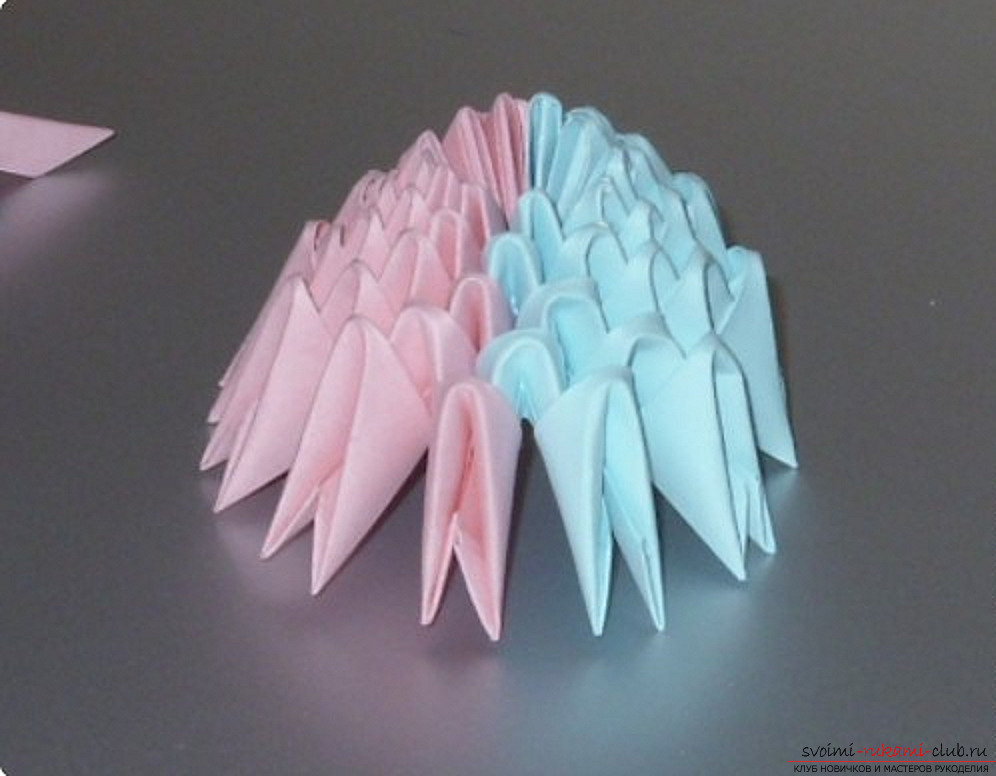 In the sixth row, we increase the number of modules. There must be 7 pink and 6 blue modules. IMPORTANT: the sixth - the eighth series are divided into 2 parts, do not combine them.
 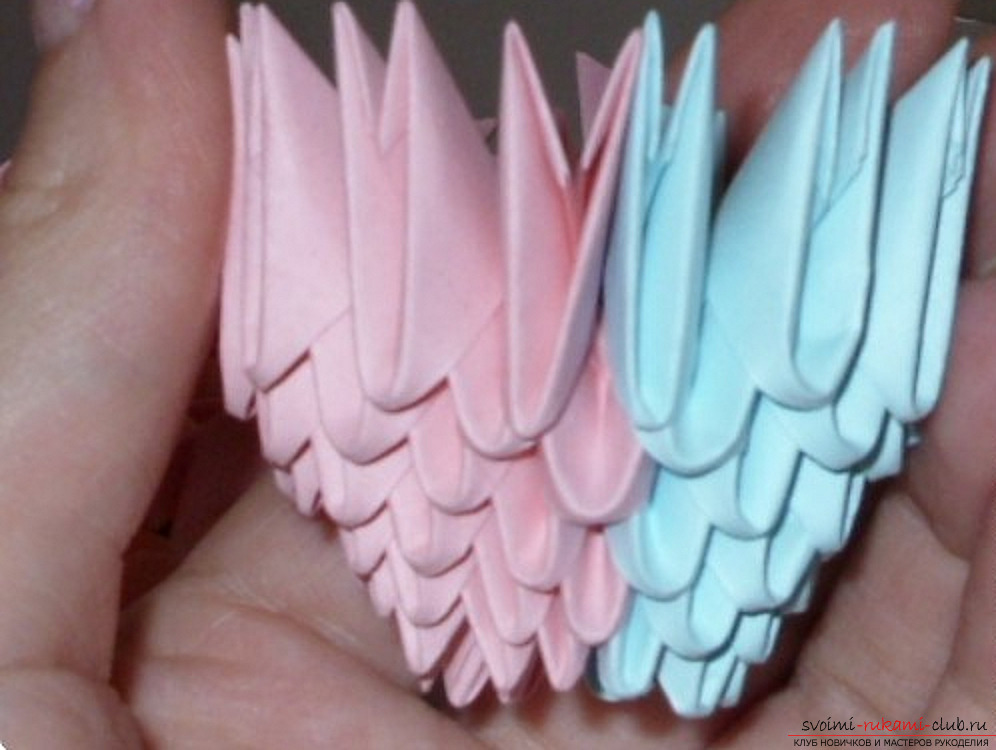 In the seventh row we make 8 pink and 7 blue modules. In the eighth row we also increase the number of modules, the difference is that the two central modules are replaced from blue to pink.
 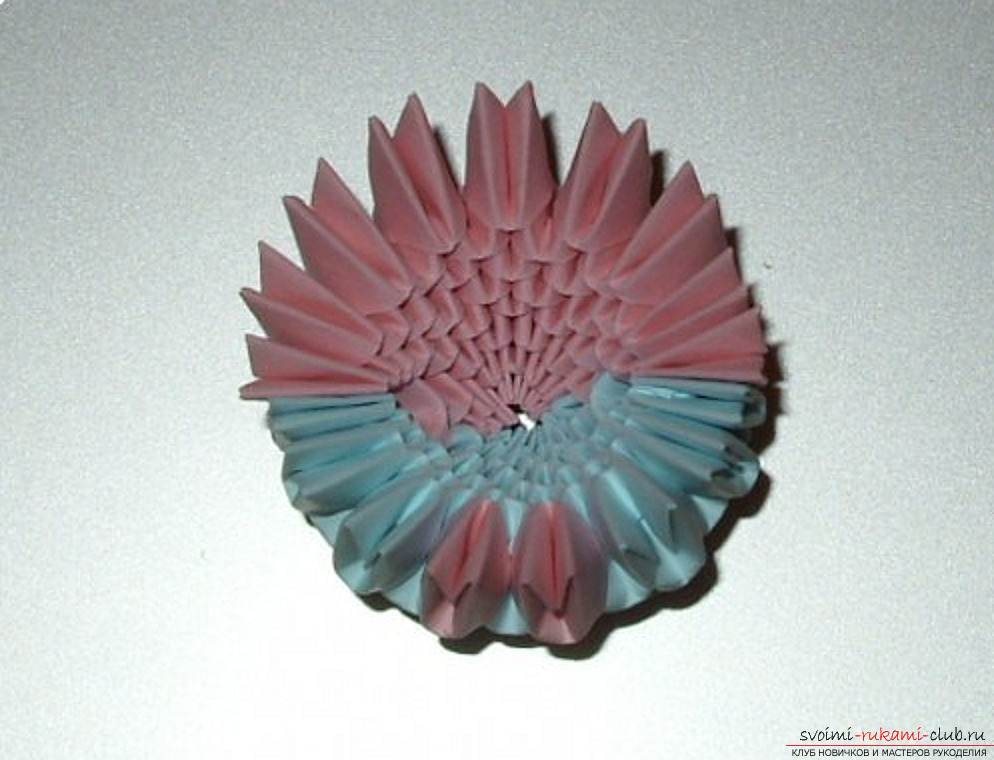 In the ninth row, we combine the divided series with a blue module. It should look like the photo 5 pink two blue 10 pink 2 blue.
 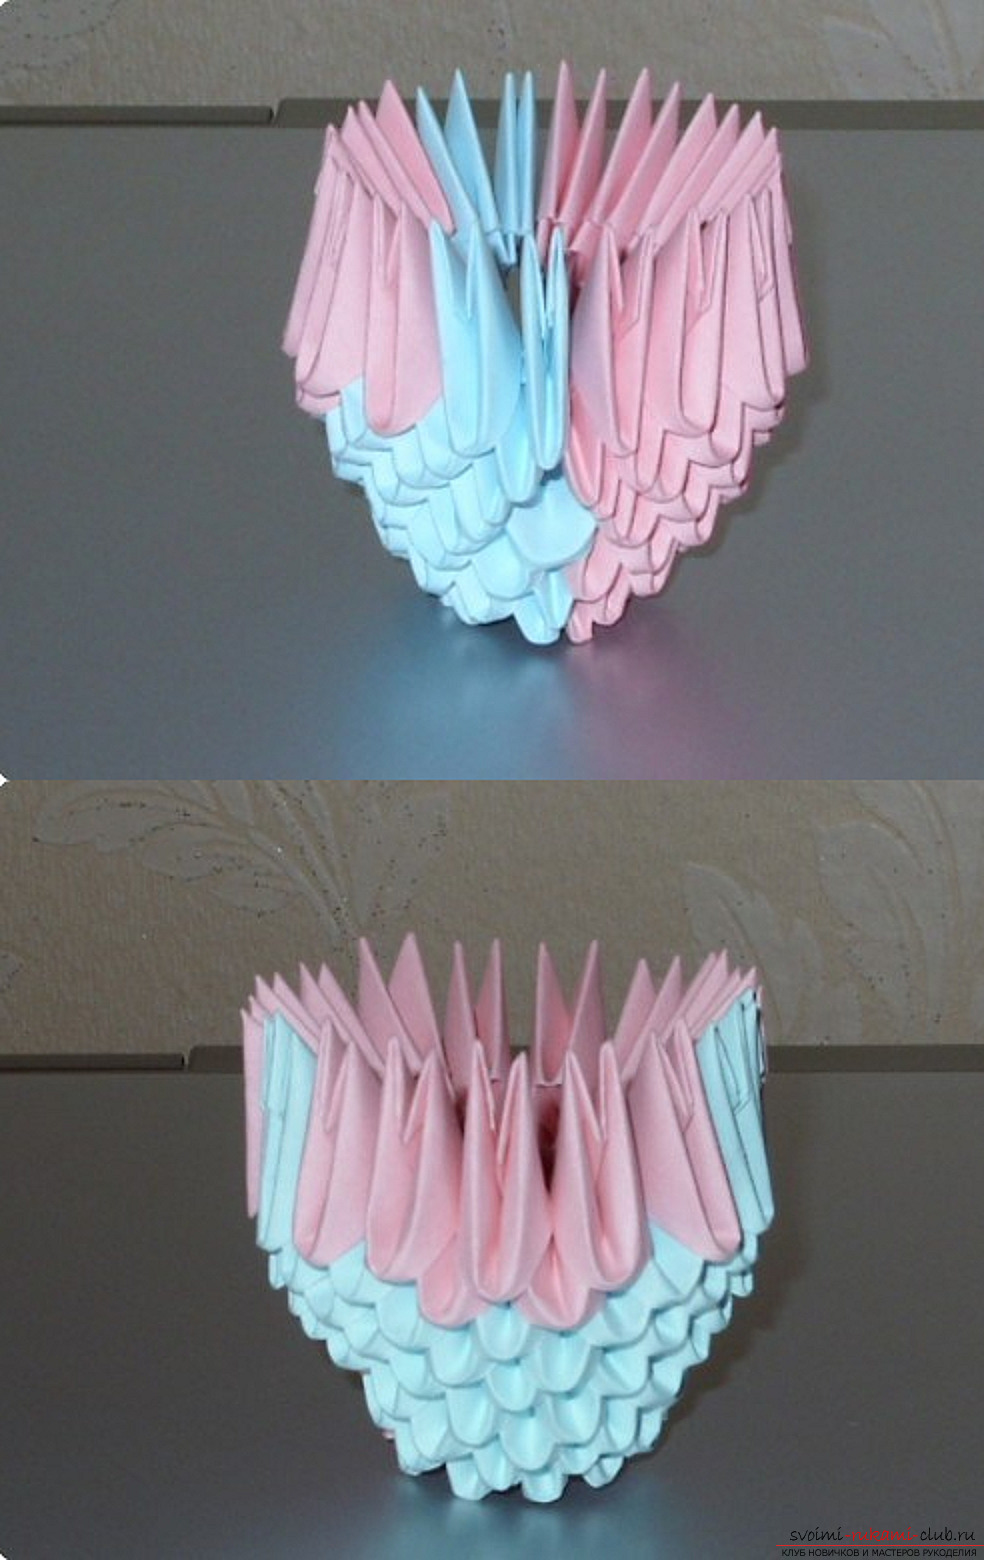 Tenth row: 6 pink modules, 1 blue, 9 pink, 1 blue;
 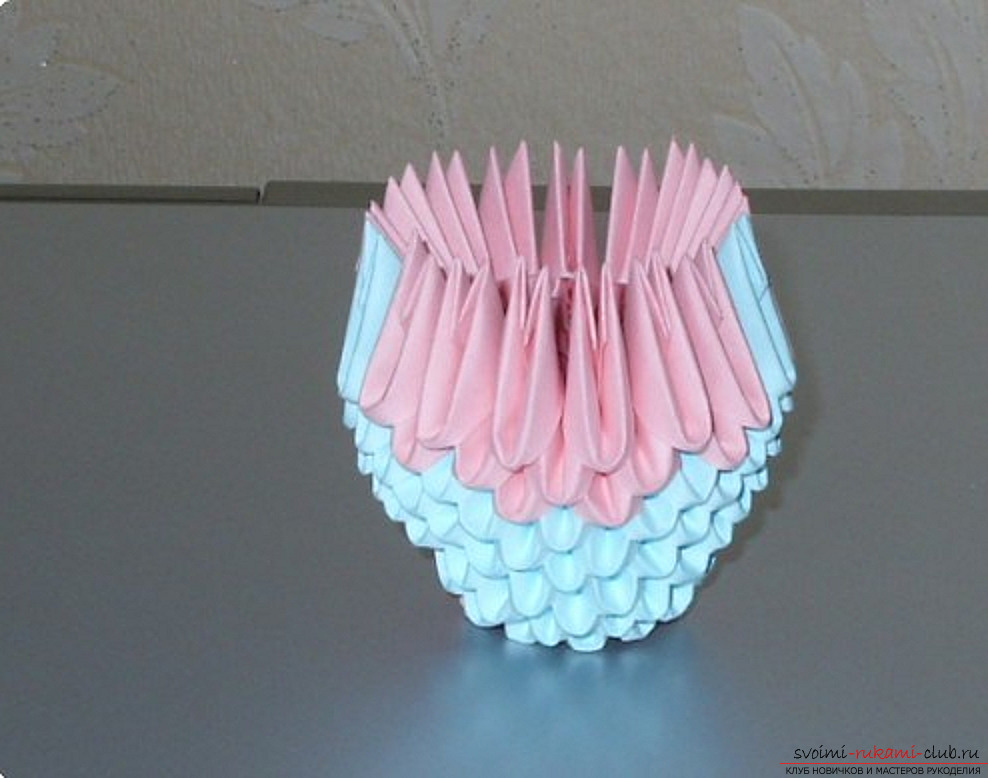 the eleventh row: in front we add 2, and behind 3 red modules, the rest we fill with pink modules;
 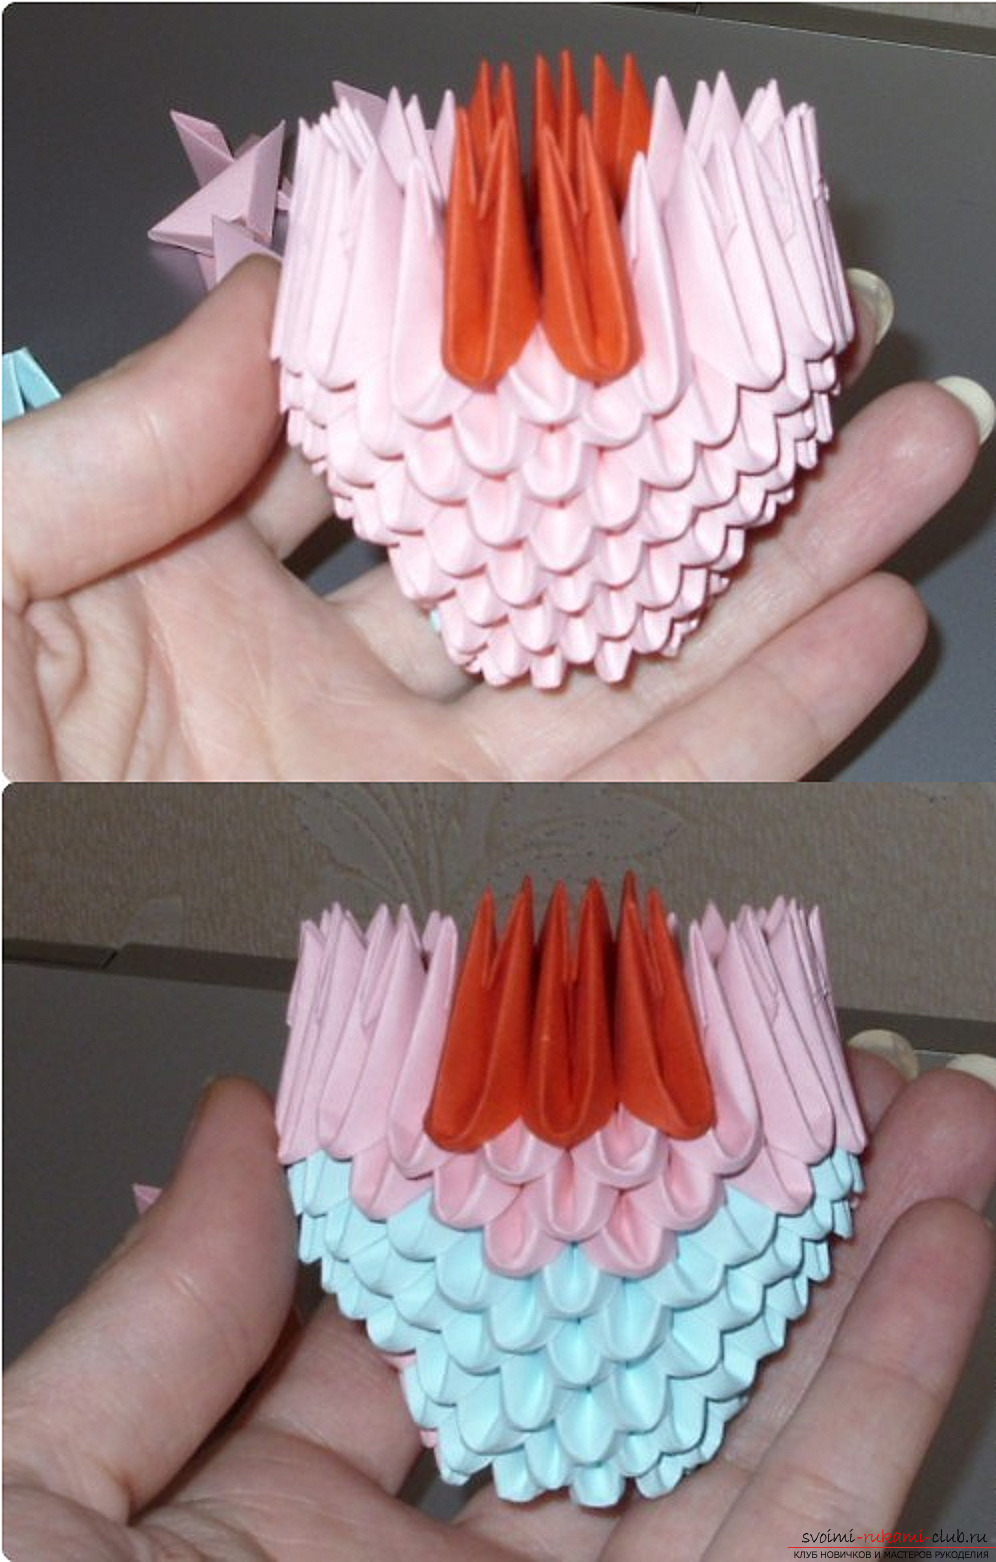 twelfth row: front 3 behind 4 red modules, the rest are pink;
  the thirteenth row: further increase the number of red modules on each side by 1;
  fourteenth row;
 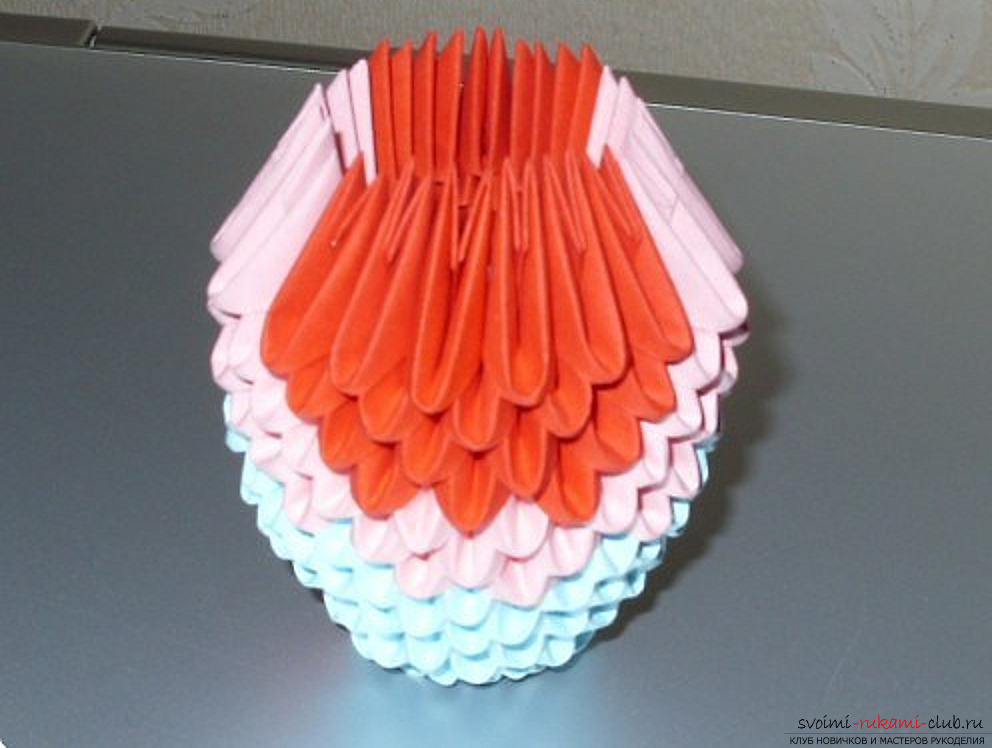 fifteenth row;
  from the sixteenth row, we begin to reduce the number of red modules from the back (the side where we started with 3 red modules), there should be 7 more modules;
 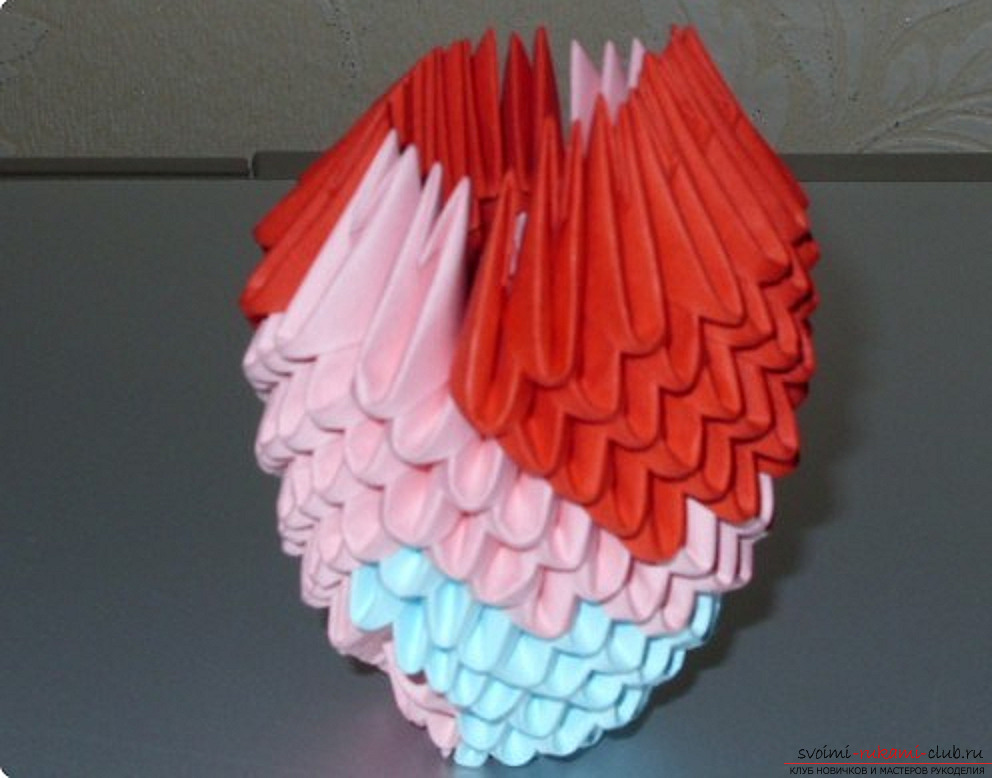 Seventeenth row - 6 modules;
 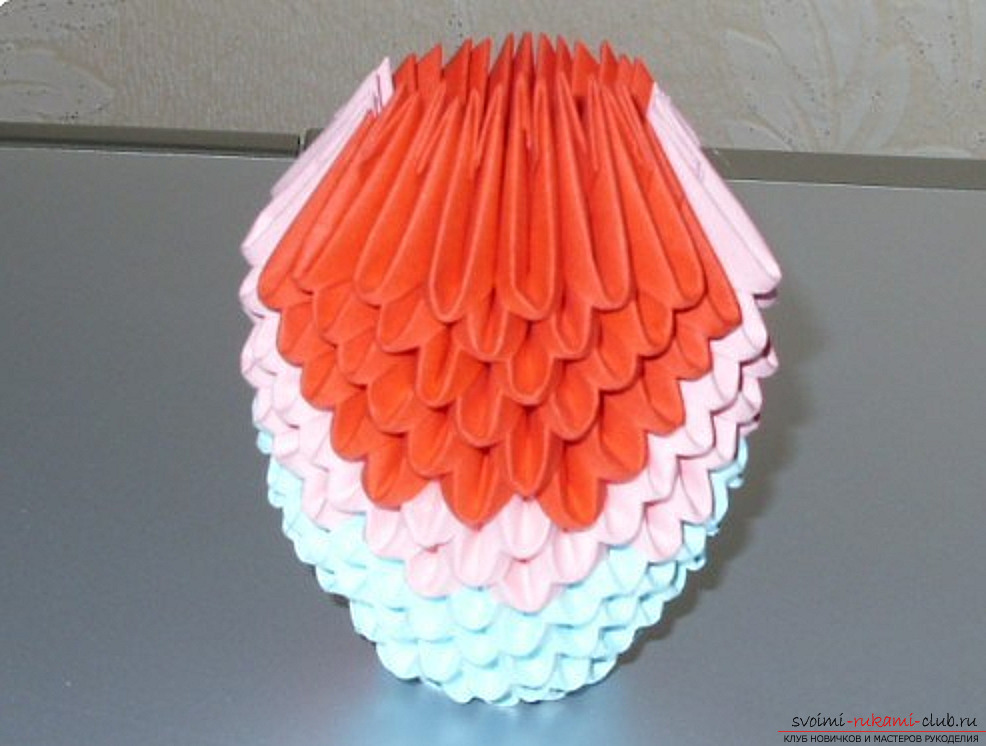 eighteenth row - 5 modules;
 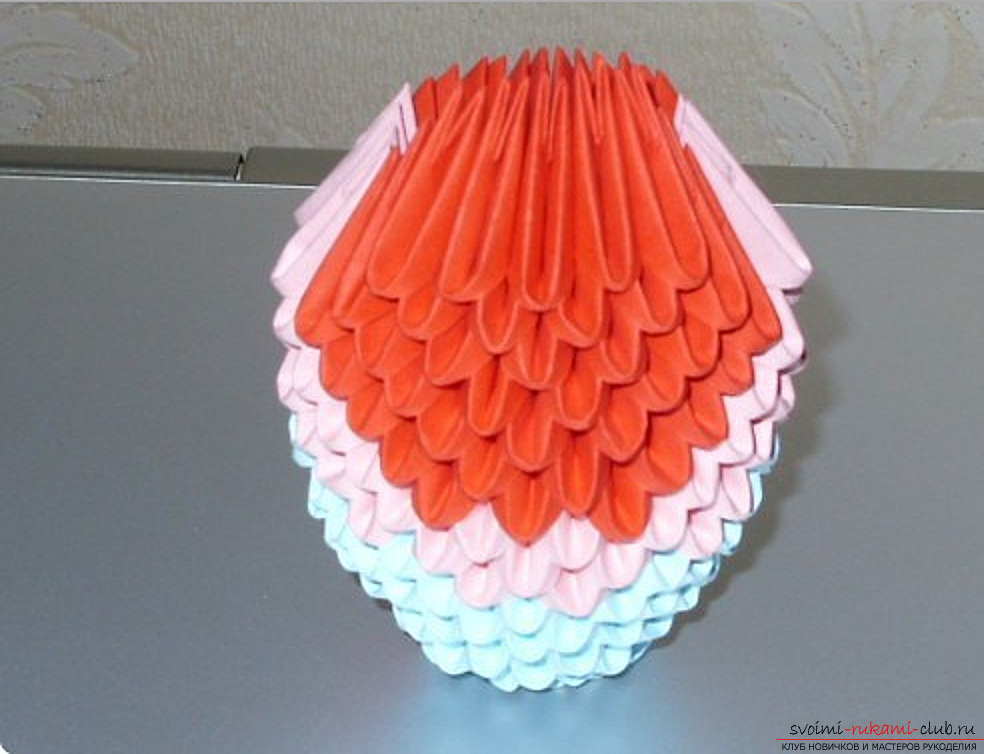 nineteenth row - 4 modules;
 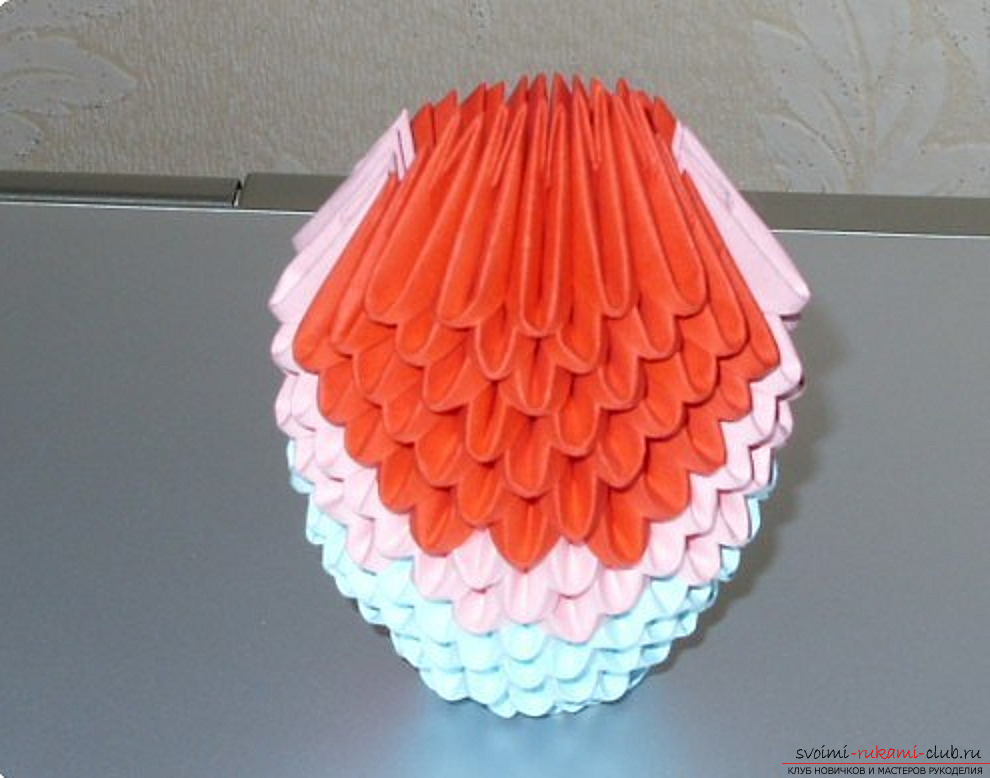 the twentieth row - 5 modules;
  twenty-first row - 4 modules;
 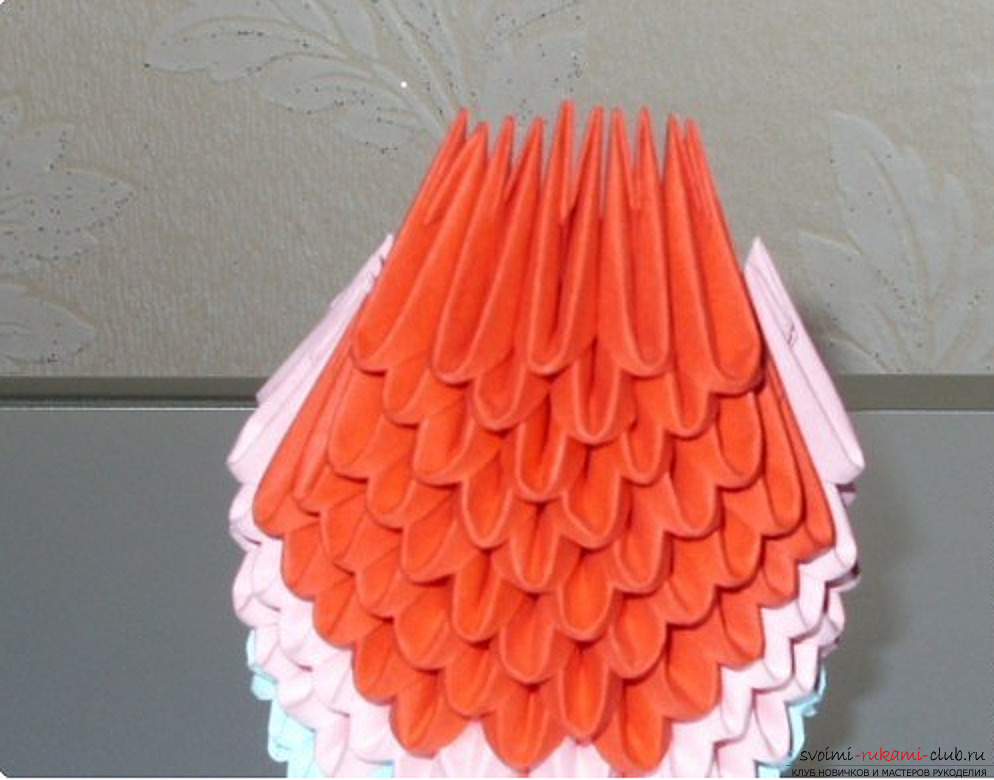 twenty-second row - 3 modules;
 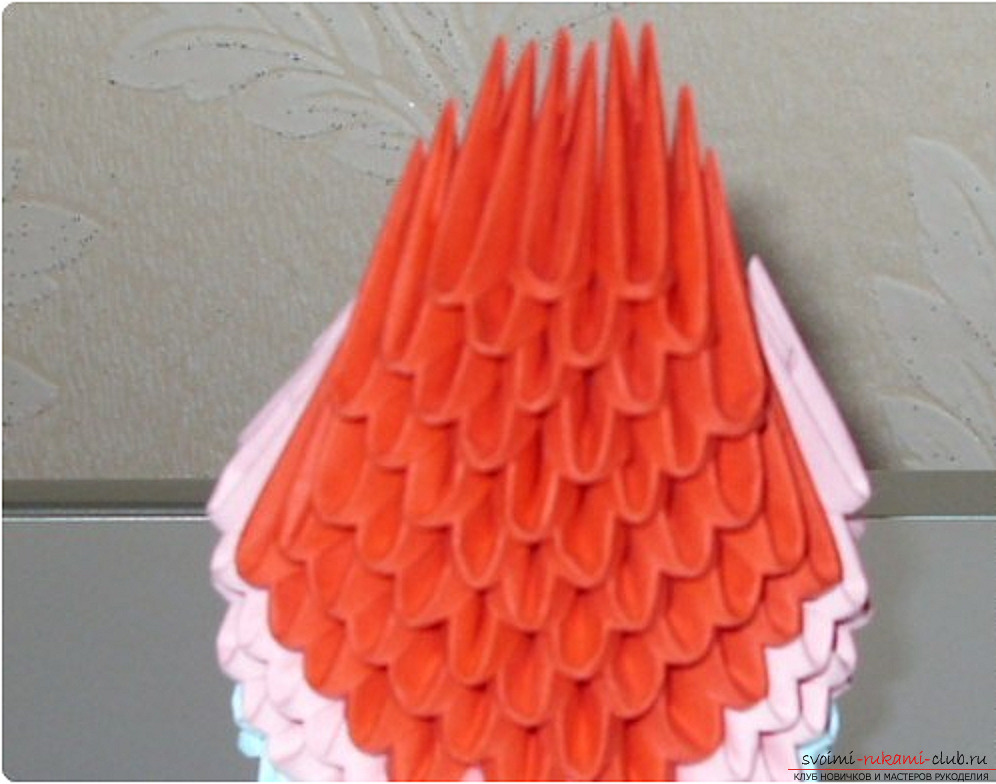 twenty-third row - 4 modules;
  twenty-fourth row -3 of the module;
 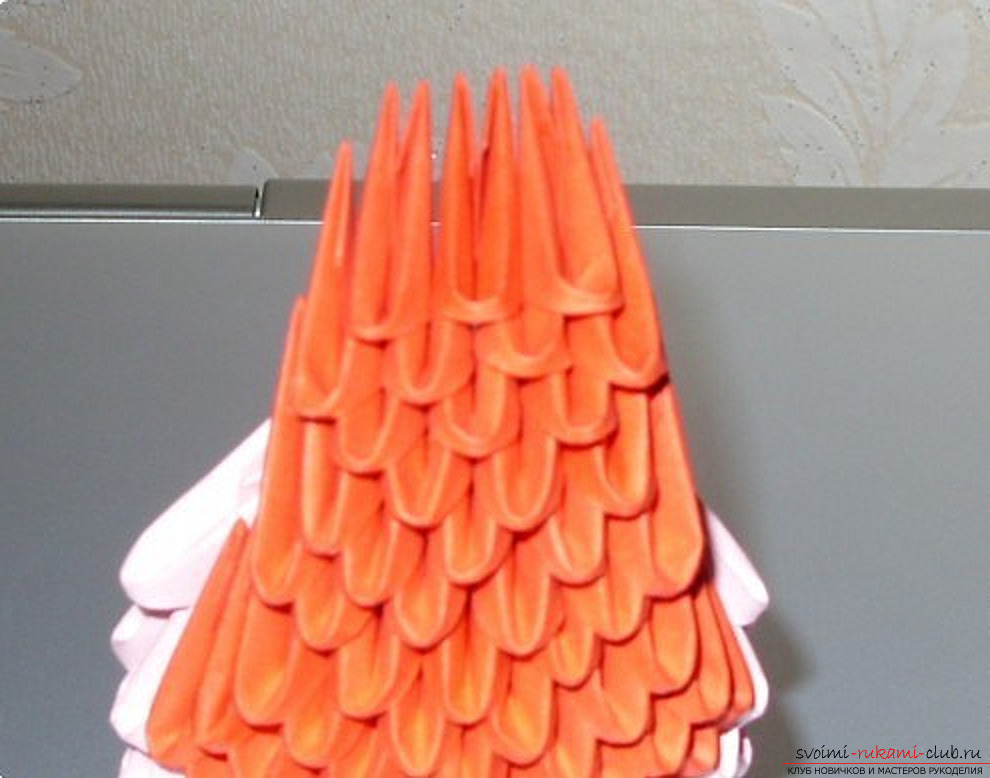 So the product should look from the side;
 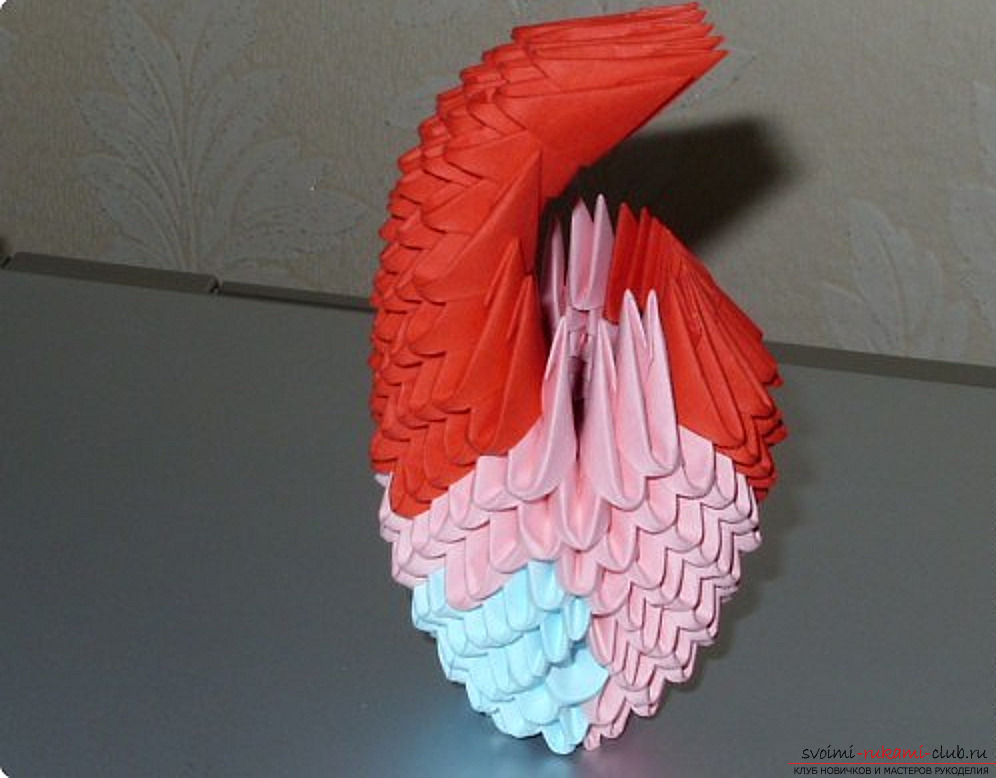 Twenty-fifth row - 2 modules;
 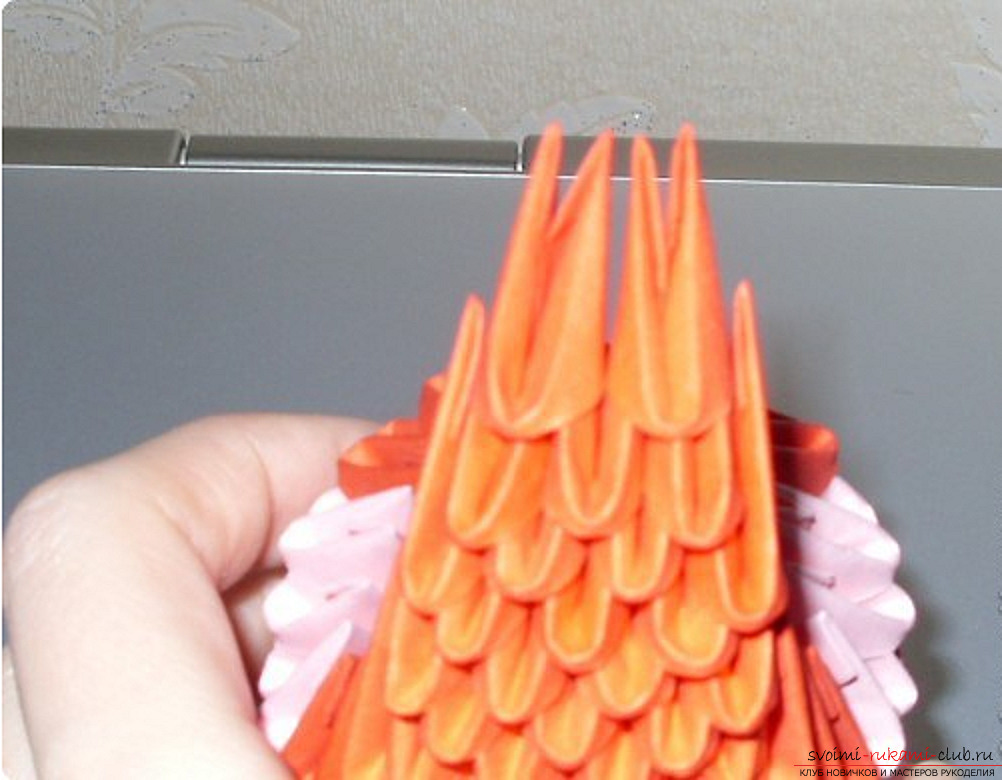 The last two modules are glued together.
 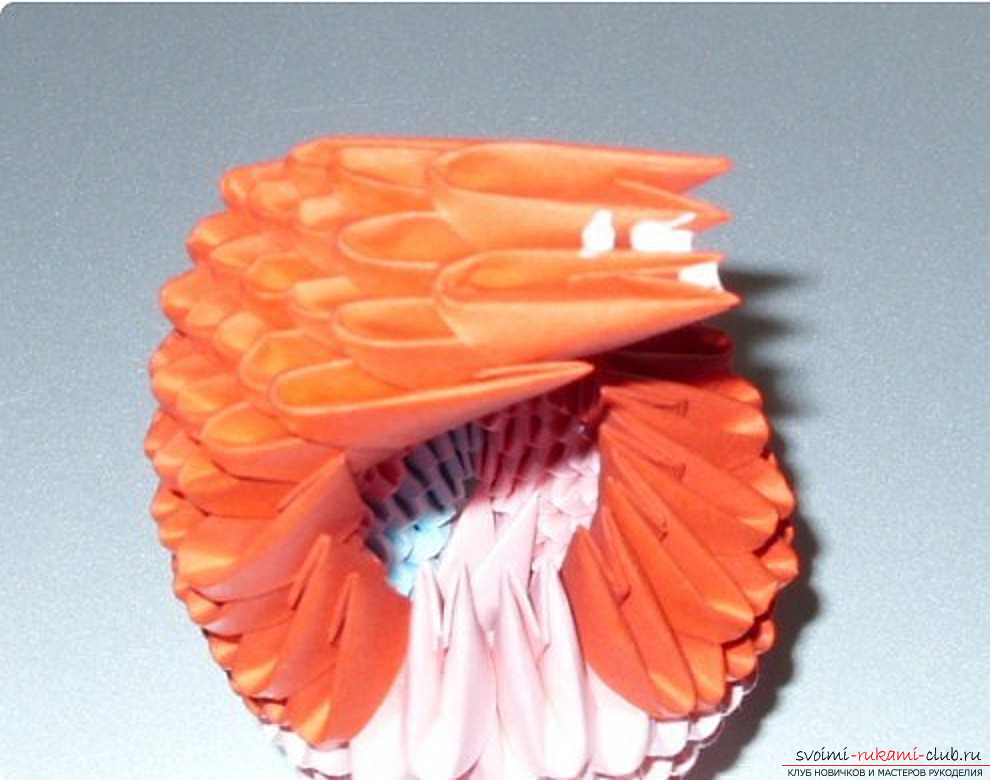 We need 5 modules that are connected in this way;
 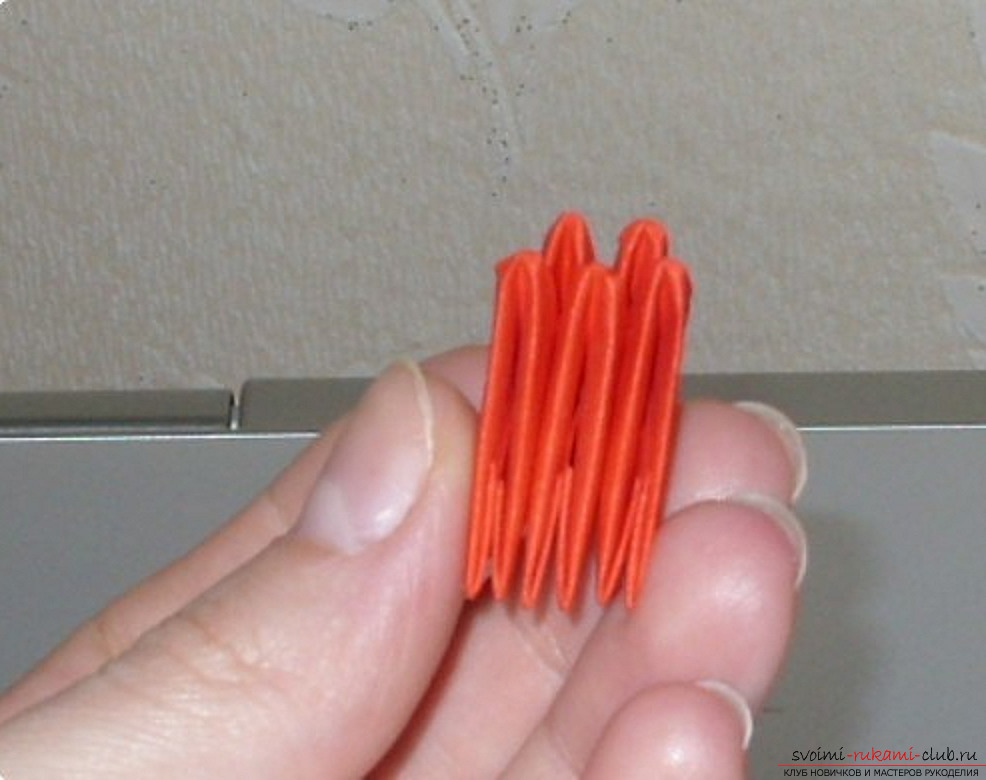 Gluing this way
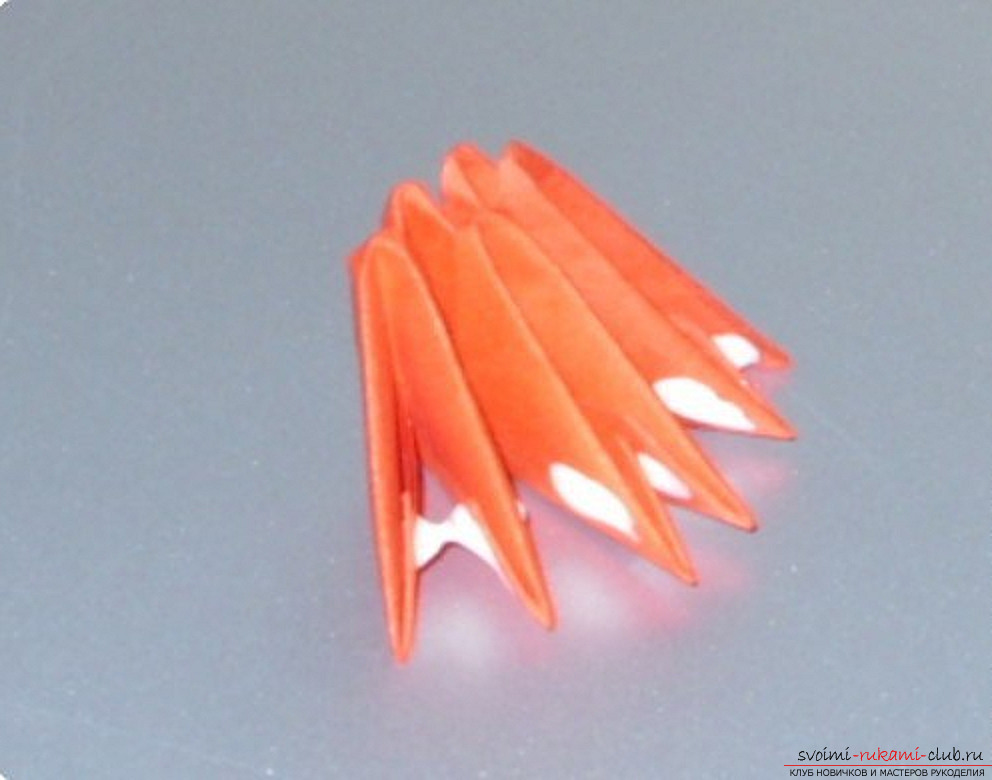
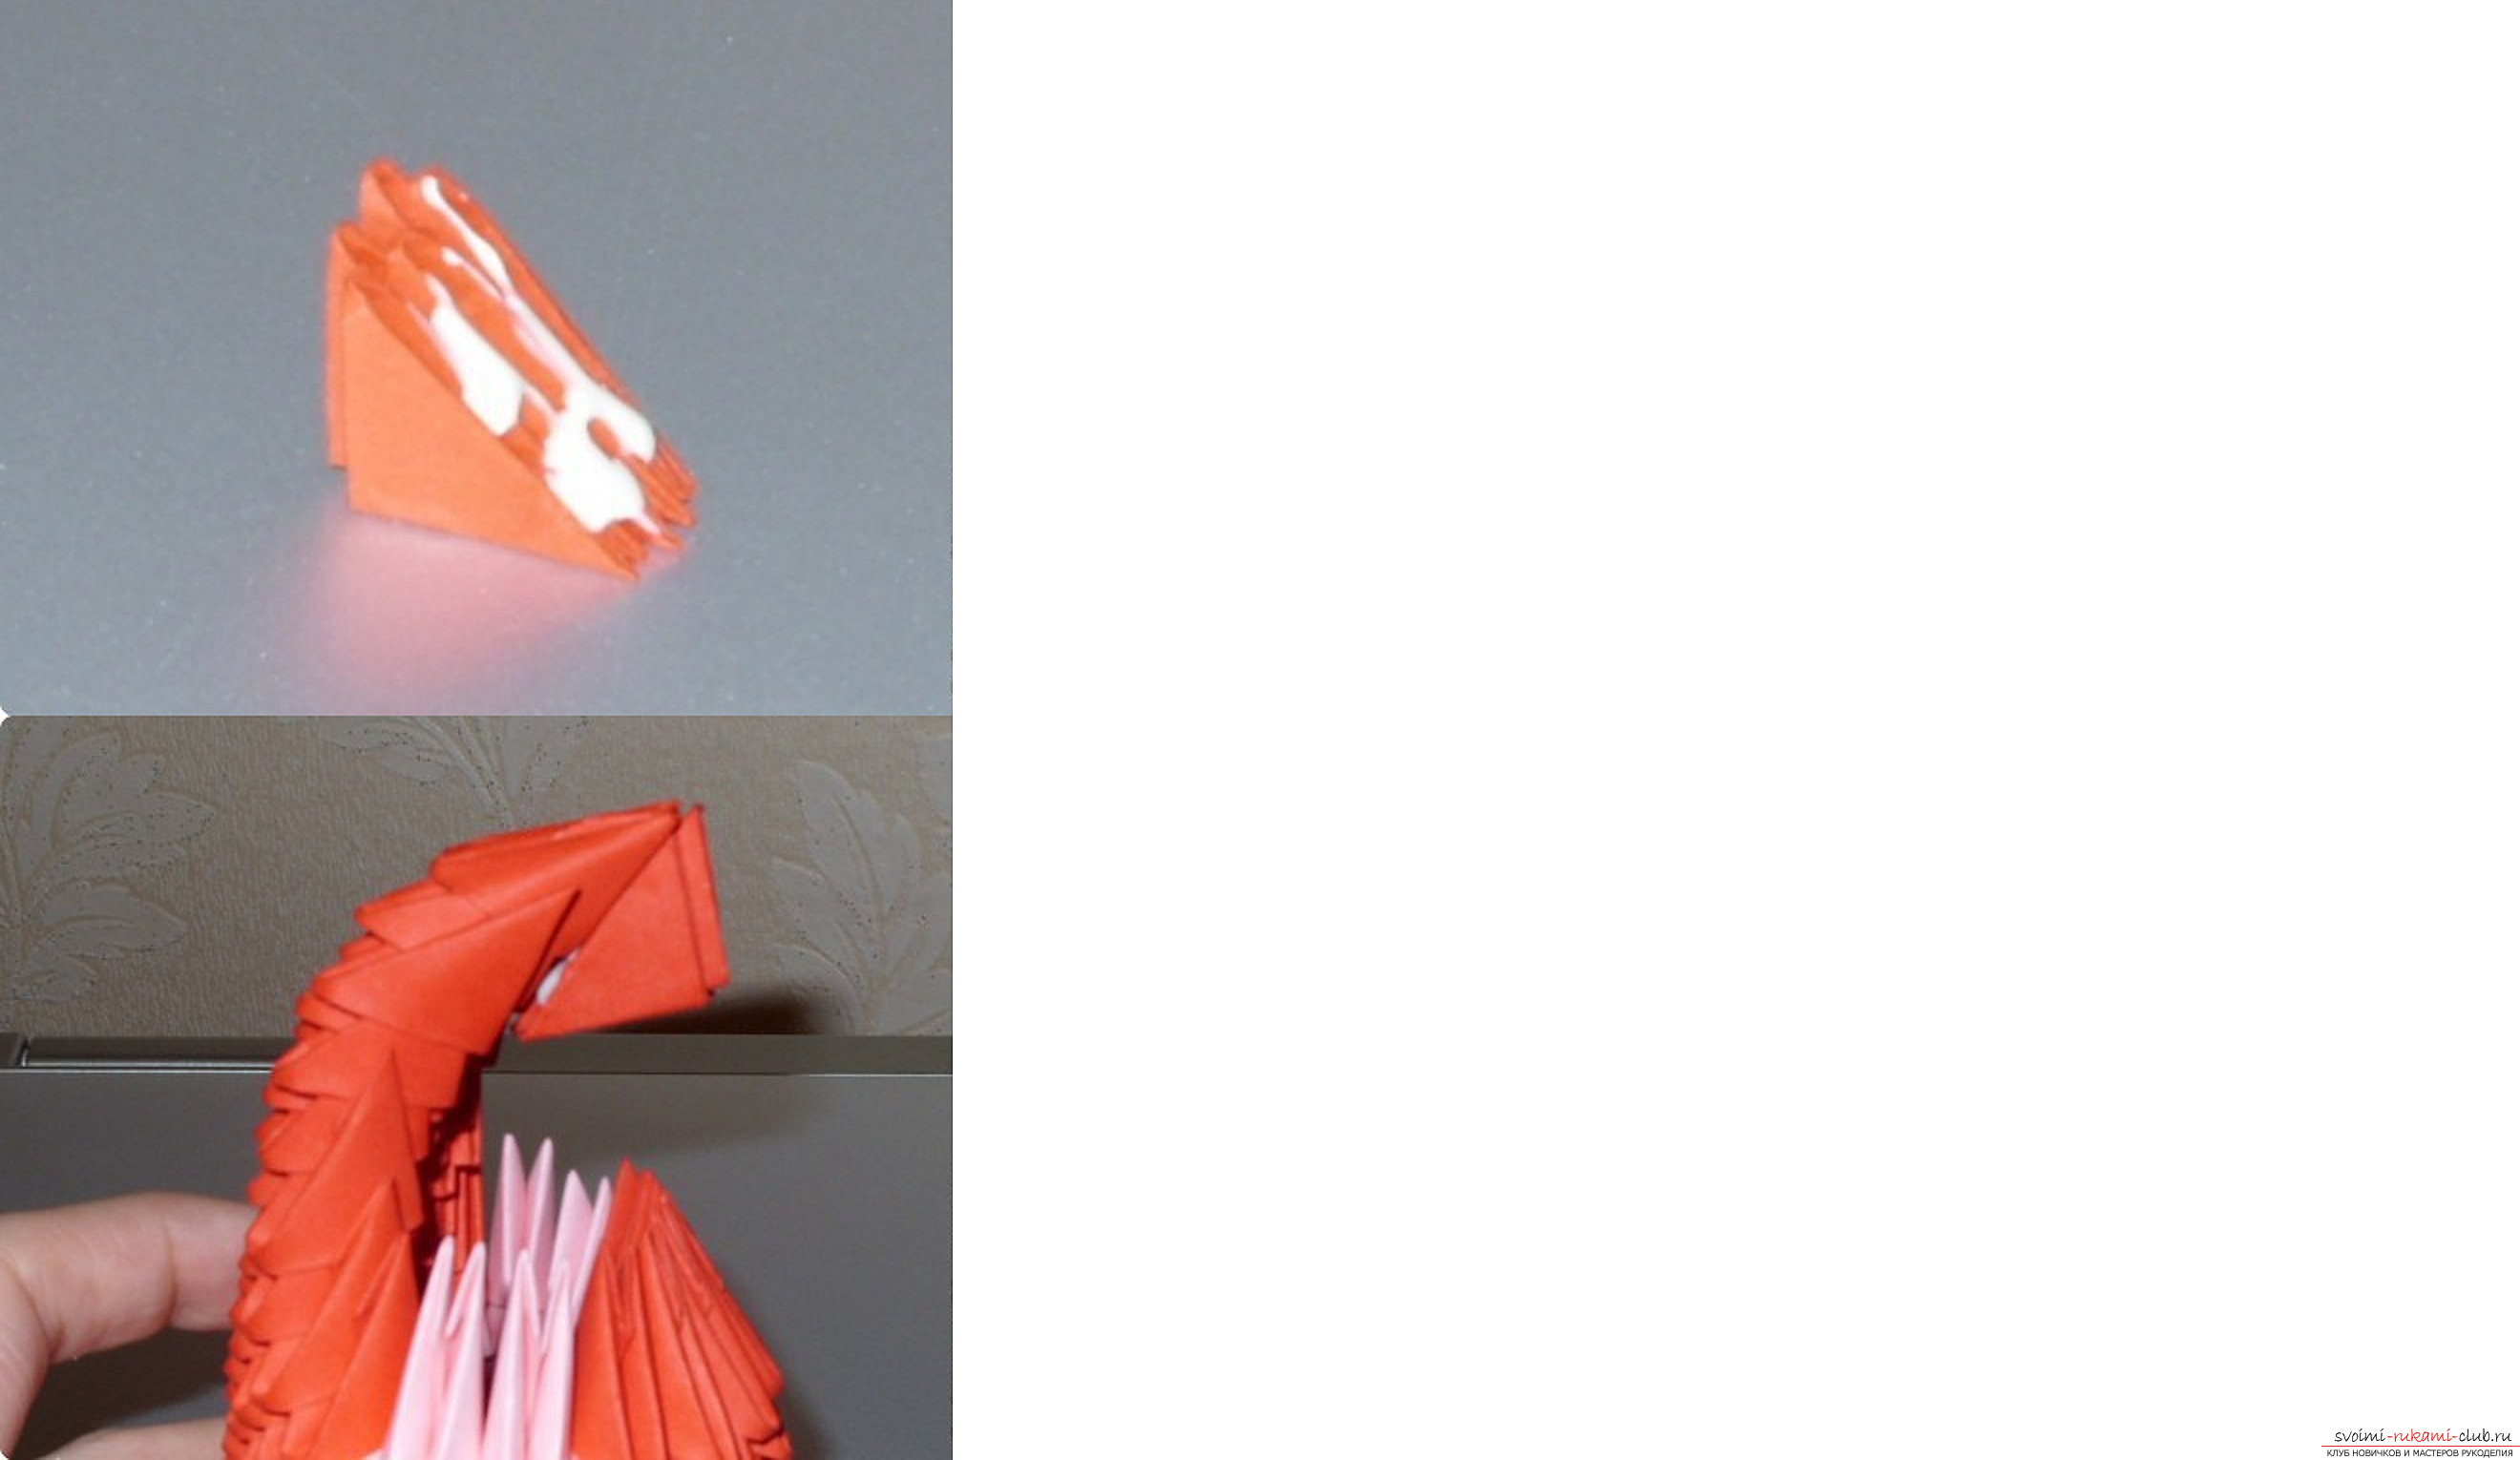 Now we need to fill the space with smaller modules 1/32 A4. Must be enough for 2 rows.
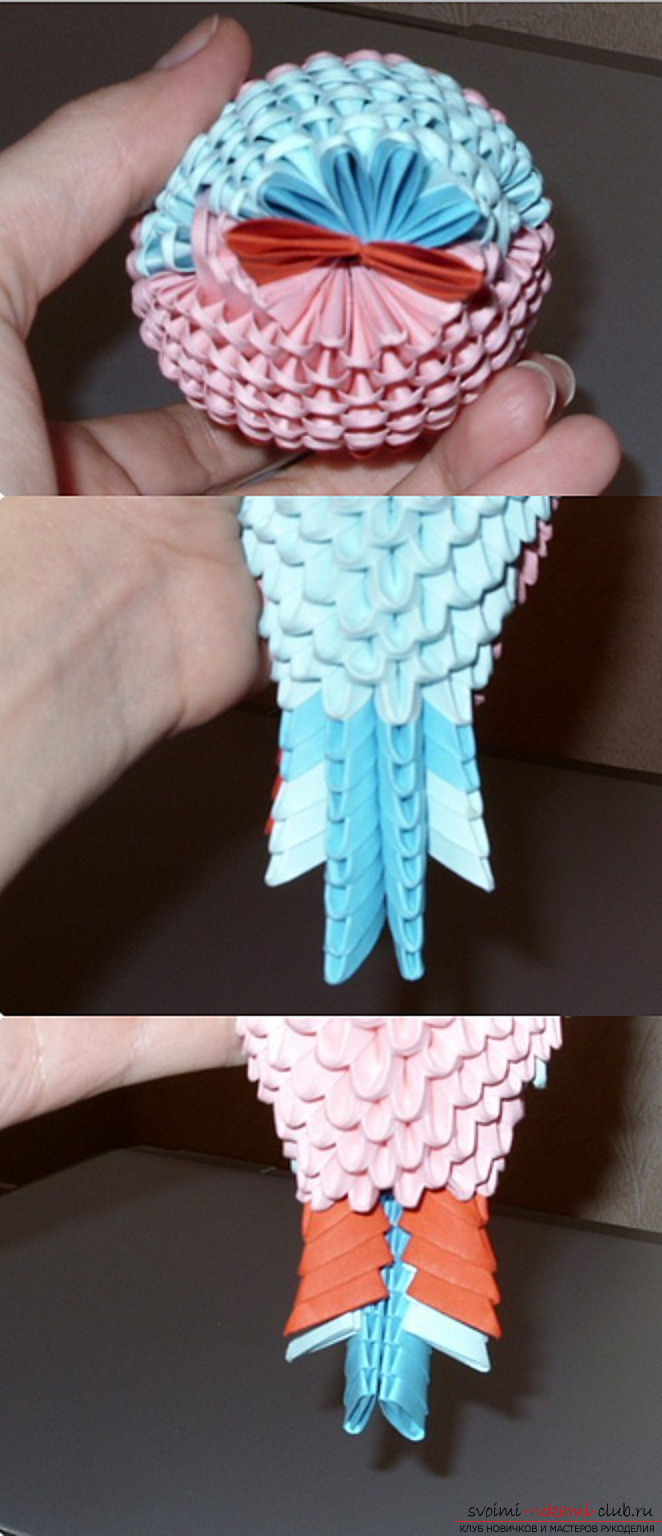
  We glue the head to the rest.
 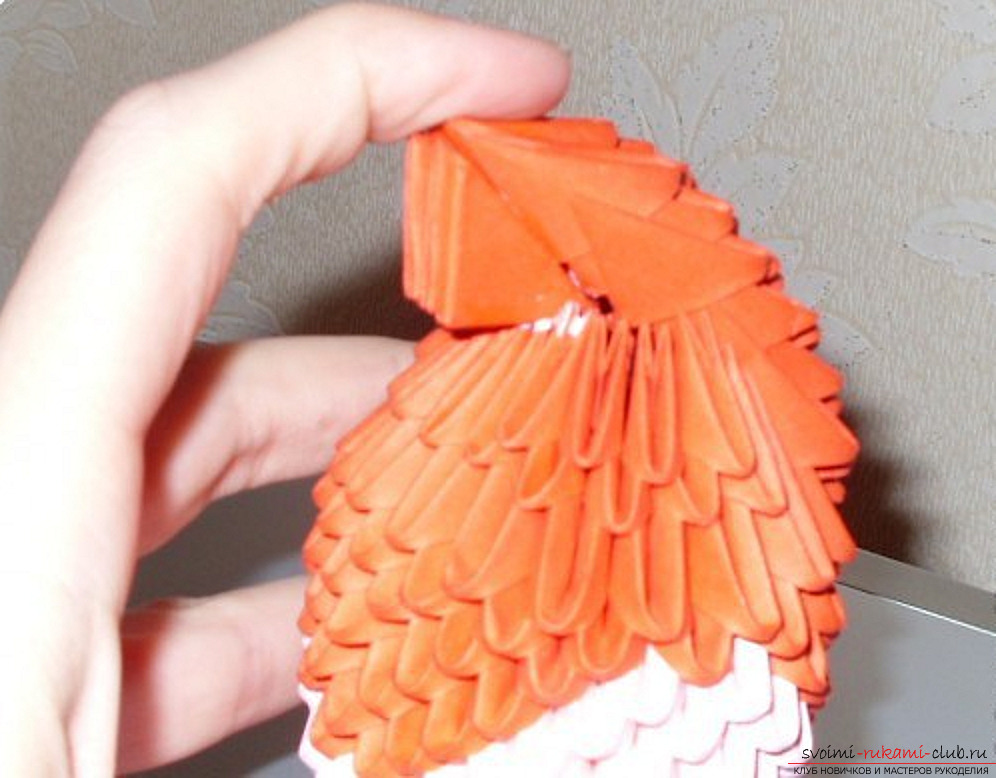 Empty spaces left on the sides are filled with blue modules.
 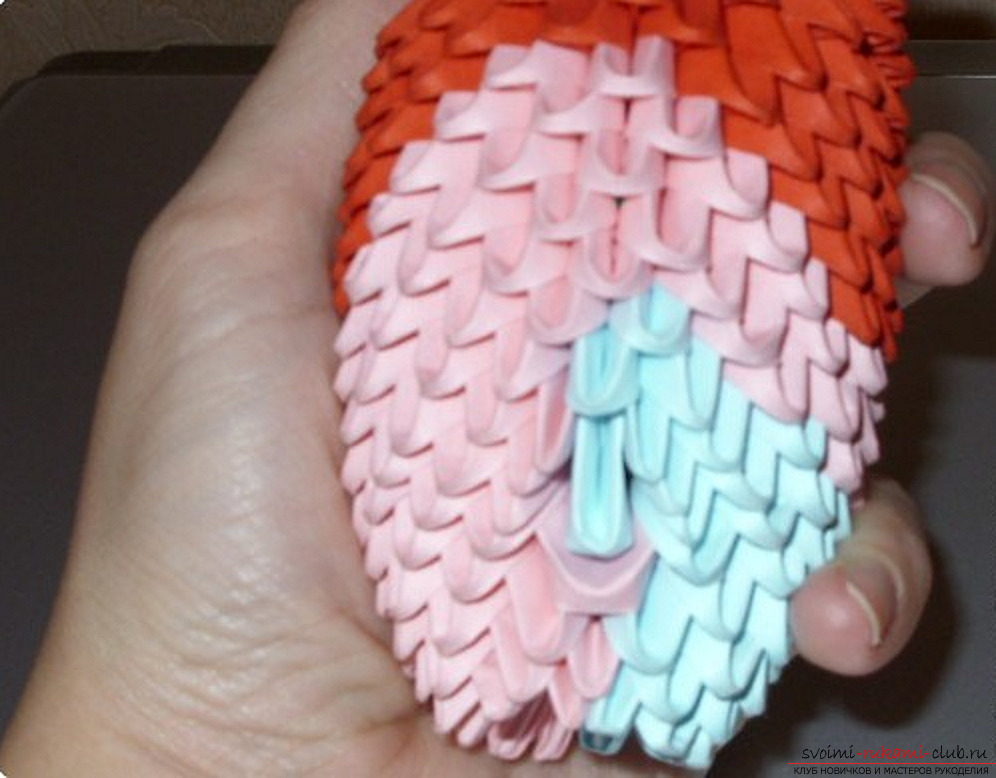 Now make a tail, which consists of 6 parts, color and length you can choose yourself, as you like.
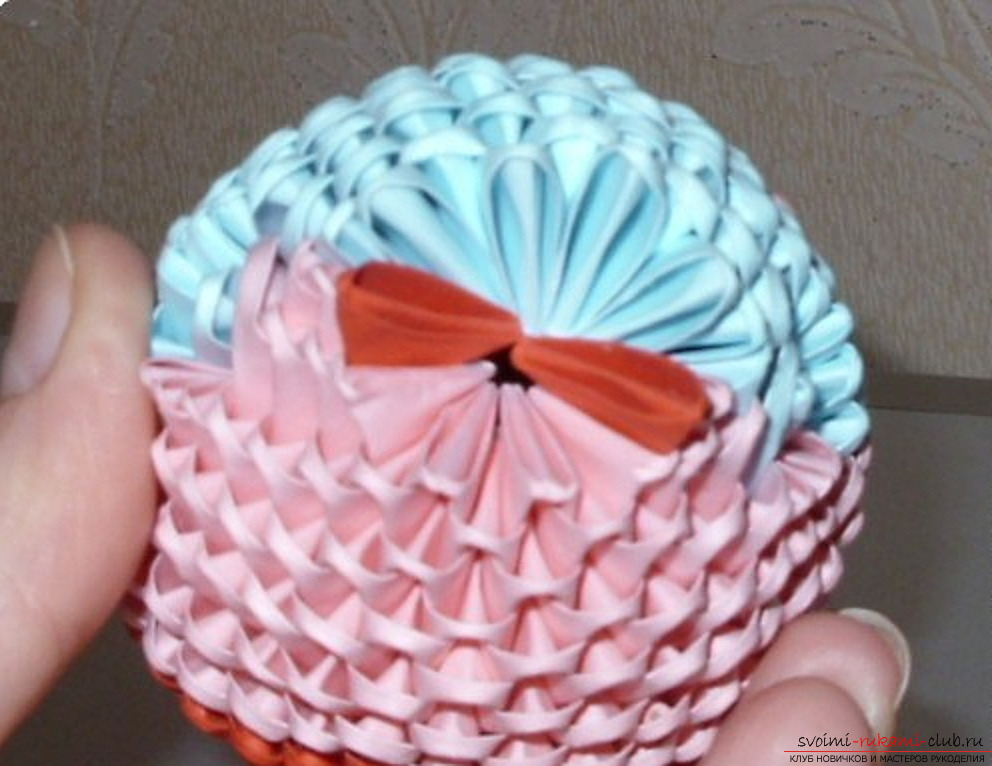
 Now go to the wings, do as pictured in the photo, remember that the wings should two different wings should be mirrored in relation to each other
 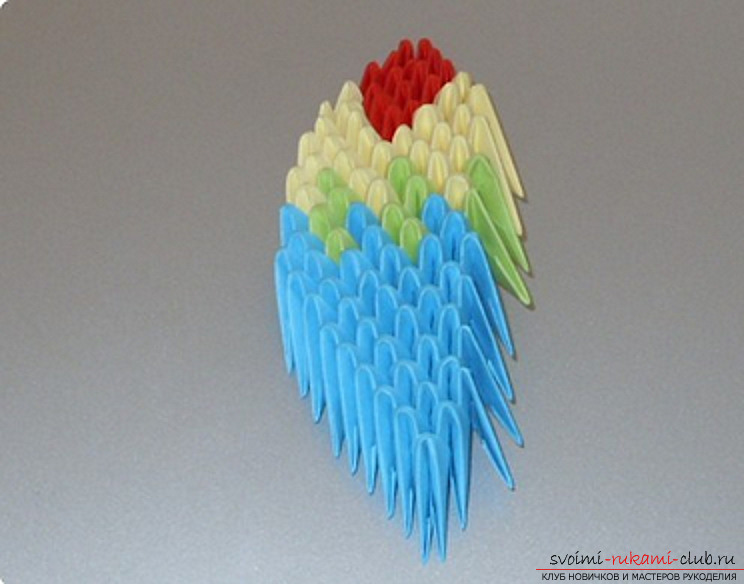 In the same way we do something else.
 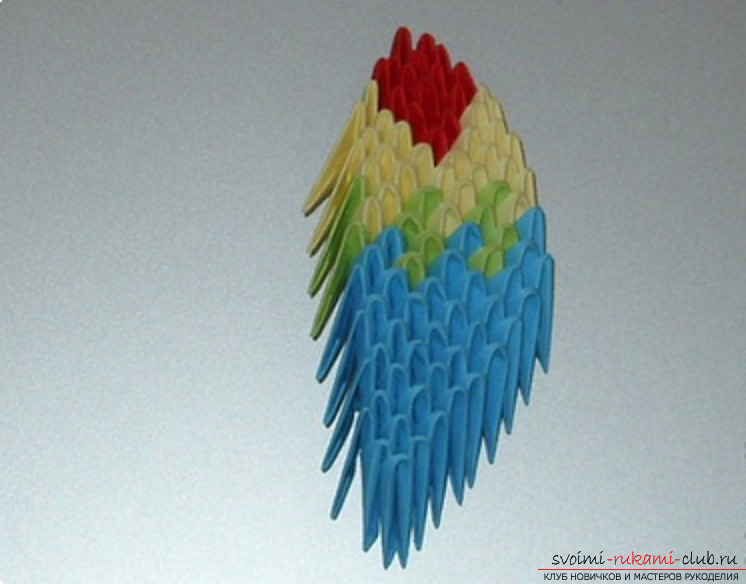 Fix the wings with glue.
 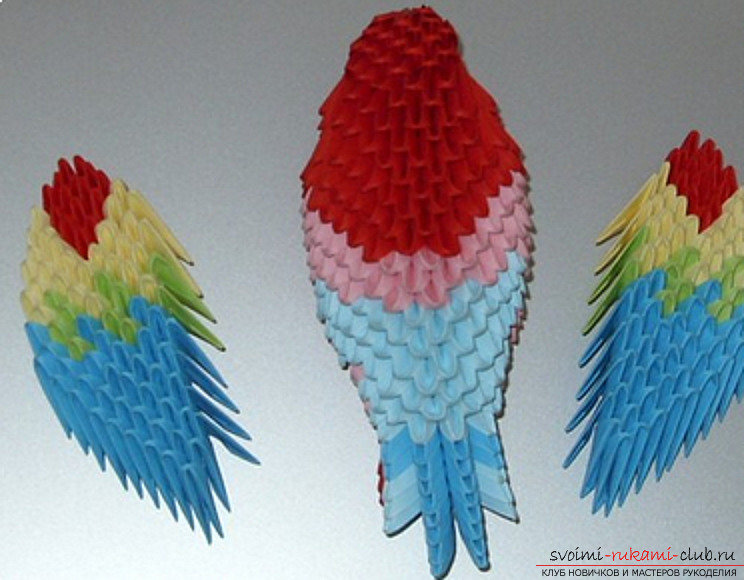 Beak can be created from modules or brown cardboard.
 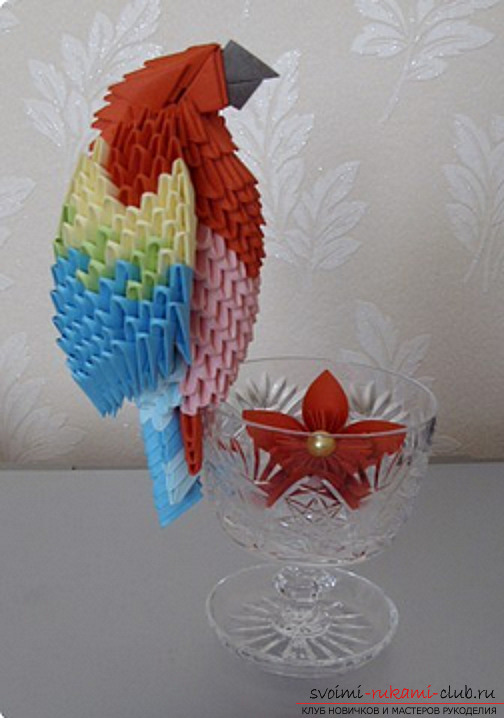 We glue our eyes and our parrot is ready!
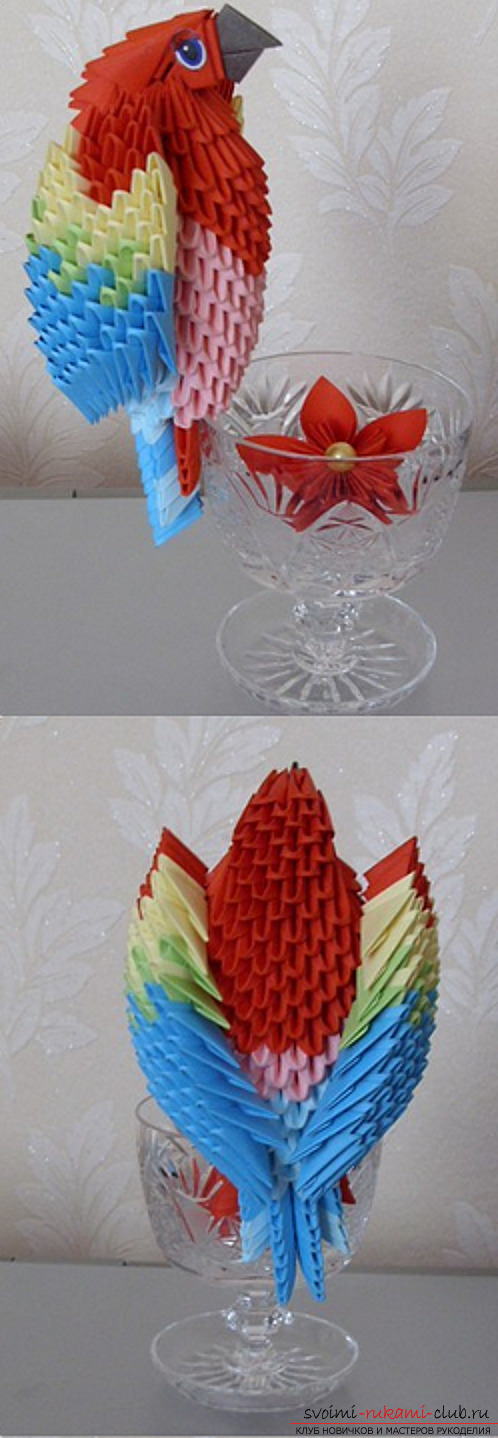
Comments
Related posts:
 The scheme for creating modular origami of Santa Claus from paper for beginners
 Master-class will tell you how to make a modular star of origami from paper with your own hands
 How to make a fortune teller from a paper according to the scheme with own hands
 How to make a cube of paper in the origami technique according to the finished scheme.
 Origami box, made by hand according to the scheme, will be an excellent packaging for the gift.