Family tree with their hands in the technique of quilling with step-by-step photos and a detailed master class for children and adults
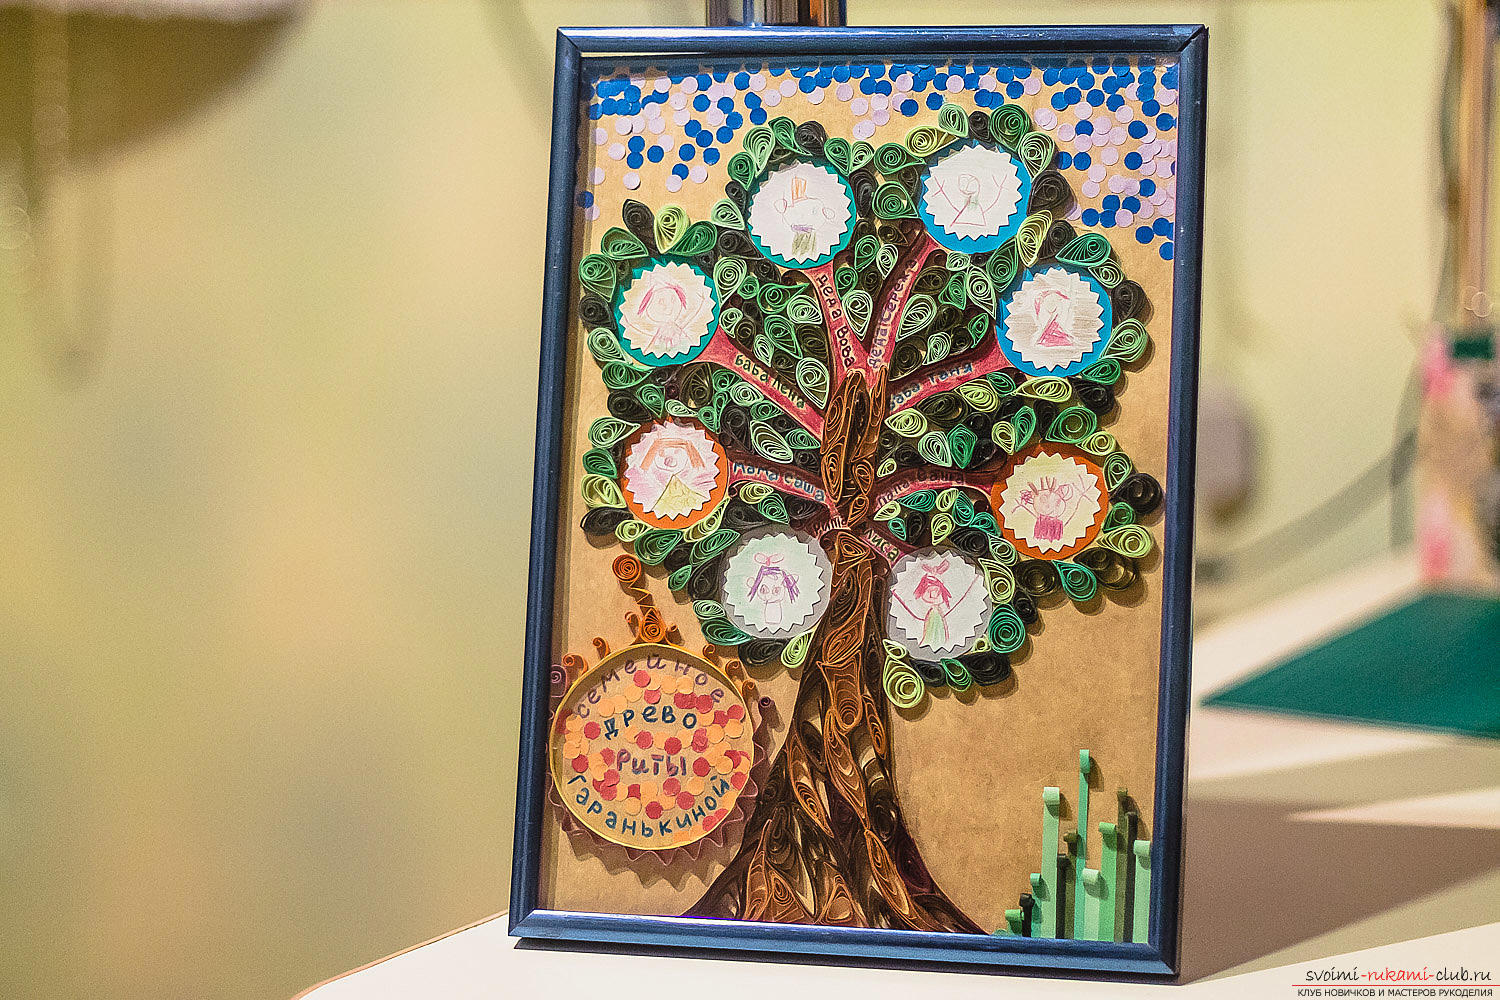 Quilling is an amazingly beautiful technique. From the volume paper patterns, you can add whole stories, mastering a couple of the simplest techniques. And you can create such a picture with a family tree with your children by spending a couple of merry evenings together. In the process of joint creativity, you not only get closer, but also contribute to the development of fine motor skills, imagination, and most importantly, instill faith in your strength into the baby.
 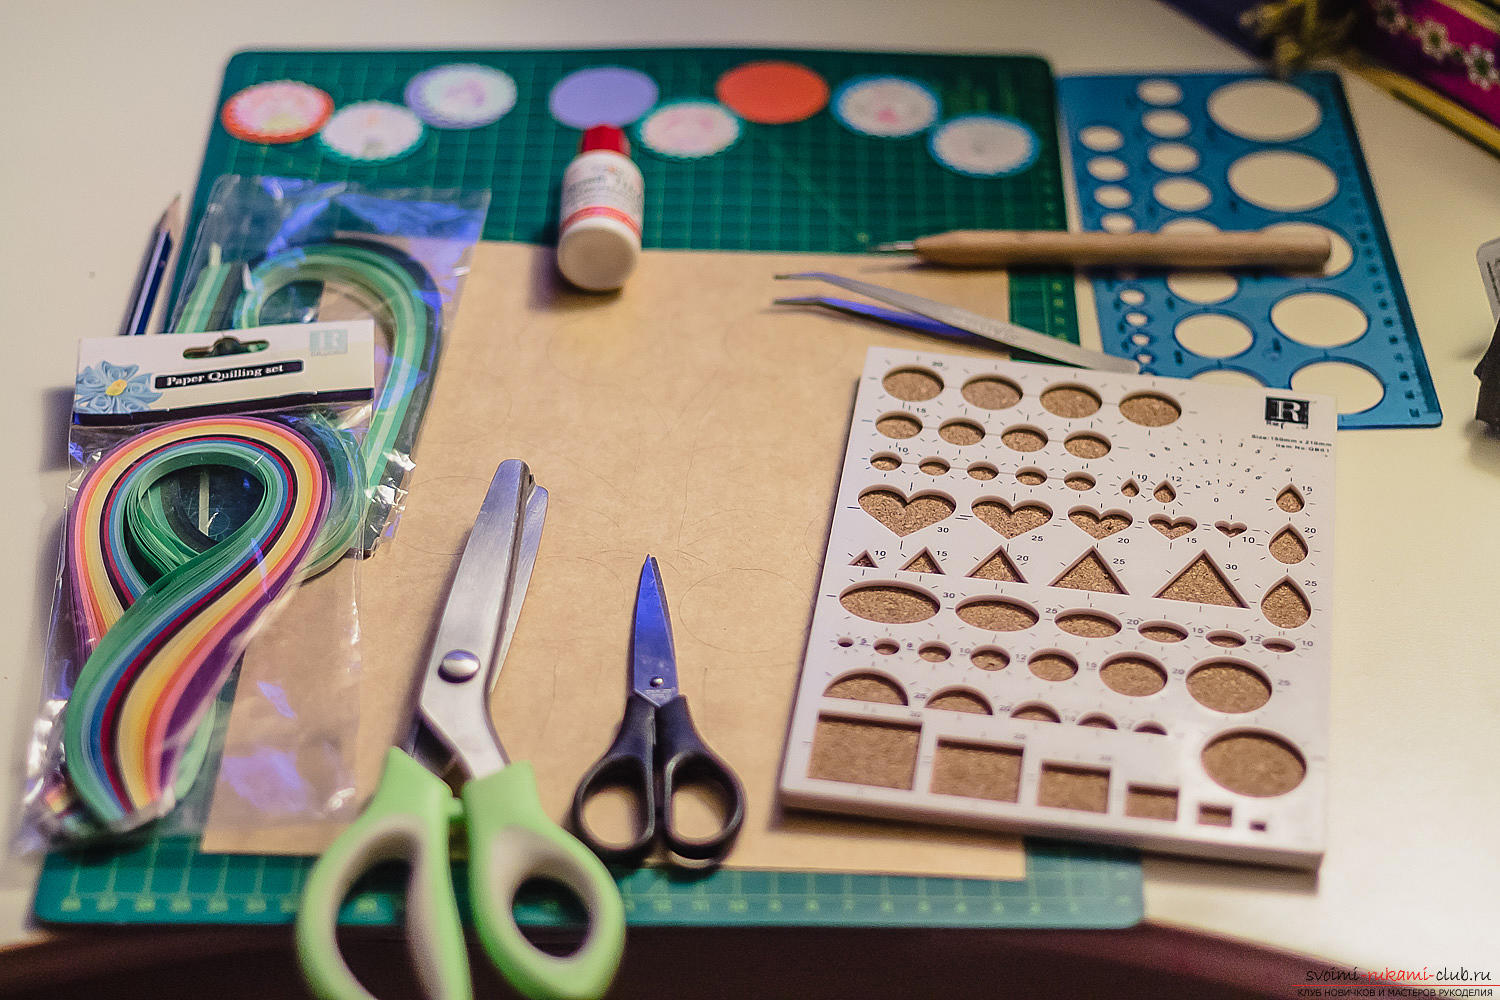 To create a picture you will need:
- sheet size A4 for the base;
- colored strips of the same width;
- tinted colored paper;
- white and color cardboard;
- adhesive PVA with a brush;
- hole puncher;
- scissors, including figured;
- Quilling tools (tongs, a template, a stick with a split fork, an awl, pins);
- comb with teeth;
- Colour pencils;
- A simple pencil;
- eraser.
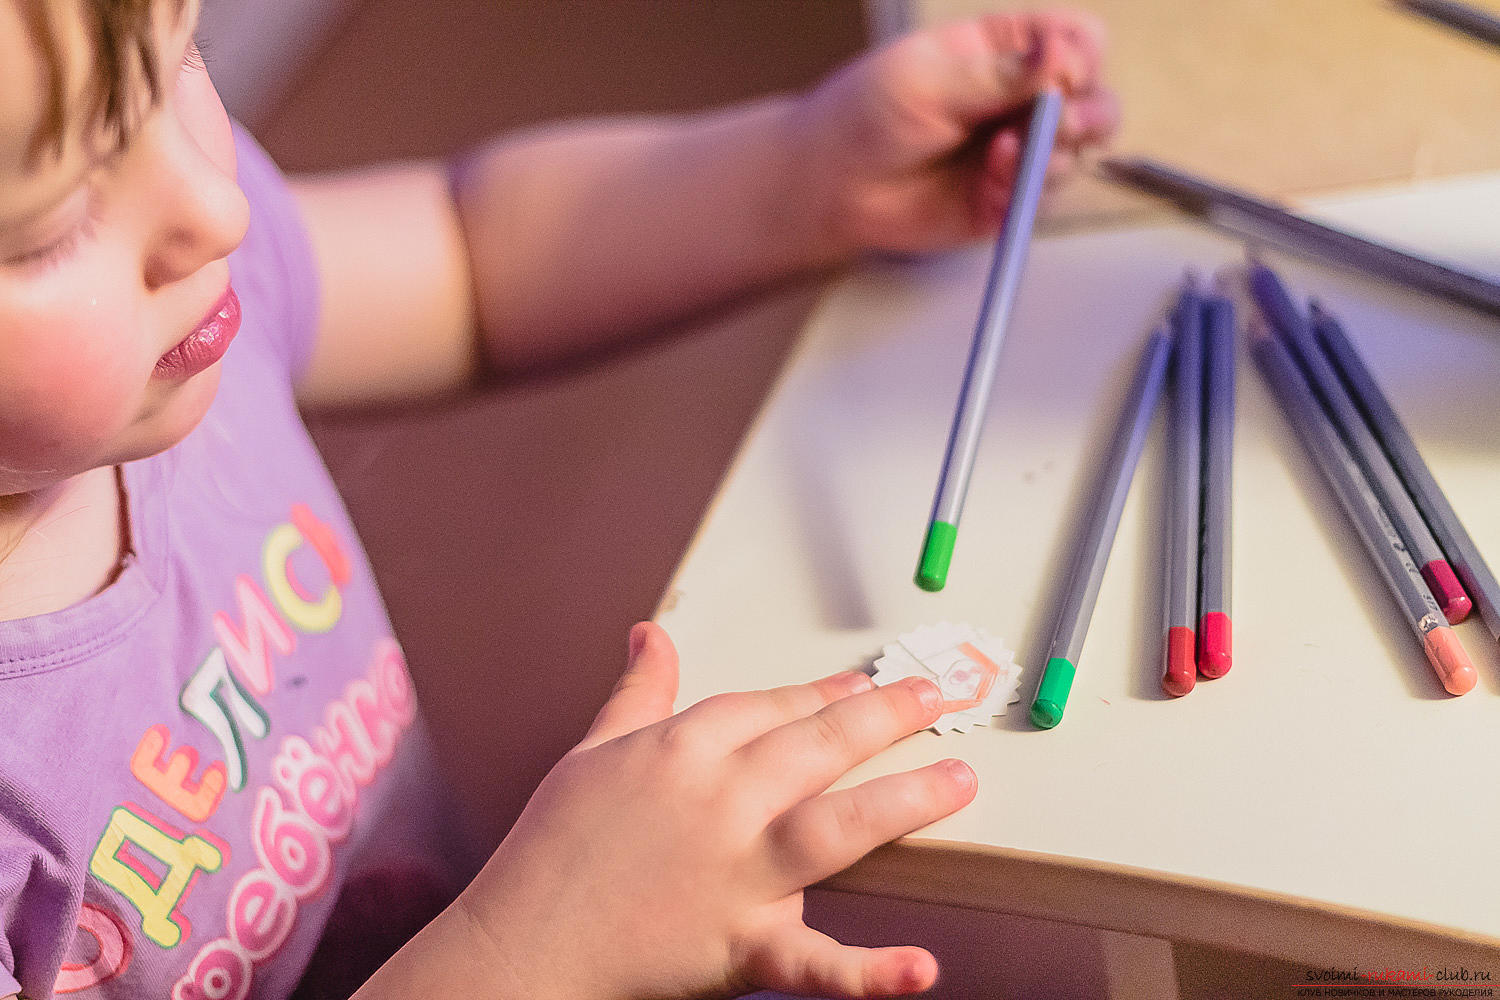 Cut out circles for portraits with figured scissorsand give them to the child so that he would, by his ability, depict the faces of his relatives. Tell him, what are the characteristic features of this or that native person, so that the drawings are not monotonous. Let him change pencils more often.
 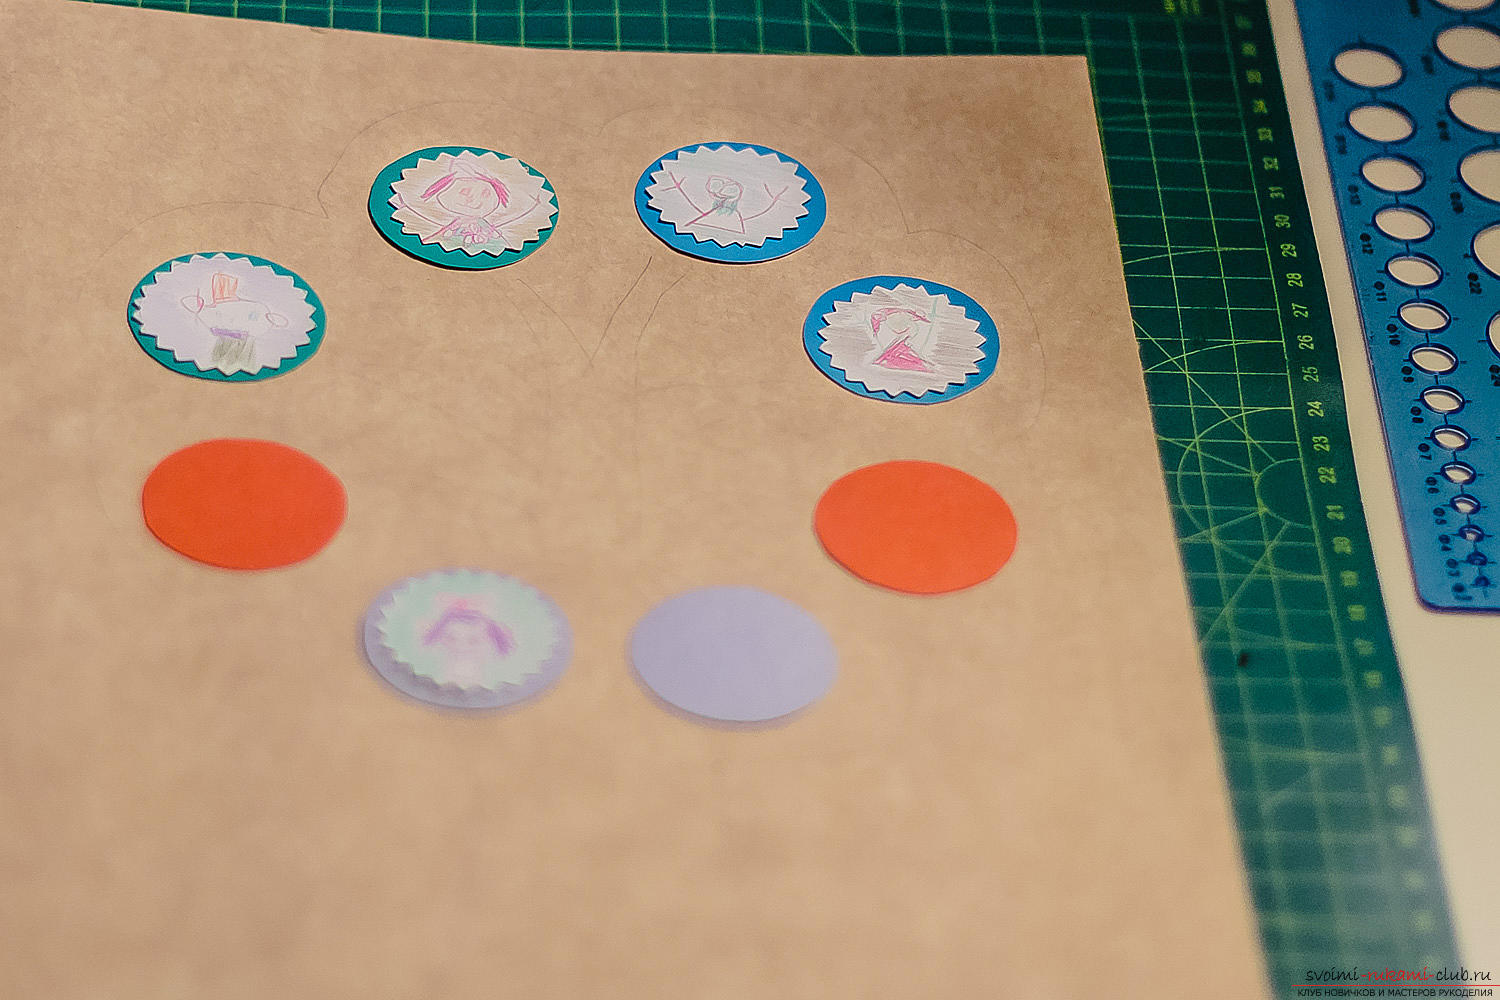 Draw a simple pencil on the sheet contourscomposition, attach to it ready-made portraits and paste. Let the drawings be apples, and the names - the branches. It is very important to make all the inscriptions before you start making contours and paste rolls, otherwise it will be very difficult then.
 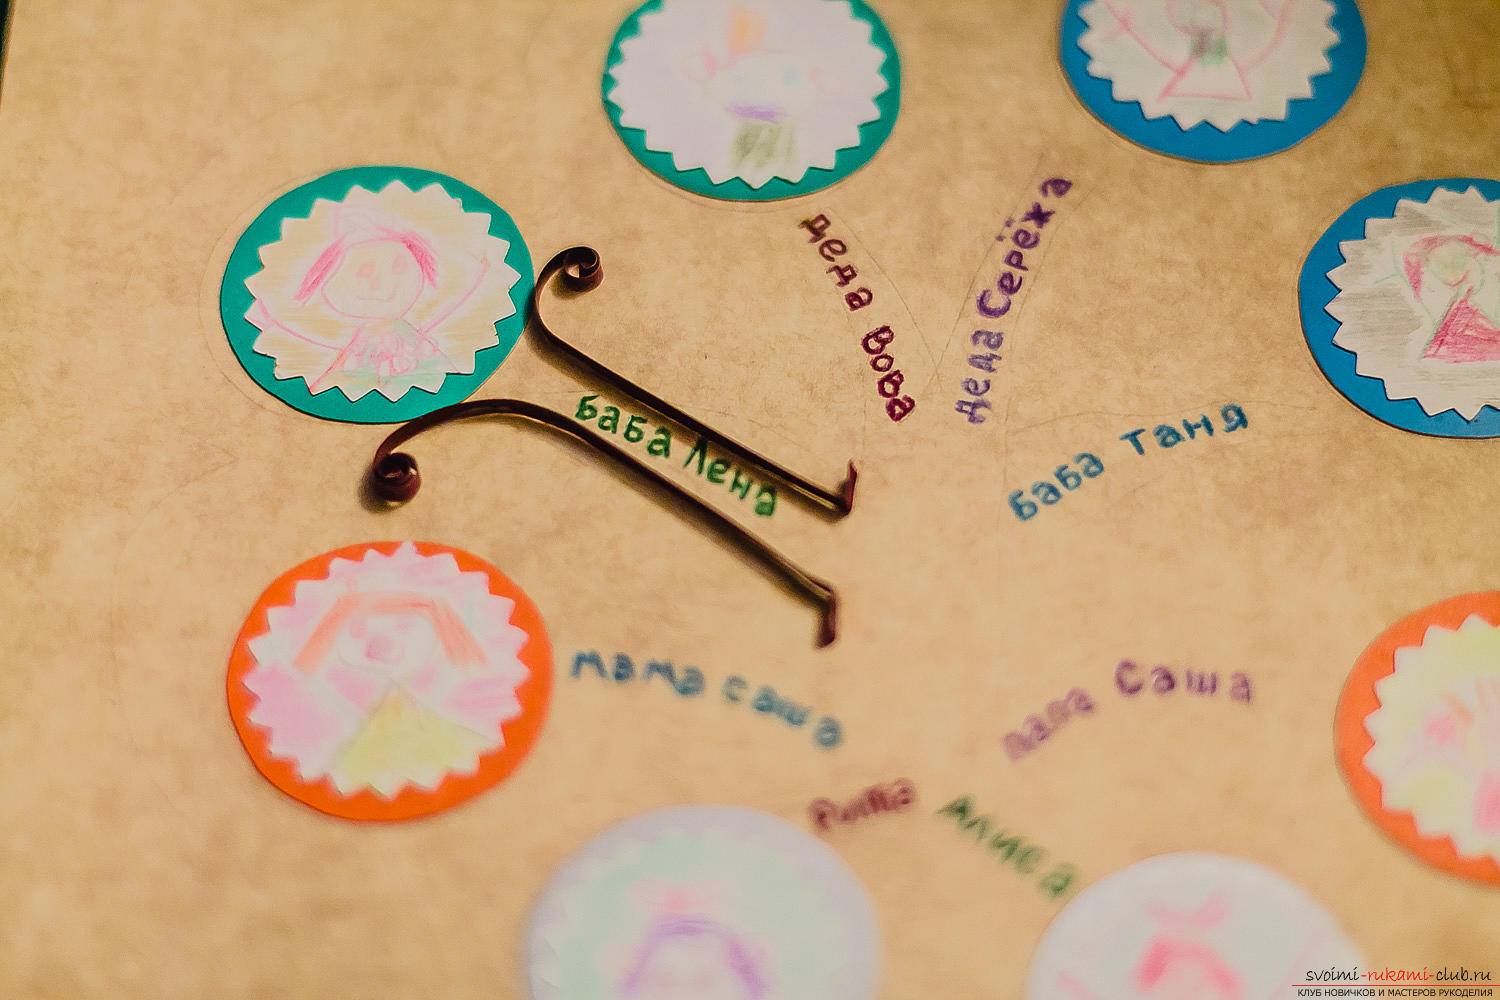 Mark the contour of the trunk and branches with a stripbrown paper, applying glue on its butt. Press it for half a minute with your hand. Despite the fact that the area of contact between the strip and the substrate will be small, the PVA glue will securely seal the joint.
  Now it's time to make rolls - the basic figurein quilling. Clamp the tip of the strip in the sting of the stack and begin to tighten it tightly, pressing the end of the sting to the finger. Without removing the roll from the stack, transfer it to the template with the circle of the desired diameter and release the end.
 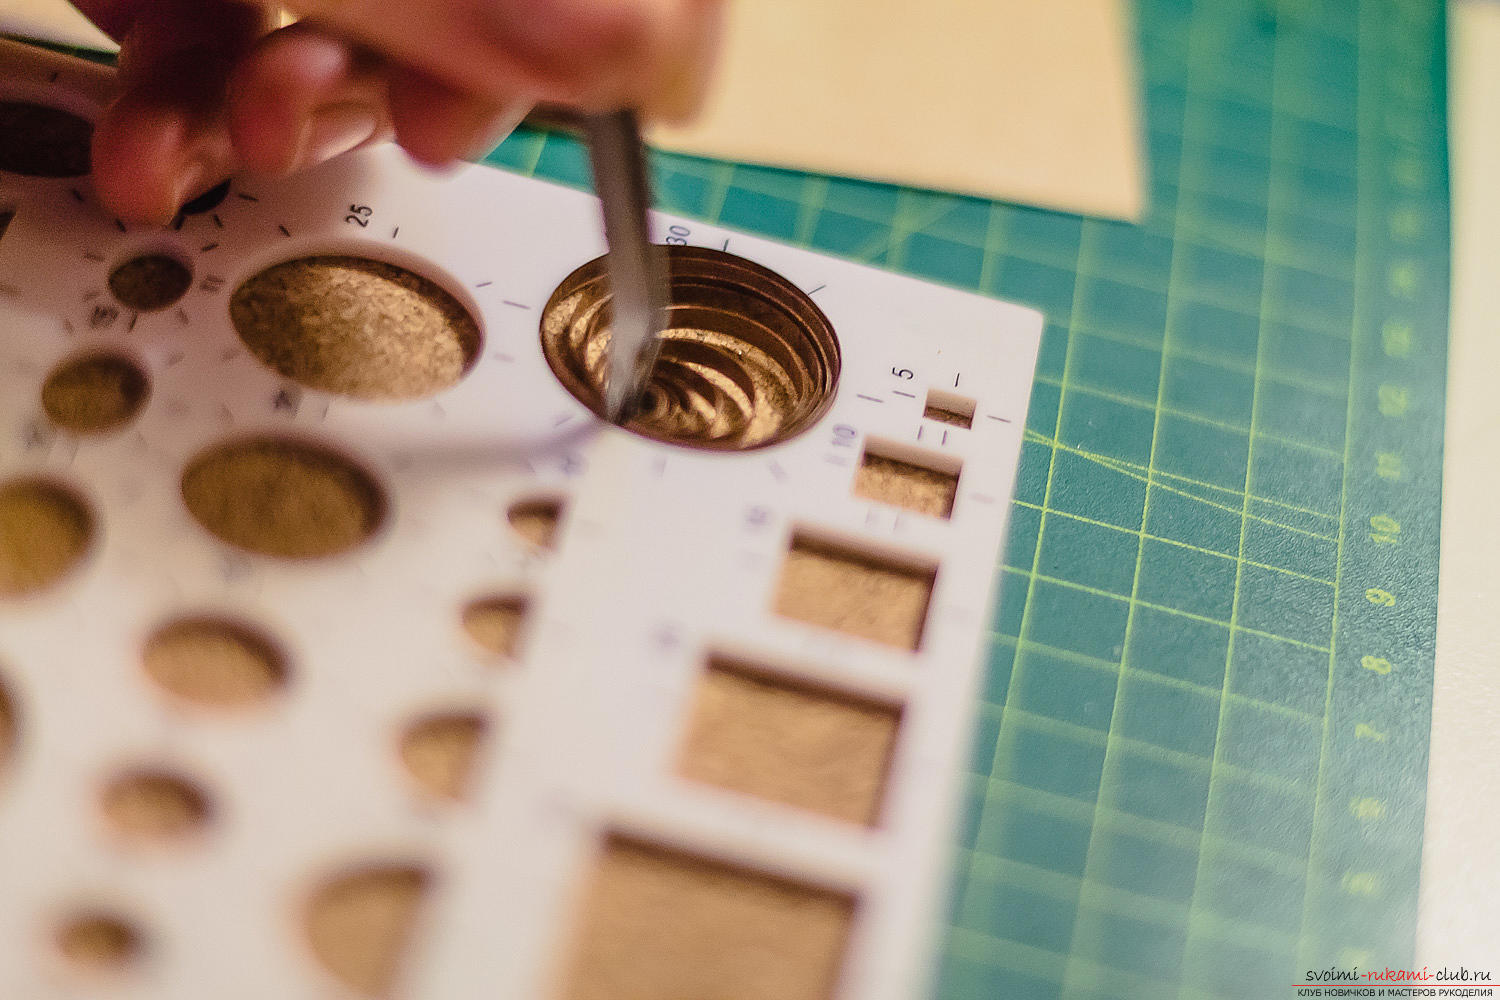 Roll will blossom a bit - the harder you get himtwisted, the more evenly it would be distributed. Pins can come in handy if you use special patterns - drops, triangles, etc. With their help, the strip is fixed at the corners.
 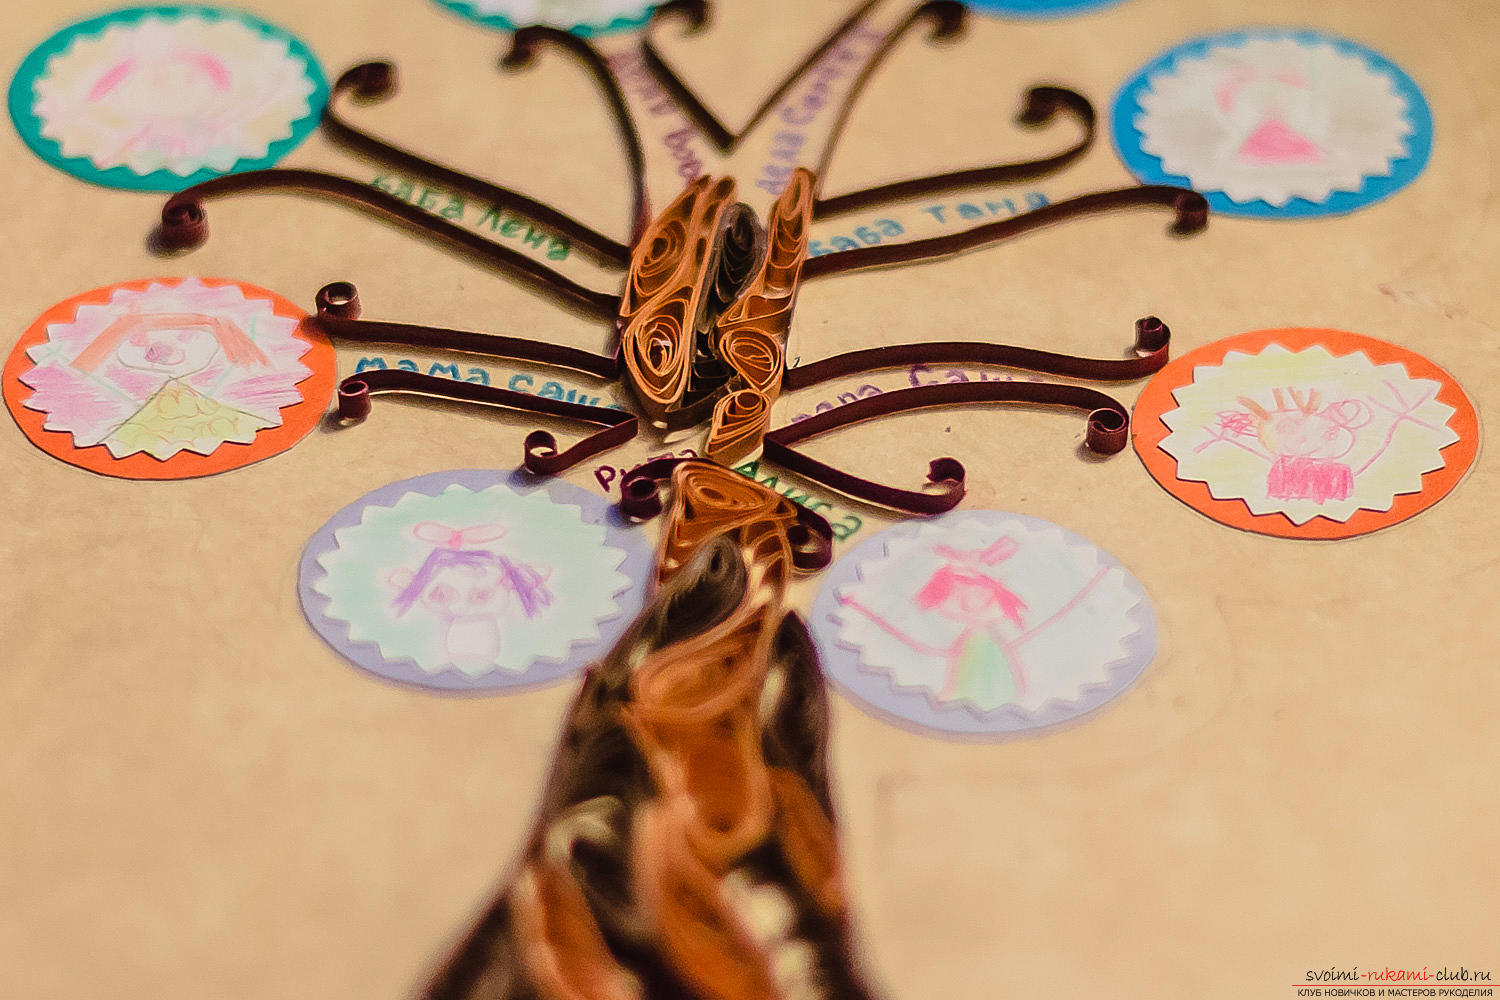 Gently brush with glue to fix the edgestrip, pull the roll out of the pattern and squeeze it with your fingers on one side - you will get a drop. And if you clamp the other end, a figure will appear that looks like an eye or a leaf. This tree is made just from similar rolls.
 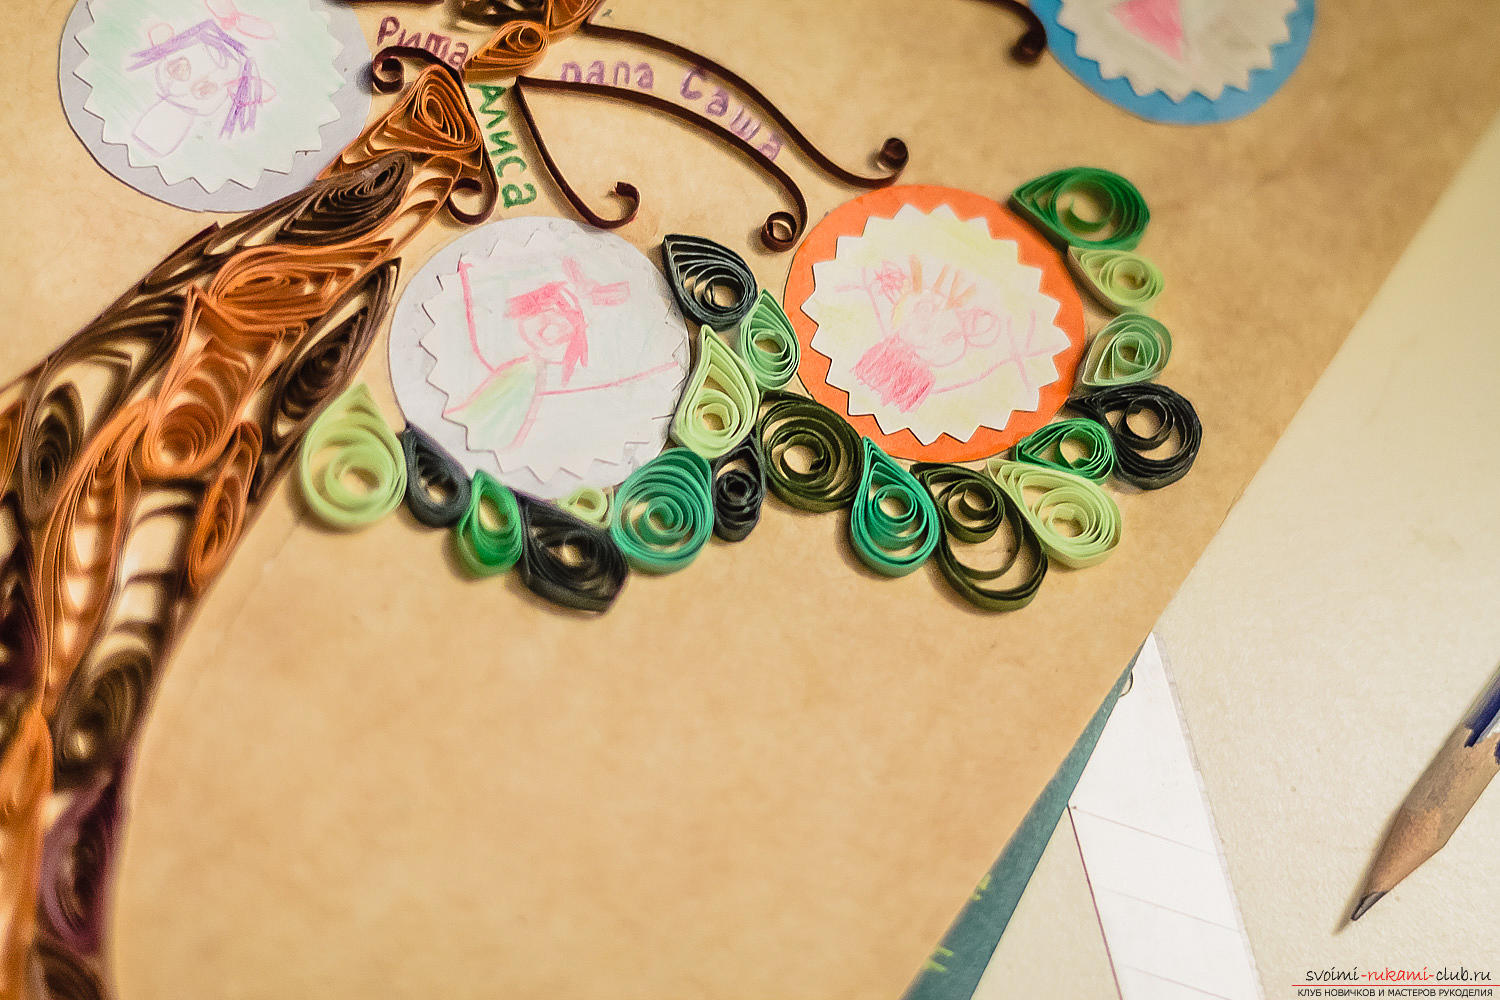 Begin to spread the barrel, filling itmodified rolls of different shades of brown to make it more realistic. Glue lubricant and the bottom of the roll, and sides. Do the same with the crown of the tree.
 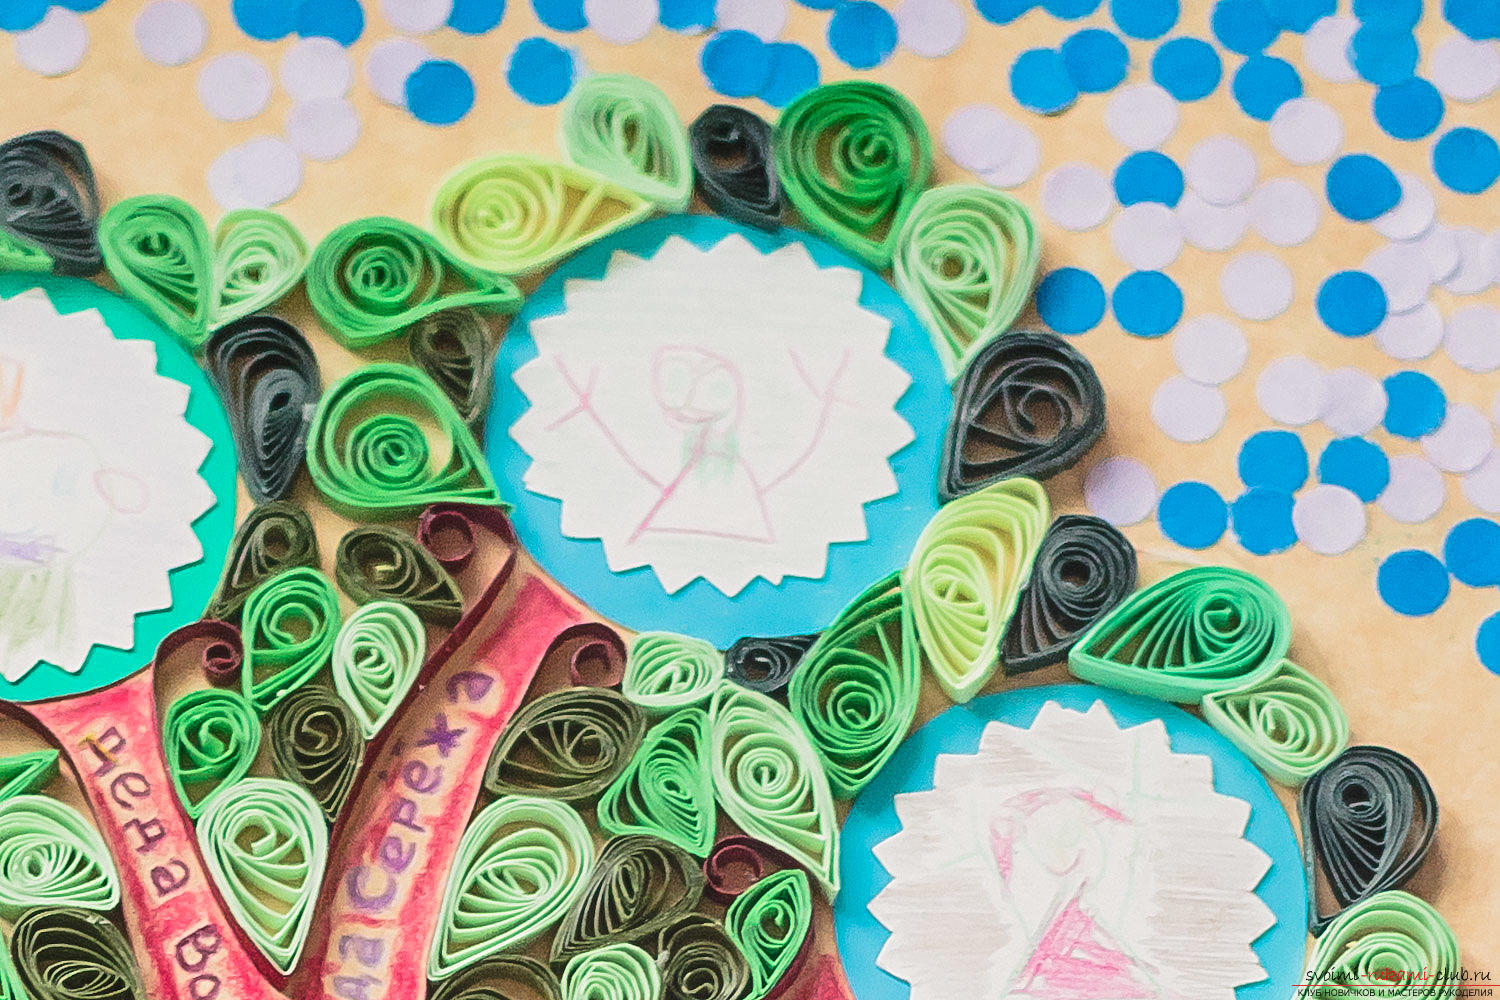 When the crown and trunk are ready, you canproceed with the design of the background. To do this, use the most common punch and tinted colored paper. For the sky, you can take a light blue, blue and pastel purple to give it depth.
 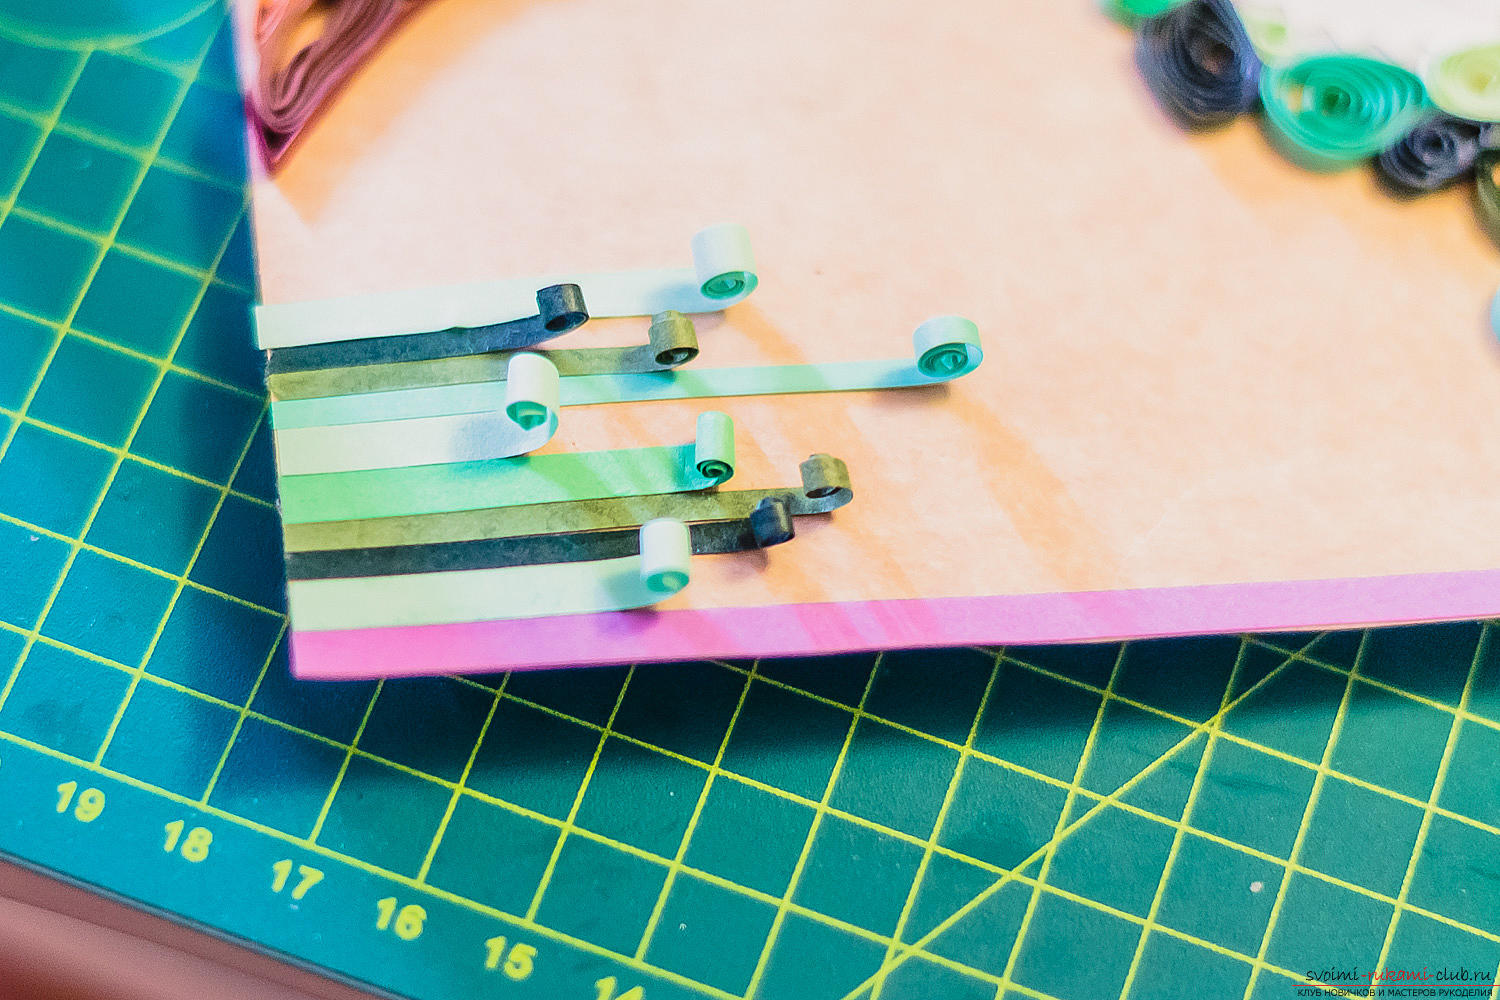 To the bottom was not empty, you can make grass fromthe same strips for quilling, which were used for the leaves. Twist one end into the spiral, and glue the other to the very bottom of the composition. It is better, if the length, width and shades of strips will be different, because in nature there is nothing the same.
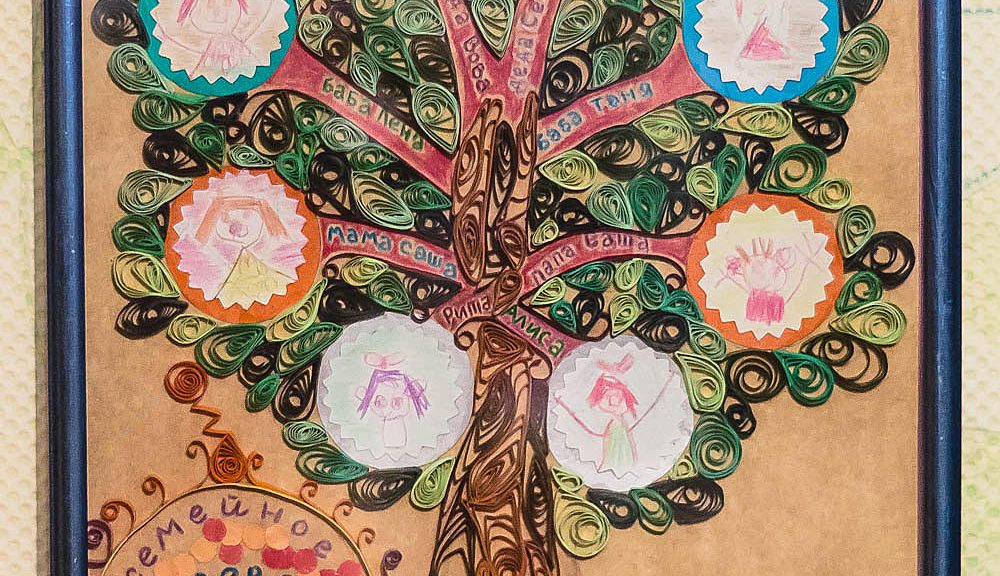
 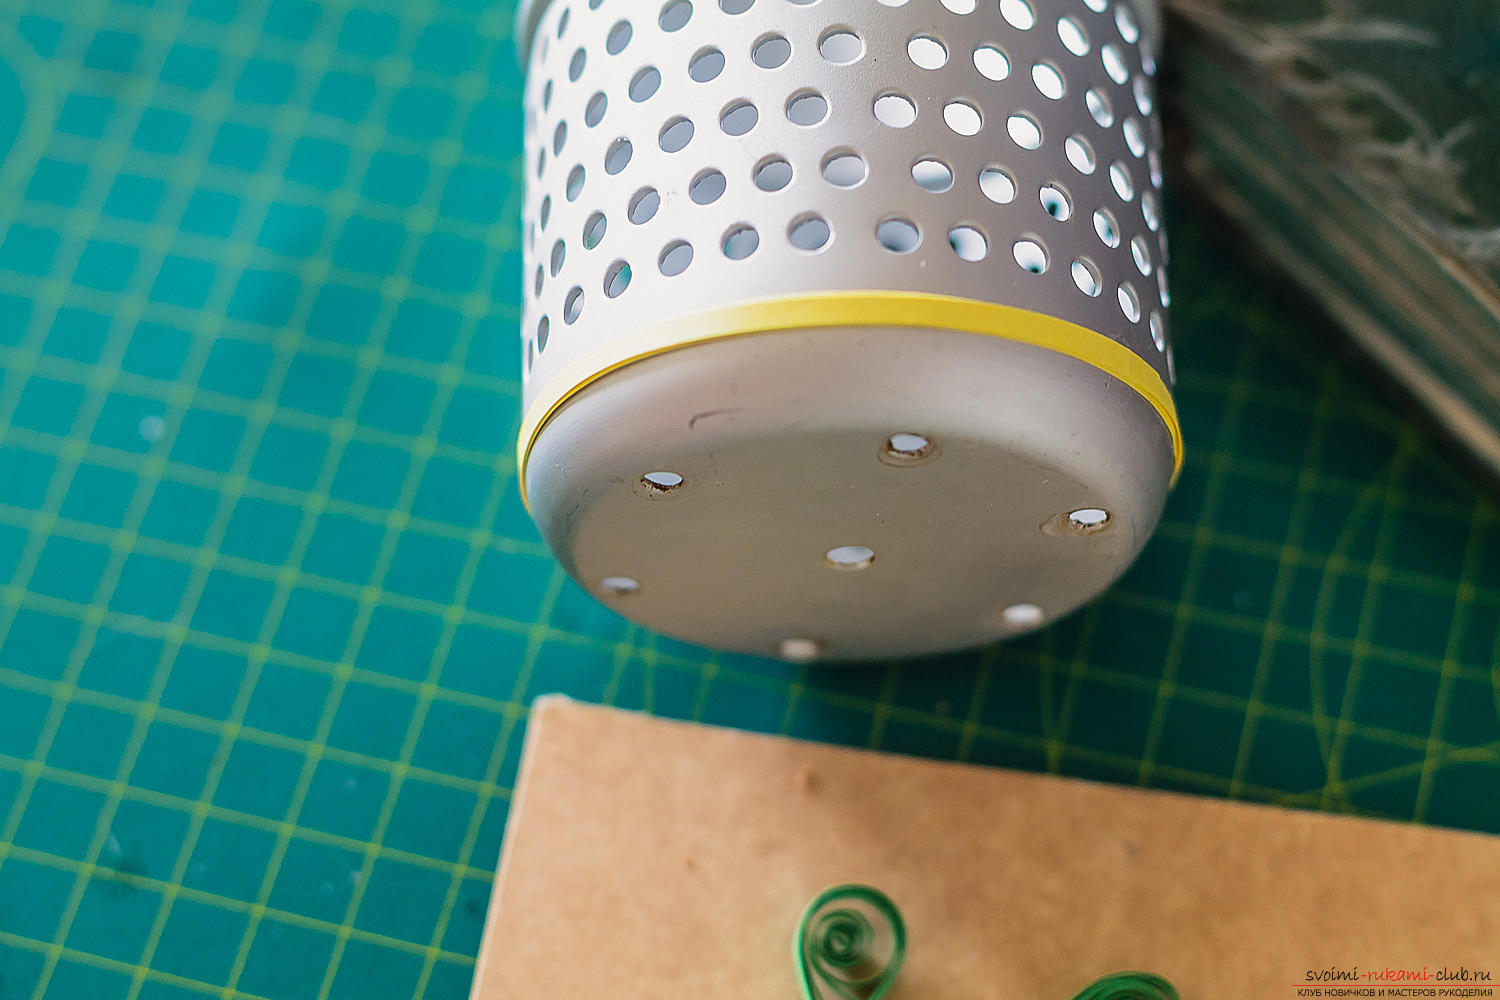 You can also make an inscription in a volumetric circle. To make it smooth, use a mug or a bottle of the correct diameter. Wrap it not one strip, fix the end (to the very basis of gluing is not necessary). When dry - carefully remove, attach and paste into place. By then, the inscriptions inside the circle should already be ready.
 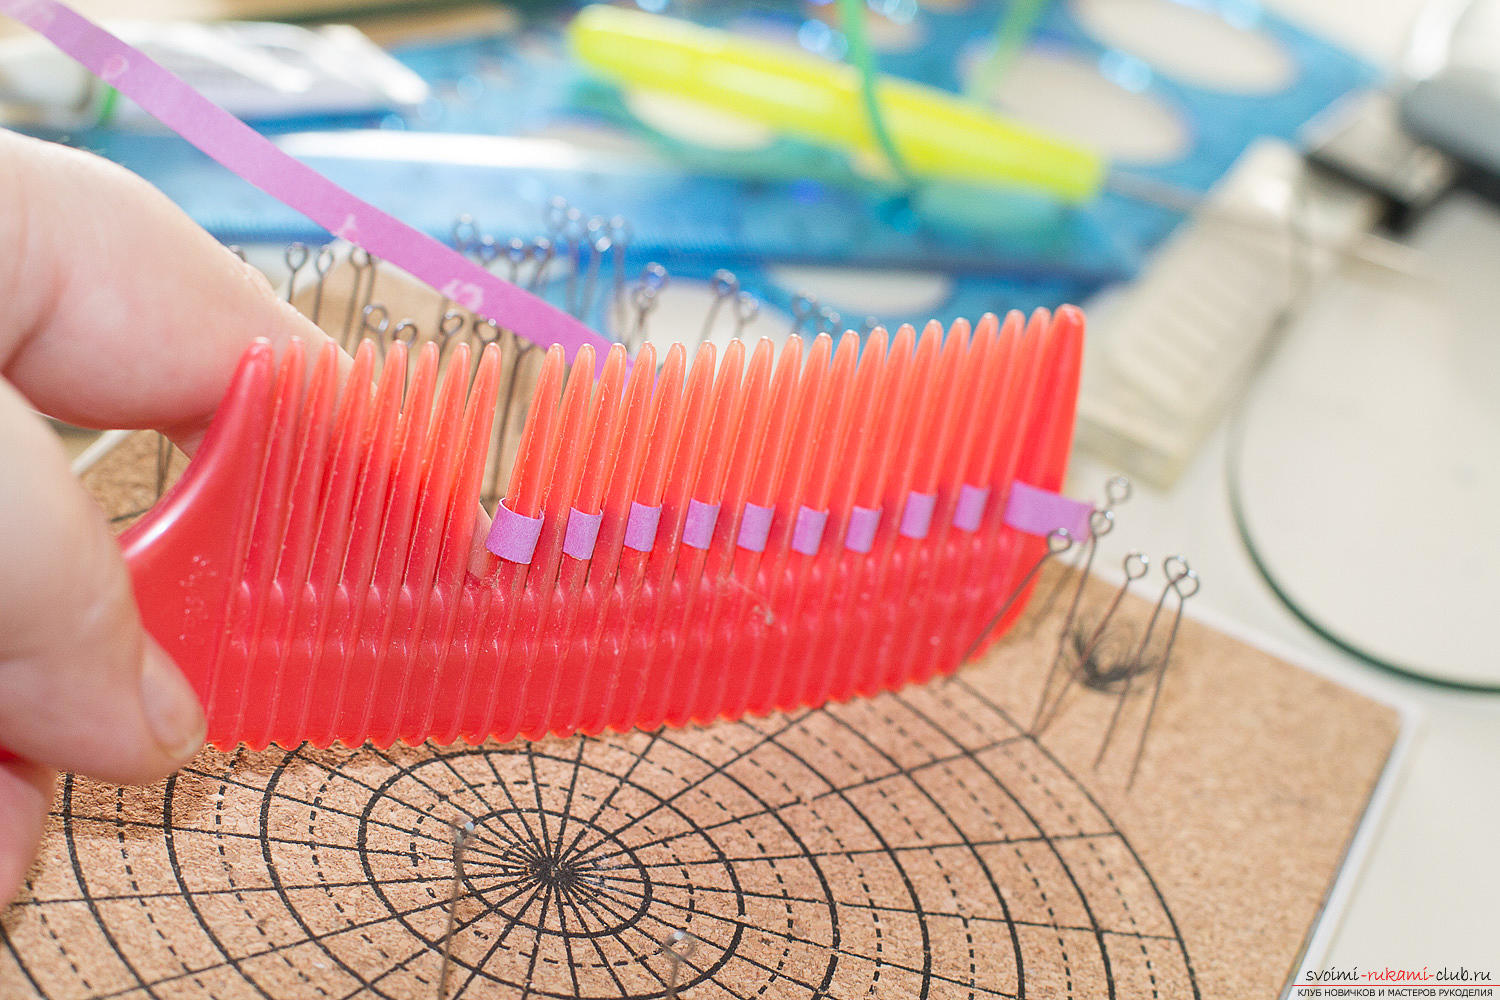 To decorate the circle with a wavy line, use a comb, as shown in the photo.
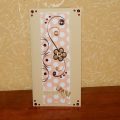
 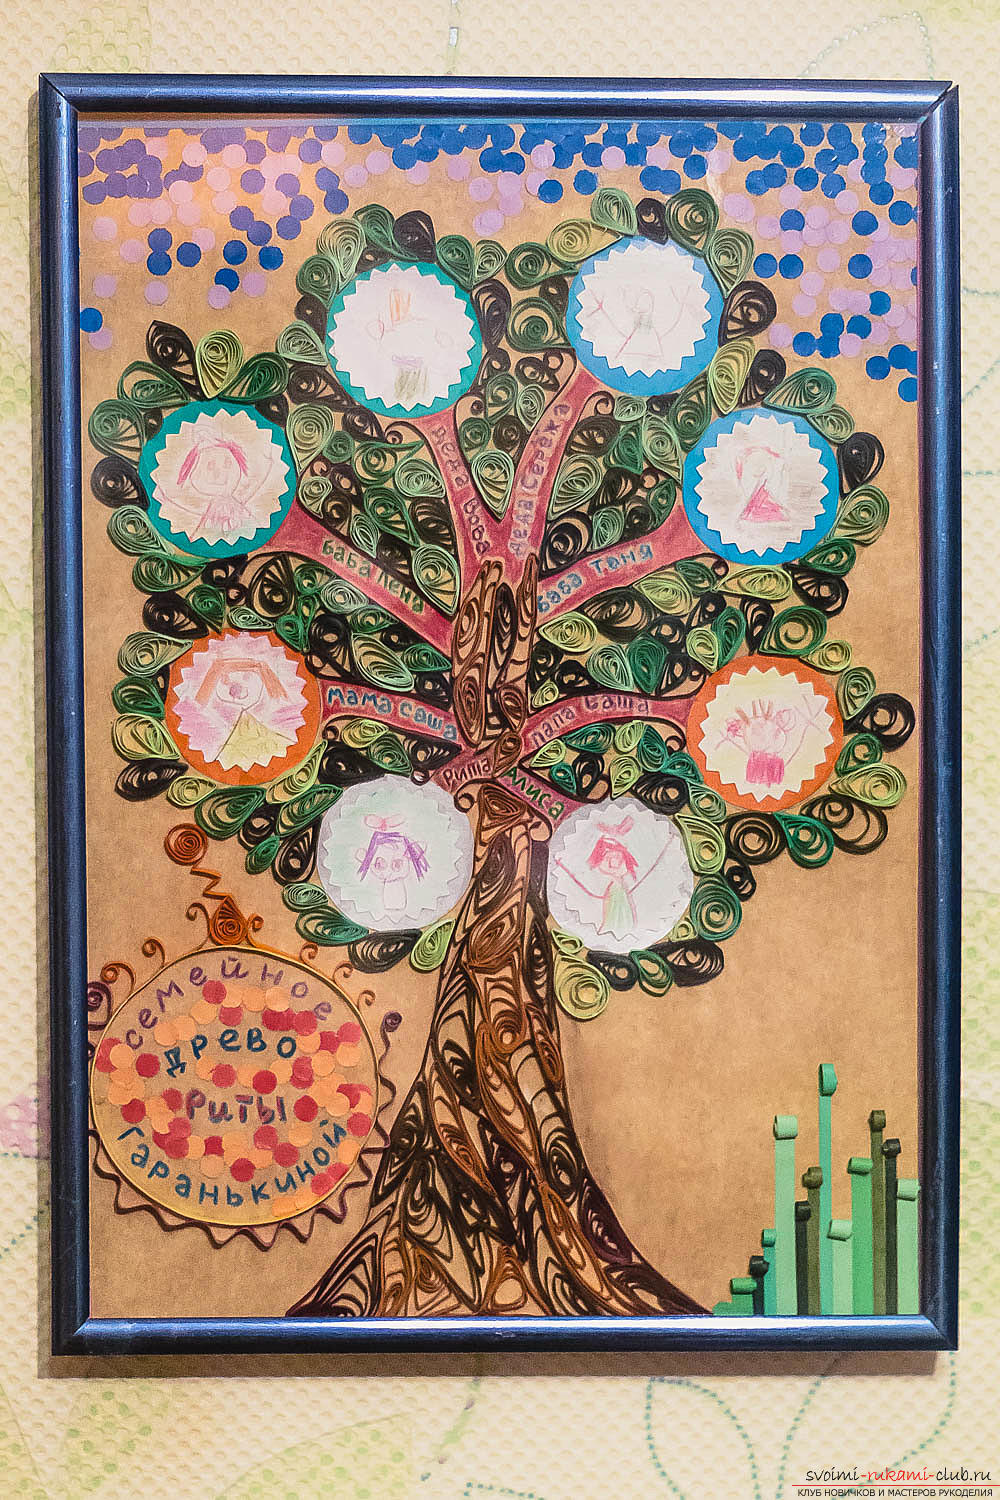 When the composition is finished, at the edge of the sheet, glue the colored strips to make the picture look finished. If you put it in a frame, you can not do it.
Comments
Related posts:
 How to make quilling chamomile with fringe with your hands - photo and master class
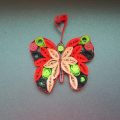 Quilling butterflies - loop quilling and master class with their own hands
 The basics of knitting with jacquard patterns, jacquard "stars" and "squares" for children and adults with detailed descriptions and photos.
 This master class will teach you how to make a postcard with your own hands in quilling technique.
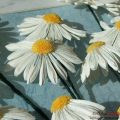 We make a daisy-quilling with our own hands, a master class with photos in the technique