Felt bunny: job description, photo, pattern
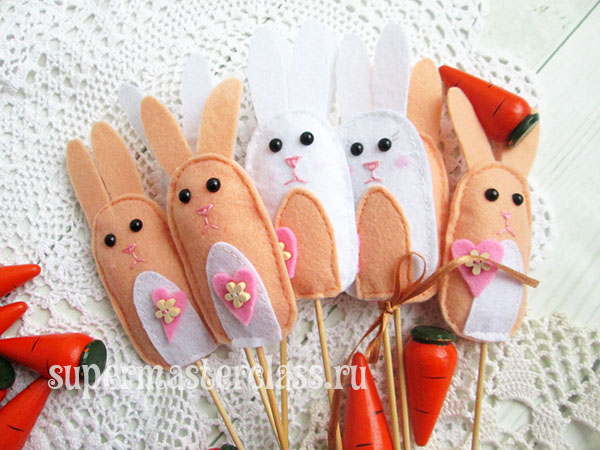
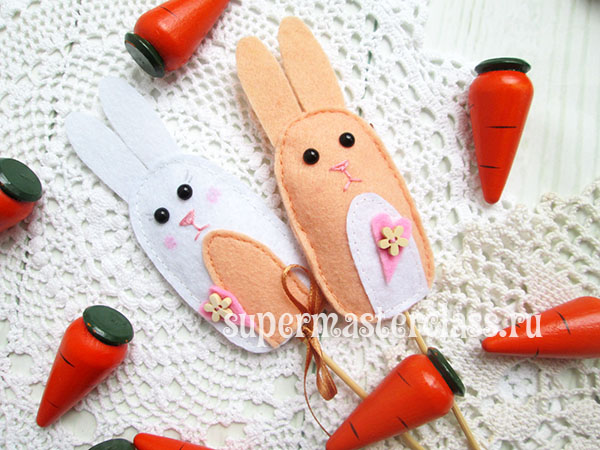
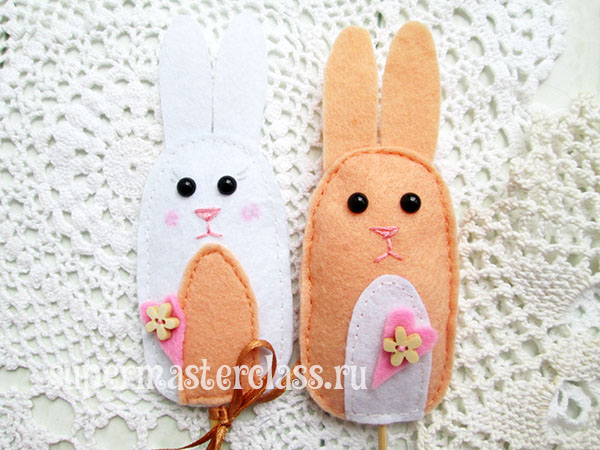
 Cute felt bunny - can be decoratedand used in different ways: with a non-sewn lower part - a toy for a finger theater; on a stick - a funny souvenir for Easter or New Year or also a home theater character; without a wand, but with a base pin on the back side - an original brooch for a blouse, handbag or children's backpack. How to make a bunny of felt with your own hands - in our master class.
For tailoring felt bunnies needed:
two colors of felt (mine is beige and white) andtrim color (for me - pink); pink floss for embroidery noses; black semi-beads 6-7 mm for eyes; glue for gluing eyes (I have “Focus”); wooden or plastic buttons for decoration; synthetic winterizer for stuffing; black and pink pencils; optional - narrow satin ribbon in tone with felt; wooden skewers; white gel pen; needle; sewing thread in tone of felt; pieces of paper; PVA glue; scissors; simple pencil. 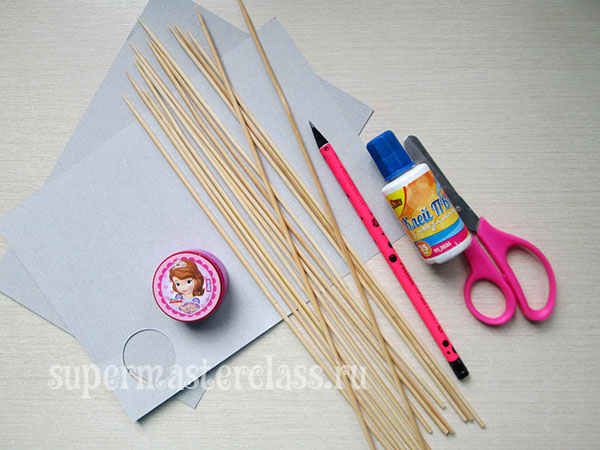
Handmade felt bunny: description of work
For a start, by hand, draw a pattern of a bunny or print it from this file:  Next, prepare the chopsticks basis. To do this, we cut the paper into arbitrary rectangles, each fold in half, grease the PVA glue inside, put the tip of the wand and we will well wrinkle the paper moistened with glue around the stick to fix it properly. So we do as many times as we want to get bunnies at the exit. Leave the sticks until dry.
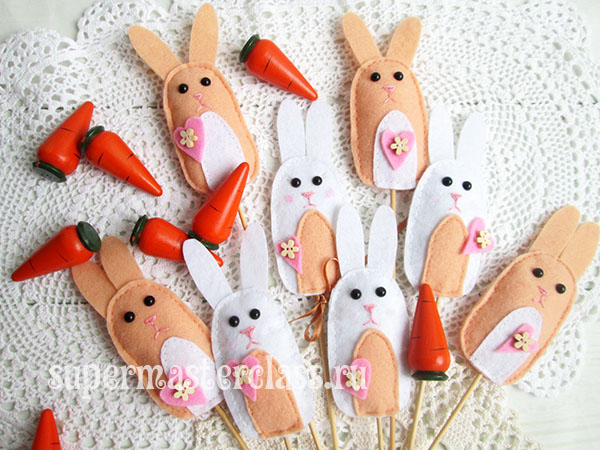
 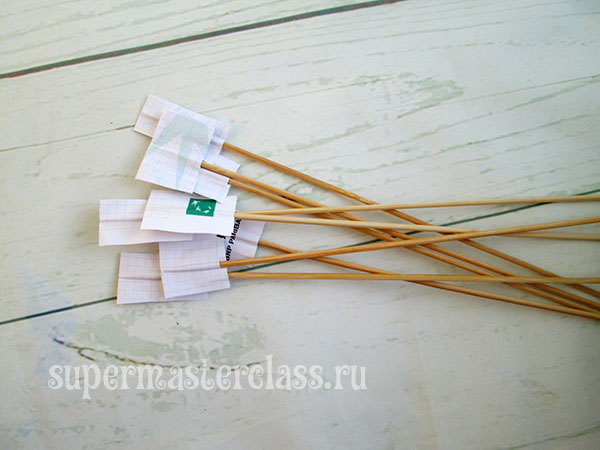 At this time we make cutting on felt. On color felt, it is convenient to do cutting with a white gel pen or a self-fading marker — as you used to. I went for eight hares 2 sheets of A4 felt. On one sheet perfectly fit torso, ears and abdomen. Beige trousers went white hares, and white - beige.
 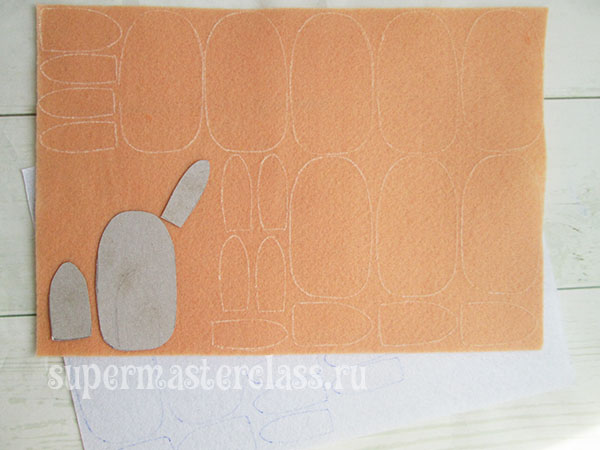 Cut out all the details with sharp scissors; seam allowances do not leave.
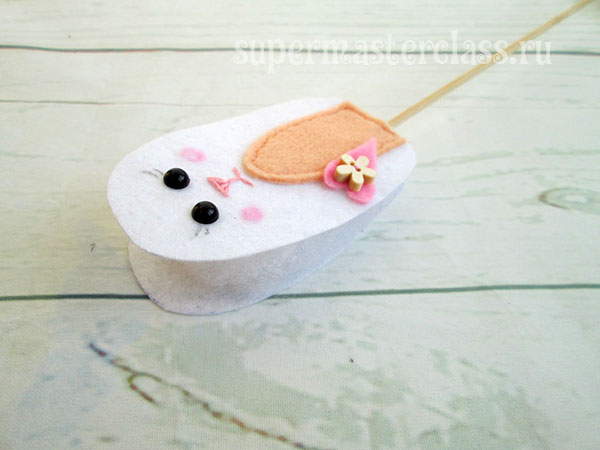
 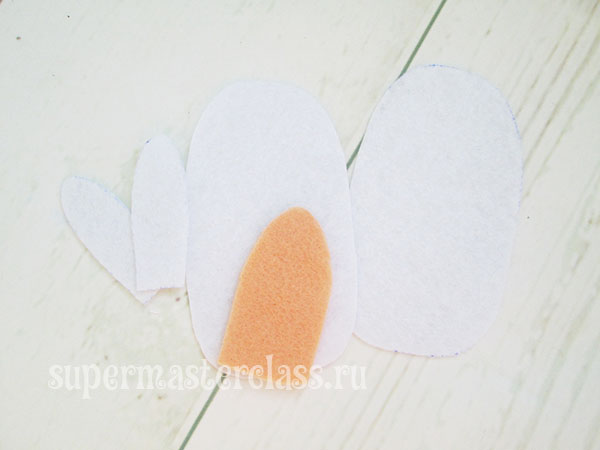 We make out the front part of the bunny. Sew on the abdomen, leaving the sewn-down lower part! For decor, I thought of cutting hearts out of the remnants of pink felt and sewing them through a button, each bunny had a different place. Glue the abyssal eyes; embroider floss nose and mouth; color pencil with a little pressure make pink cheeks. Some bunnies have made small eyelashes with sharply sharpened black color pencil.
 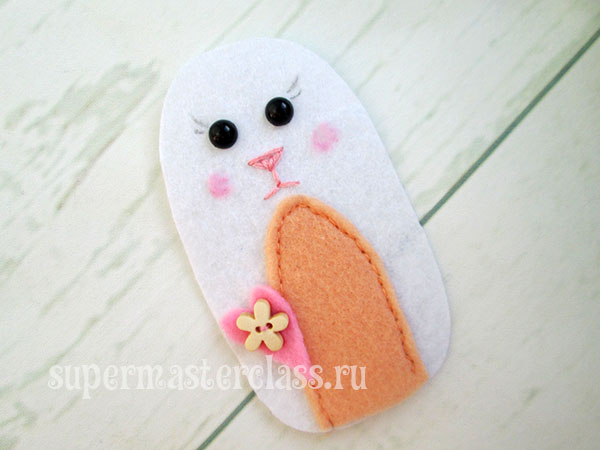 We return to the chopsticks basics. They are already dry. For paper stoppers, we cut the corners and try them on the felt blank to make sure that the stopper is not too large.
 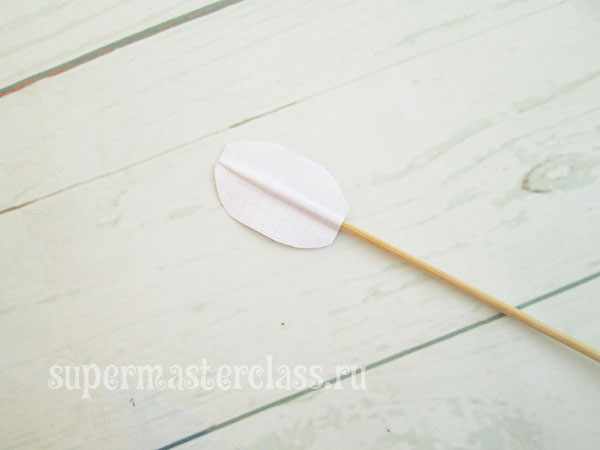 Wrap the stopper with a small amount of padding polyester and lay it between the back and front parts of the felt bunny.
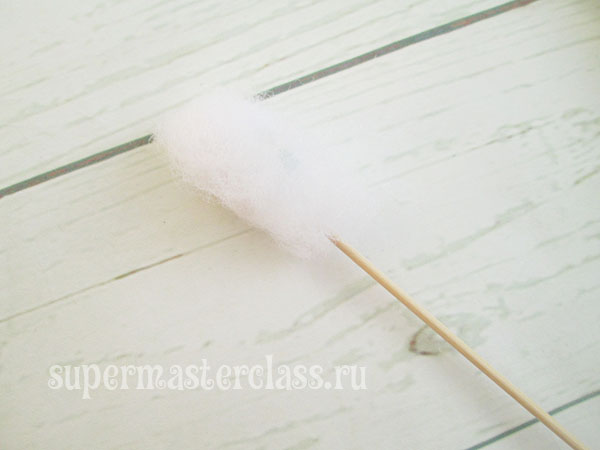
 We take a thread to match the abdomen and sew the lower part of the body so that the wand is securely fixed.
 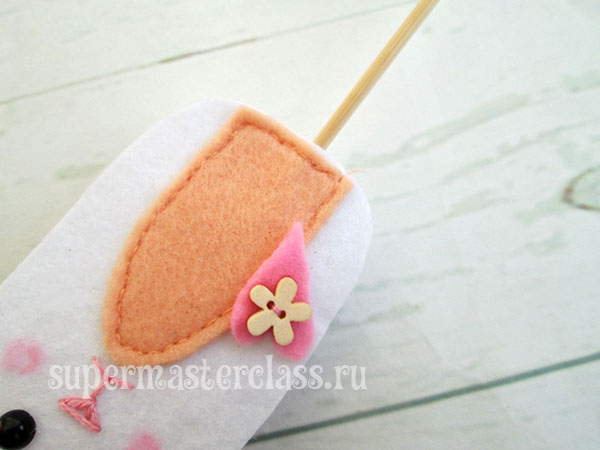 And the last - we sew along the perimeter, exceptthe bottom, already stitched, part, of the whole hare, not forgetting to put the ears in the proper place. The work is completed. If desired, you can tie a satin ribbon bow on the wand.
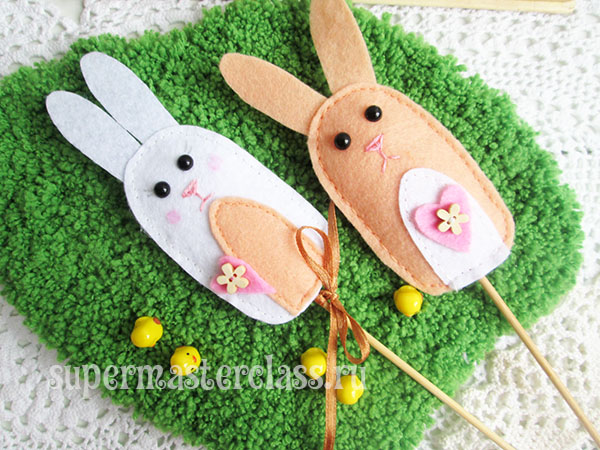
 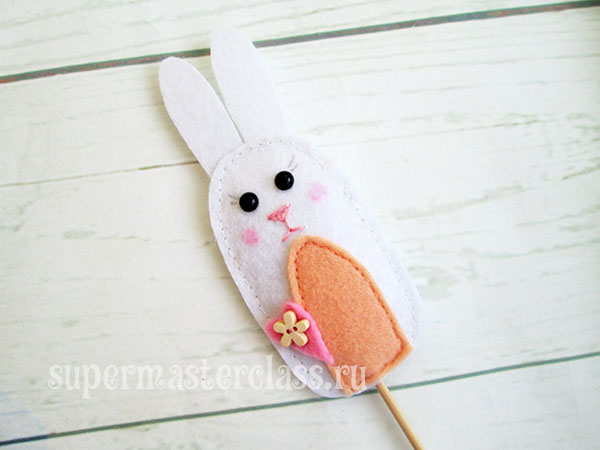 The felt bunny toy is ready.
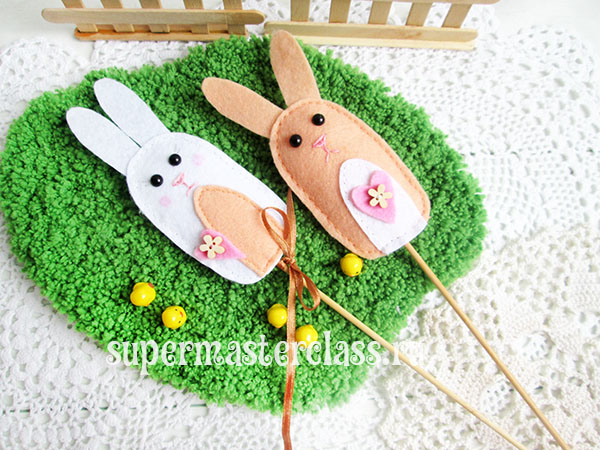

 By analogy, we have already sewed. Eva Casio specifically for the site Workshops on needlework Previous article: Next article:
Comments
Related posts:
 Pattern of a waterproof overall for a dog. Photo and detailed description of the work
 How to make a Christmas boot from felt by yourself? Lesson on the creation of an interesting New Year's craft of felt with step-by-step instructions and photo
 How to tie a hook with your own hands, a scheme, a photo, a description of the work.
 How to create a necklace of polymer clay, detailed step-by-step photos and job description
 How to tie a skirt for a girl 7 years old, using the "zigzag" pattern, detailed patterns, pattern and job description