Felted toy kitten - crafts and homemade articles with their own hands
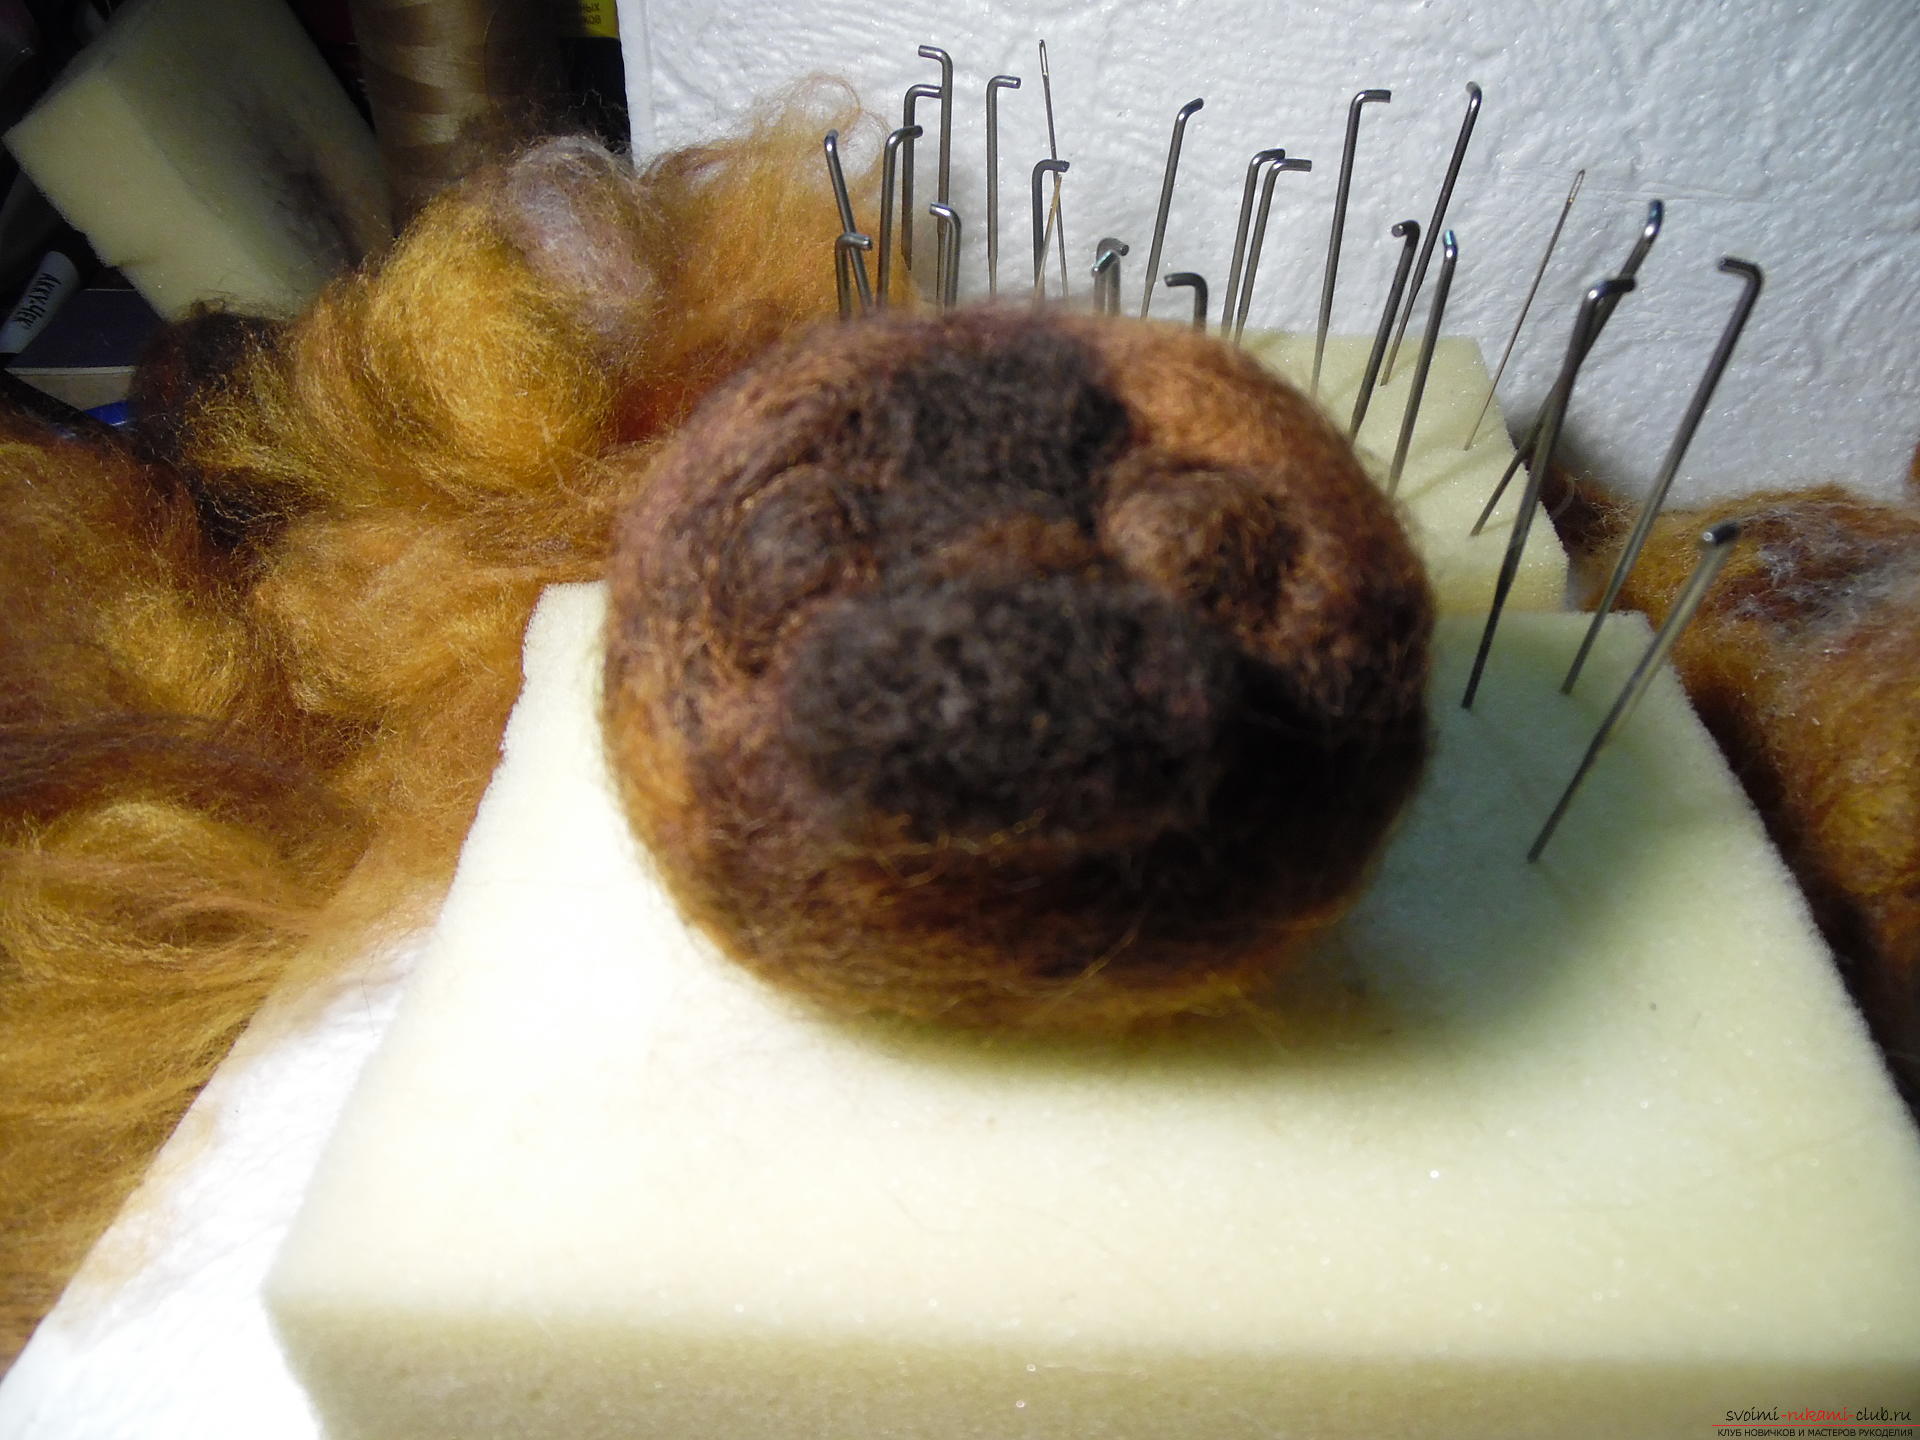
I bring to your attention a master class on creation of a felted toy-kitten.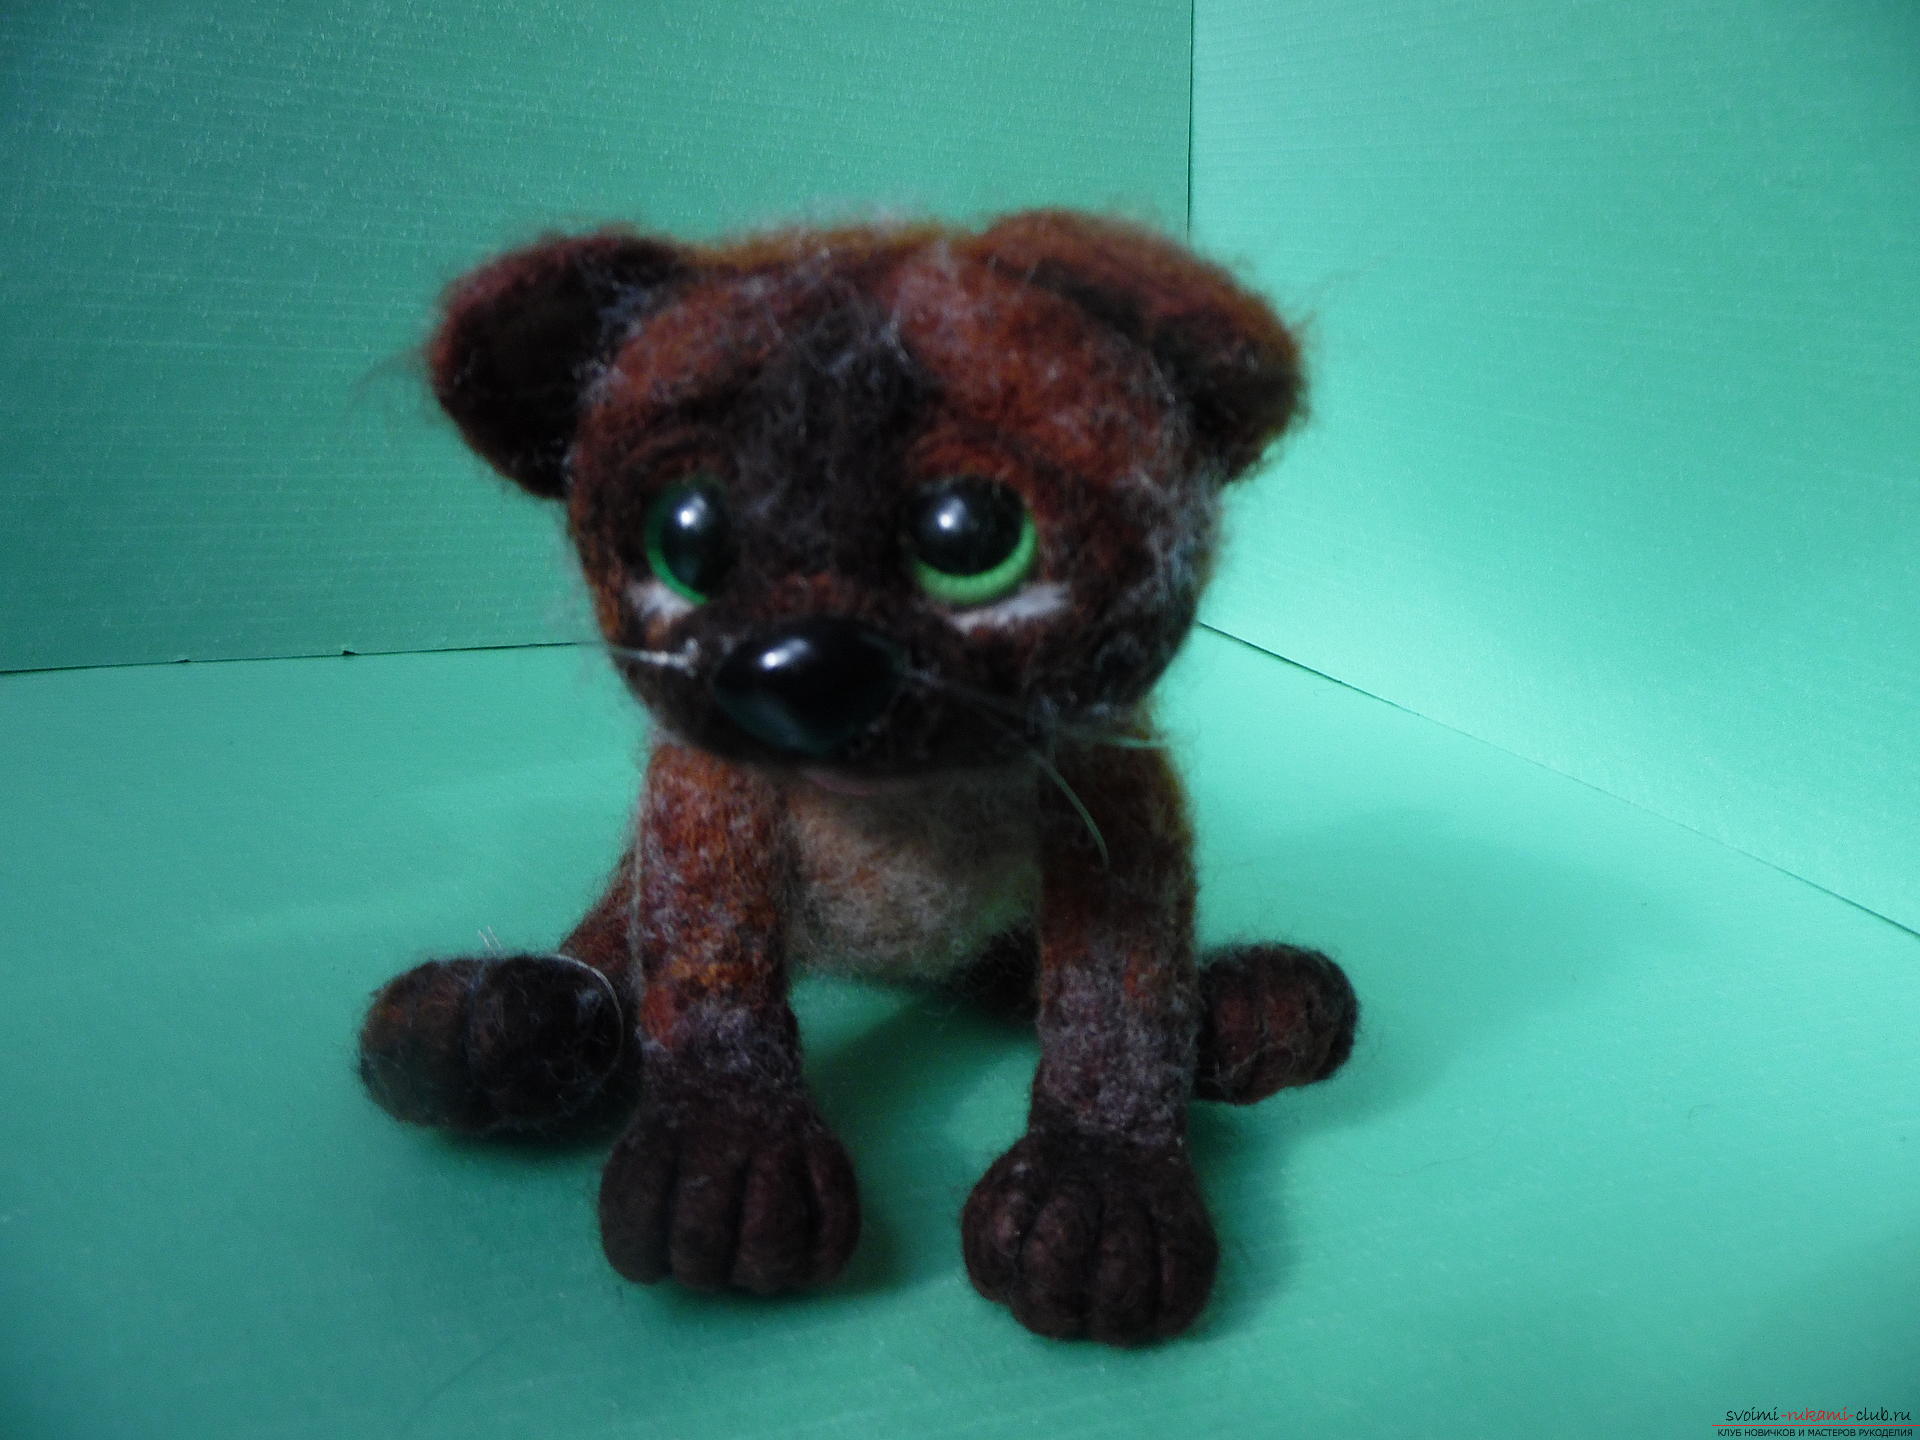 To start work we prepare the basis of the synthepone -we sew the trunk in the form of a bobbin about 8-10 cm long, we fold the sintepon and sew the edge with simple threads. We will roll a ball and sew it - this will have a head. We cut from the synthepon stripes 6 cm wide and 8 cm long, and also curl them along the long side and the sash. The foundation is ready for us. We proceed to create a color range of wool for felting. To do this, we take wool of several shades (in this case I have dark brown, light brown, beige, red and a little dark cherry). We hold all this yarn in the left hand, and the right - we start to comb the yarn horizontally with a brush. The result is an unusual color, here and there with specks. Next, we begin to pour out our yarns - trunk, head, paws. We lay down to the full smoothness of the product, on the tummy immediately weave a lighter yarn - beige. Now look at the photo, the torso is ready.
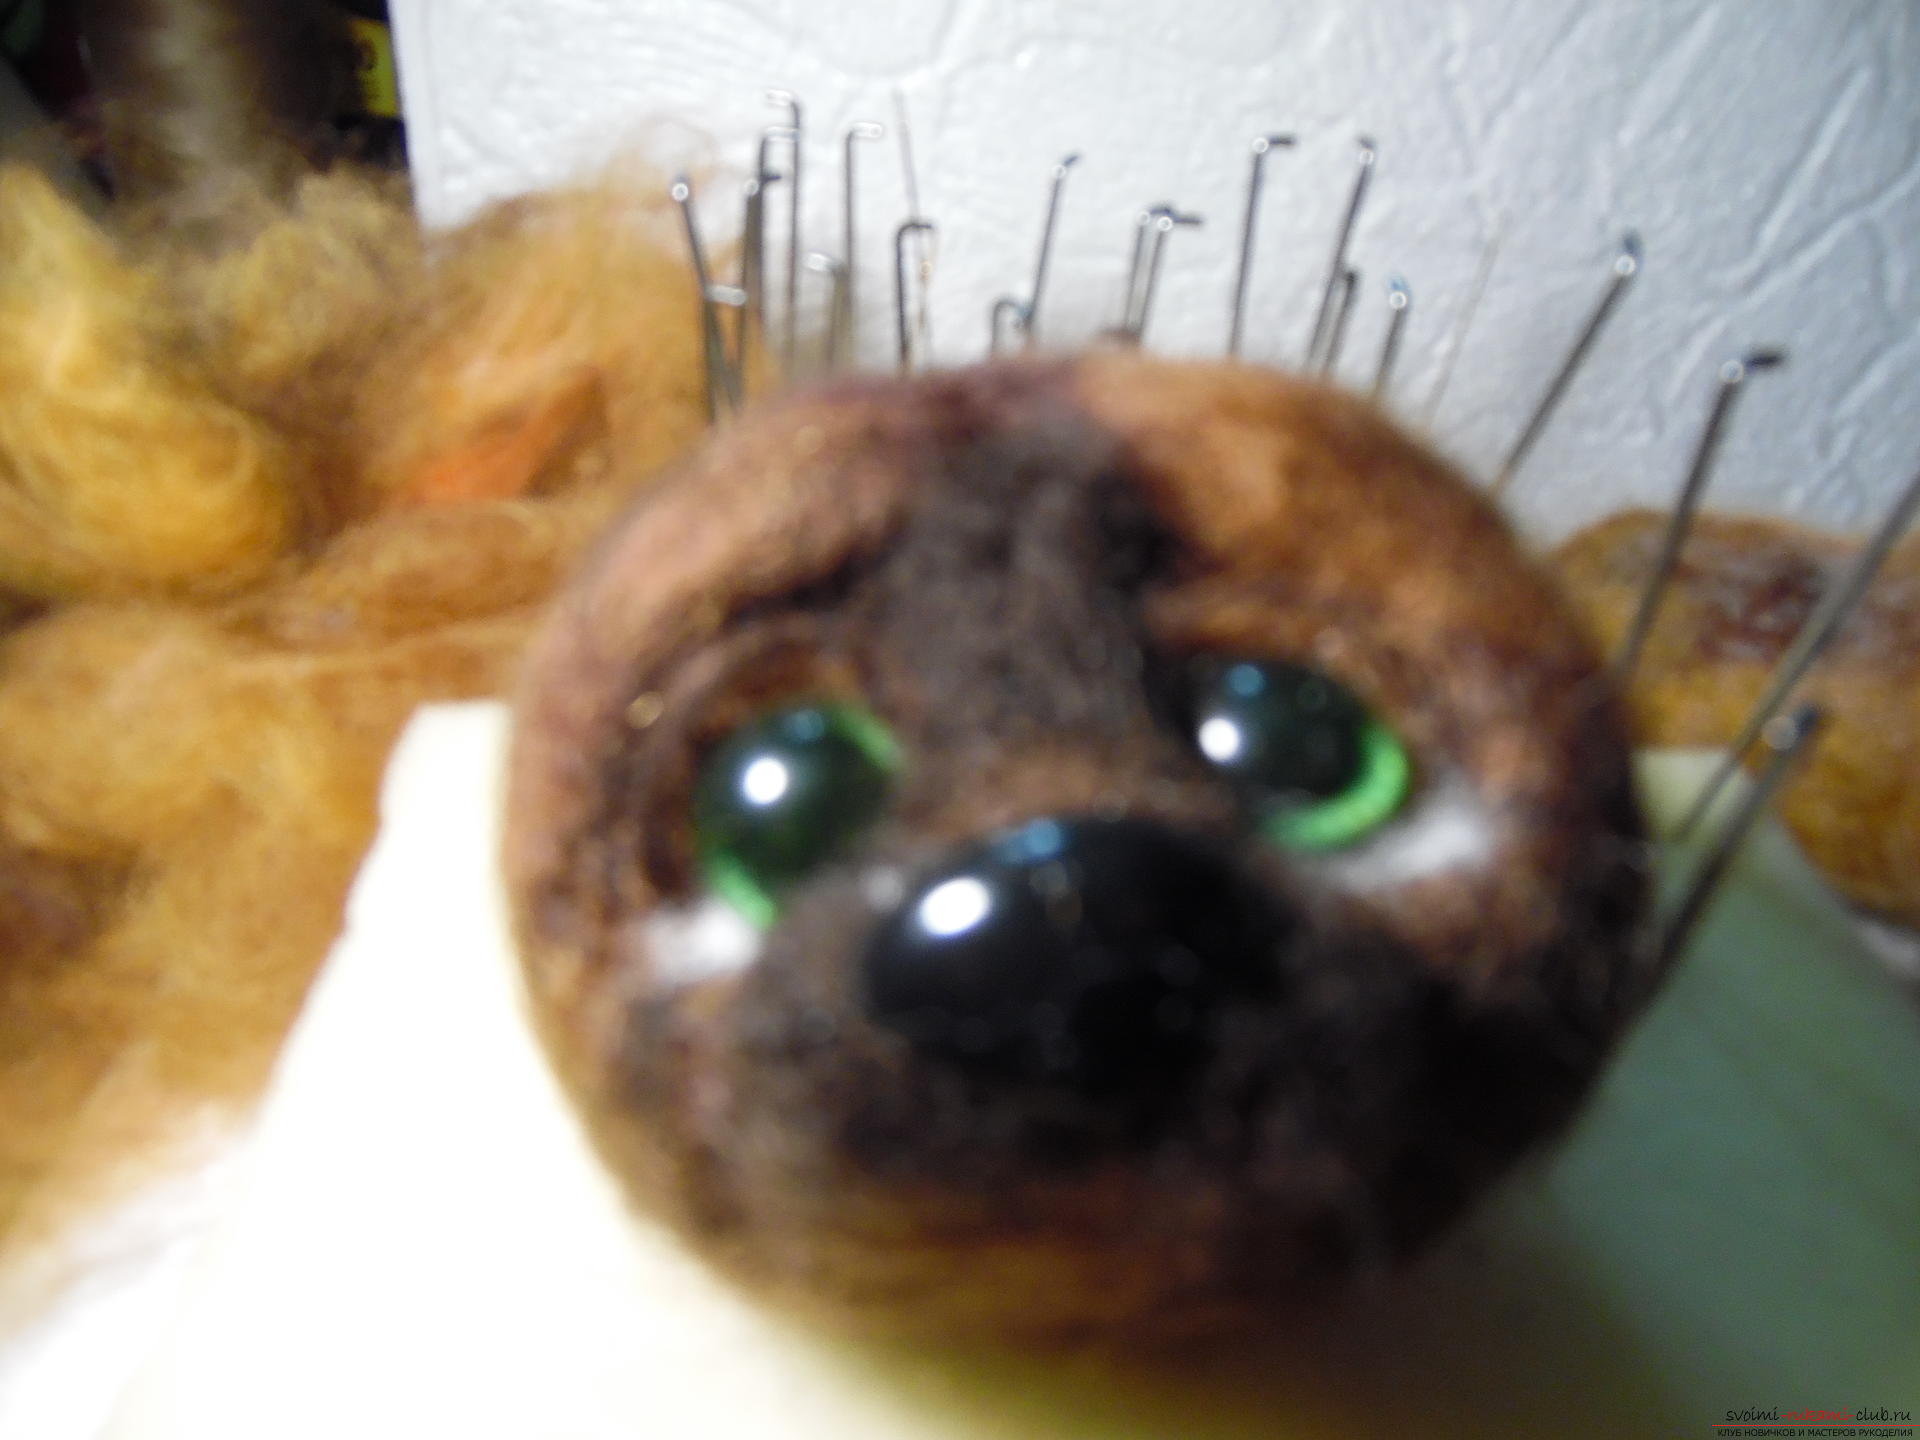
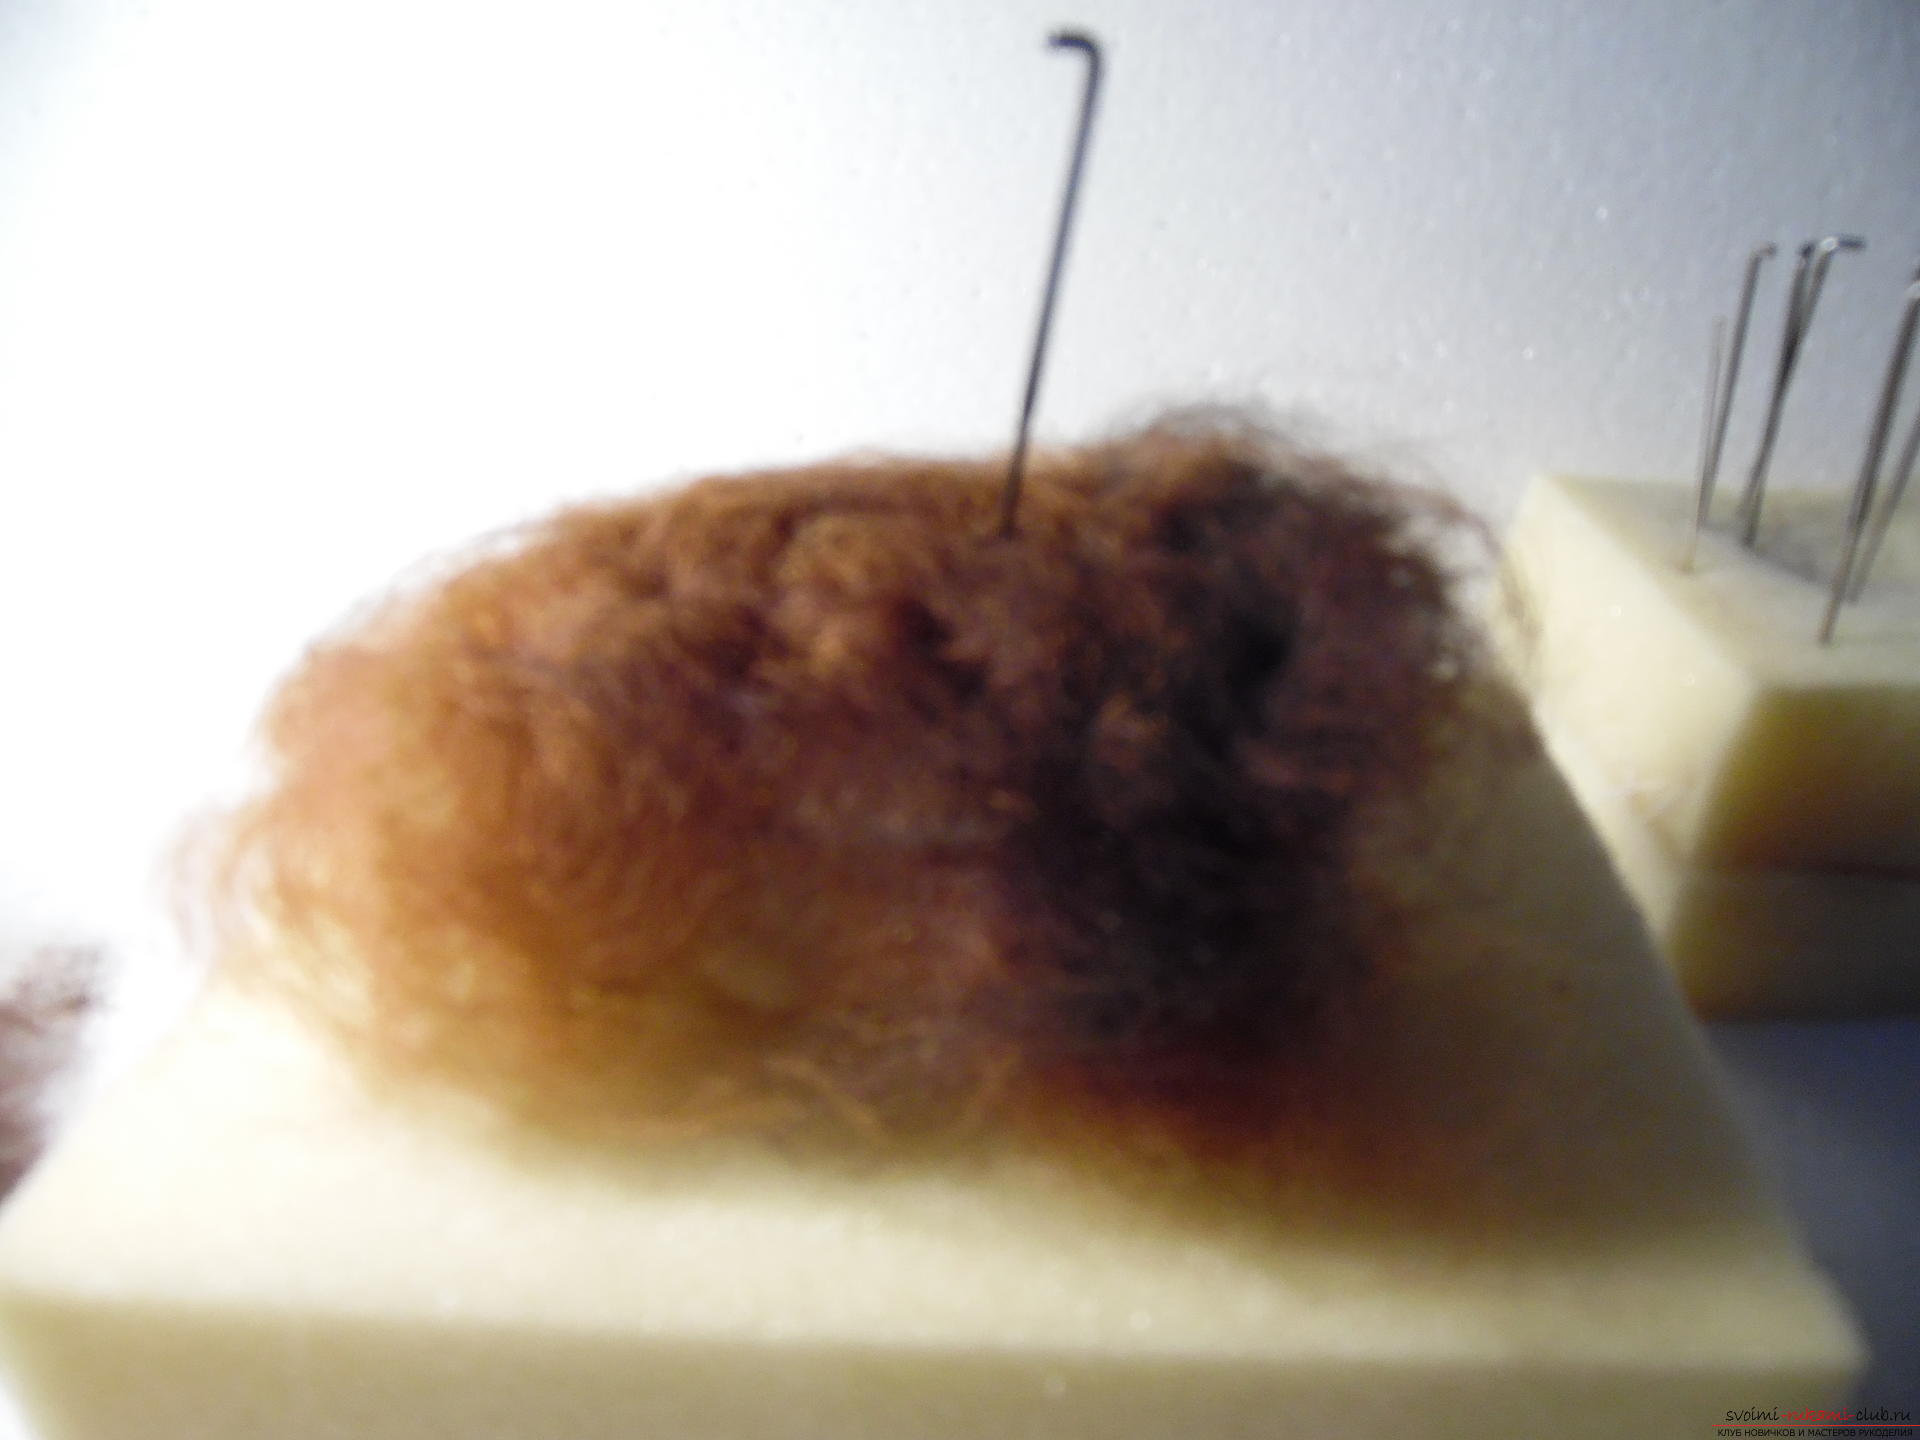 We proceed to the formation of the muzzle - this is the mostresponsible moment. From this minute it depends which toy you will get: sad or cheerful. We take a piece of yarn, crumple in the hands to make an oval, attach to the head and secure with a needle. This will be the center of the muzzle. We lay tightly in the middle, we make a vertical thin line, at the top of the line we glue the nose, at the level of the nose from both sides we drop the eye grooves, then glue the eyes.
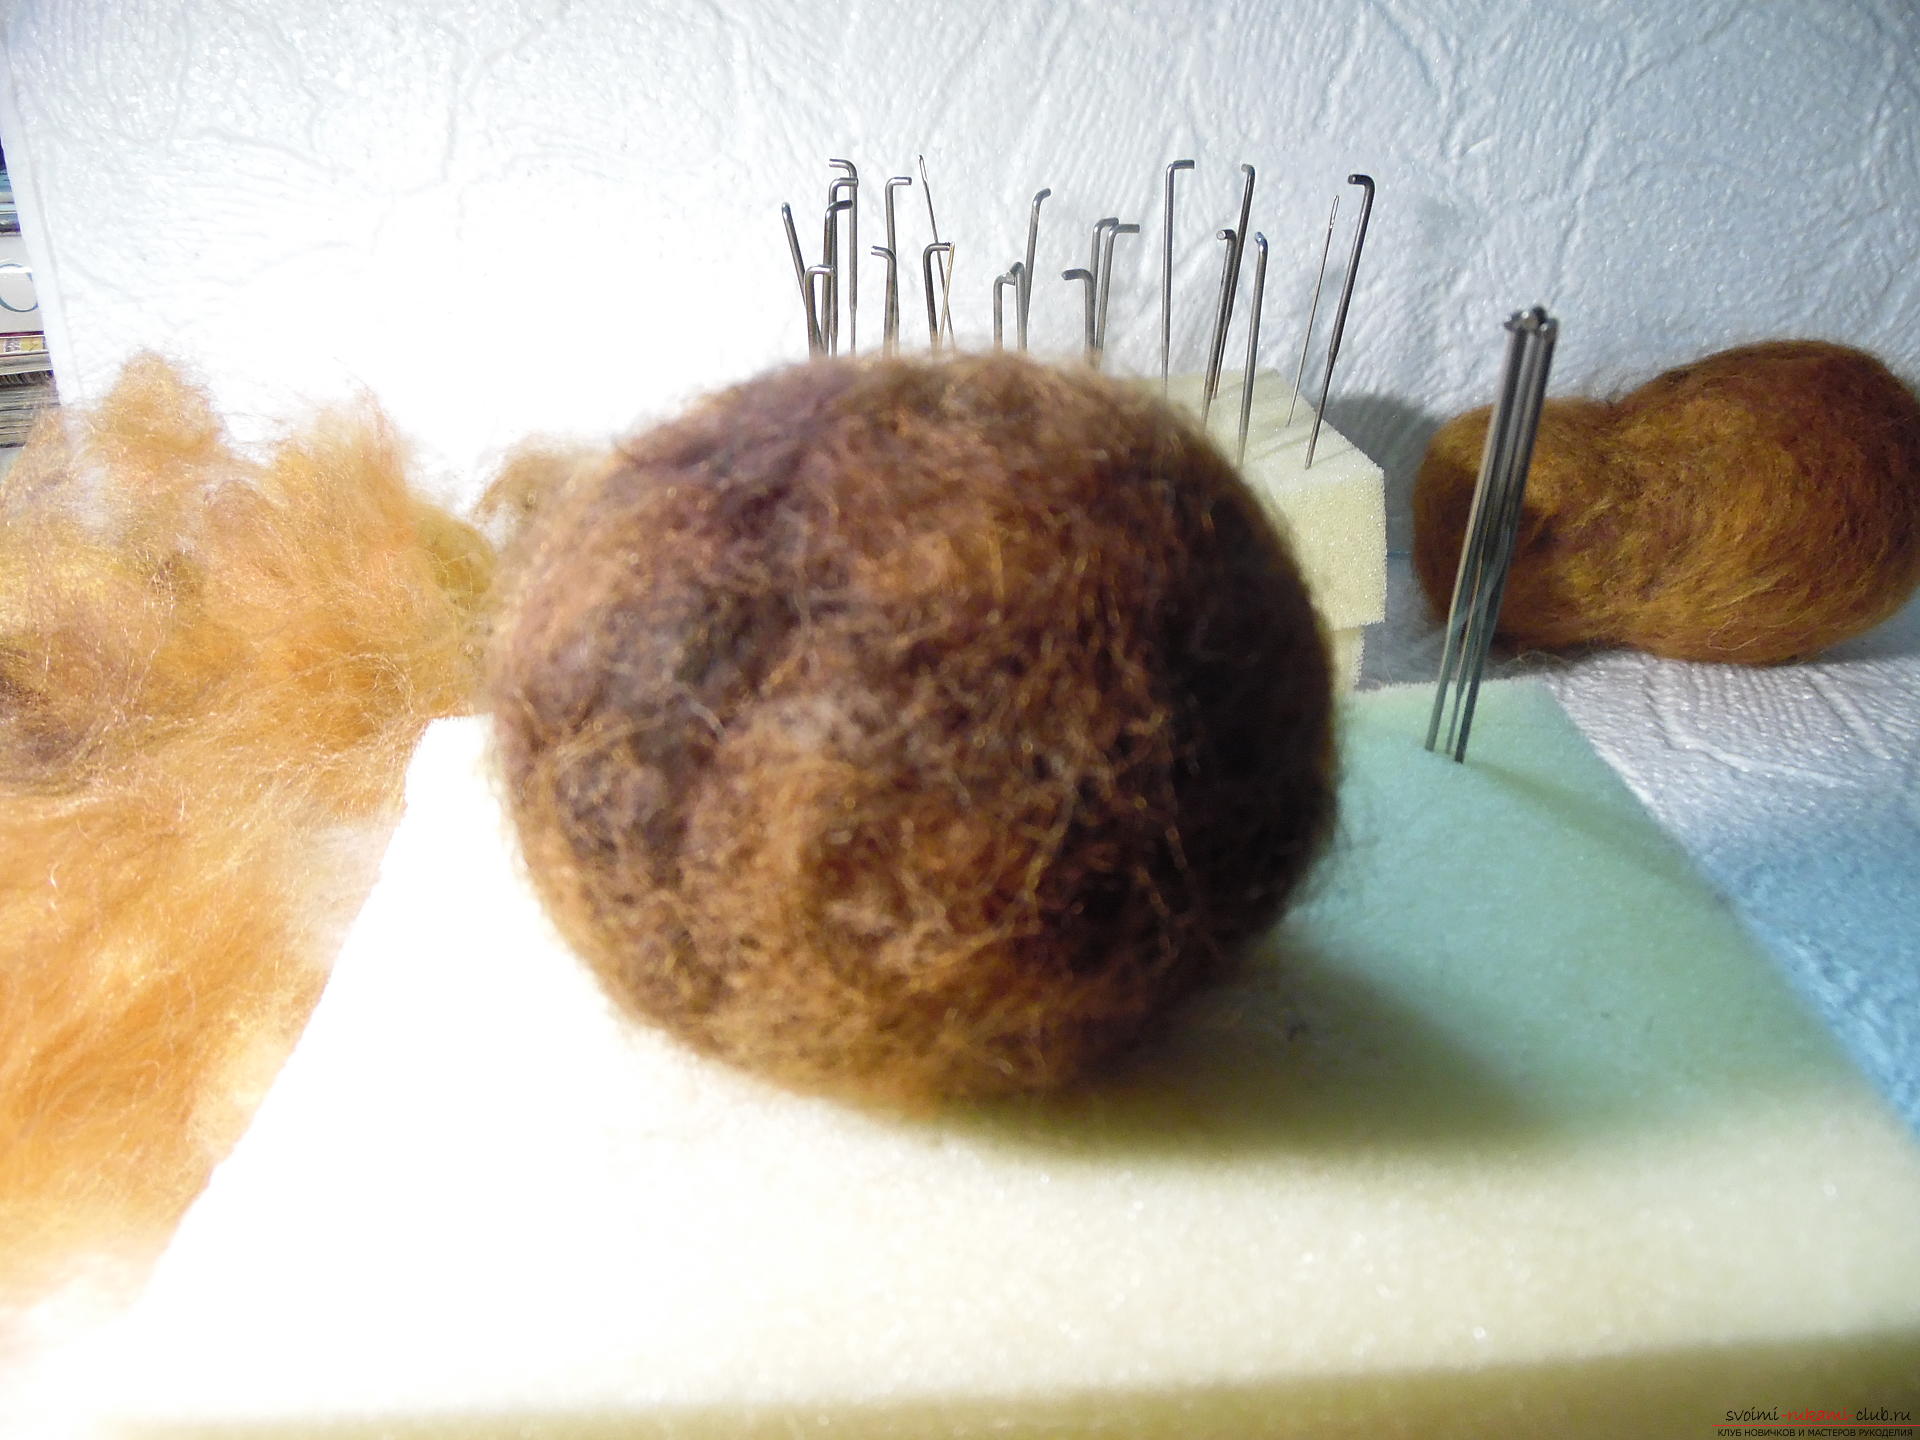
 We make eyelids above the eyes - for this we take a small piece of yarn and roll it in the shape of an oval, then fold it in half and fasten it over our eyes, so that the oval slightly fits the eye.
 Then we paste the cilia. As I do: I squeeze out the glue (I use glue for ceiling tiles) on a smooth surface with a thin strip of 2-3 cm, I pick up the severed cilium with tweezers, dipped in the glue and apply it to the eye. Correct the corners of a needle or a tooth stick - it keeps very well and does not leave a trace. We admire the muzzle!
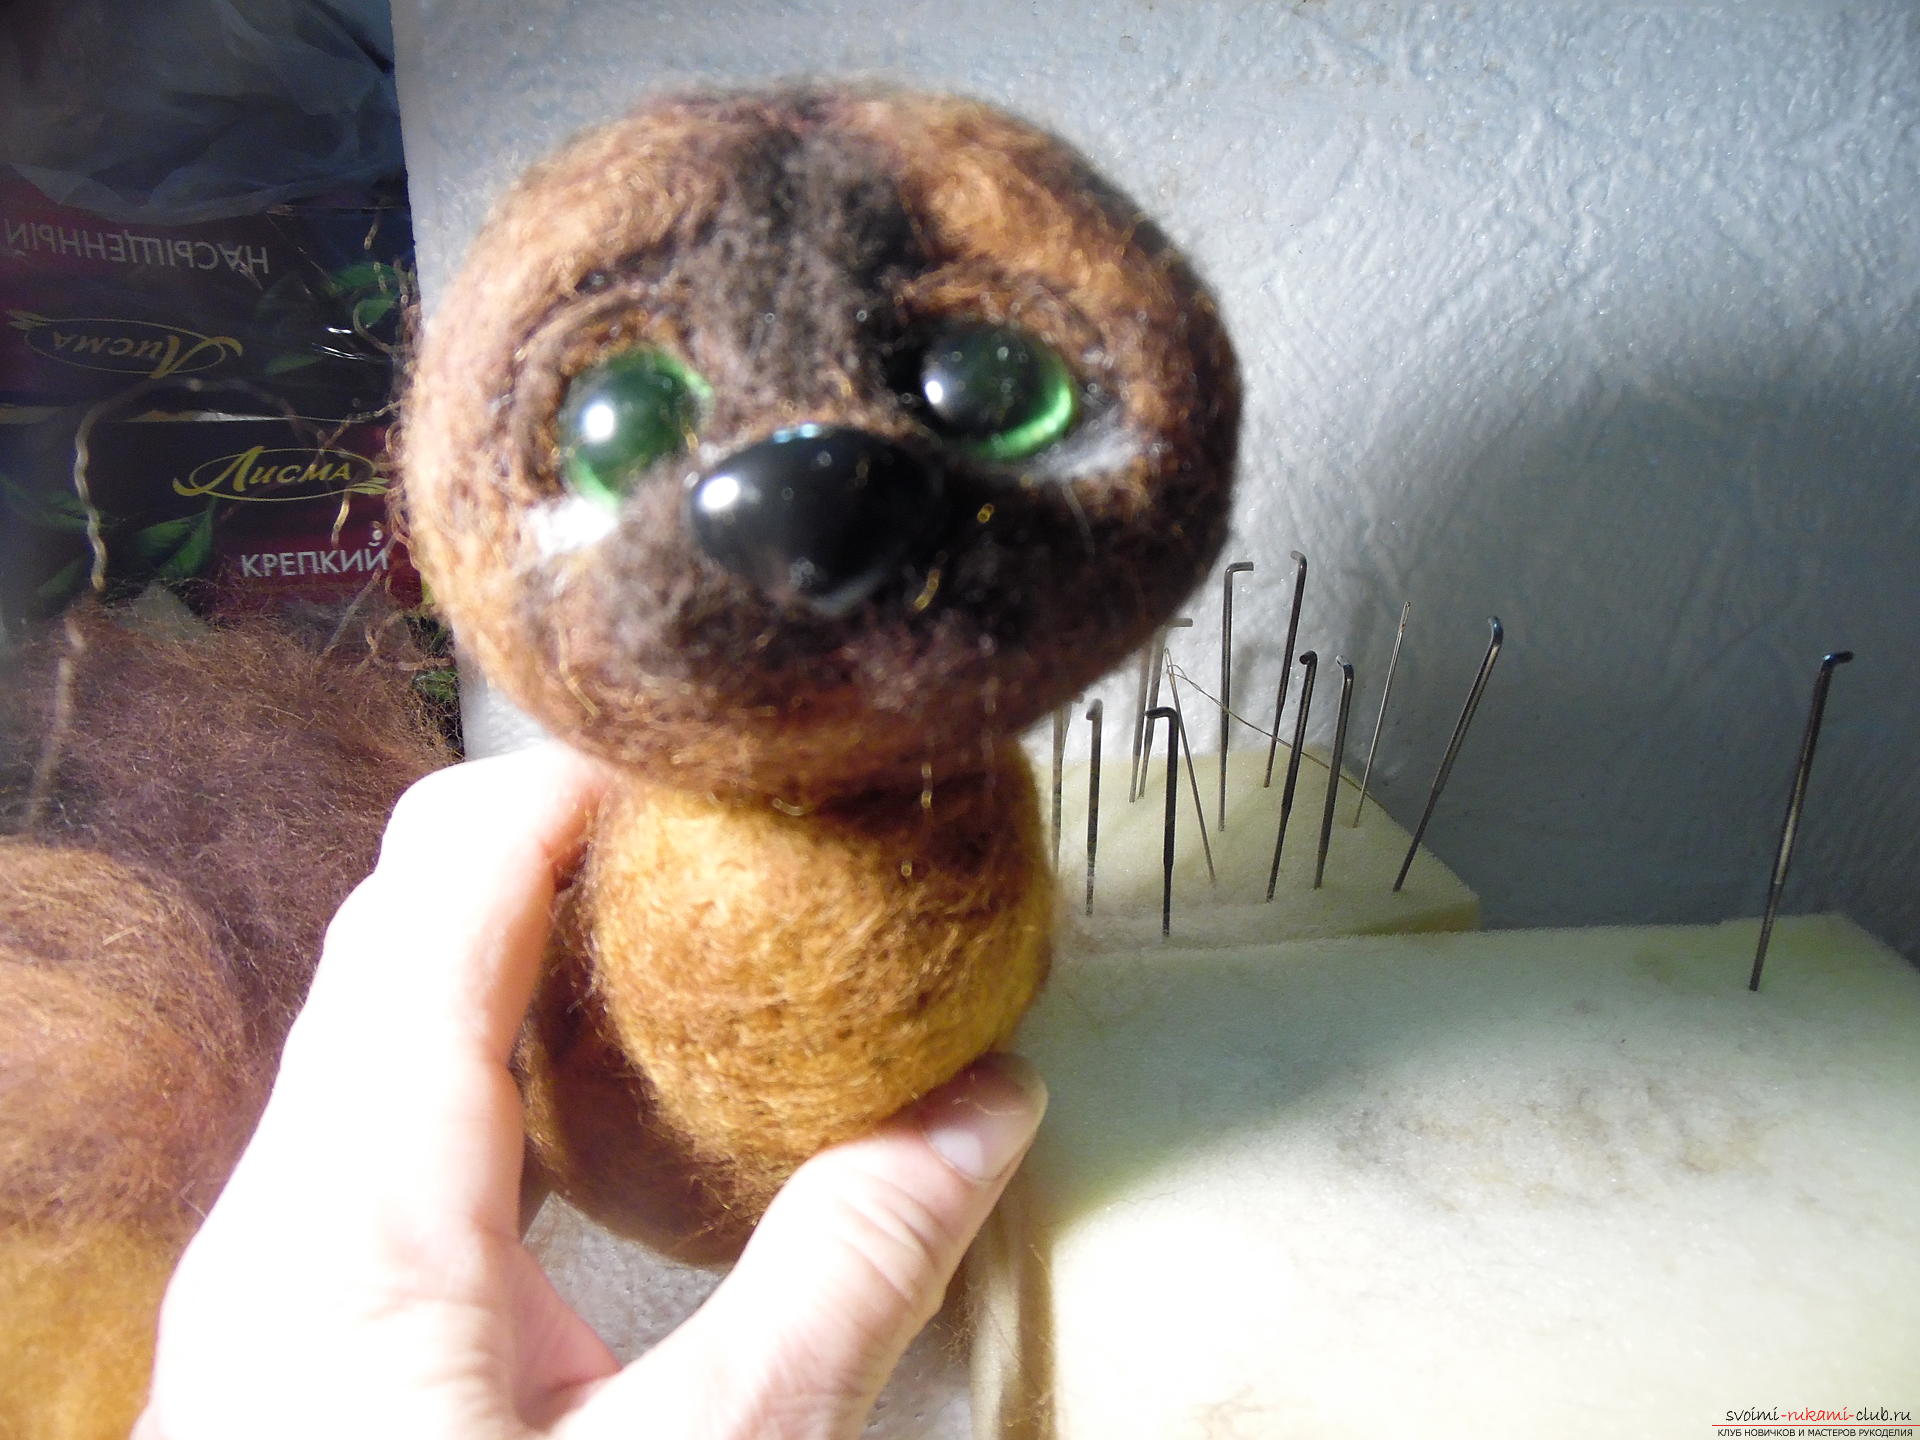 Next - the paws. We take the combed wool, lay out a rectangle, and in the middle we put our parchment-sausage. We start to work with a needle: on one side we lay tightly on the edge, and at the other end we do not dull the wool - we leave the locks for stitching to the main part. When the sausage is ready, use a simple sewing needle and thread to sew the paws. Kogotochki - 1 line of piercing in the middle. and 2 and 3 lateral on both sides. I sew each line 2 times.
 Now we sew the head to the trunk so that the sewing line is not visible, we add wool and we fill up. Then sew the paws - the front and back - also add the wool so that the seam is not visible.
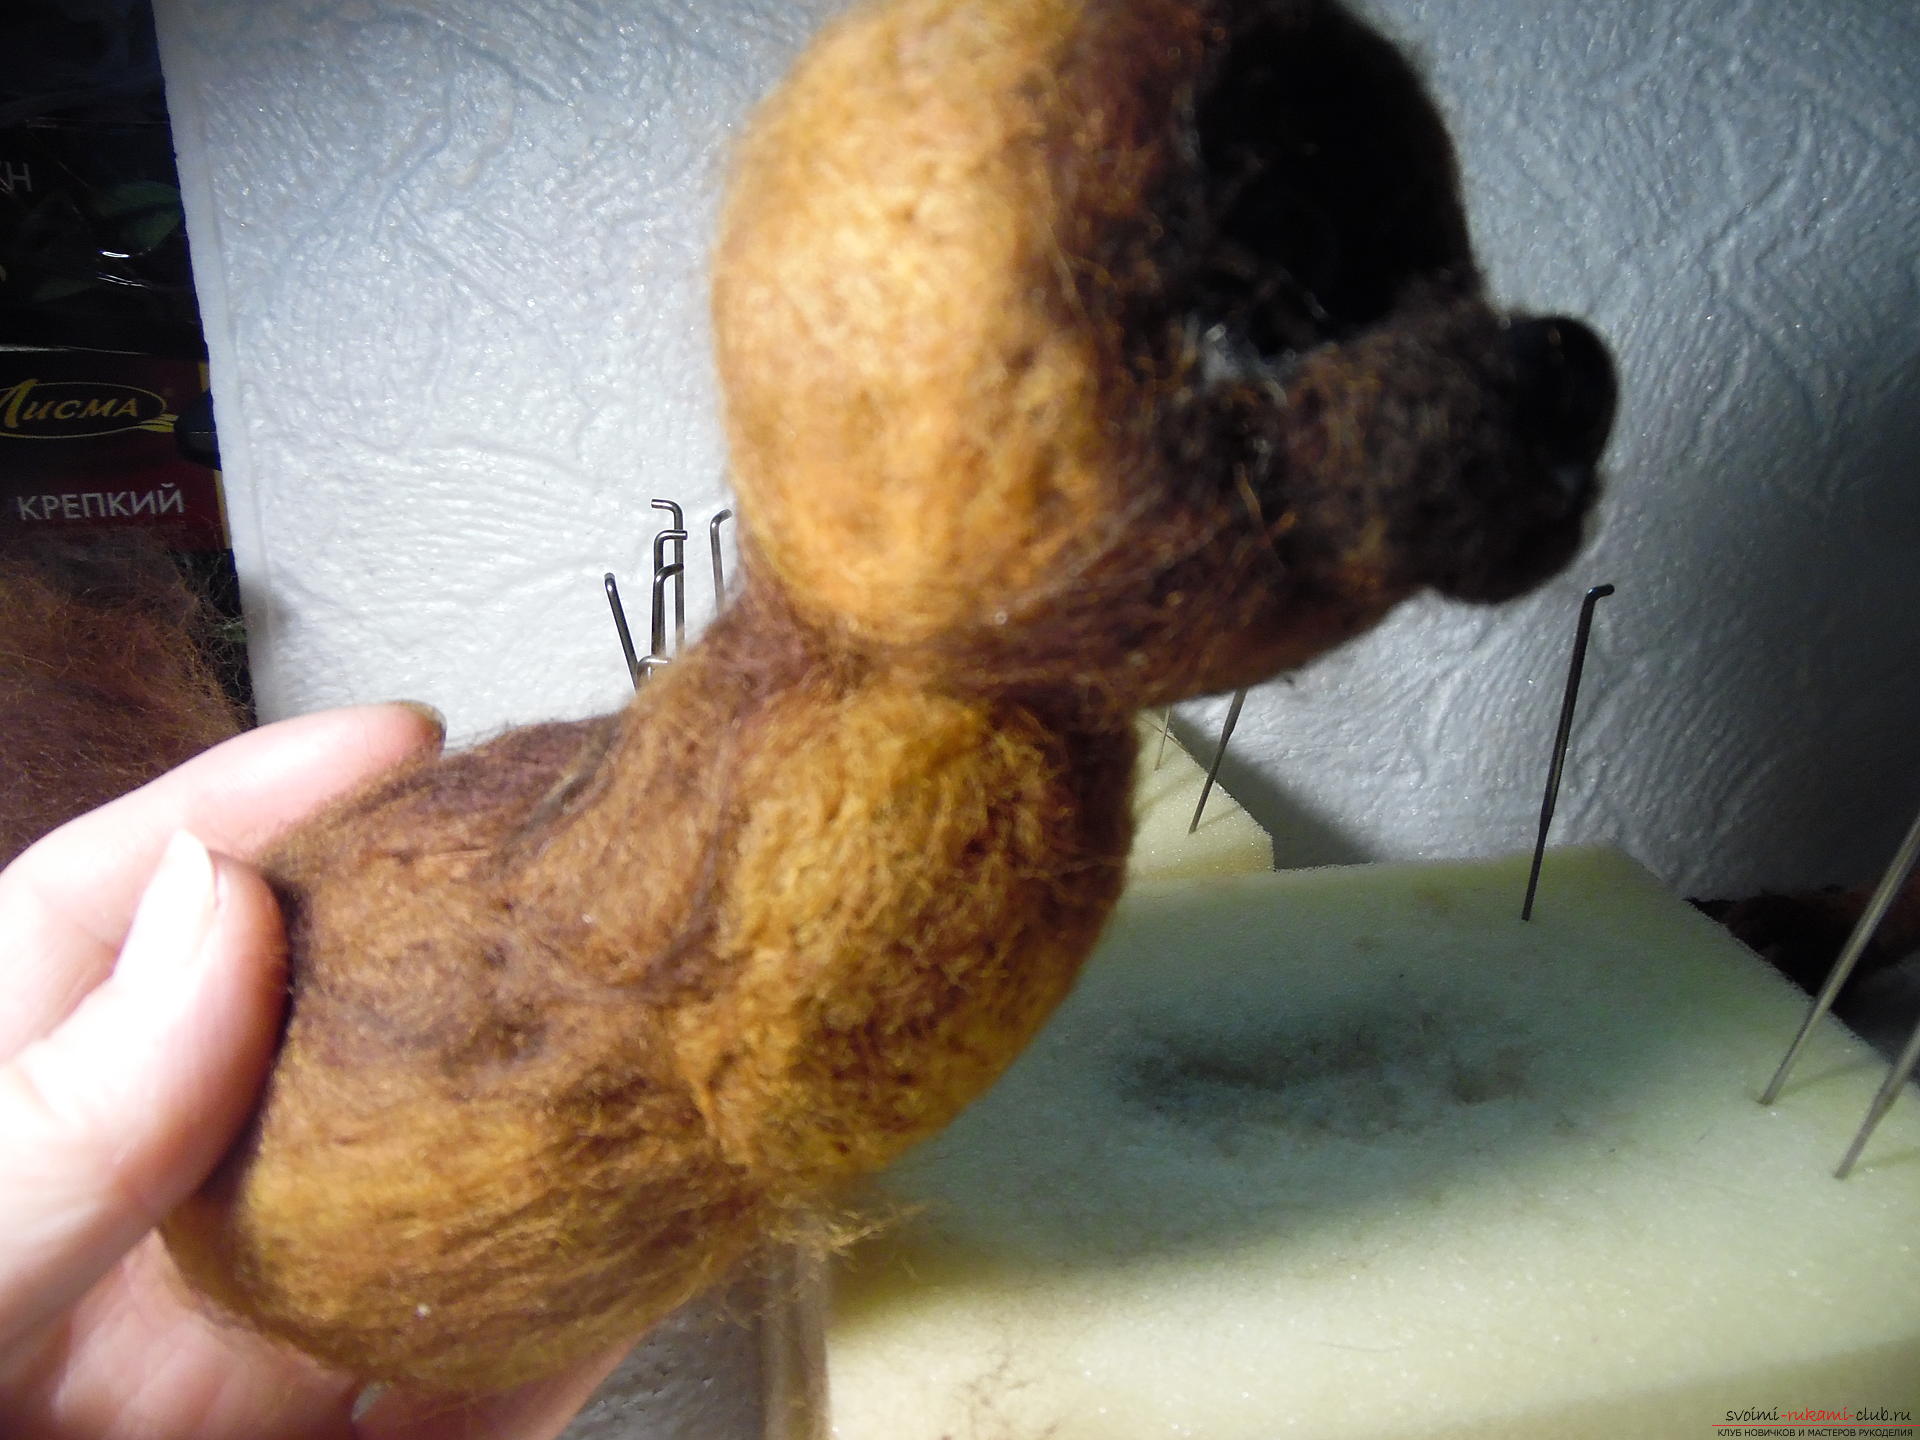

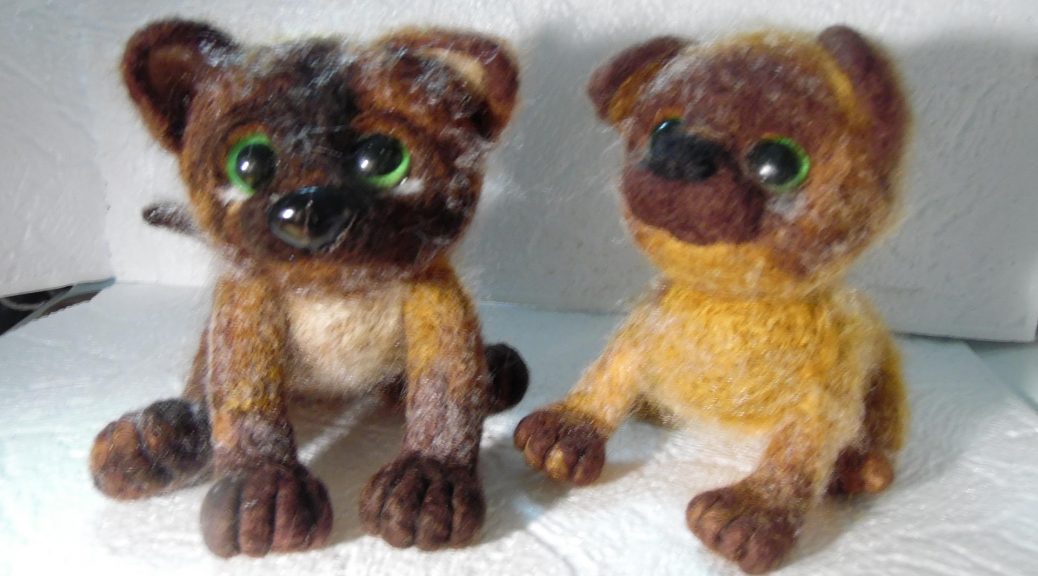
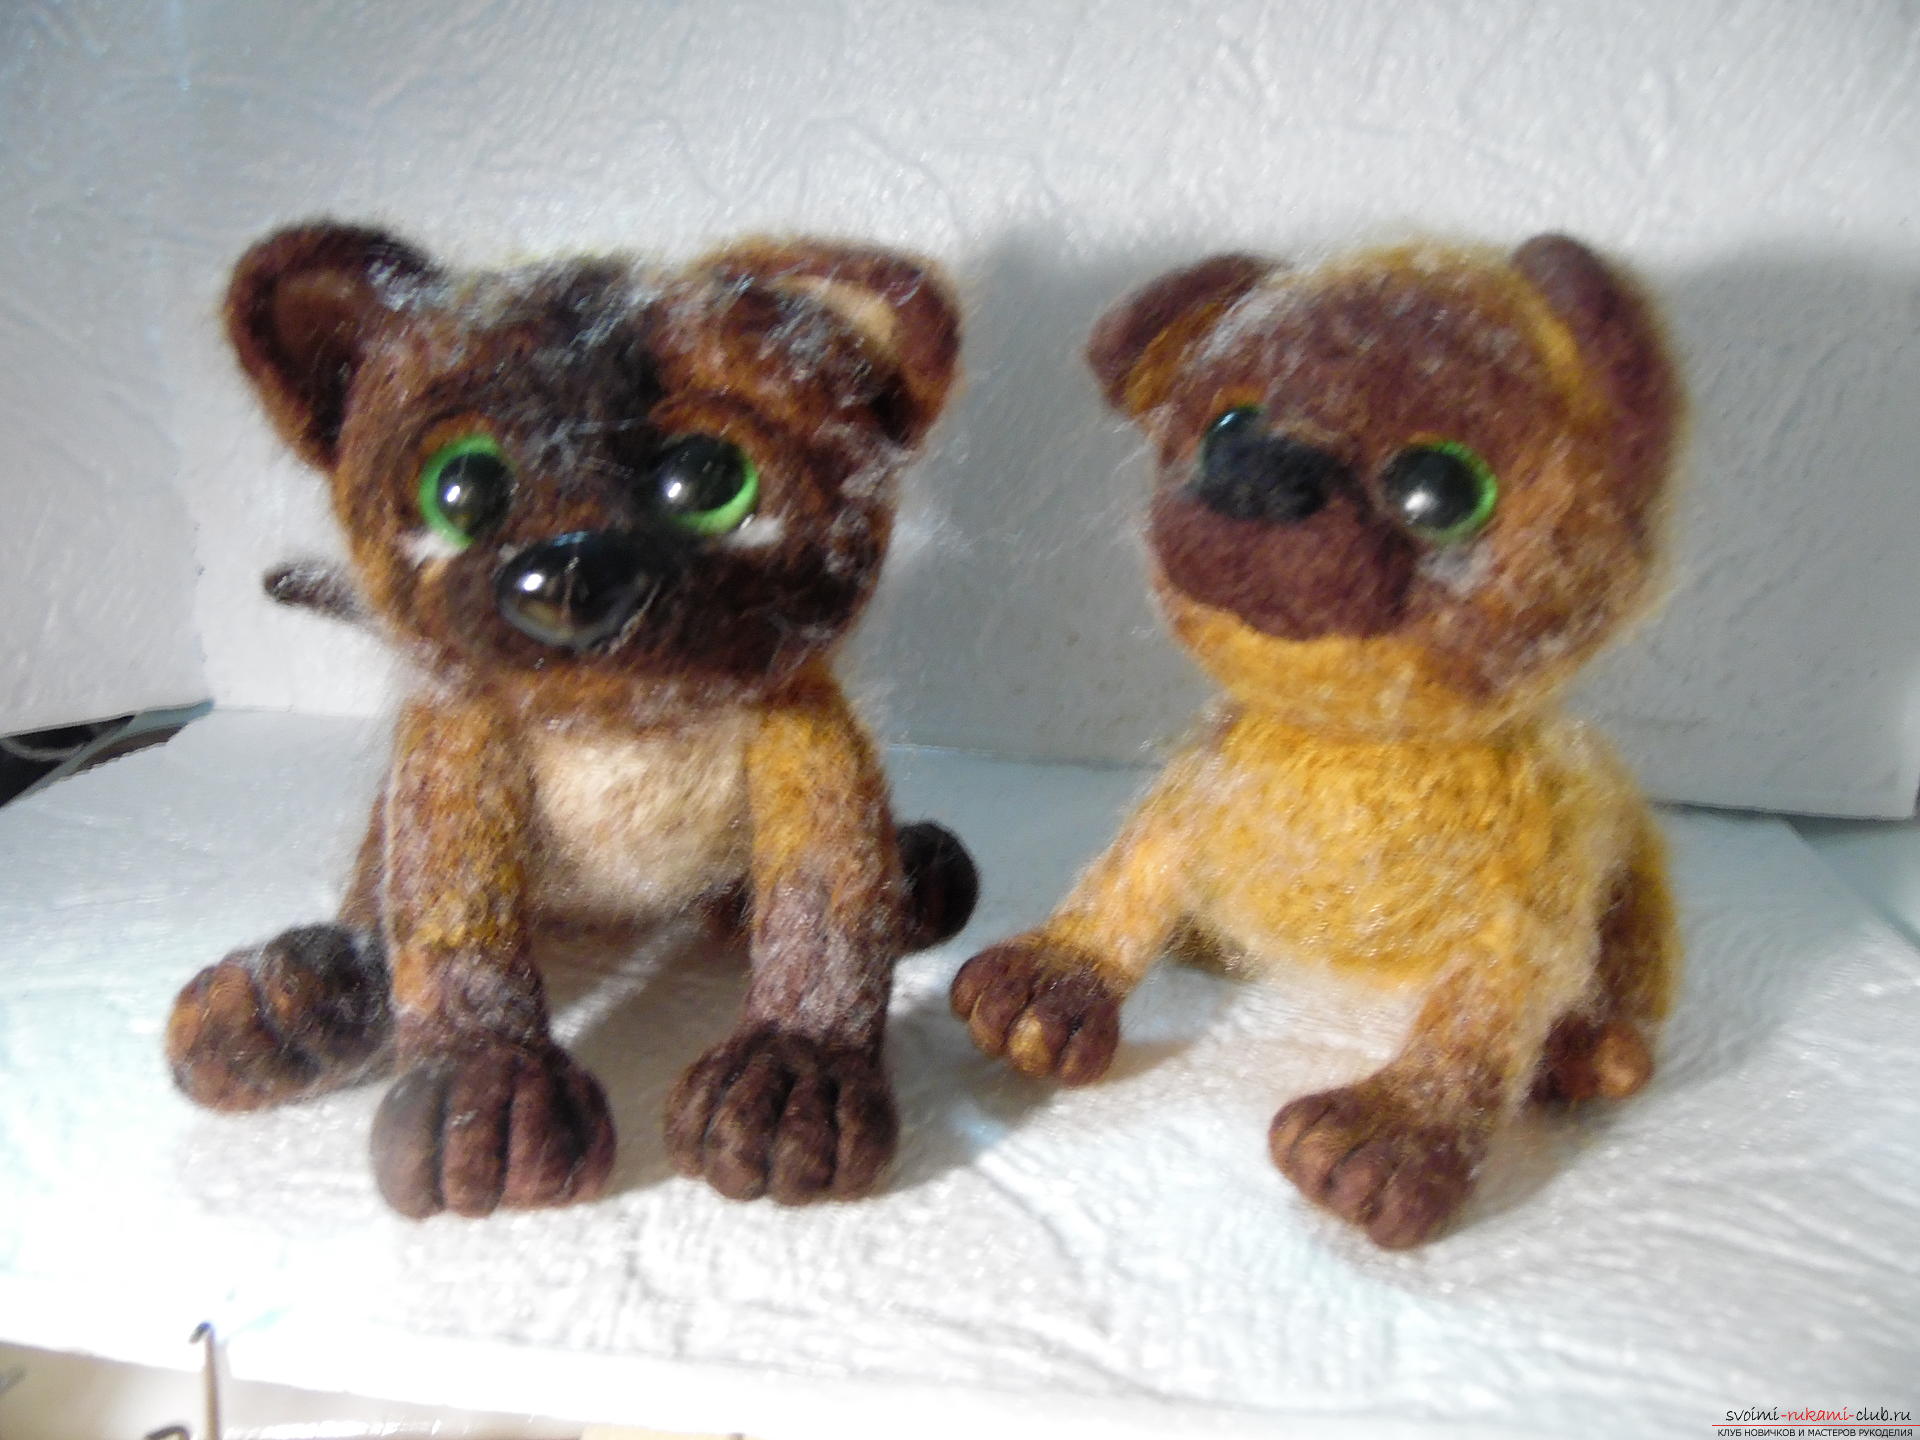
 We wield the tail: We turn the yarn into a cone, on one side we leave the yarn uncleaned. Sew a tail. Now the ears: we take yarn, we fold it in the form of a triangle and we roll on both sides. We sew the ears, look at this wonderful miracle, admire, take pictures and put it in a prominent place!
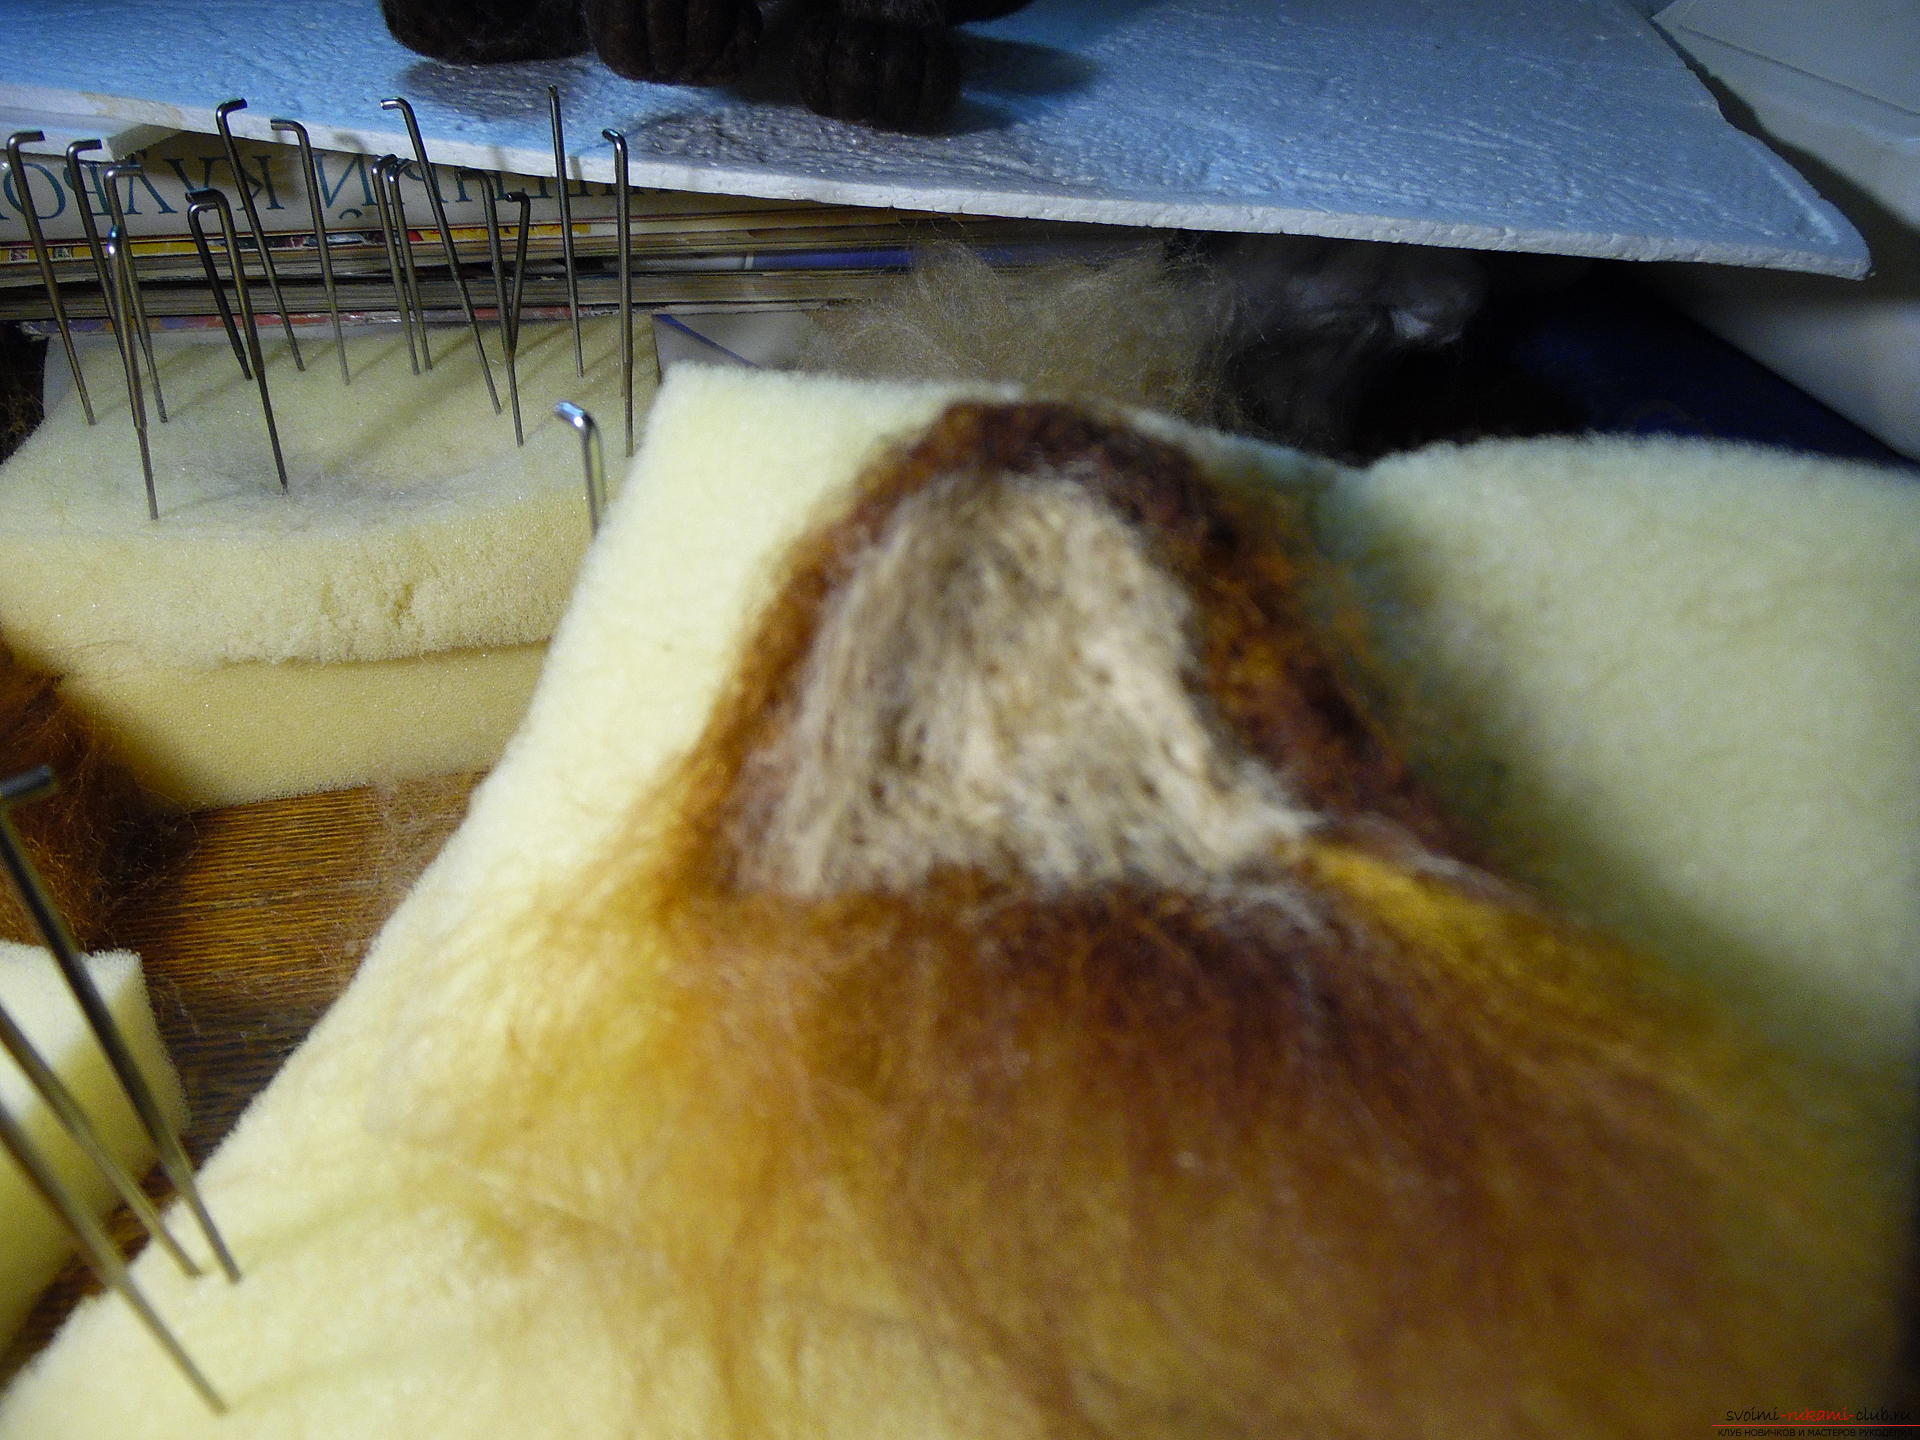
Comments
Related posts:
 Unusual dolls with their own hands - crafts and homemade articles with their own hands
 Candle with their own hands - crafts and homemade articles with their own hands
 New Year's toy on the tree with their own hands: Snowman from a light bulb at the 2015 contest, New Year's crafts
 Original crafts from glass bottles - handmade articles and homemade articles
 Children's crafts, handicrafts for the school with their own hands, crafts made of natural materials, autumn crafts, crafts made of dough with their own hands, how to make a grassy little man, a school pencil case with their own hands.