Forest characters for children and crafts for the New Year - a step-by-step lesson for kids
Children inherently enjoy the arrival of the New Year holidayyear is the most. Time filled with magical moments of miracles and joy does not pass by any kid and leaves its mark in memory for many years. It is very important to give time to the child at such moments, especially when working with him on joint work. Creating crafts with your own hands is a useful skill that will help any child to get used to modern techniques of needlework and learn the most interesting, memorable and convenient ways of needlework.
Forest characters for children and crafts for the New Year - a step-by-step lesson for kids
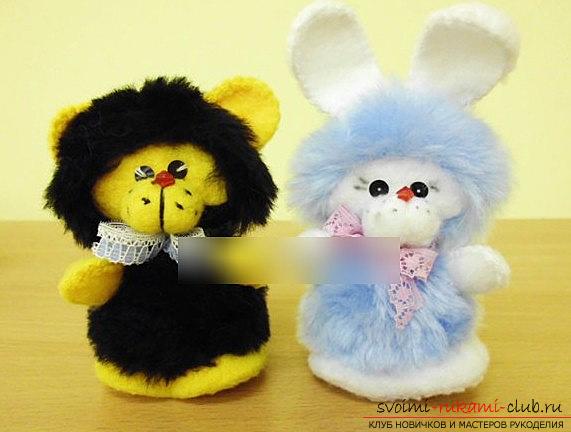 On an example of a popular lesson of creation of souvenirtoys, you can teach a lot to a child. It should be from the earliest age to instil in the child the quality of the desire to give gifts to other people, and not just to crave to receive them from other people. Our work will be connected with the creation of a soft souvenir toy, thanks to which we will be able to recreate a unique composition. The work will consist of three stages of construction. In the first we try to create a toy souvenir. Then, we will make decoration decorations that will complement the appearance of the toy. Well, finally, we will prepare a special basket, where we will invest our heroes instead of a gift bag!
- Prepare an artificial fur material with blue hues
- Prepare white fleece
- It will take a sintepon, in order to stuff a toy
- It will require a base in the form of cardboard
- Also, take the threads of shades of blue and white
- Scissors for processing
- Take a few beads to decorate the mouth, eyes and spout
- Ribbon-shaped ribbon
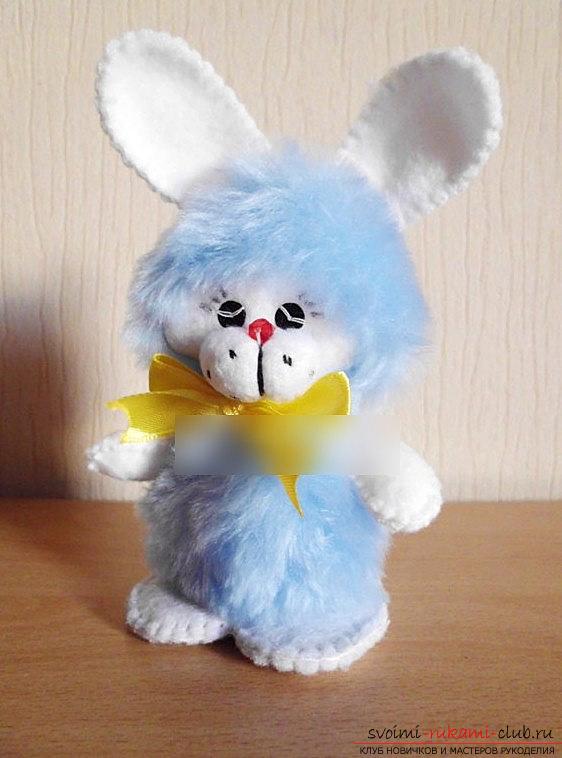
Pattern for toys 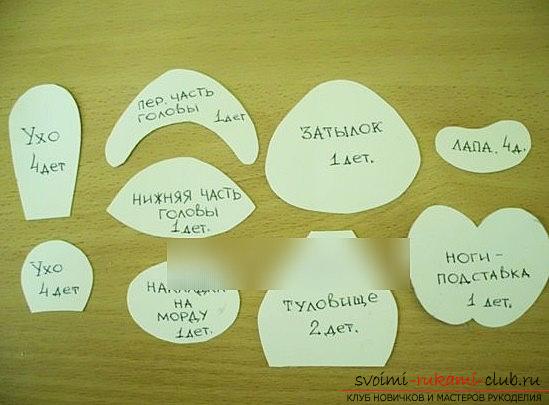 The first thing we'll work on is cuttingtoys. Initially, we need to carve out two details of the trunk, also form the back of the head, and then the upper part in front of the head. Then, with the help of white fleece, you need to prepare four parts of the ears, as well as the lower part for the head. We will also form a muzzle in the form of one detail, as well as 4 parts of the handle. Bunny preparation
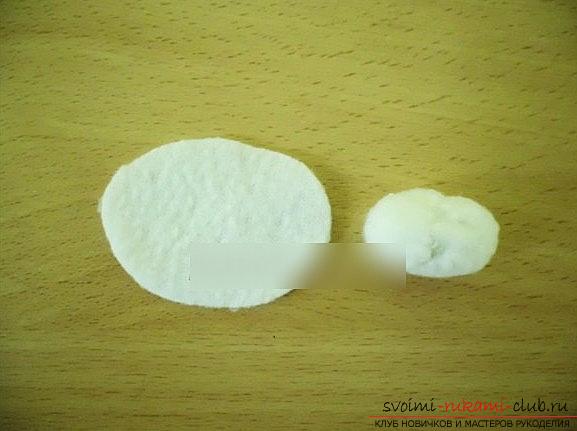
 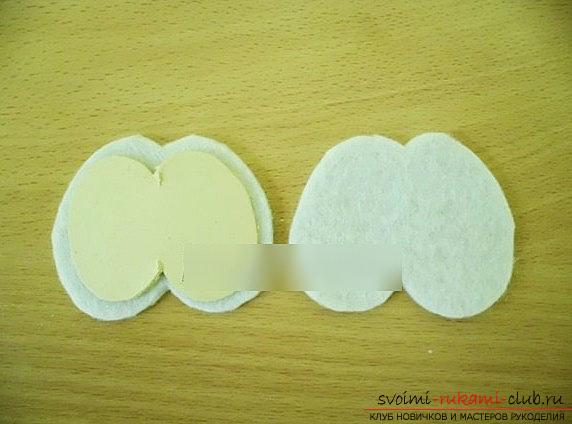 Take the white felt to cut twoparts for the stand, and also to form one piece for the cardboard. Then, we prepare two parts of the stand, which we also make with a liner made of cardboard material, to sew them with a loop seam, using the method over the edge. Then, handle the handles, as well as the ears with a loop seam on the front side. Handles are also stuffed with a sintepon. Then, use the side of the wrong side to fill the product with a seam across the edges, also sewing the lower and upper parts of the craft. Then, we will combine the obverse sides of the occipital, as well as the front part of the head product, to insert the ears, sew them with the seam through the edges. Do not forget to leave a small hole at a size of 20-30 millimeters on the bottom of the head. Then, it is necessary to unscrew the product from the front to fill it with a sintepon.
 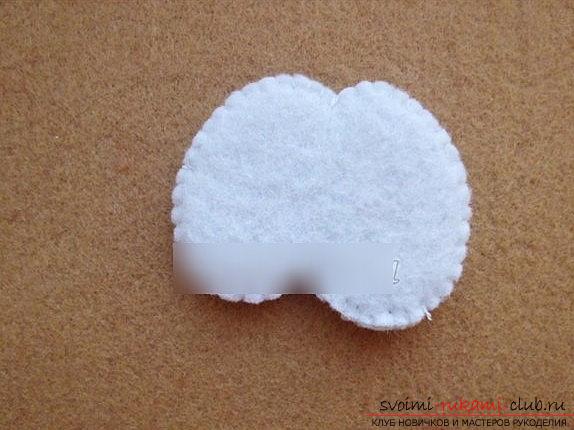 Next, we need to make a seam of the sidesfor the trunk, using the underside of the product. Then, turn it out and score with the help of a synthepon. The trunk needs to be sewn to our stand. Then, we make the muzzle lining using a string of strong composition, make the assembly by means of a seam over the edge, then tighten the thread. The resulting version of the form must be filled with a sintepon, then tighten and tighten the thread. After, the patch should be sewn on the bottom of the head, make a constriction and then sew the points black. Handles must be sewn using the pushing of the trunk through and through. Then, the knobs can rotate. Then, it is necessary to sew a bead of red color - this will be a spout. Beads of black color will form eyes. We'll tie a bow, so our bunny will be ready!
 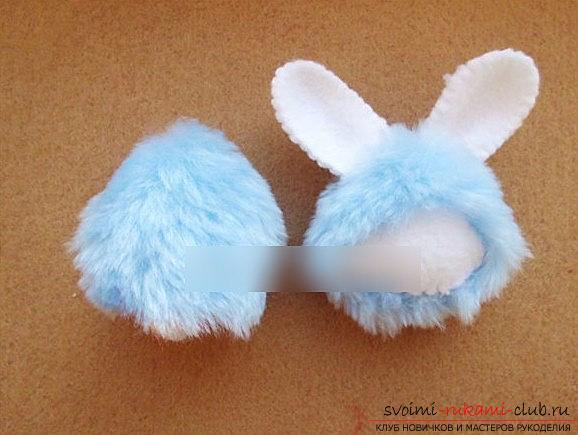 Next, you need to sew a bear cub, usingthe same pattern. To work, you need to change the shape for the ears. It also requires fur of brown or black color, and you can also take a yellow fleece for the ears. We take the same end of the preparation as for the hare, we form the product of fur of red color, and also additions in the form of white fleece. Sew the shape of the fox. Then, the ears should be formed in a triangular shape, and also add an element of the tail.
  Thus, we will make a big and fun animal company for the New Year!
  Monkey!
- Prepare felt material
- You need some filler for felt
- Also, take a needle, thread, or a typewriter
- Need scissors
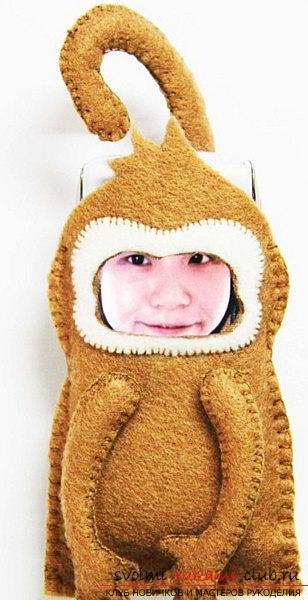
Also, it is possible to prepare the boot inform of a monkey. Such an article will undoubtedly appeal to many children and leave pleasant impressions for each of them. It is necessary to carry the monkey template onto the felt base to cut out the product. It is necessary to prepare variants of two identical particles. We sew the base using the prepared particles using a machine, or we use our own hands. 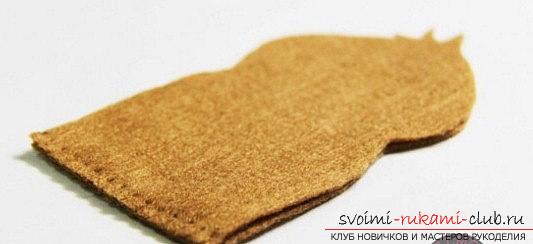 The monkey's muzzle can be made with the face of the object,which is located, for example - on the mobile phone screensaver. If you set your photo for each contact, the muzzle will change your face when you call. Such a gift is suitable for everyone and at the same time, everyone will accept it with joy. It will be necessary to transfer the variant of the ready monkey template to the surface of the felt. Then, from the pattern we prepare our version for sewing. Sew the base, using the prepared parts on the machine, or do it with a needle and thread. Then, we form with the help of a pattern two variants of the hand. Gently cut them out and after, fill with a sintepon. We lay out on top a second layer of felt base, we sew them according to the previous method. Our product is simple!
 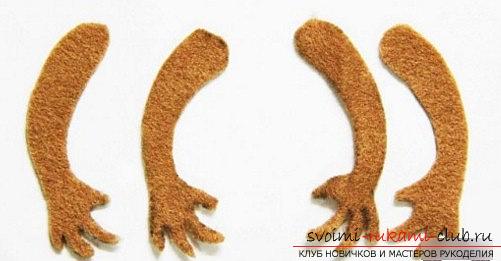 But, you also need to sew two more parts of the body inlateral parts. But, which monkey can be without a tail? Also we will prepare a pattern for this variant according to the scheme and, of course, we will cut out the product. The tail should be fastened to the back of the monkey product! Here is a funny case for a phone you can give a loved one.
 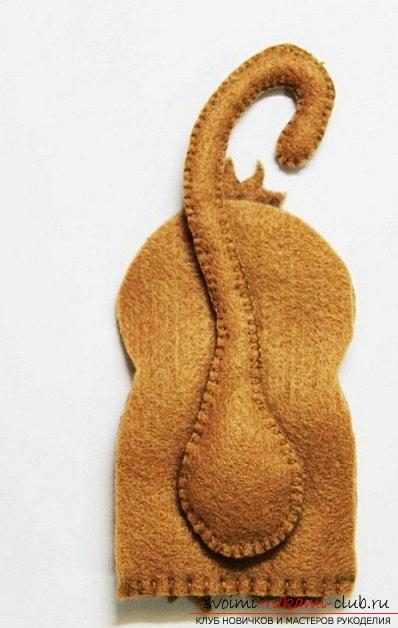 It is very important that the face of the monkey is fullycoincided with the size of the screen, as well as the part of the screen where the face of the screen saver will be. The cover can be made both for yourself and as a gift to a loved one. Also, you can make a toy for a Christmas tree from such an idea. But, instead of the phone, use the services of ordinary photography. Make several such blanks in different color combinations, and on the inside of the felt, form a glue from the photo. You can make toy monkeys for the whole family, or a gift set for friends!