
Free master classes on creating colors from plastic bottles.
Flowers adorn the life of mankind from the very beginning. Large and small inflorescences, clusters and individual flowers of a variety of colors will not leave anyone indifferent. They can bloom in a pot or in flower beds. And what if someone does not know how to grow indoor plants or is sad about the warm and elusive flowering time. And while loves flowers. To help come such an original material for crafts, like a plastic bottle. With the help of the master classes offered in this article, you can make the most unusual and beautiful flowers that will not fade in the fall and cold winter and decorate your interior all year round. For those who only master crafts from plastic bottles, we suggest making magnolia flowers for training. 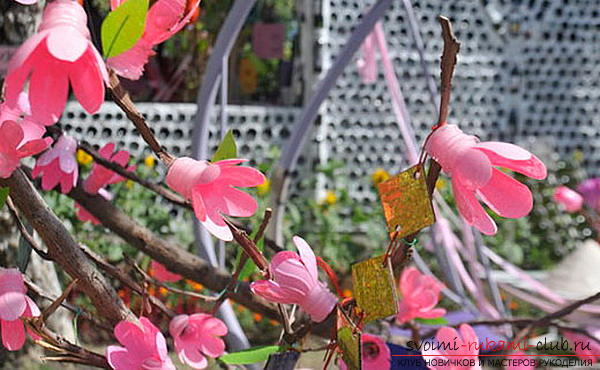 It will take:
- Plastic bottles by the number of supposed flowers;
- Acrylic or enamel paints (also well suited varnish varnish);
- Lighter or matches;
- Scissors (strong and sharp);
- Dry twigs for fastening.
All bottles need to cut off the top,expanding part with a neck. From each workpiece, cut out 7 petals (the neck will be the core and sepals at the same time). Smooth the edges of the petals with fire. It is important to remember that the thinner the plastic, the less time it takes. Bend the petals slightly inward. Then you need to paint the blanks in any shade of pink, because the magnolias are very different. If the first time you can not paint all evenly, do not worry, these shortcomings will only give the flowers even more natural. When the blanks dry, attach them to the twigs. Collecting a large beam, you can make a completely different composition. For such flowers, small bottles are suitable. 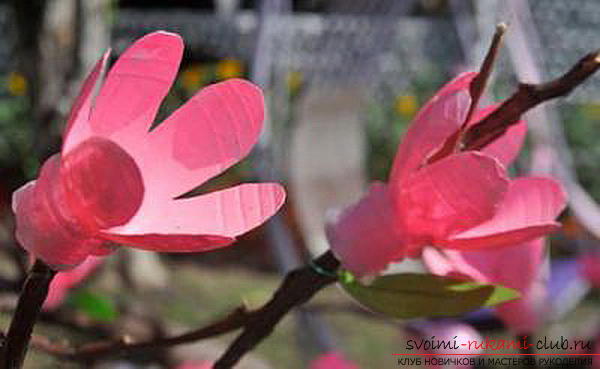 If you like to make wall panels or want to decorate the walls, then the following flat flowers are perfect for this.
 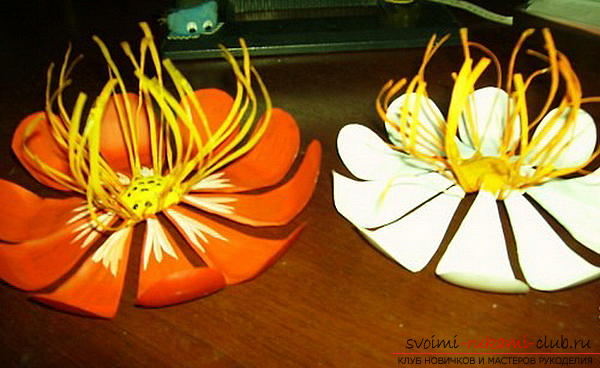 It will take:
- Plastic bottles by the number of flowers;
- Paints (acrylic or enamel);
- Strong sharp scissors;
- Matches or lighters.
For these flowers will be needed bottomsbottles, so the remains of the plastic container you used for magnolias can apply here. Although for these flowers are more suitable bottles of large volume, for example, five-liter. Cut the bottom, measuring 2 - 3 cm from the bottom of the bottle. Now it is necessary to cut the workpiece under the petals. On the bottom there are lines on which it will be very convenient to do. It does not affect the middle of the bottom - this is the future core. 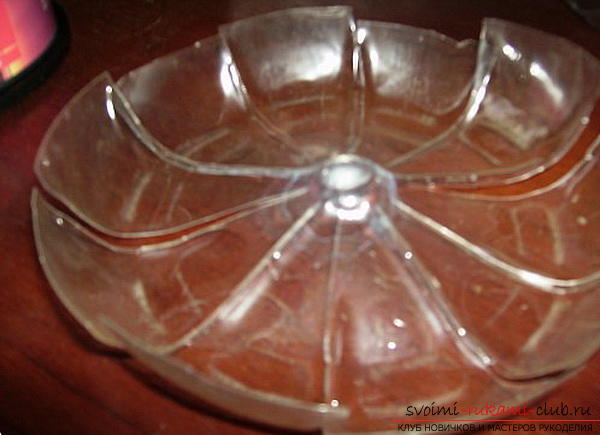 The next step is to cut out the stamens. On each side of the blanks of the petals it is necessary to cut the thin strips, not reaching the core. Bend out as in the photo.
 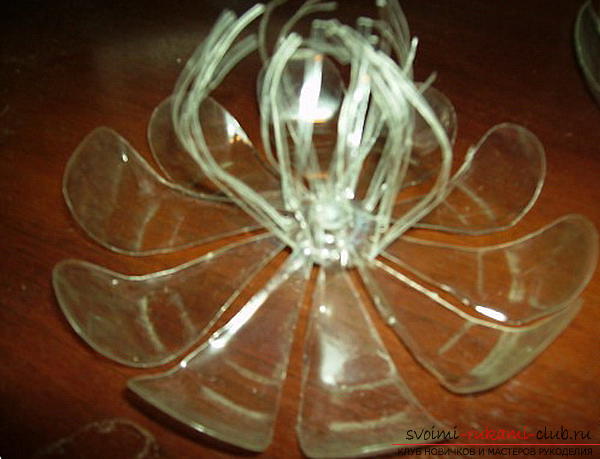 Now it remains only to give the necessary formpetals and stamens, melt the edges with fire and paint. The petals can be bent completely differently, this will create a lot of different options.
  If you made these flowers for street decor, thenIt is worth using the acrylic paints for outdoor work, then your work will not be terrible bad weather. The next option will be a little more difficult, multilayered flowers require the ability to properly heat the plastic and give it the necessary shape. These manipulations should be carried out in a well-ventilated room with a hood or an open window.
 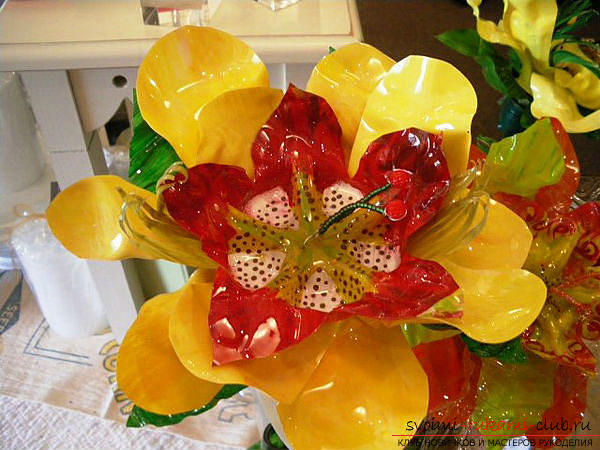 It will take:
- Plastic bottles of different sizes;
- Candle or lighter;
- Paints;
- Awl;
- Sharp, strong scissors;
- Tweezers;
- Adhesive for PVC.
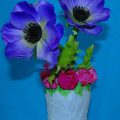
On the surface of the bottles draw and cutblanks of flowers. For each flower, several blanks (in increasing order) are required. All the petals are bent so that the blanks are looking in the same direction. 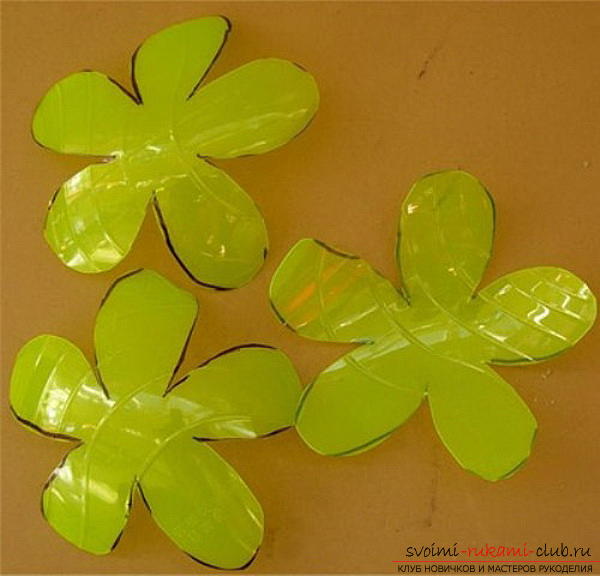 Now with tweezers hold over the fireeach workpiece. They will melt, and their shape will change. There is no need to keep the flame too long, the plastic can burn. In order not to cut yourself, you need to melt the contours of all the blanks.
 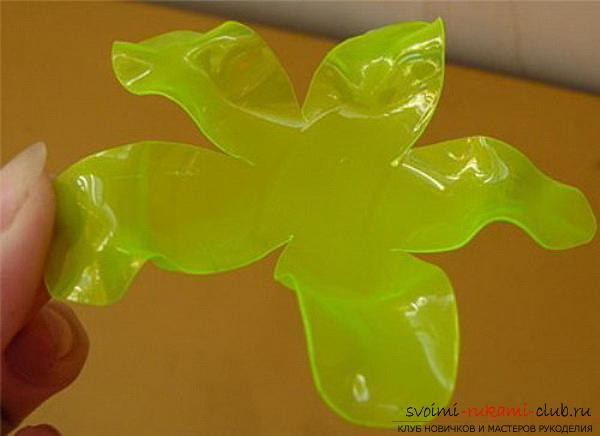 Now it remains only to colorize and collectblanks. This can be done in different ways. Puncture the middle with an awl and sew a button instead of the core. You can glue all blanks with special glue. The last master class of this article is devoted to creating flowers from plastic bottles with stems.
 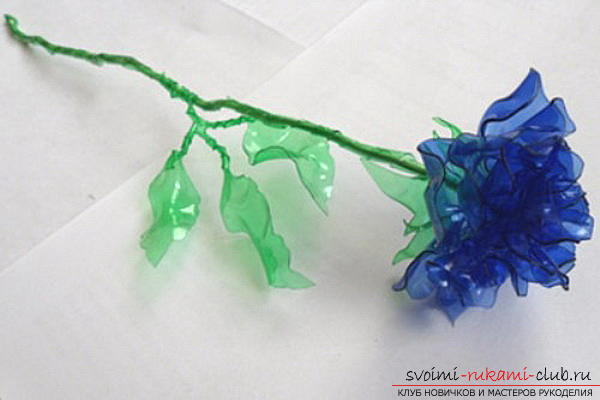 It will take:
- Many plastic bottles;
- Awl;
- Sharp, strong scissors;
- A piece of wire for the stem;
- Candle;
- Paper.
Before starting to work, you need to draw on paper 6 - 7 blanks of flowers of different sizes. This will add splendor. 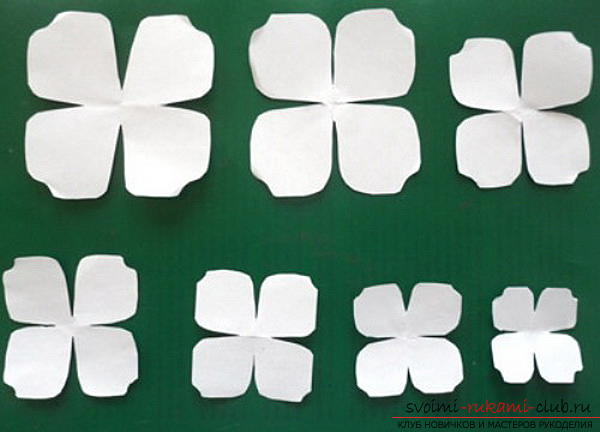 Transfer them to plastic and cut the workpieces. In the middle of each billet make a hole with an awl, so that it would be more convenient to fasten it. Now you need to melt them. To preserve the cores they can be covered with coins from both sides and clamped with tweezers.
 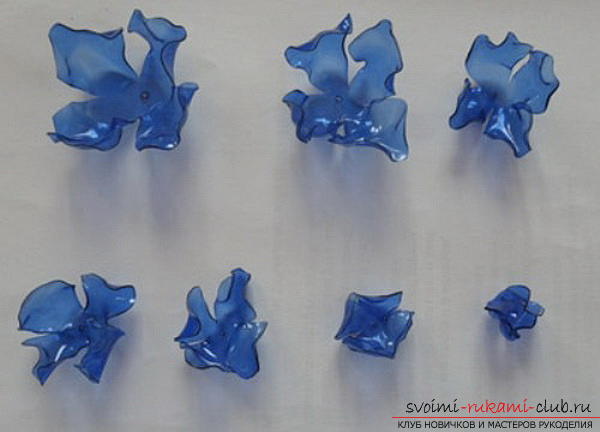 For the leaves and sepals, do exactly the same operation as for the petals. Patterns, carving, hole, reflow.
 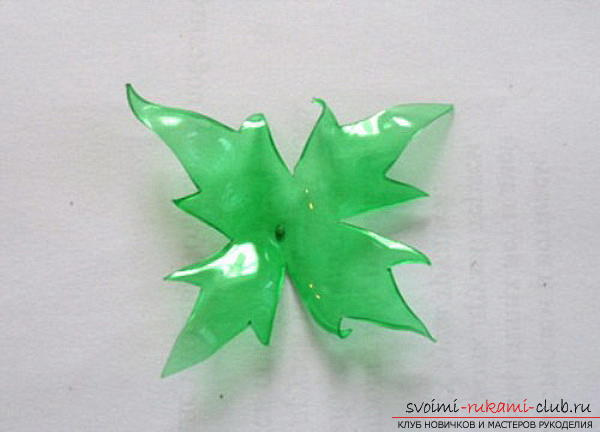 For the stem it is necessary to cut thin strips of plastic, wrap them with a piece of wire and melt with a candle.
 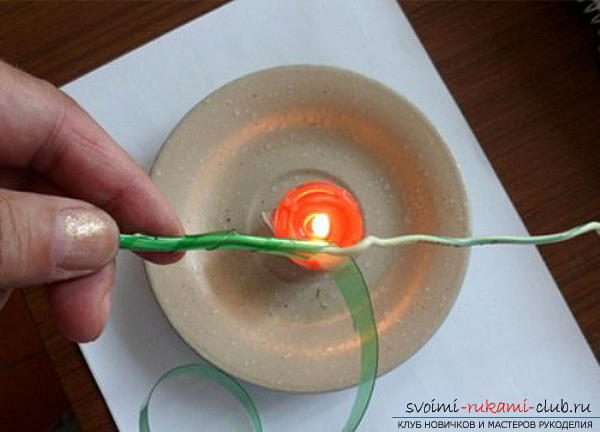 In order for the leaves to have a stalk, the lower part of them too wrapped in thin pieces of plastic and melt.
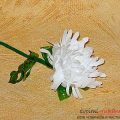
 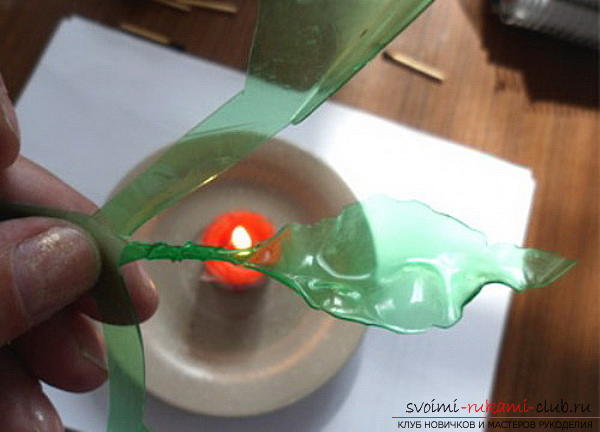 Now it is necessary to put on a stem from abovesepals, and then layers of petals from the largest to the smallest. If necessary, use glue for both petals and leaves. The latter can still be attached a little by melting the petiole. To make the flowers look more organicit is possible to paint, thus, nevertheless leaves and sepals are better for making of bottles of green color. In any case, now you see that it is possible to create a lot of different colors from plastic bottles. Create and enjoy.
Comments
Related posts:
 Free master classes to create colors with step-by-step photos.
 Master class to create crafts by March 8 from plastic bottles with detailed descriptions and photos.
 Free master classes on modeling flowers and figurines from mastic, photo and description of work.
 Free master classes to create modular origami balls, step-by-step photos and description.
 Crafts from plastic bottles with their own hands, how to make flowers from plastic bottles, cornflowers from plastic bottles, roses from bottles with their own hands.