
Garland happy birthday do it yourself - templates, download and print
Many specials are sold in stores.garlands, but in order to make this day truly unique, we suggest making the jewelry yourself. Here we have collected interesting ideas and master classes that will help make a birthday garland with paper, fabric or felt! As well as ready-made templates and layouts for printing! 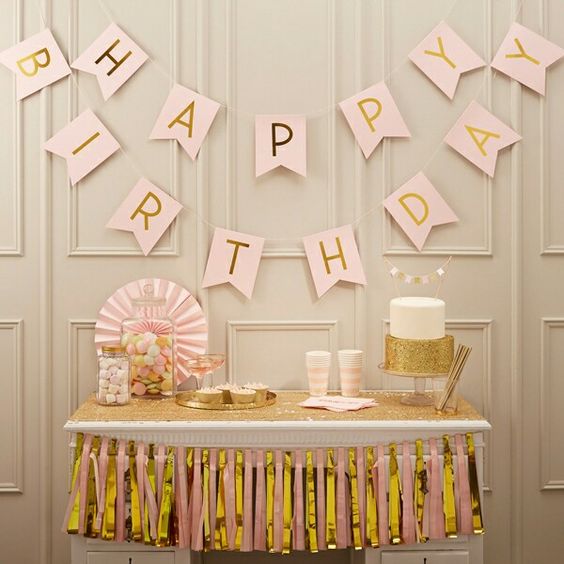 The content of the article:
Paper Garlands by Pattern
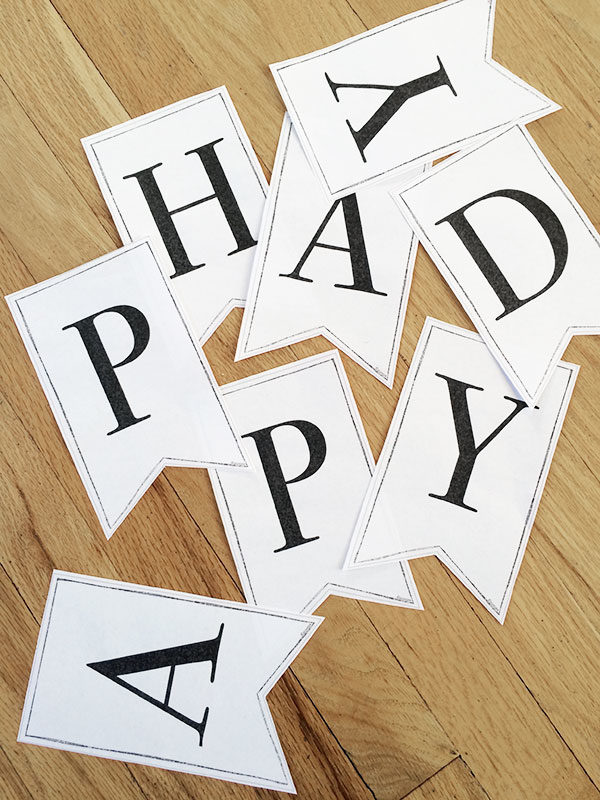
Garland with the letters "Happy Birthday" production can meet in 15 minutes, or half an hour, if not in a hurry.  Download and print the template Of course, if you wishYou can sit and invent patterns, and then draw them yourself. But in order to facilitate this task a bit and speed up the process, we have collected interesting and original garlands of “Happy Birthday” templates, you can simply download and print them, and then use them to create holiday garlands. Pattern №1 Fully ready pattern garlands. You just need to download (click on the red button). Print out. And collect according to the instructions below.
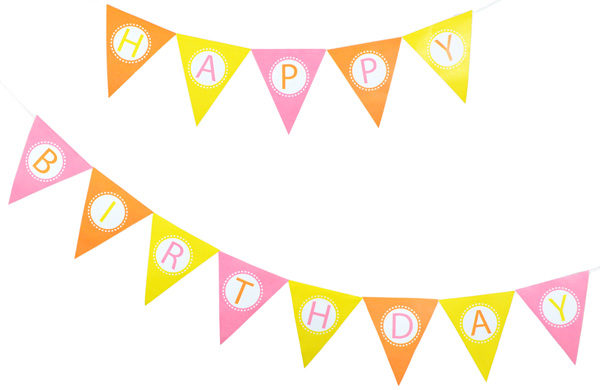
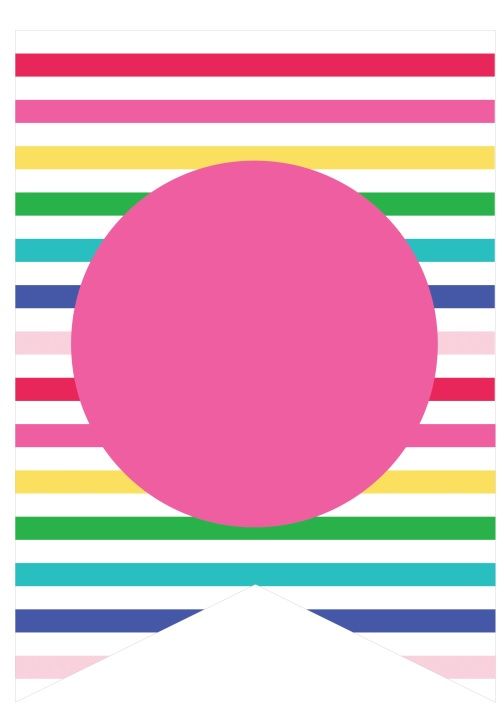
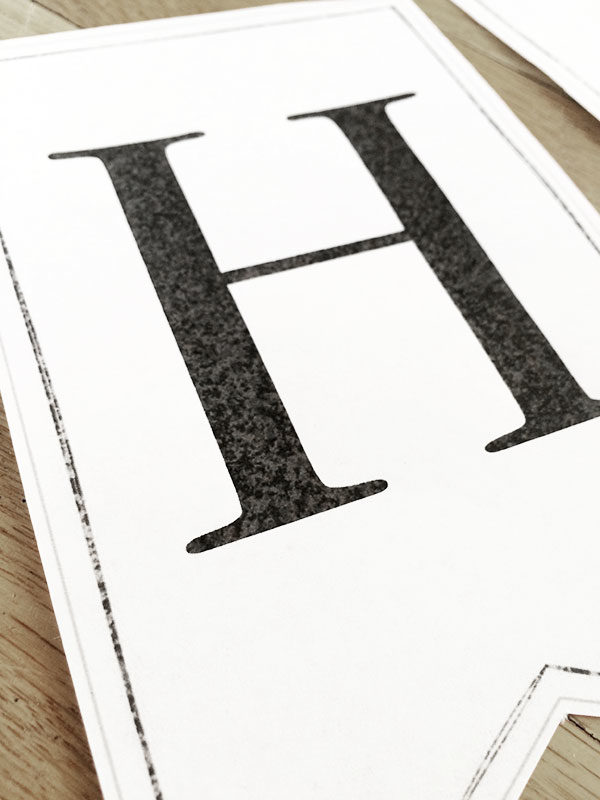
 Pattern №2 Letters in two colors: in soft green and pink. The letters are full of the alphabet - print and collect the right words. How to fasten on a thread or a bow - described below Pattern №3 Flags and bright rectangles. Choose your favorite. Print on a color printer and the letters can be inscribed with a marker of any color!


How to collect a garland
Just imagine how many wonderful inscriptionscan be done using these templates! They will suit both the birthday and any other holiday, or even just to make an unexpected surprise to a loved one. 


 TIP: which saves you from unnecessary consumption of paper: type one letter, turn the leaf over and print another one on the other side.
How and what to fasten the letters of the garland
To make a birthday garland notIt is enough to print stencils, you need to somehow fasten and hang them. Let's look at options for how this can be done. Fasten the letters on one long thread  To do this you will need:
- ready-made letter patterns
- thick thread or ribbon
- punch, scissors.
 Progress:
- Using the hole punch, make 2 holes in each letter at the top, and then you need to string the letters onto a rope or ribbon.
- If the thread is thin, fold it several times, sometimes it looks even more interesting.
- It is important to string the letters in the correct order so that you do not have to redo them, so it is better to first arrange the letters as you need and take them one by one.
ATTENTION! On each letter you need to tie a knot so that they do not move out of their place and do not fall into a heap. 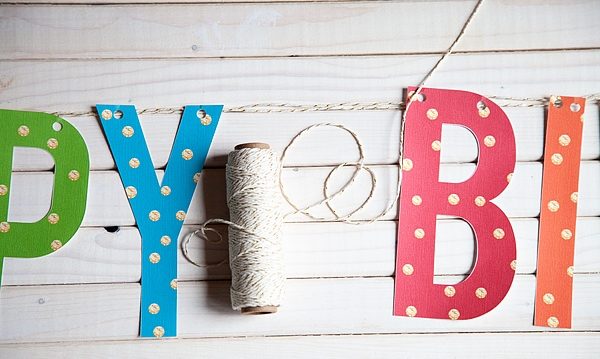

 TIP: Do not strain the rope too much and it will sag to the middle, but if the rope is taut it is a waste of time. We bind the letters with a bow. This method of attachment is suitable if you cut out the letters not according to their contours, but leaving some space in the stock, otherwise the bows may partially overlap the letters (there you need to look at the situation, if the letters are very large, then everything will be fine).
  You will need:
- ready-made letter patterns
- thick thread or ribbon
- hole punch and scissors.
 As you can see, all the same materials as in the previous method. Only here we will bind adjacent letters with separate threads. Working process:


 Fasten a garland with clothespinsRecently, you can often see on various photo-dryers, that is, exhibitions of photos. The method is convenient and fast, and also does not require a punch, which is an important advantage for those who do not have it.
 Working process: Attach the clothespins letters in turn on a long rope. Everything! How to fix: in all these methods, the last step is to fix the finished garland to the wall. Of course, no one will pierce nails for the sake of a garland, so the ends of the rope can be stretched and tied to any protruding objects (cornice, cabinet handle, pipe, etc.). Attaching an adhesive tape to a wall Another option is to attach an adhesive tape (if the surface does not deteriorate due to this), and in this case it is better not only at the edges, but in several places so that the garland does not fall. On the wallpaper you can neatly inject pins and hook the rope for them.
Garlands of felt "Happy Birthday"
Here you have to work harder, but the result will show how much care is invested in the creation of such a garland. We have prepared two master classes that will not leave you indifferent. 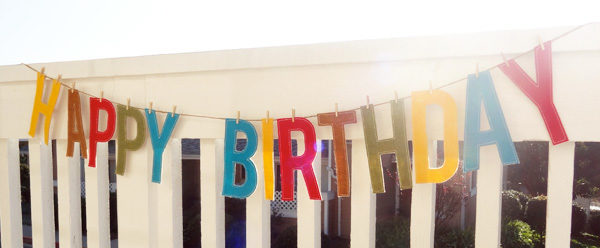 You will need:
- Colored felt or felt fabric (the amount depends on the inscription)
- Self-adhesive paper (or freezing paper, if you find one in our stores)
- Stencils of letters
- Scissors or office knife
- Iron
- Rope, ribbon or thick thread (on which you will attach the letters)
- White thread (for stitching layers of fabric)
- Sewing machine (in the absence you can do everything manually)
- Clothespins
Progress: Step 1:
- On the self-adhesive paper, type the stencils of the letters you need for the inscription. You can choose the size of the letters yourself, depending on how much you want to see the inscription and how much space you have on it on the wall.
- Cut out the rectangles with letters, and then to each of them of the same size, empty a rectangle of paper and cloth.
- Fold the rectangles described in the previous paragraph so that the fabric is between the paper, the letter lines must be upward.
- When working with self-adhesive paper, you just need to glue it on both sides of the fabric, but if you find freezing paper, go around the top with iron on both sides, this will hold the layers together.

 Cut out the letters on the contour. Carefully peel the paper off both sides. Got these pretty letters here:

 STEP 2:
- Now we will make the letters thicker so that they have a better look and are not so twisted on the rope. To do this, put the letters of fabric on another layer of felt or felt and iron.
- We lay machine or manual line oncontours of letters at a distance of about 1-2 mm from the edge. We recommend a white thread, as it looks good on all the colors of the fabric, otherwise it will be necessary to select a separate thread for each letter, and this is just an extra waste of time and money.
- Cut out each letter along the contour. They are ready, it remains only to attach.
- We hang a long rope, fixing its ends to the wall. With clothespins we cling to each letter in the right order so that the selected inscription is obtained.
 Now the garland is ready to please the birthday man and surprise the guests!
Poster "Happy Birthday" on the fabric
Probably every one of you at least once in your life, at leastonce in school, drew a congratulatory poster. The manufacturing method proposed in this master class takes this art to a whole new level. Quilts have long been delighting many with their warmth and comfort, and they are no longer surprised, but the quilt poster, I'm sure, will be a complete surprise and original novelty.  You will need:
- Shreds of felt or felt fabric (in this case, 9 pieces)
- Scissors or stationery knife
- Stencils of letters
- Adhesive pad (for example, dublerin or flizelin)
- Iron
- Ironing (or any cotton fabric)
- Wooden stick
- Thick thread for fastening
Progress: 
The last thing to do is insertwooden stick in the hole of the upper part of the poster and tie a thick thread or ribbon along its sides. Hang a poster and enjoy the festive mood! 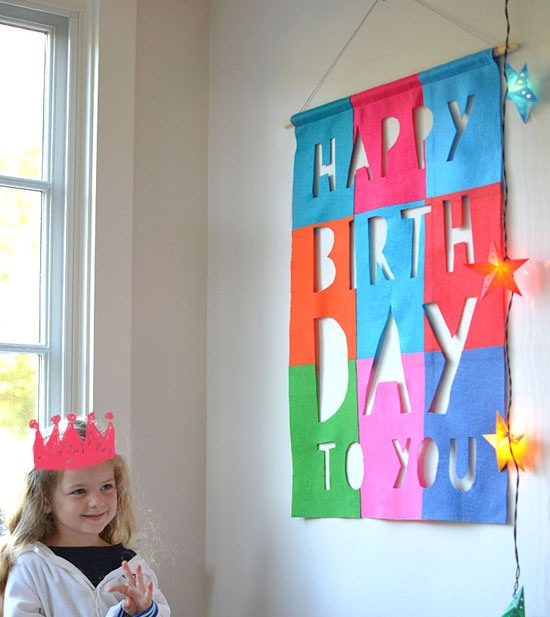
Garlands: Marker on fabric
There will also be templates in this master class, butcut the letters are no longer needed. Such a garland looks very neat and beautiful, and will certainly be able to please the birthday man. And the most important advantage of fabric garlands - they can be stored for a long time!  You will need:
- cloth, paint or marker,
- letter patterns
- scissors, ruler,
- thick thread glue.
Progress:
- Find at home or buy a fabric by type.similar to that shown in the photo. A fabric like burlap will work well. It should be a light tone with a discreet pattern that will complement the letters, rather than drag attention from them to themselves.

- Cut the fabric into even rectangles. In this case, it is 17x12 cm.
- Select a stencil of letters of the style you like and print. Then place each letter on a separate piece of cloth and circle.
- Paint the letter and let it dry. The marker will also work.
- The color should be contrasting and stand out well against the background of the fabric, not to merge so that the inscription can be read even from afar.
TIP: As an alternative, you can cut the patterns in a thin plastic or film, attach it to the fabric and immediately sketch 
- Now you need to attach the letters on a string, forminggarland. Determine at what distance from each other they should be and glue on a thick thread. You can also attach each letter with two clothespins.

Ideas garlands "Happy Birthday"
Also look at another variants of birthday garlands: with a glitter, with balloons! Get inspired and let this day be really special and unique for you! 


Comments
Related posts:
 This master class will tell you how to make a birthday card with your own hands.
 In this master class you will learn how to make a beautiful birthday card with your own hands.
 Garland "Happy Teacher's Day" do-it-yourself: master class
 We make paper flags for the birthday. Master Class. Video / Toys with own hands, patterns, video, MK
 Garland of ghosts and spiders on Halloween. Festive garland