Gerbera from beads: beautiful flowers with own hands (photo)
Content
- Necessary materials
- Plait the middle of gerbera from beads
- Making petals
- The process of assembling a flower
- Video: Beaded Gerbera Flower
Live flowers wither, and this is their mainA disadvantage. But, in fact so it would be desirable, that beautiful bright flowers pleased you every day. To do this, it is not necessary to buy fresh flowers, you can make a bouquet of beautiful flowers with your own hands. This can help such a wonderful lesson like beading. For this, we present a master class with photos and video materials, in which you will learn how to weave gerberas from beads. We look and we do!
Necessary materials
To do the work we need some materials:
Plait the middle of gerbera from beads
The middle is padded with the help of circular technology,If you do not know how to do it, check out our master class with photo examples. We will have to change this technique, in order to get the "fringe" effect around the middle of our flower.
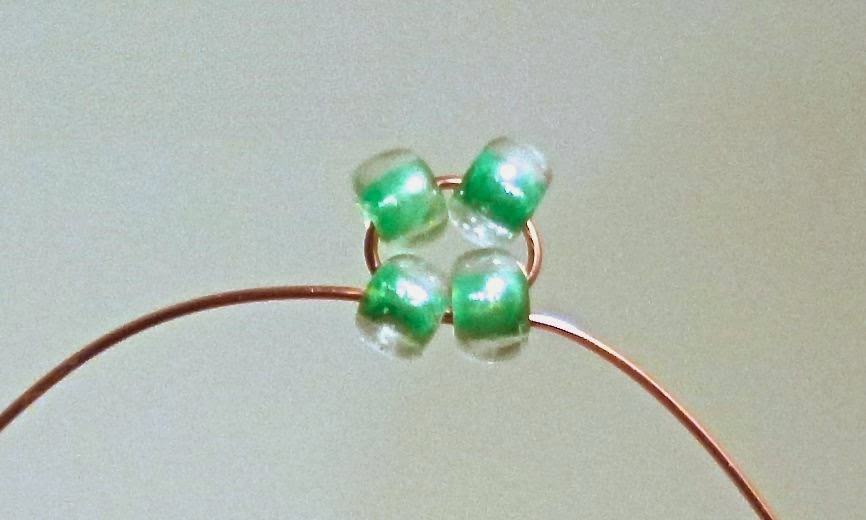
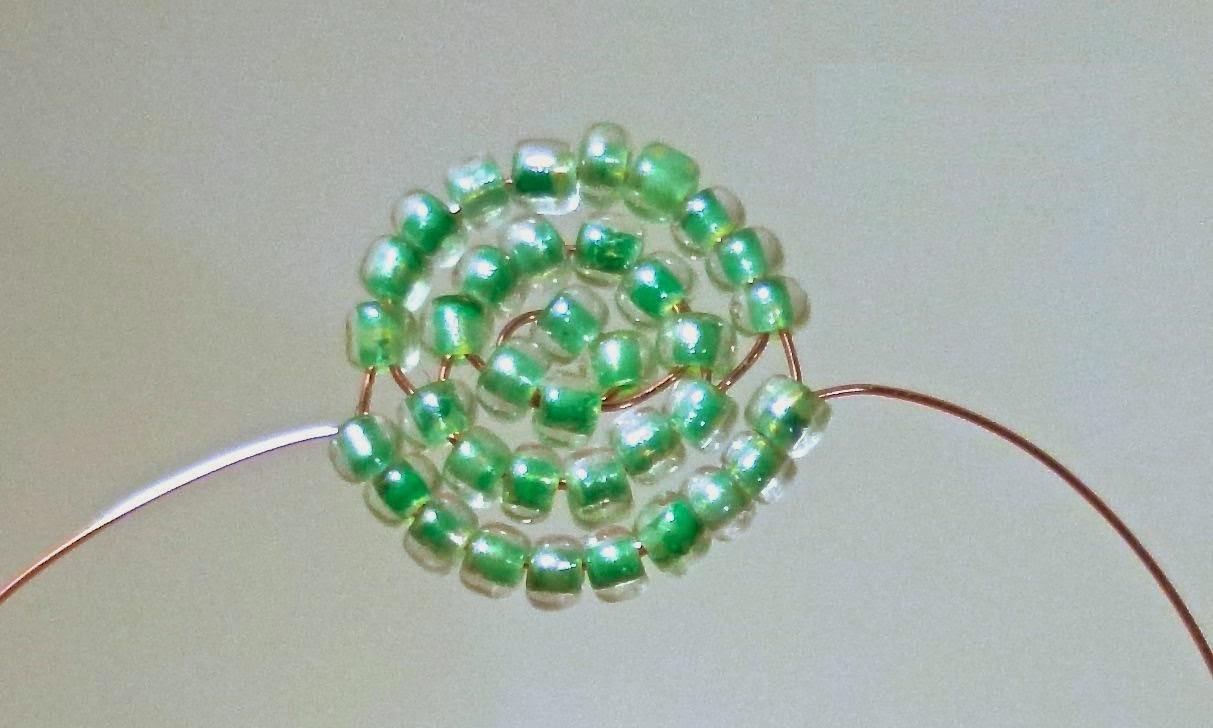
Take our wire (length 1.2 m), make 2 rowsFrom the green beads, with the help of circular technique, in each of the rows there are two beads, so we will make the middle of the circle. We have ready-made rows in the middle of the wire (if you are not familiar with the circular technique of weaving, pay attention to the photo of the scheme).
Then we rub the rest of the circles, consisting ofTwo halves. This should be done around two ready-made circles. To ensure that all segments are close to the previous segments, select the number of beads during work, the exact number can not be here. We have so happened that for the halves of the first round was collected on 6 beads, and for the 2nd round - 10.
To form a "fringe" around the coreGerbera, in the following circles between beads need to make a needle. To do this, dial at the end of the wire first one green bead, then two yellow ones. While holding the last bead of yellow color, let's pass the end of the wire through another yellow bead in the opposite order.
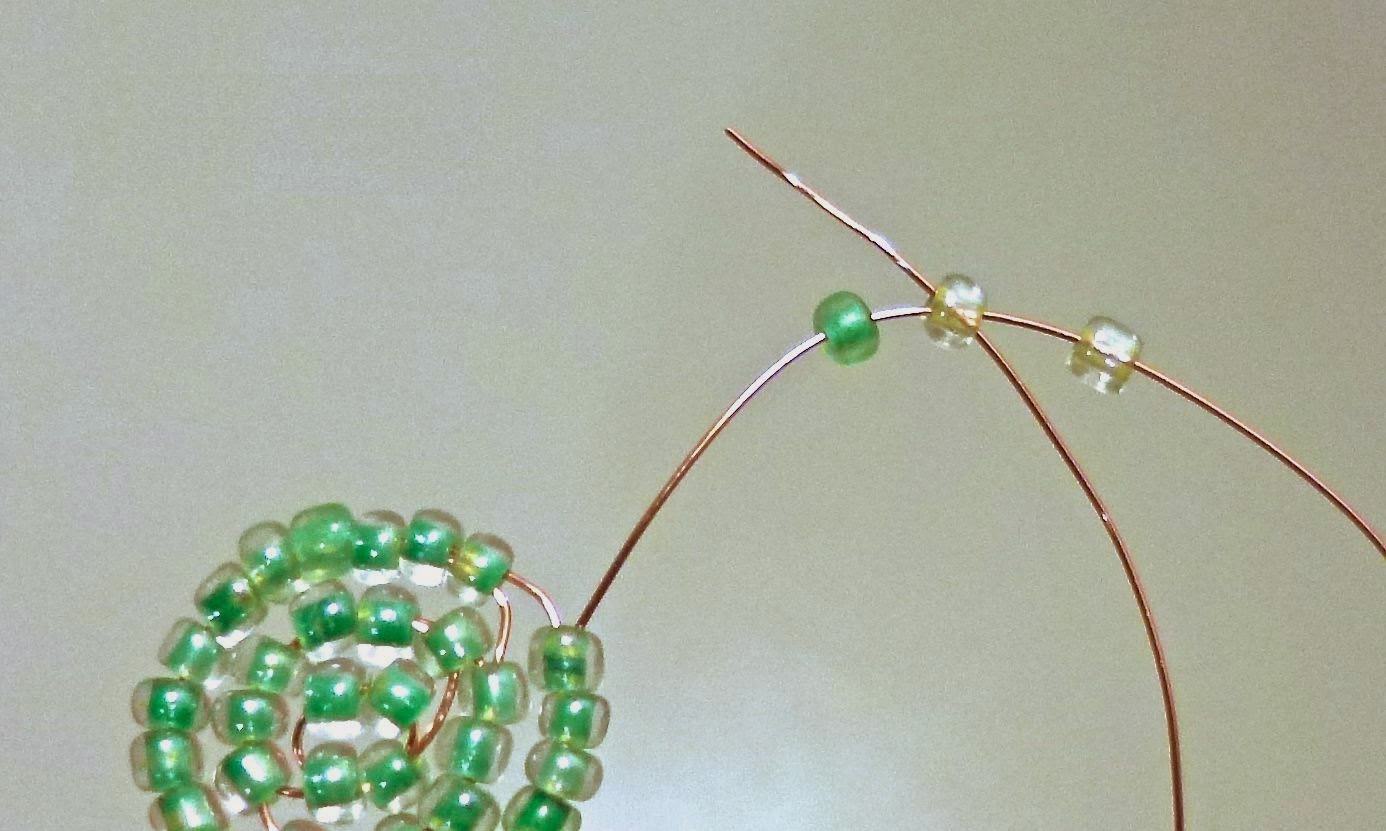
To the core of the flower, we push the beads around them and we tighten our wire well. That's how we get the first yellow "needle".
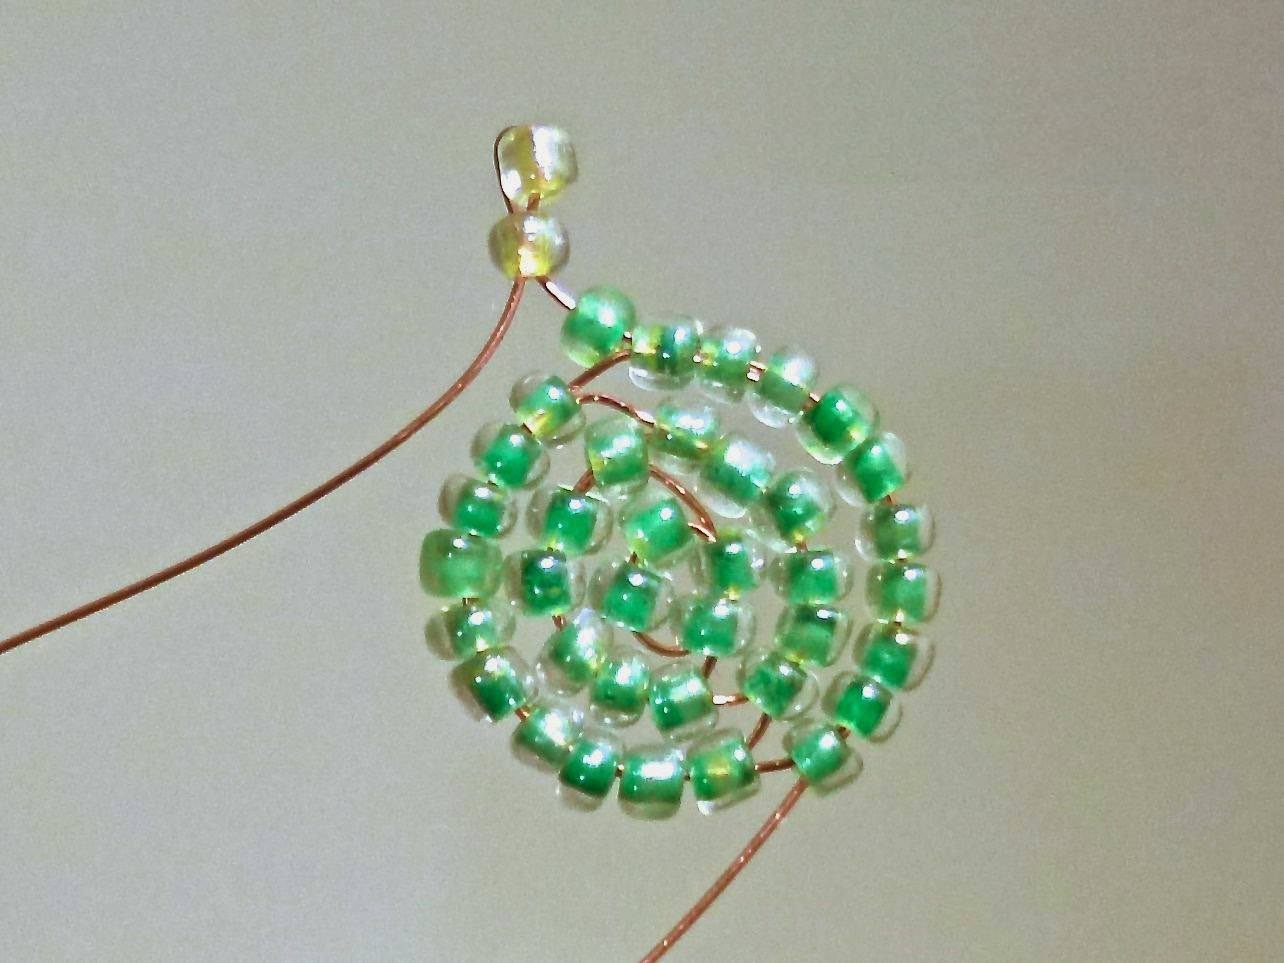
Also, make more needles at the same endWire, with green beads in the middle. How much do you need for half the circle, so much and do. Then we let the wire from the other end through the green beads. Well tighten the wire - it turned out half the circle, as in the photo.
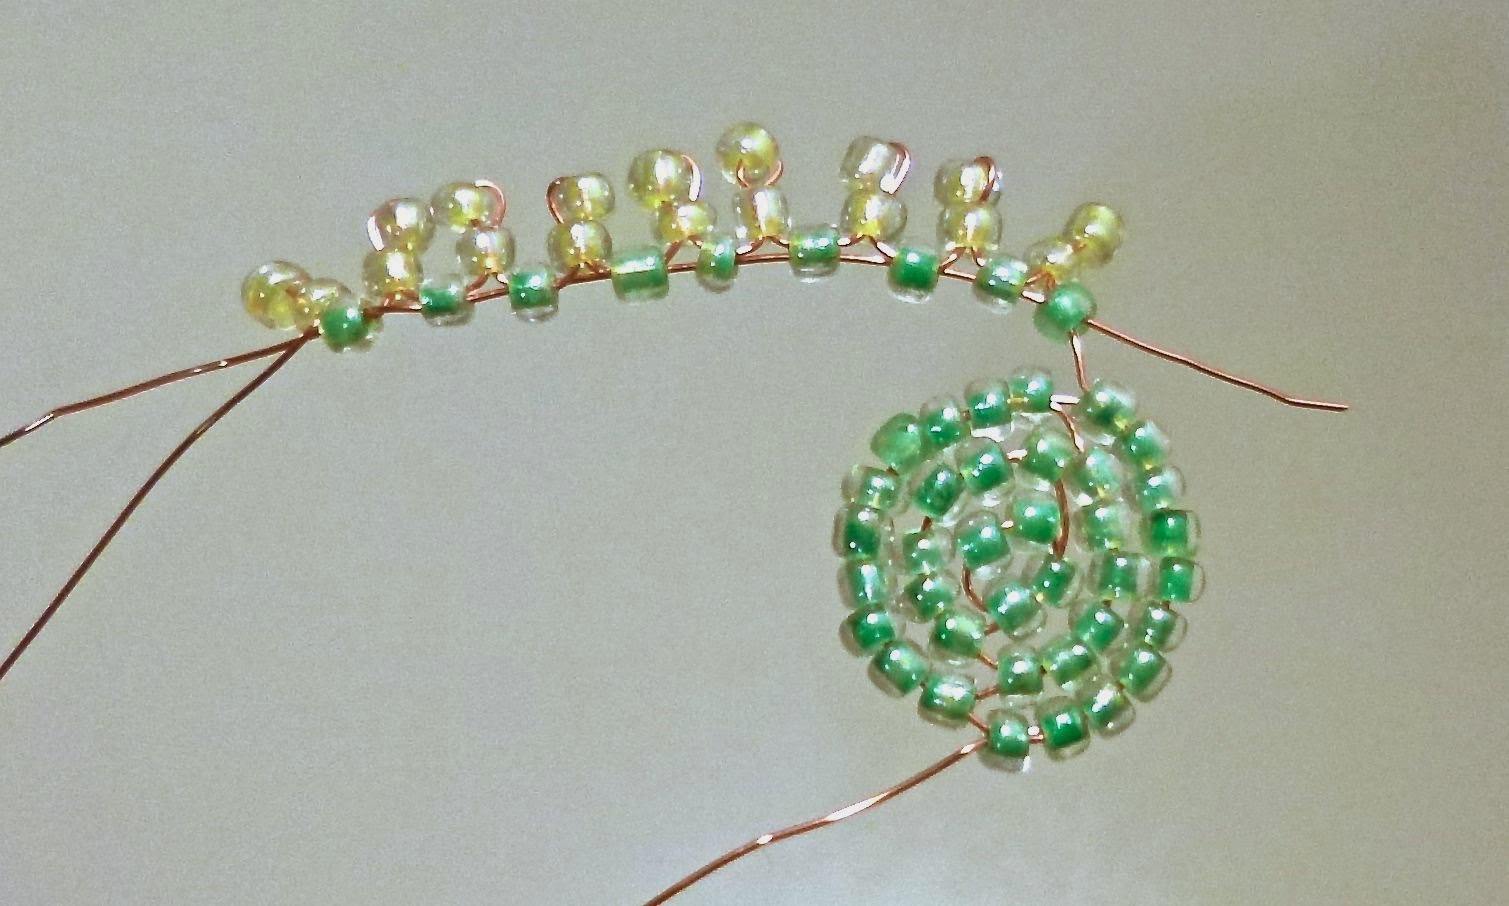

We make an identical half circle with needles fromYellow beads, in the same place where the first half of the core of the flower was made. After, let the reverse end of the wire through all the green beads and firmly fix it. In the end, we must complete the third round of beads.
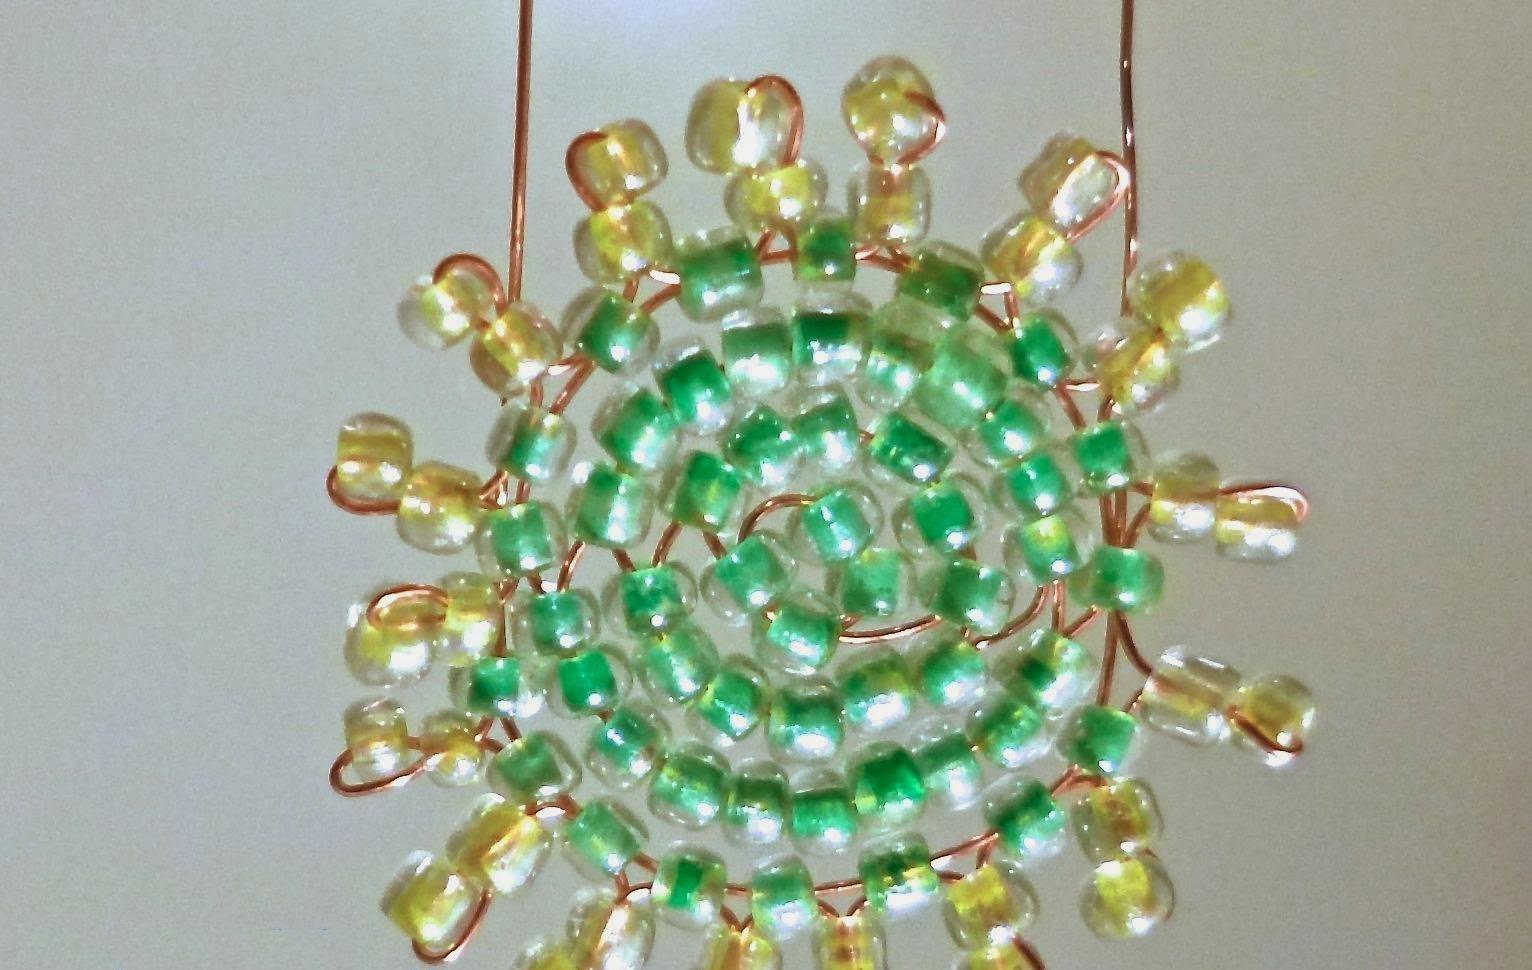
To ensure that ready-made needles do not cause us any inconvenience, bend them vertically to the core of green beads like in the photo.
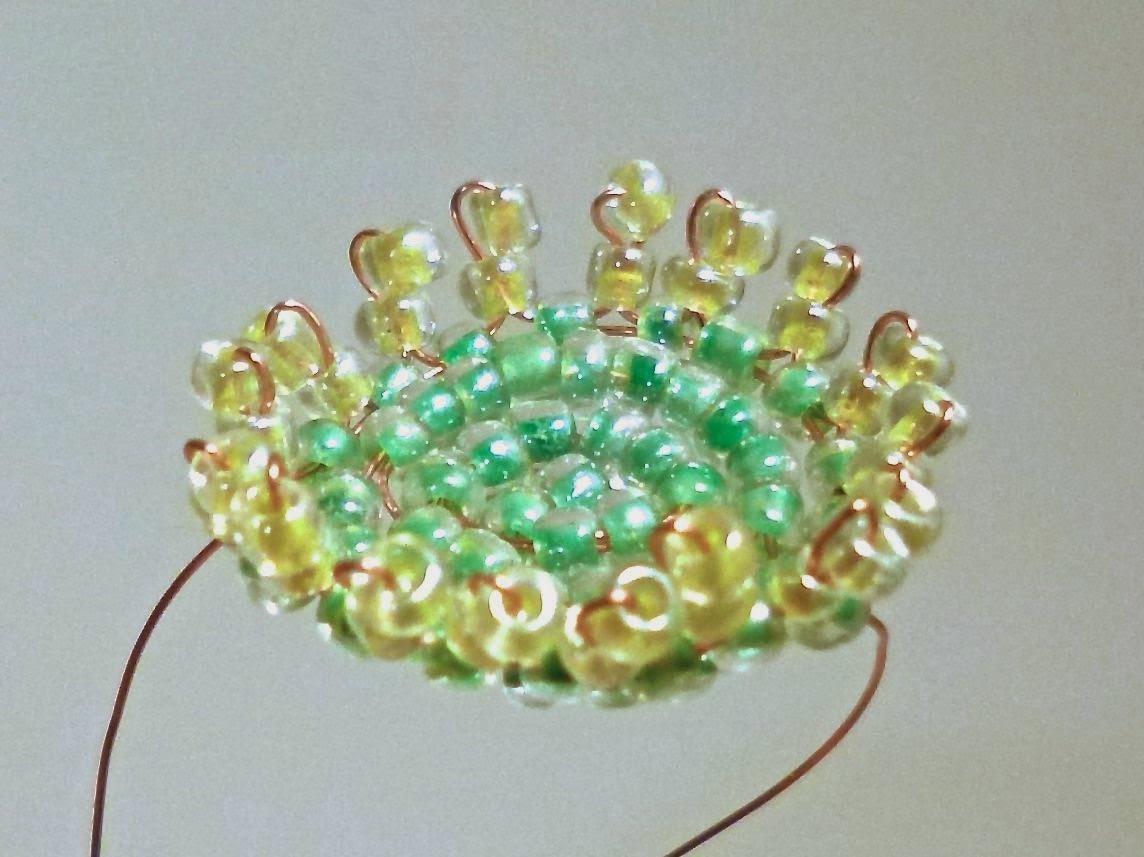
We continue to weave the rest of the circles. A third, fourth circle, with needles of yellow beads between the greens. We make the halves of the circle at the longest end of the wire, so the ends will be used identically.
After completing the halves in the fourth circle, again bend them up, vertically the core of the flower.
The remaining ends of the wire are bent downwards, and we twist them in the center of the core of the flower. We have weaved the core of gerbera from beads.

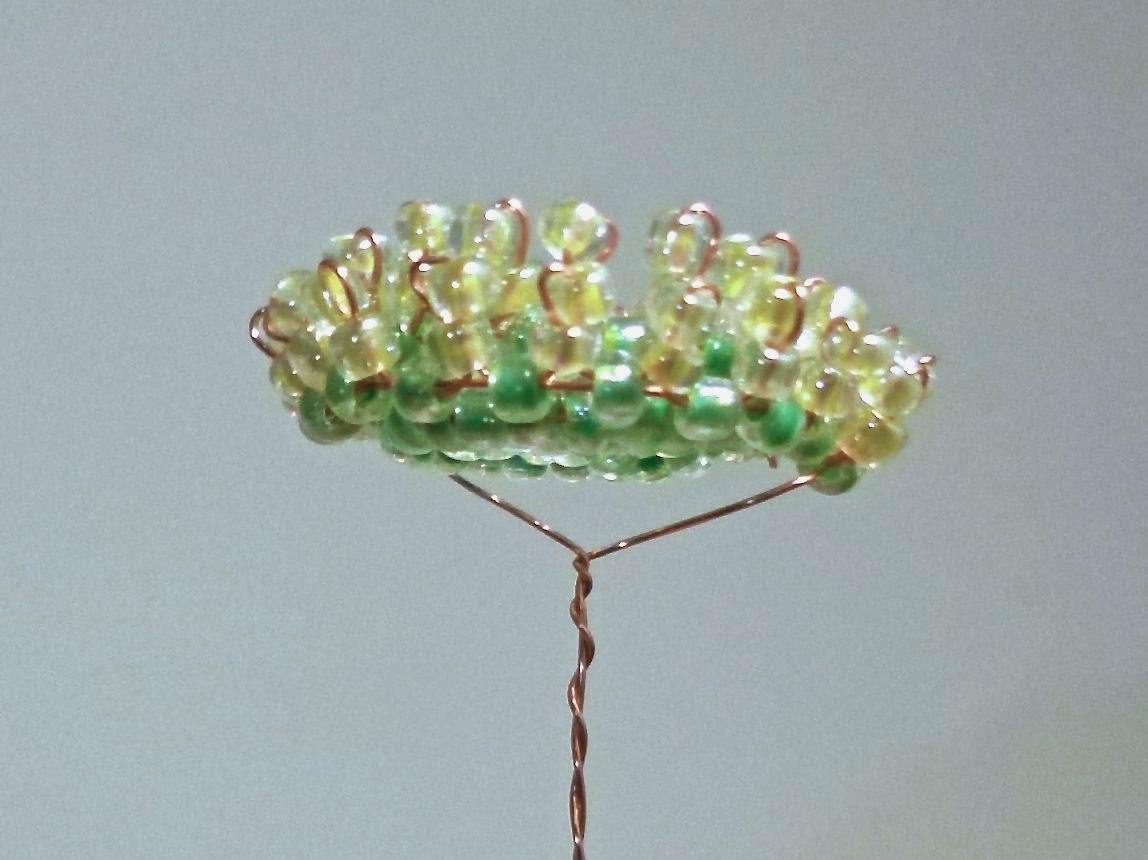
Now put aside the finished middle of our future gerbera, and we will weave Gerbera petals.
Making petals
For Gerbera petals we take a wire of 80 lengthsSee It is better not to take a shorter length, because from its remains we will form the stalk of gerbera. If the wire is shorter, then the stem will turn out to be short, respectively. To make Gerbera petals we will use the technique of parallel weaving. If you are not familiar with the technique of parallel weaving, you can view the video lessons on our website. A sample of the circuit can be seen below (Figure 1):
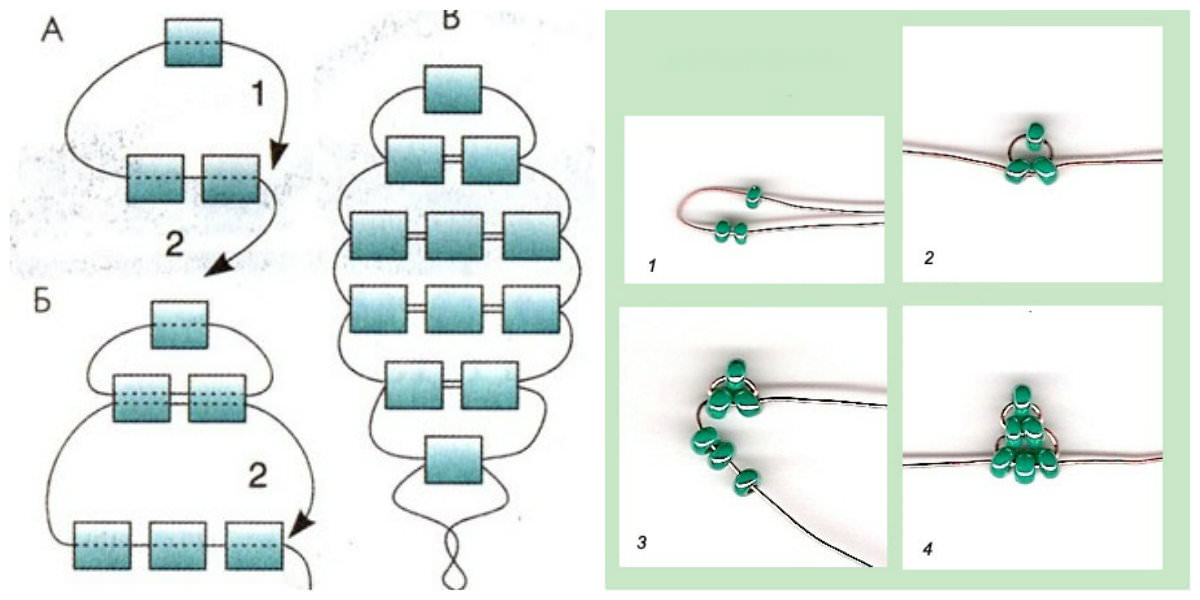
Scheme 1 We have a slightly different amount of beads, but the principle is the same:
- In the first row we put on two beads;
- In the second row - three;
- The third row is four;
- The fourth, the fifth row - five beads each;
- From the sixth to the ninth row - six;
- From the tenth to the eleventh - five;
- The twelfth row - four beads;
- The thirteenth and fourteenth series - three.
In the end, we should get such petals, as in the photo.
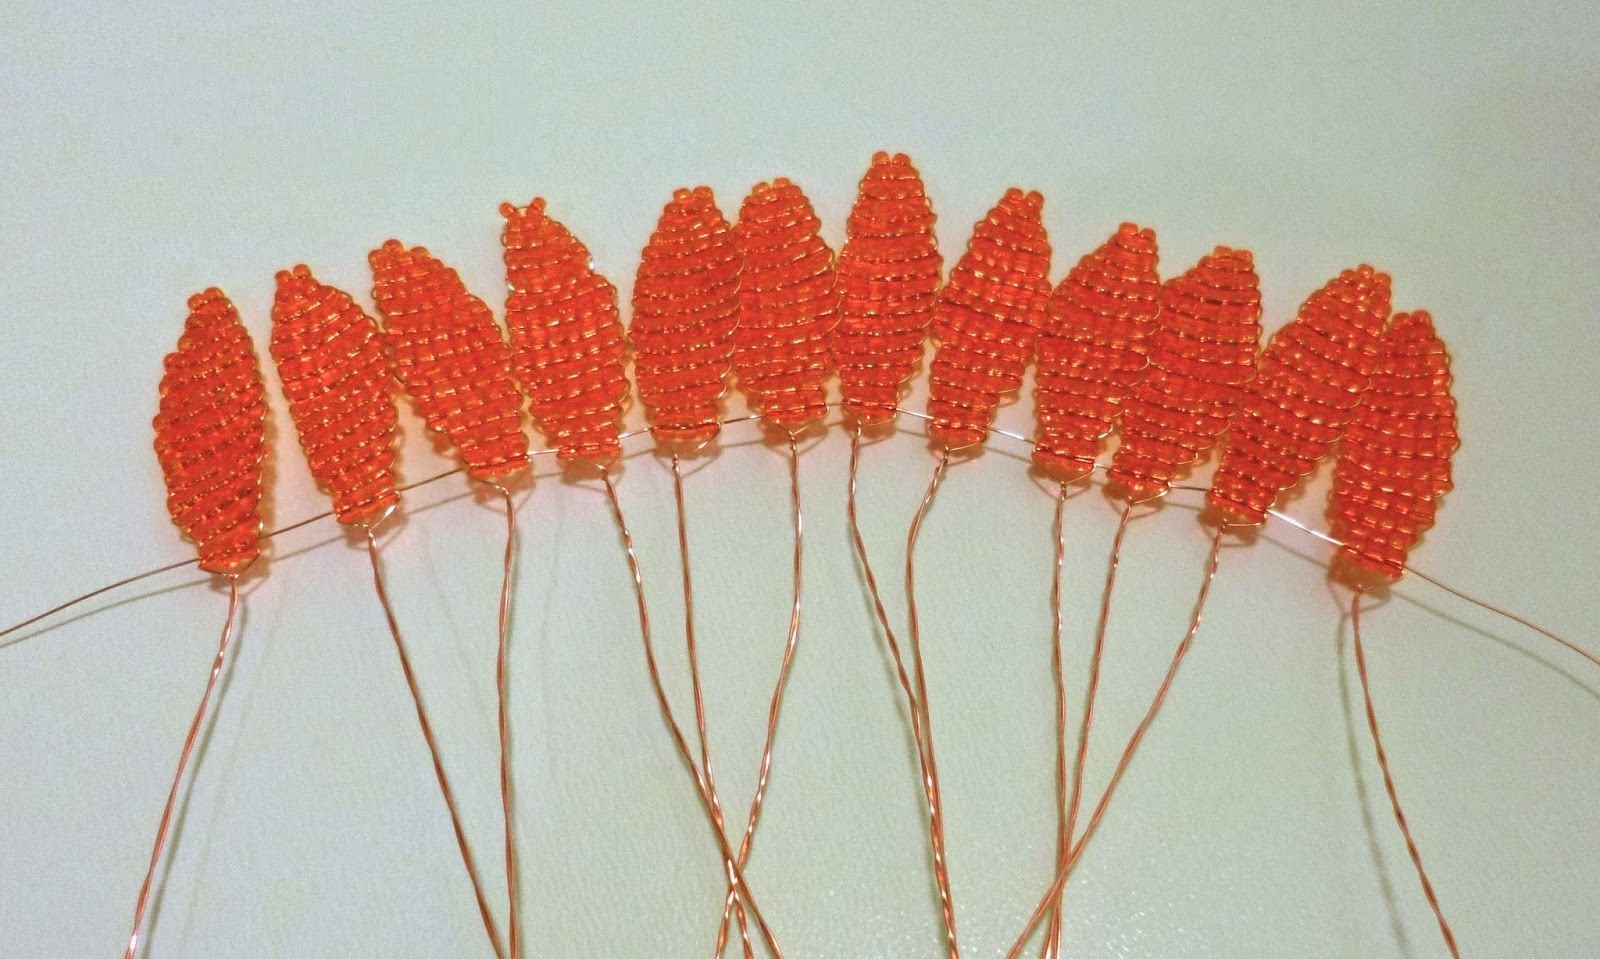
After finishing the weaving of the petals, twist the two ends of the wire together for practicality in the middle beneath each of them.
For gerbera it is necessary to weave 24 petals from beads. We will have two circles of twelve petals.
The process of assembling a flower
We need 60 cm of wire, it should beLet in through each bead in the bottom row in the main circle of the petals. In the middle of our wire, carefully place the petals. We collect all the petals in a dense circle and form an additional wire. The link that remains is left free.
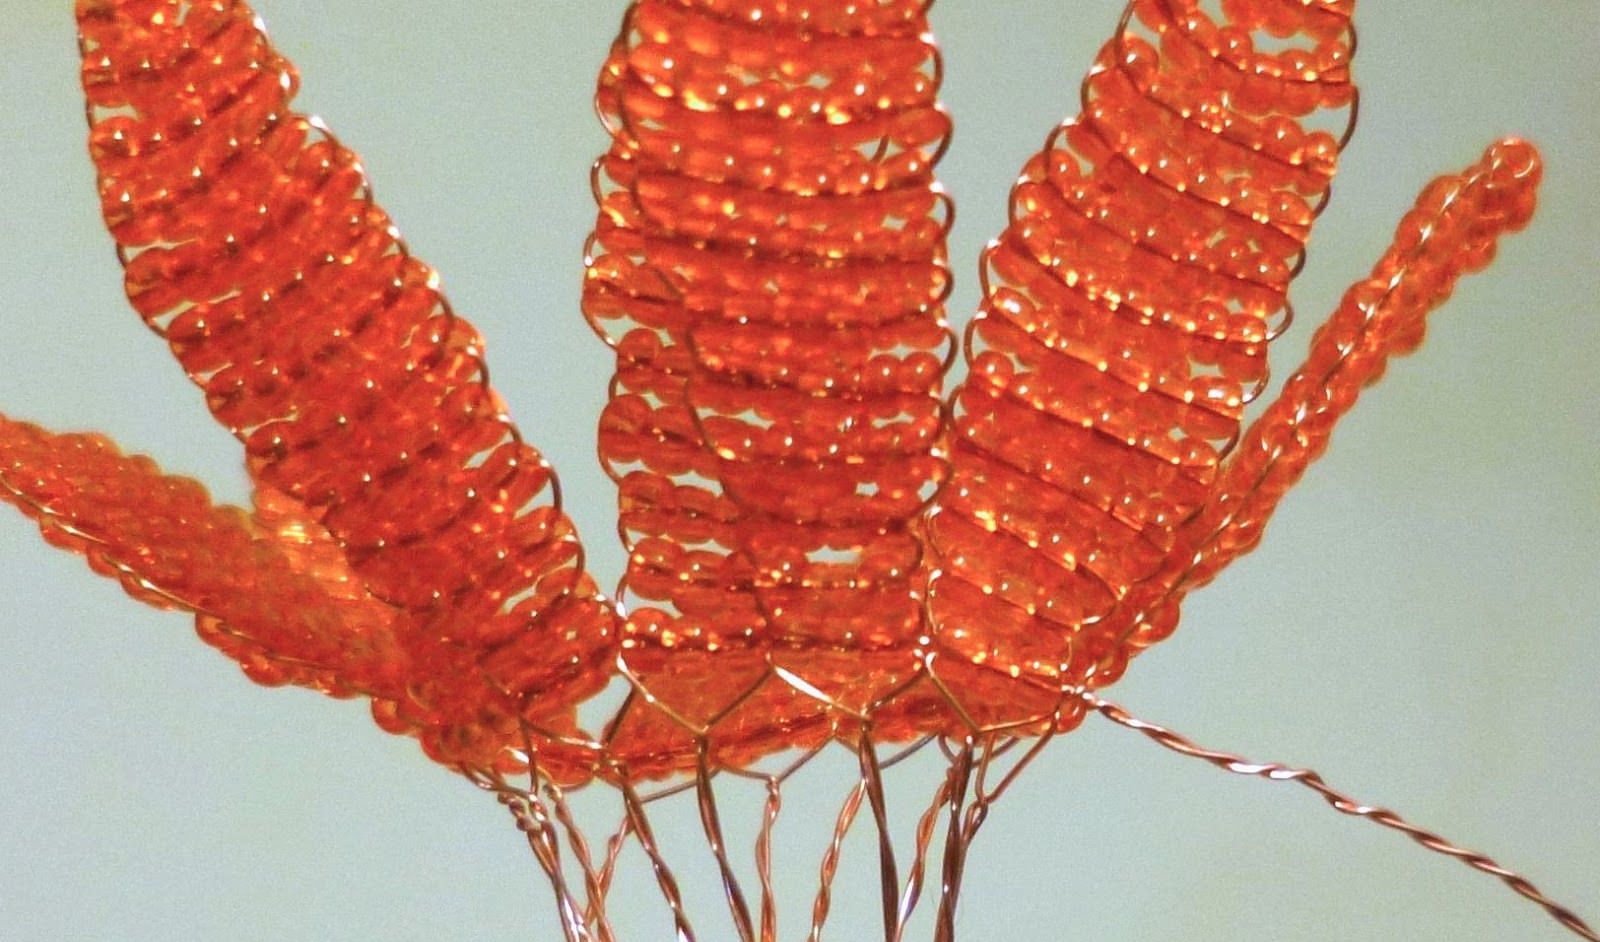
In this way we should get two circles of petals, in each separate circle there are twelve petals.
Insert the middle of the flower in the center of one circle of the petals.
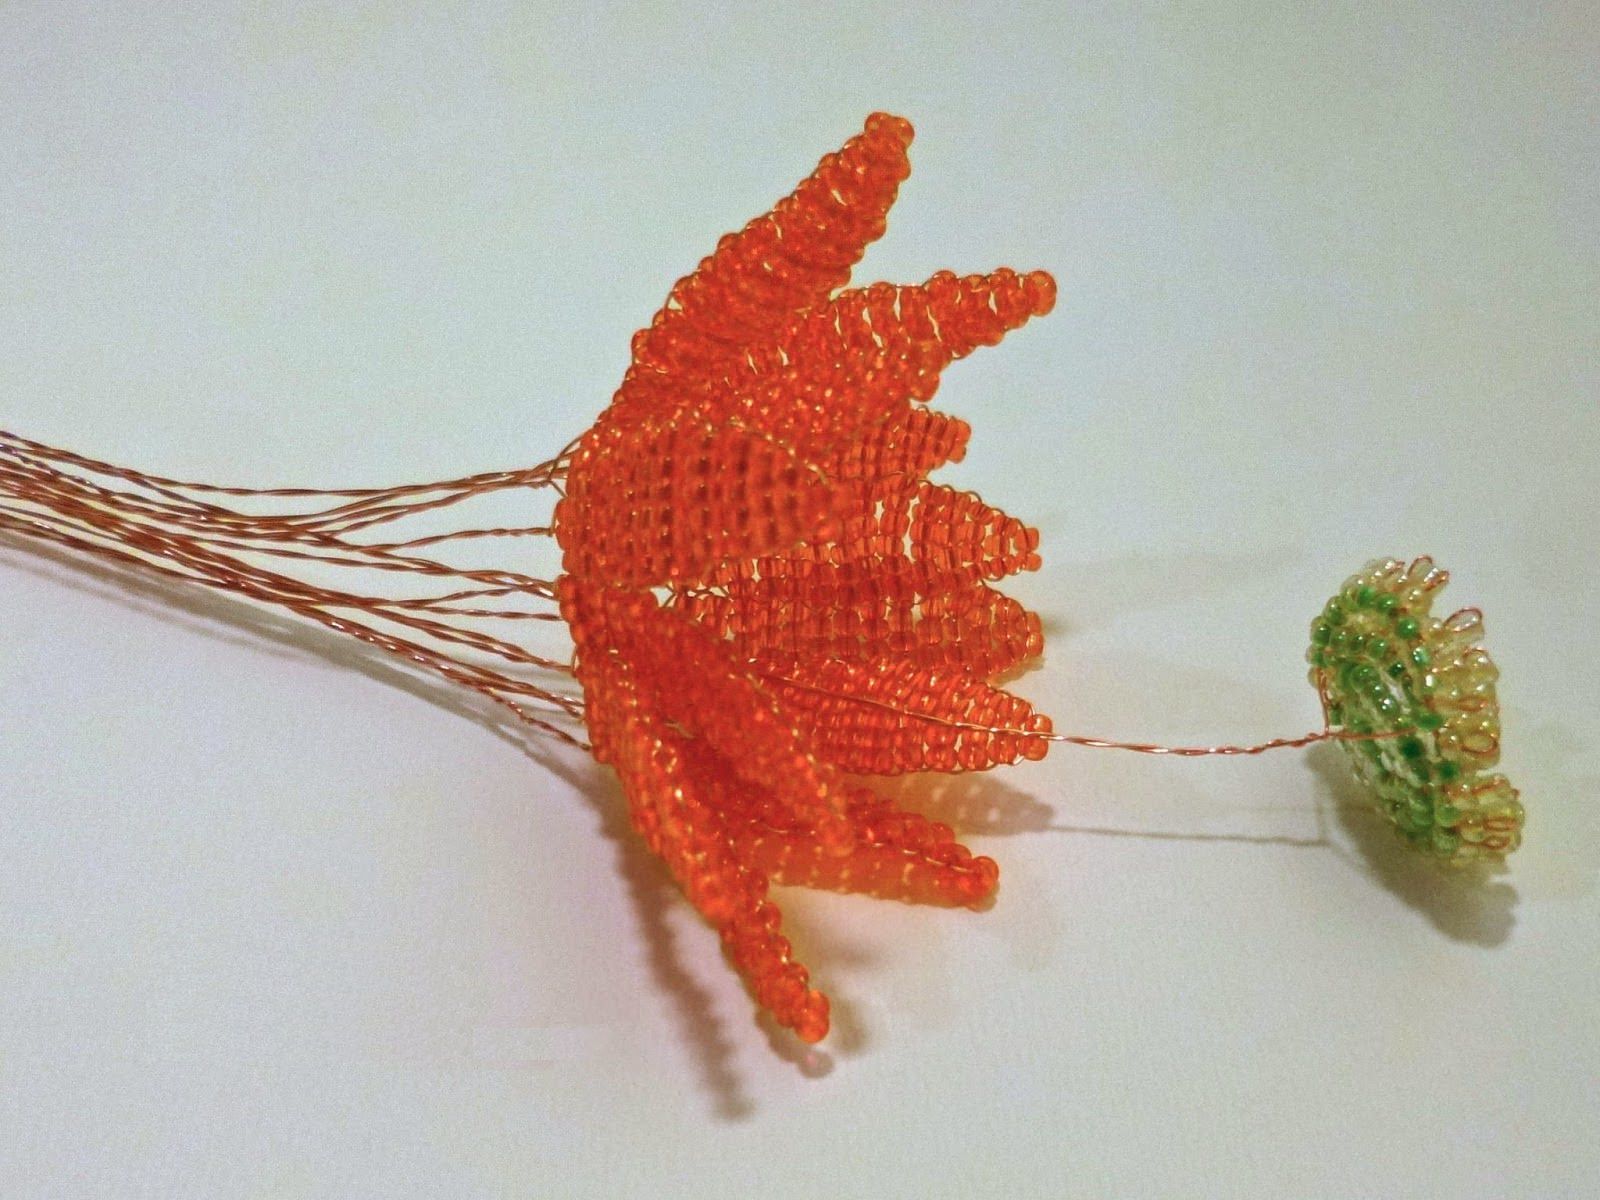
Then, towards the middle of the flower, slide it close to the petals and twist all the ends of the wire under them.
Bottom view:
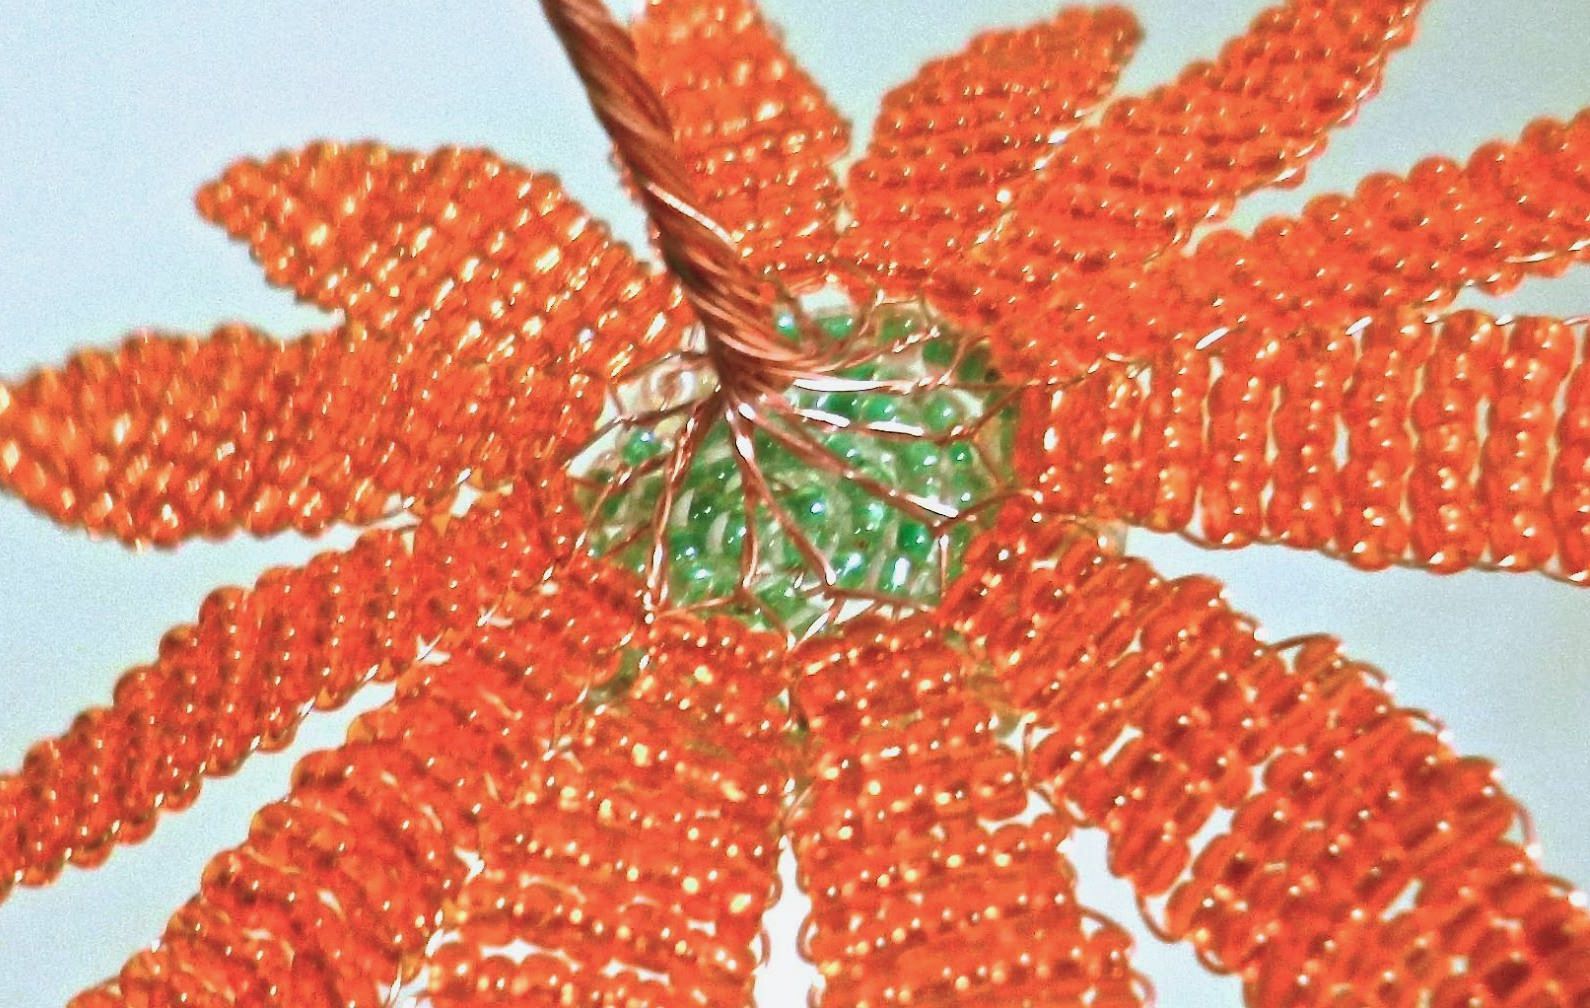
In the center of the second circle of the gerbera petals, we insert its base.
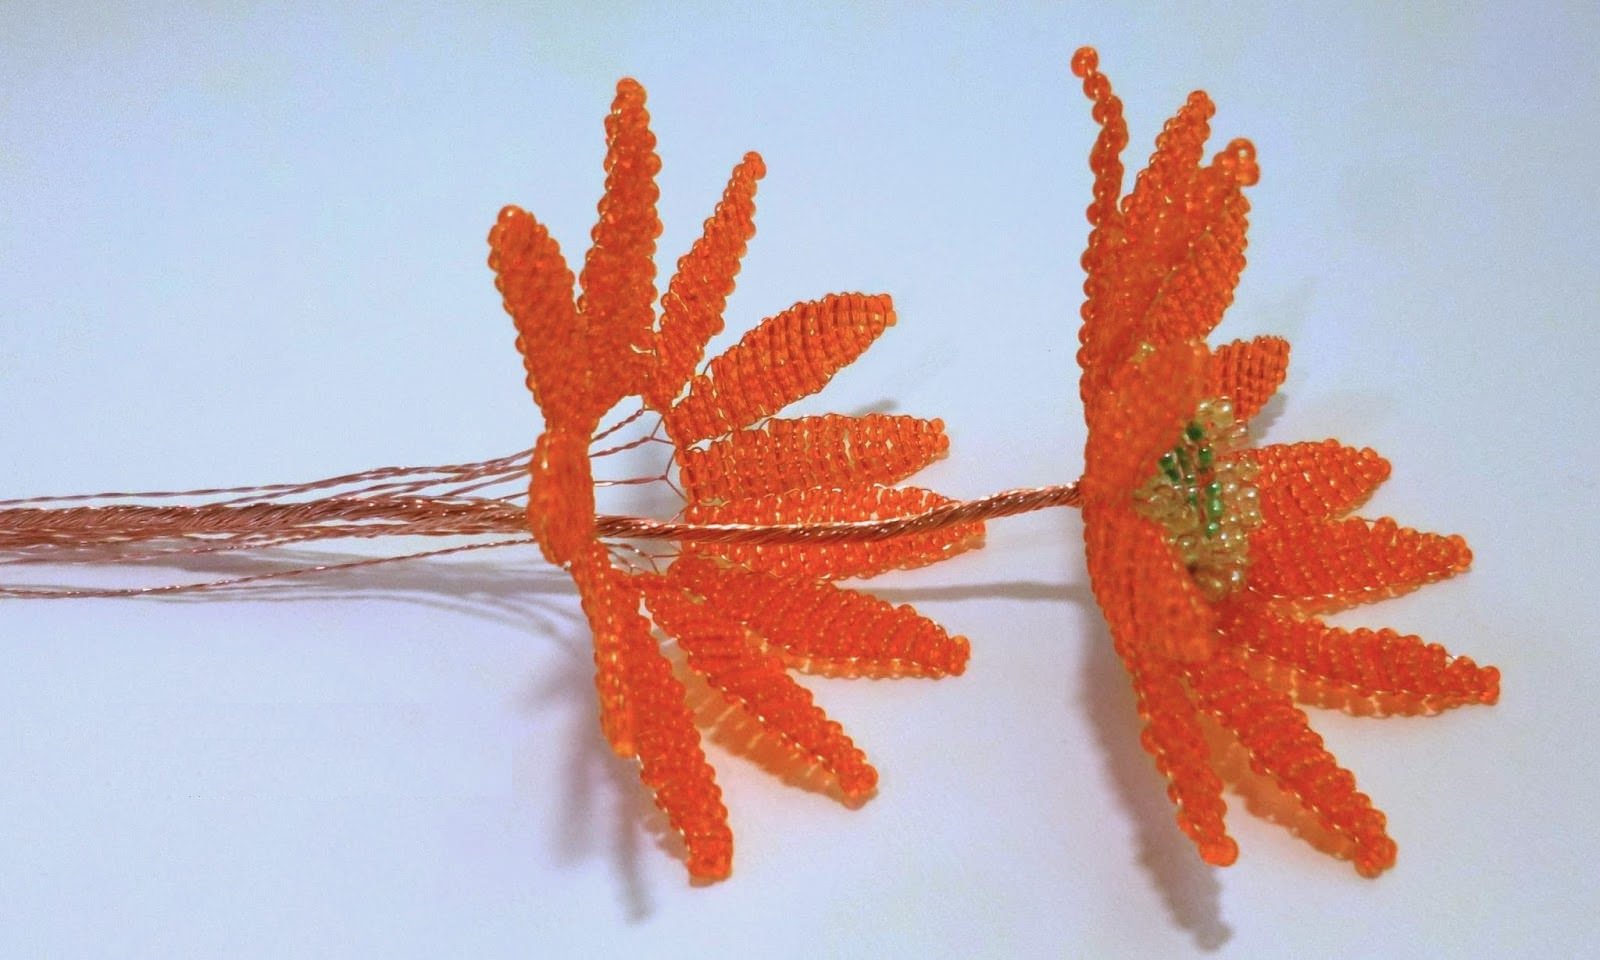
We put the flower on the table, to the top of our future leg. Straighten all the ends of the wire that go from the petals from the second circle.
Collect seven green beads on the paired ends of the wire that go from the second circle of each petal. The same amount of beads dial on a wire on which petals are collected.

Beadkins, which strung tightly, move toReady petals, also well move to the first second circle of the petals. Then gather all the ends of the wire in one and twist them at the bottom of the flower into one stem.
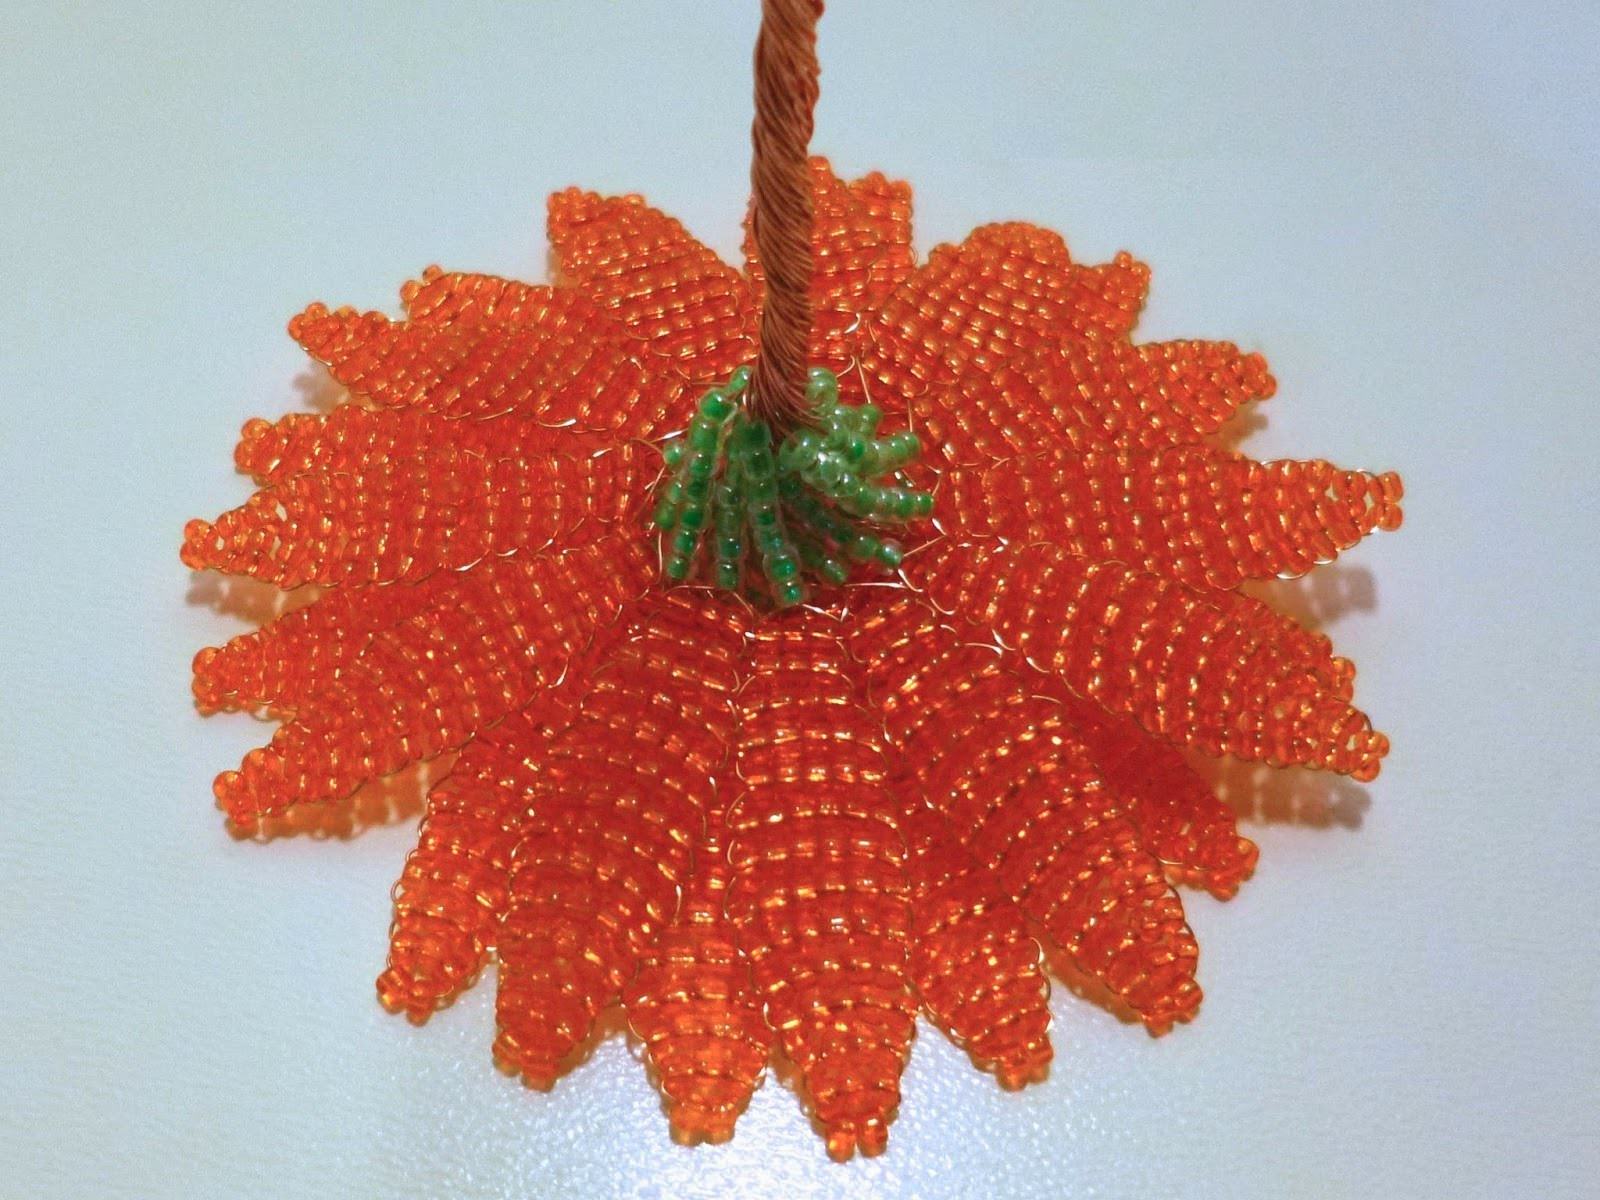
For the correct location of the petals, scroll the lower circle of the petals so that they are between the upper circle of the petals.

The final stage - the creation of aesthetic appearanceStalk. To do this, thread the stem from the top to the bottom with a green thread. To ensure that the threads are not unraveled, at the end tie them to a few knots. If necessary, at the end, we trim the stem of the flower with a wire.
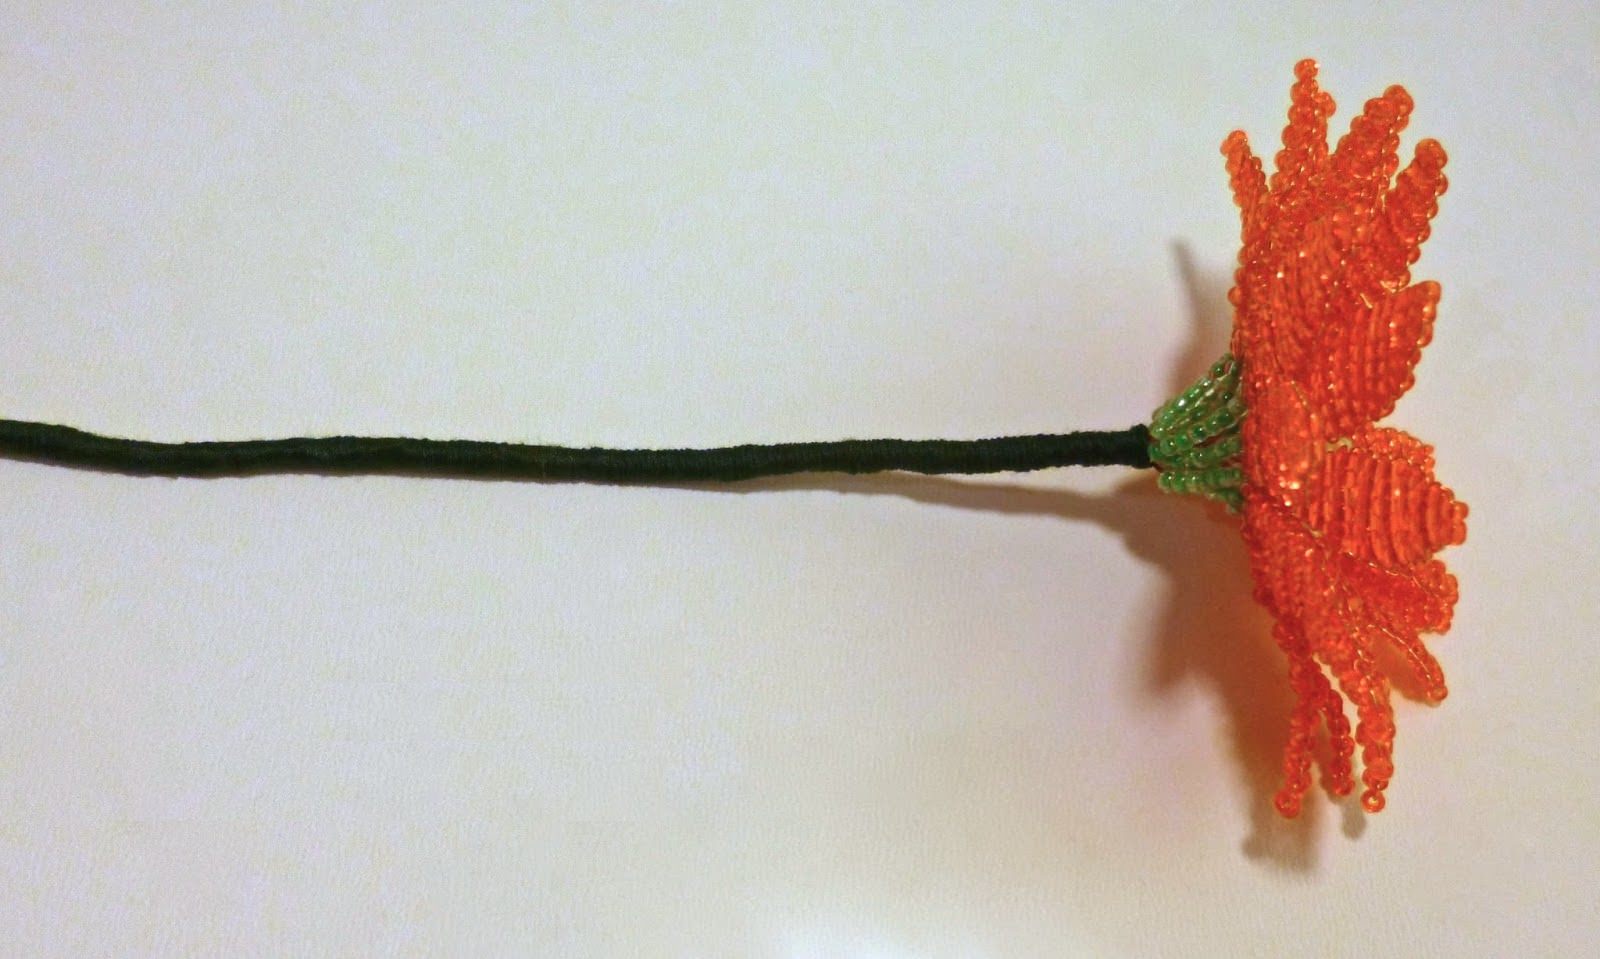
So we made a beaded gerbera.

For beautiful
You can make flowers of different colors, you should get a beautiful composition. Beading is a simple and beautiful way to create beautiful, we hope that our master class helped you. Good luck!
