
A gift to the 8th of March with their own hands - a ladybug from a foam sponge with a photo and description.
Thanks to detailed descriptions and detailedillustrations of each important stage of the work, this master class on the creation of ladybird from foam rubber will be in force even for children of older preschool groups. In addition to parents, this lesson can be taken advantage of by "educators" and teachers of additional education. Created by own hands, the ladybug will be an excellent props to dance compositions, games, and also a wonderful gift for moms by March 8th. 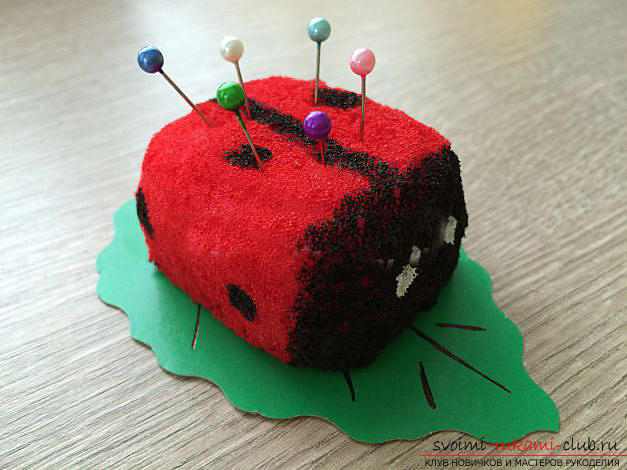 From this master class, the children will learn a lot of useful things:
- learn how to create crafts made of foam rubber;
- bring up the accuracy;
- will develop creativity and diligence;
- learn about ways to use available materials for games and dances.
If you plan to donate, the product being created,then it will be most correct to use it as a bed. Of course, the entire process of making ladybirds to shift to some children is wrong, so parents or caregivers will be able to help them by completing the preparation of the ladybug. Children always like to create by their own hands all living beings, and such a bright insect, like a ladybug, they all the more like it. 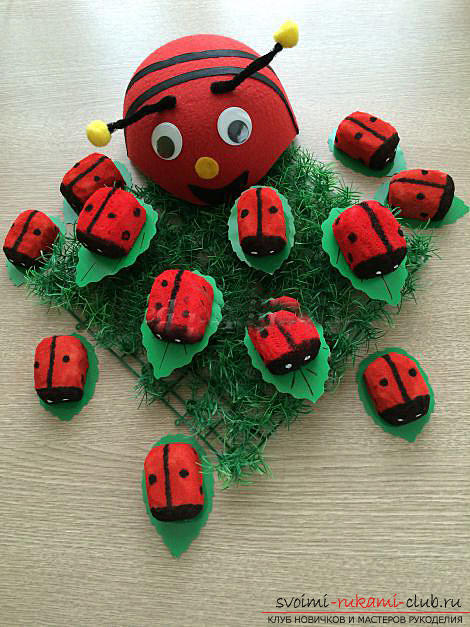 First, let's define the materials and tools necessary for this master class. These will be:
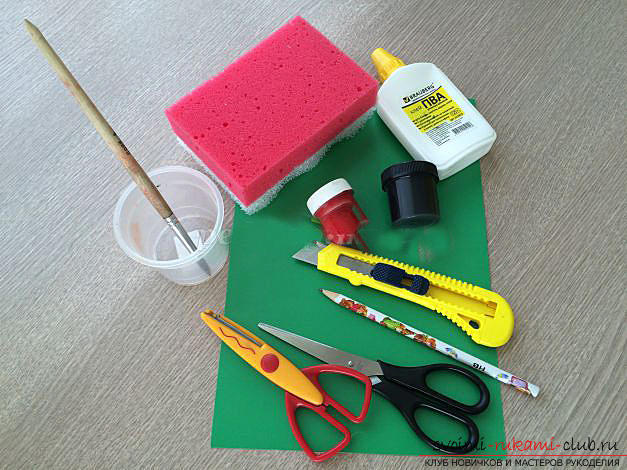
- dense green cardboard;
- A simple pencil;
- brush;
- figured scissors;
- sponge 140x90 mm;
- Knife stationery;
- PVA;
- gouache is red and black;
- a can of water;
- straight scissors.
 A small recommendation. Try to find red or pink foam rubber for this craft. The fact is that in the process of staining foam rubber with red gouache, you will need it much less, and the paint itself can be carried out only once. Also, in practice, it is noted that white foam should be painted a number of times, because it absorbs the paint actively, but leaves it clear and leaves white gleams. Even with the use of pink foam, this lack is not observed. Description of the progress of work. With a clerical knife, the foam sponge with a size of 140x90 mm is cut into four identical parts - these are four buns of ladybirds. Those who took a double-layered sponge first have to split the layers among themselves, using a clerical knife. To give the bark a rounded shape with the help of scissors, gently round the edge of the foam rubber.
 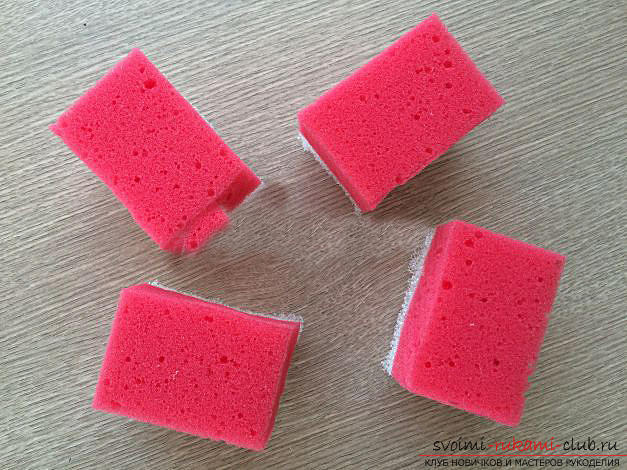 Next, let's set our future ladybug the main color tone, for which we color it with red gouache. After this craft, you need to give a certain time to dry the paint.
 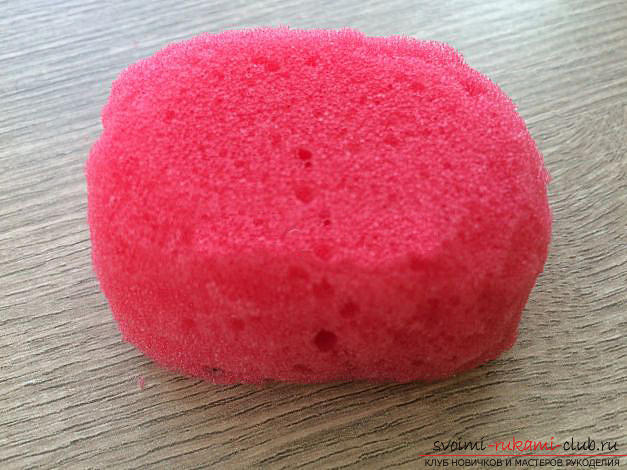 While the gouache will dry, we can make a leaf, where our ladybug will then be placed. Cut the template of the leaf that will be about 95 mm long.
 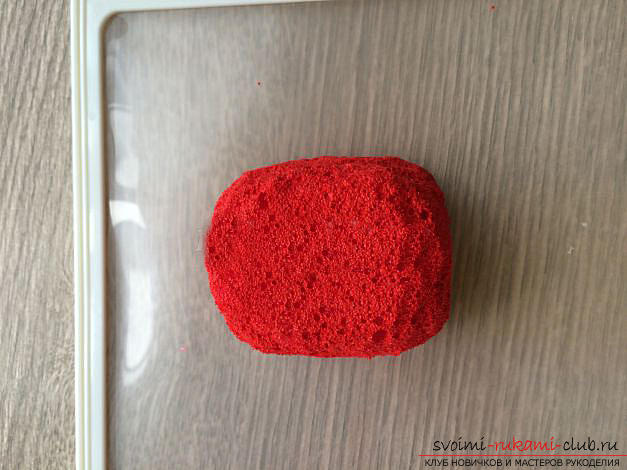 Using the prepared template, circle twoleaf on green cardboard. For each ladybug, two leaflets will be destined. This is due to the fact that the leaves will stick together.
 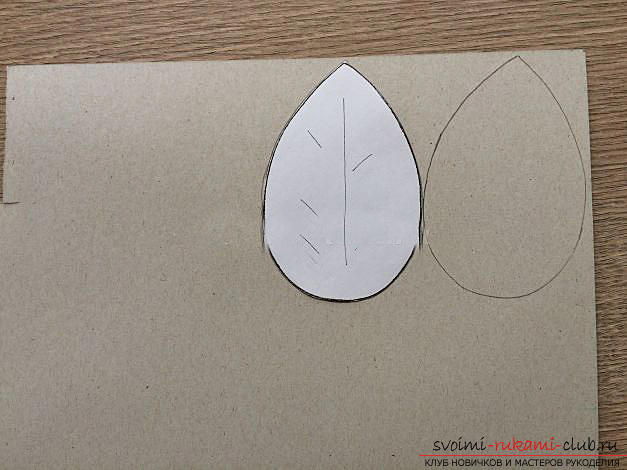 For happy owners of two-sided colorcardboard will be enough to cut out one leaf per one cow. Cut out the leaves. Now the leaves must be glued using PVA. You can place the leaf under the press, and, after drying, it will become even.
 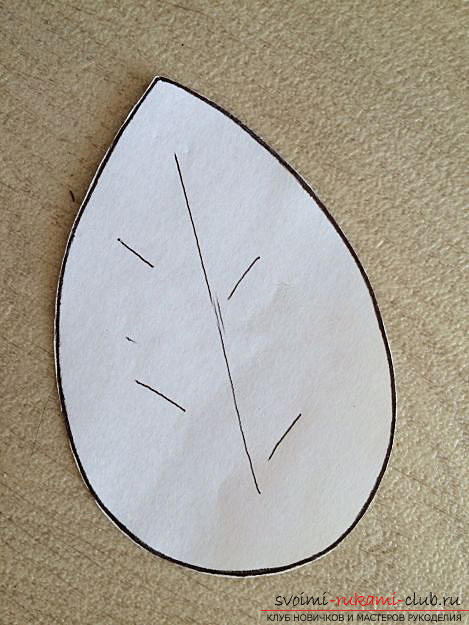 Leaving the leaf to dry, without losing time we continue painting the ladybug. If you dry the red paint badly, if it hits the foam of black gouache, it "floats".
 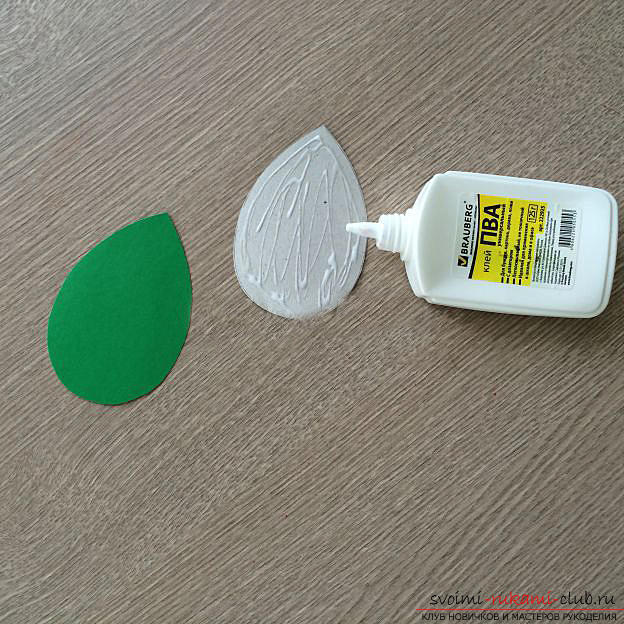 In black, we draw our head to our cow. The same color draws a black bar. Then the points are drawn. As soon as the black gouache dries, you can draw a white eye with a corrector.
 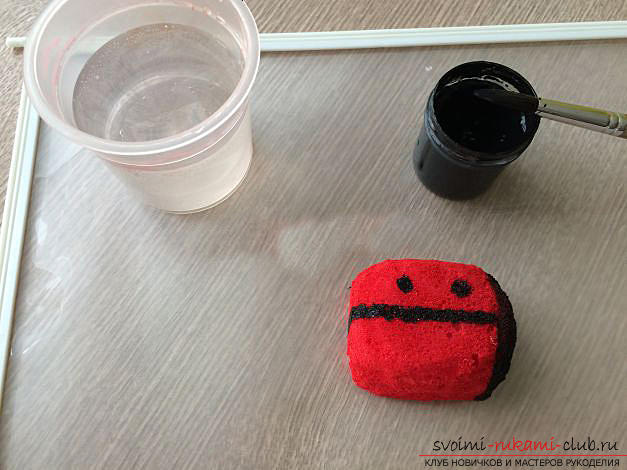 So, our leaf has dried up. Using the scissors, cut the edge of the leaf. Take a black felt pen and draw a vein from both sides of the leaf.
 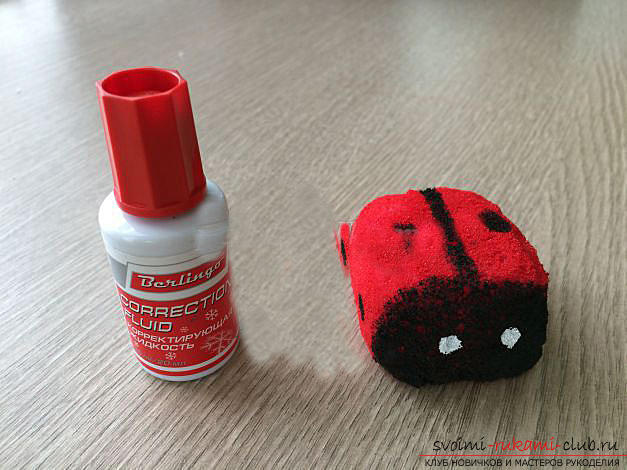 Now you can paste our ladybug on the leaf. Glue PVA grease the lower part of the trunk of the cow and glue it to the leaf.
 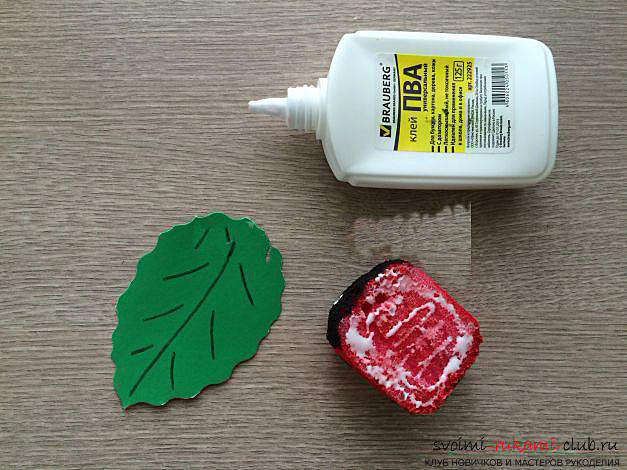 That's the whole job! Similarly, the required numberladybirds. That's how we made a needle bed for the presentation. We hope that our master class will cheer you and your baby, and in the future he will become addicted to needlework.
Comments
Related posts:
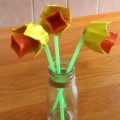 Gift for March 8 from the child. Crafts for mom and grandmother own hands.
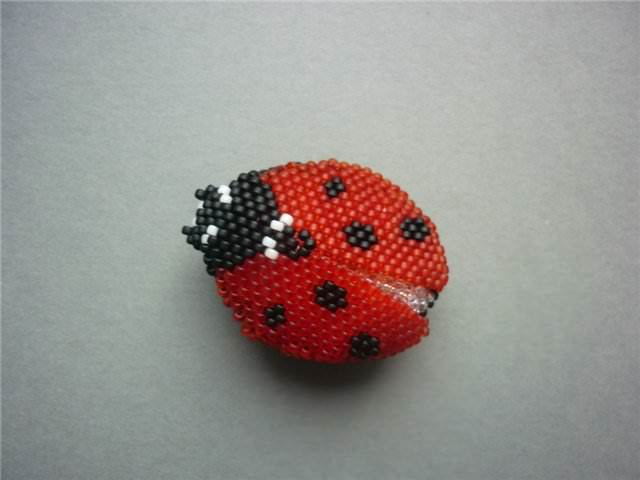 Ladybug of beads with her own hands (scheme)
 We sew with our own hands a toy for flowers Ladybug of felt simple technique, original decoration of wildlife
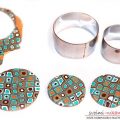 How to make a gift to March 8 with your own hands made of polymer clay, step-by-step photos of creating a set of bracelet, earrings and pendants
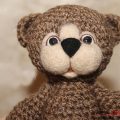 Gifts to March 8 with their own hands - a bear amigurumi for a mother with a description and a photo.